Halloween Pumpkin Carving Contest · Starts October 1st · $500 in prizes
← Back to ideas
@ai_concepts
Jul 30, 2026
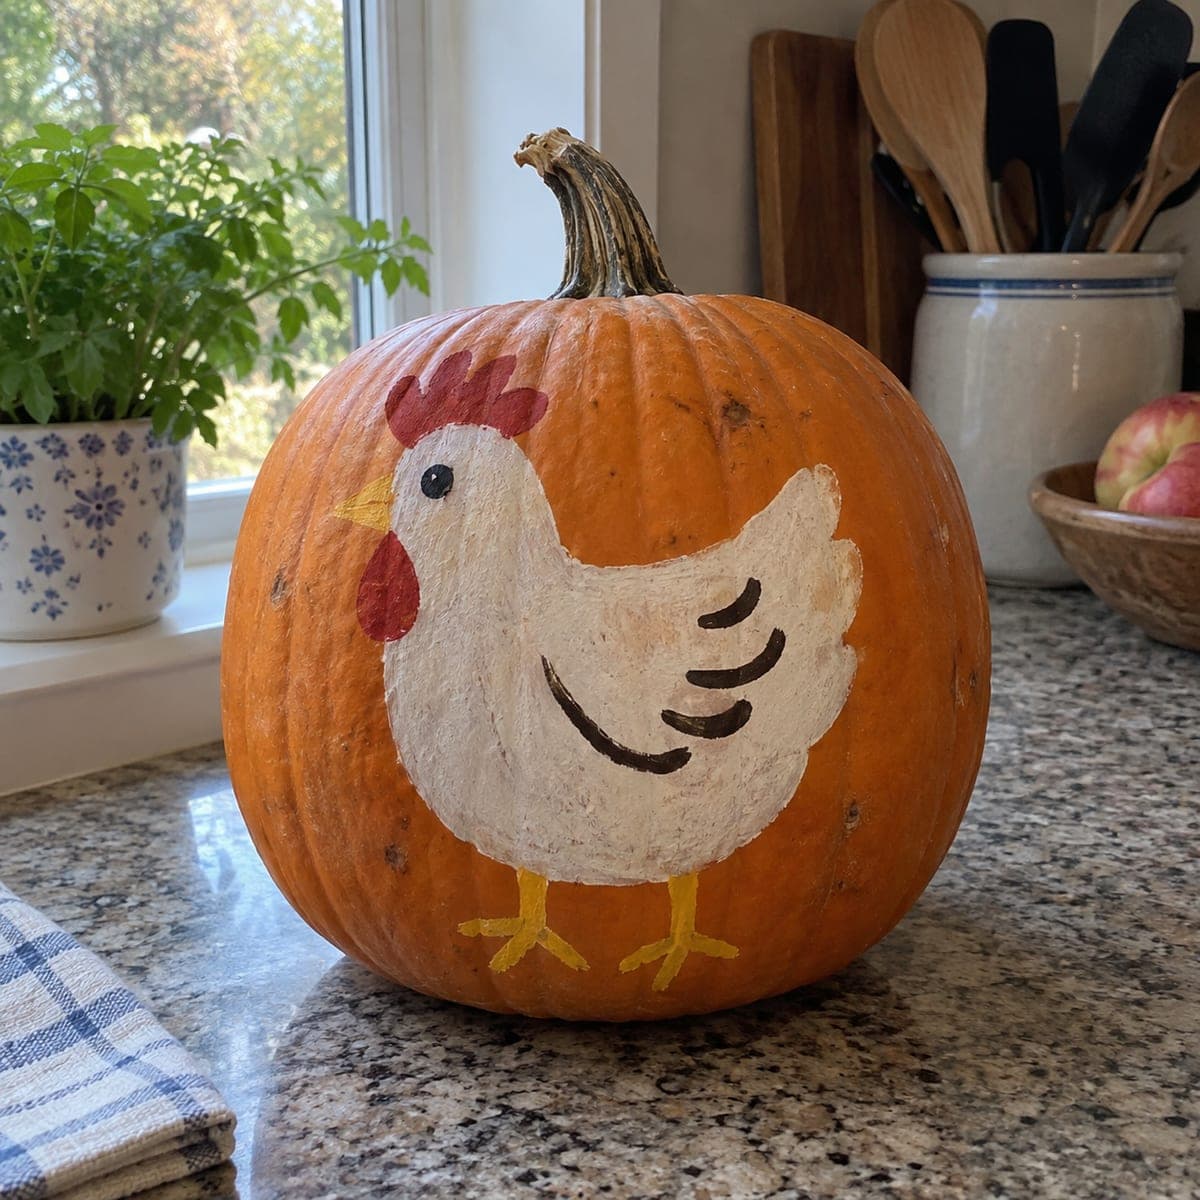
Farm Chicken Etched Pumpkin for Fall DisplaysAI
0

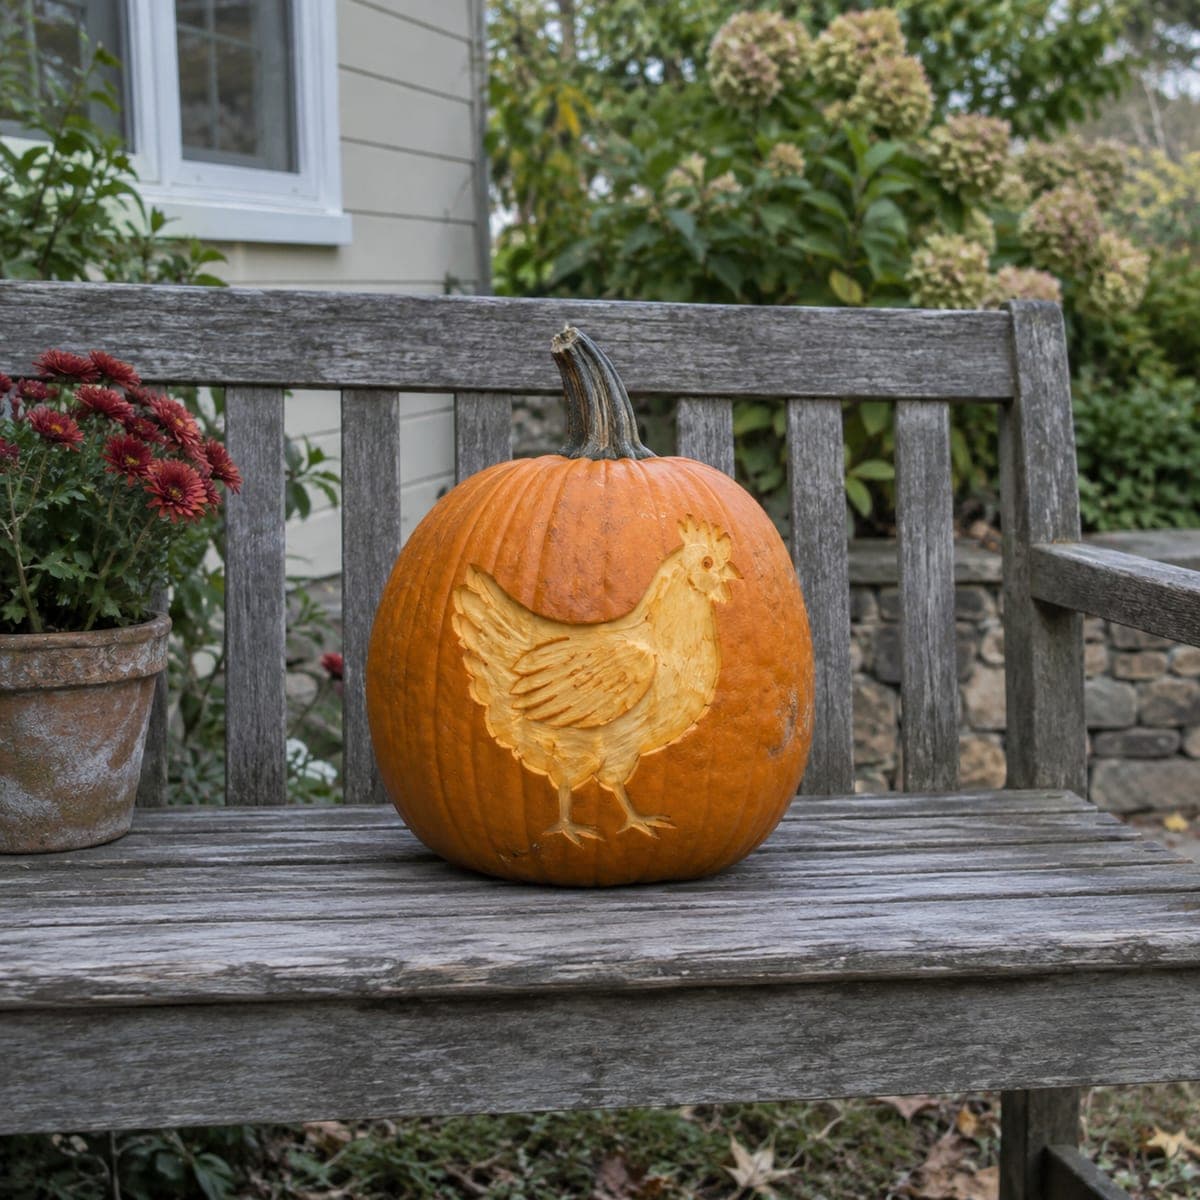
Farm Chicken Etched Pumpkin for Fall Displays

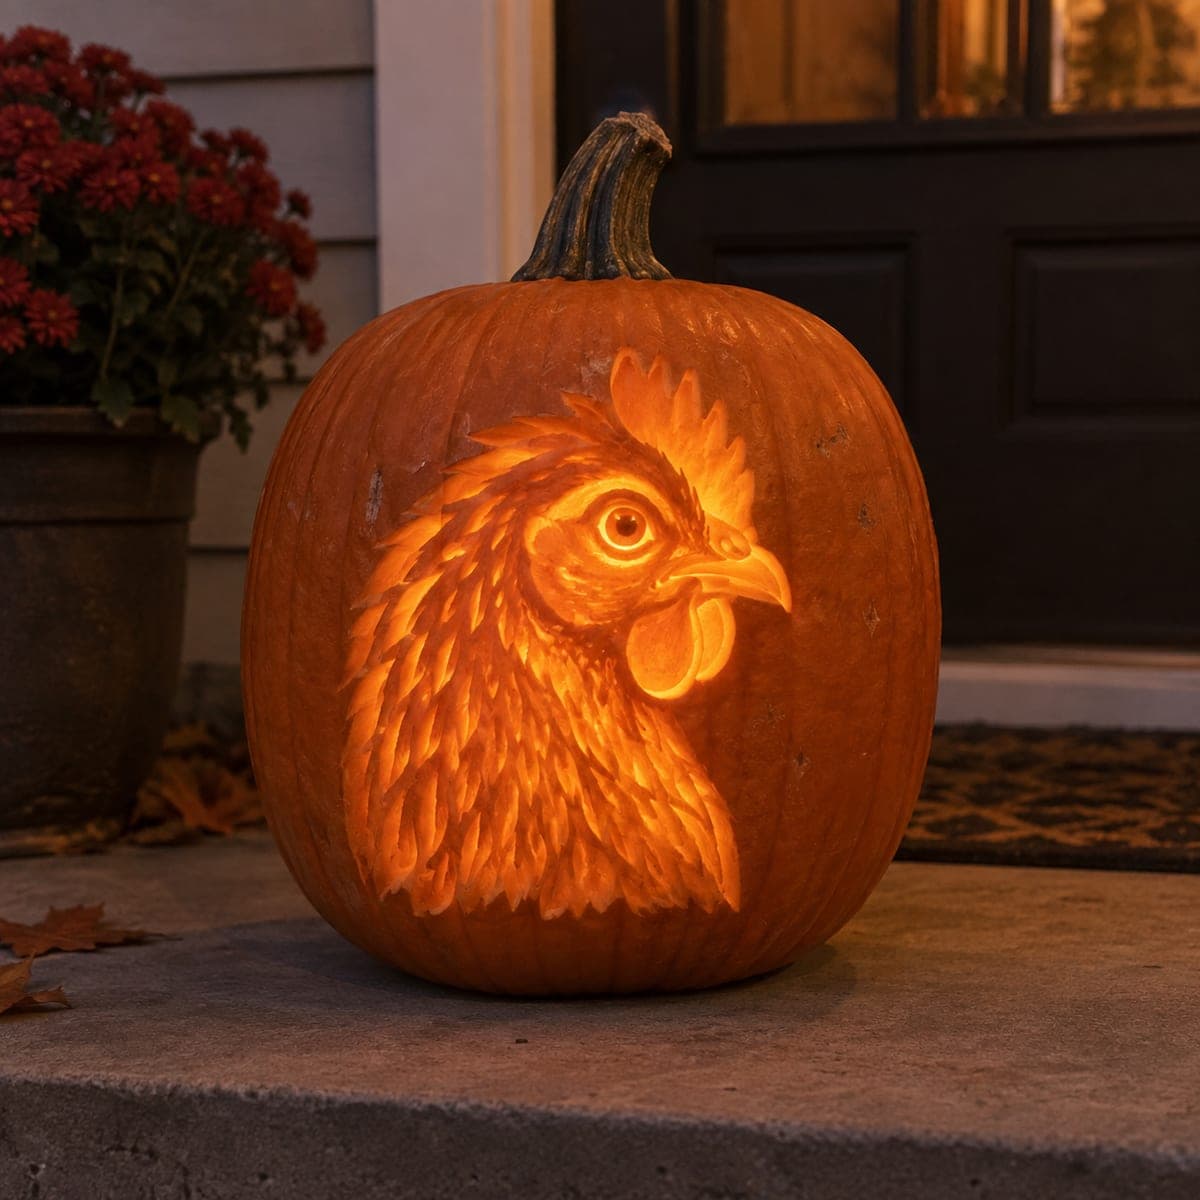
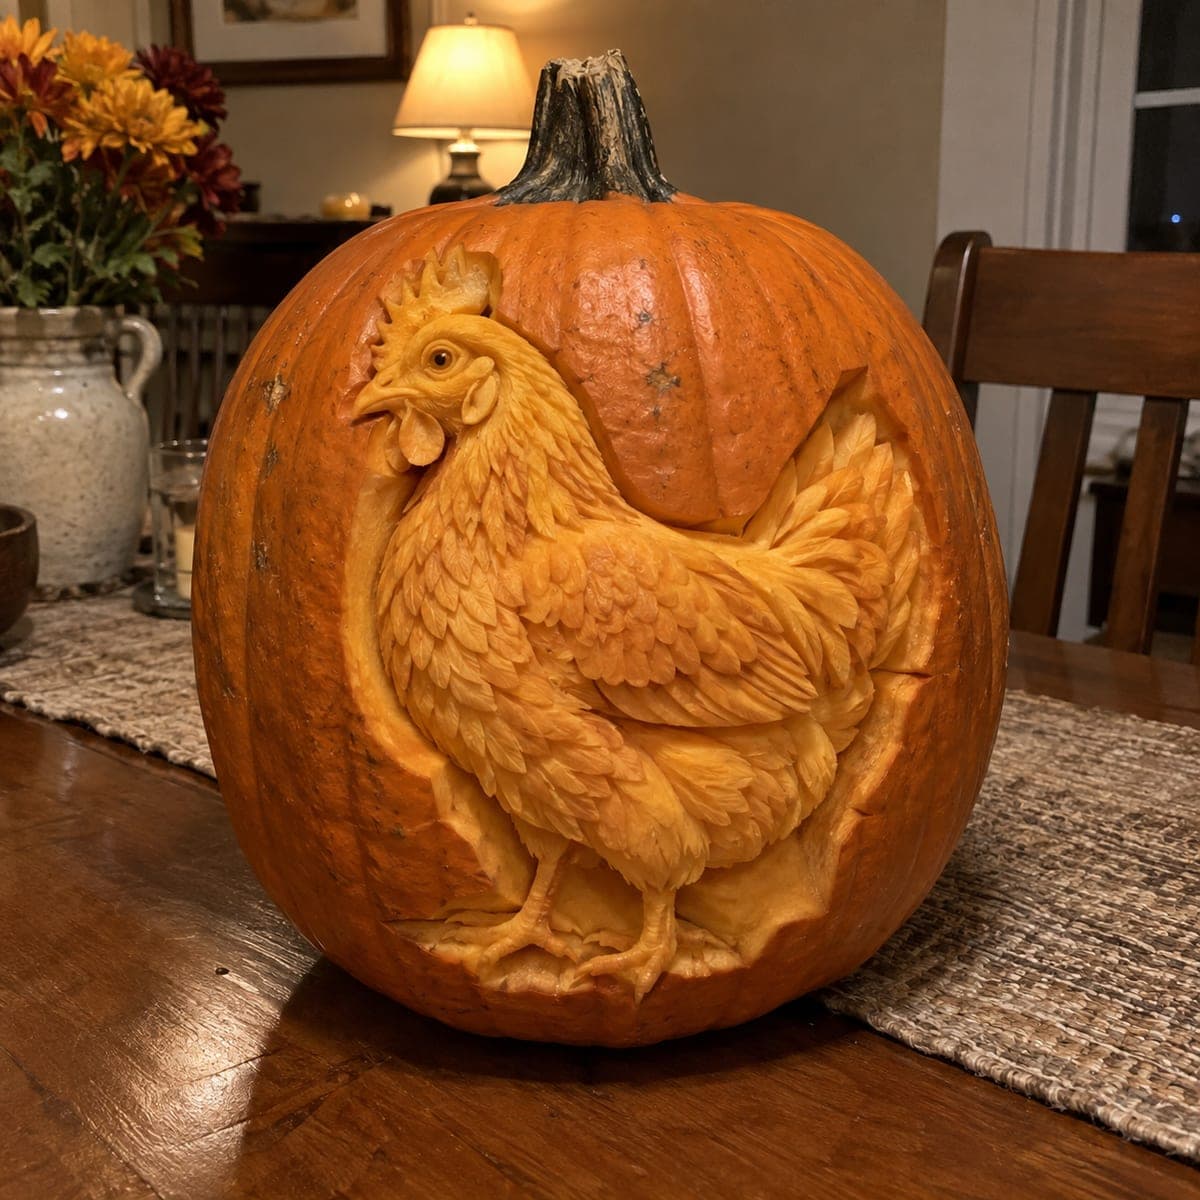
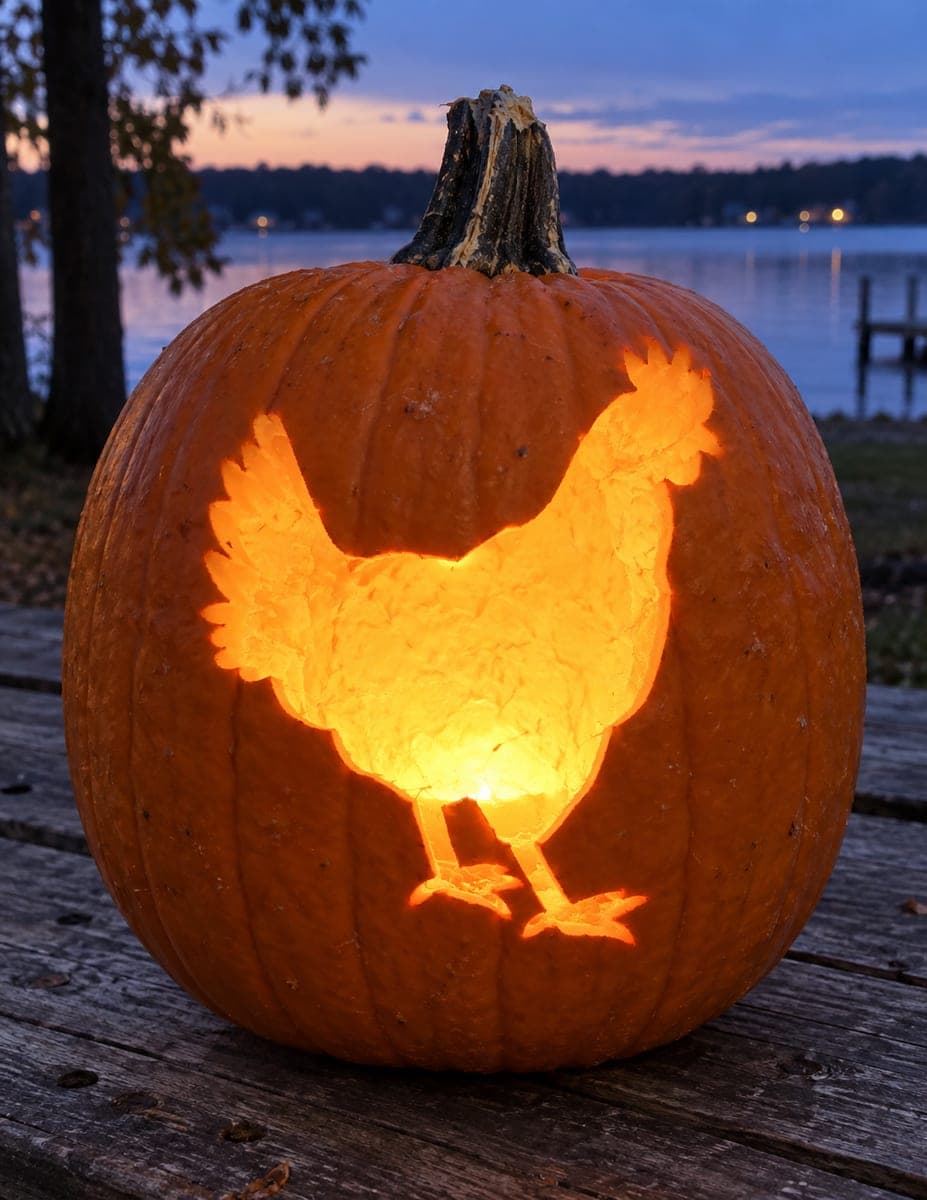
A plump hen with detailed feather texture is etched directly onto the skin of an orange pumpkin, giving it a warm, rustic farmyard character. The shading technique captures the layered feathers, comb, and alert eye with impressive realism. This no-carve-style shading pumpkin sits beautifully on an outdoor bench surrounded by fall mums. Use a linoleum carving tool to sketch the outline first, then peel the skin in thin layers to build up the feather detail.

This is an AI-generated concept image: a realistic, carvable design idea rather than a photo of a finished carve. AI concepts are always labeled and sit out the leaderboard and the contest.

No ratings yet · Sign in to rate
Comments (0)

  • No comments yet — be the first.

Save without an account. Sign in to like or comment.

Our tips for carving a similar design

This design leans entirely on surface shading rather than cutting all the way through, so the hen glows as a soft orange silhouette against the darker skin. The core trick is peeling the outer skin in thin, uneven layers to suggest layered feathers, the comb, and one alert eye. Since this is an AI concept image, no real pumpkin exists, but you can absolutely recreate a similar look with patient etching and a couple of shallow accents.

Written by PumpkinCarvingIdeas.com, inspired by the image above. These are our suggestions, not instructions from the uploader. This approach to the AI concept has not been tested on a real pumpkin.

From pumpkin to porch

  1. Pick and prep the pumpkin

    Choose a round pumpkin with a smooth, blemish-free front panel wide enough for a full standing hen. Wipe the surface clean and dry it well so your outline stays put. Cut a lid or a wide access hole in the back, not the front, so the shaded panel stays intact. Scrape the inside wall behind the hen down to about one inch thick so light can pass through the peeled areas later.

  2. Transfer the hen outline

    Tape a chicken stencil over the front and poke the main outline with a pin, or lightly trace the shape with a washable marker. Keep the comb, beak, eye, body, wing, tail, and legs marked as separate zones. Then go over the outline with a linoleum cutter or a small V-gouge to score a shallow groove. This groove becomes the boundary that keeps your shading from wandering.

  3. Peel the body for the base glow

    Using the linoleum tool or a loop scraper, remove only the thin outer skin inside the hen shape to expose the pale flesh beneath. Work in shallow passes and stop before you break through to the hollow. The whole hen should now read as one soft, even glow. This is your midtone base that every feather sits on top of.

  4. Build the feather texture

    Scoop slightly deeper, curved strokes to layer the wing and tail feathers, letting each row overlap the one below like real plumage. Vary your pressure so deeper areas glow brighter and shallow spots stay dim, which is what creates the sense of depth. Leave thin ridges of unpeeled flesh between feather rows as natural dividers. Take your time here, since this shading is the heart of the whole piece.

  5. Accent the comb, eye, and legs

    Peel the comb and wattle a touch deeper so they catch more light and pop forward. For the eye, make one small, clean full cutout so a bright pinpoint of light shines through as a glint. Keep the beak and legs as narrow etched lines rather than open cuts so those thin shapes stay strong and do not crumble.

  6. Light it and stage the photo

    Set a battery LED puck or string inside, never a candle, so the peeled feathers warm up evenly. Test in a dark room and deepen any feathers that look flat. Place the finished pumpkin on a bench or step surrounded by fall mums, angling the hen toward your main viewing spot. Mist the peeled areas lightly if they dry out over a few days.

Gather your supplies

Check things off as you get ready.

Work on a stable surface, keep your free hand out of the cutting path, and have an adult handle sharp tools.

Three levels of light

  • Leave intact

    The surrounding orange skin and the pumpkin's ribs stay untouched and dark, framing the hen.

  • Peel & shade

    The hen's body, wing, tail feathers, comb, and wattle are skin-peeled at varying depths for a warm orange glow.

  • Cut through

    Only the tiny eye is cut fully through for a single bright glint of light.

Learn the carving basics

Before you start cutting

Do I need to cut all the way through anywhere?

Almost none of this design is cut through. It is a shading piece, so nearly everything is surface peeling that glows dim orange. The one exception is the small eye, which you can cut through for a bright accent.

How do I keep the feathers from all looking the same?

Vary the depth of your strokes. Peel a little deeper where you want brighter feathers and stay shallow where you want dim ones. Leaving thin unpeeled ridges between feather rows also gives the plumage a layered, overlapping look.

Will a shaded pumpkin last outdoors on a bench?

Peeled flesh dries and browns faster than uncut skin, so plan to display it within a day or two of carving. A light mist of water or a thin wipe of petroleum jelly on the peeled areas slows drying. Bring it into a cool spot overnight to stretch its life.

Your take belongs here, too.

Changed a detail? Made it simpler? Share a photo of your version and tell the community what worked.

Share your pumpkin

More pumpkins like this

You've reached the end · 8 pumpkins
The Patch Report

Fresh pumpkins, in your inbox.

The best new carvings, ideas worth stealing, and how-tos for carving season. Short, seasonal, and gone by November.

A short email during carving season. Unsubscribe anytime. See our privacy policy.