Halloween Pumpkin Carving Contest · Starts October 1st · $500 in prizes
← Back to ideas
@ai_concepts
Jul 8, 2026
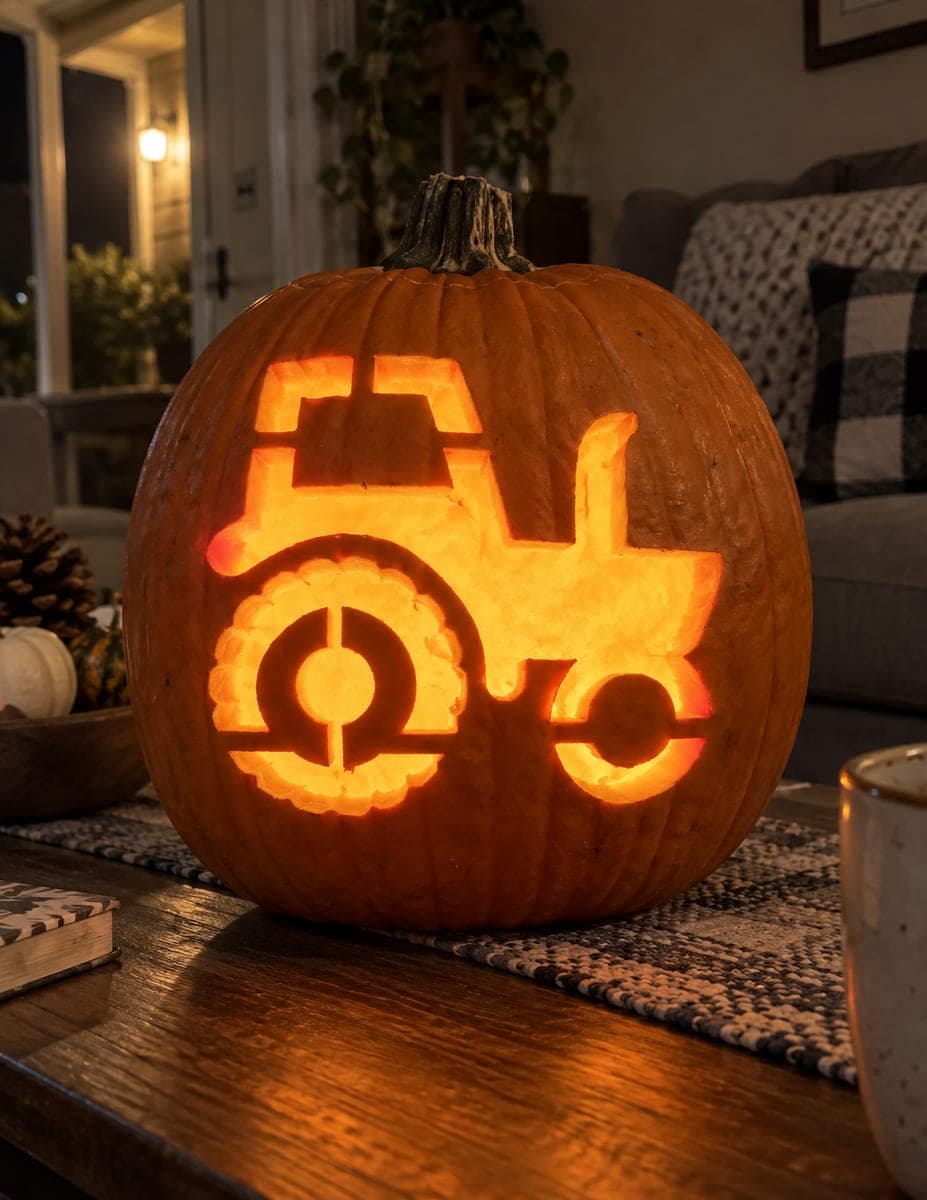
Farm Tractor Etched Harvest PumpkinAI
0

Farm Tractor Etched Harvest Pumpkin

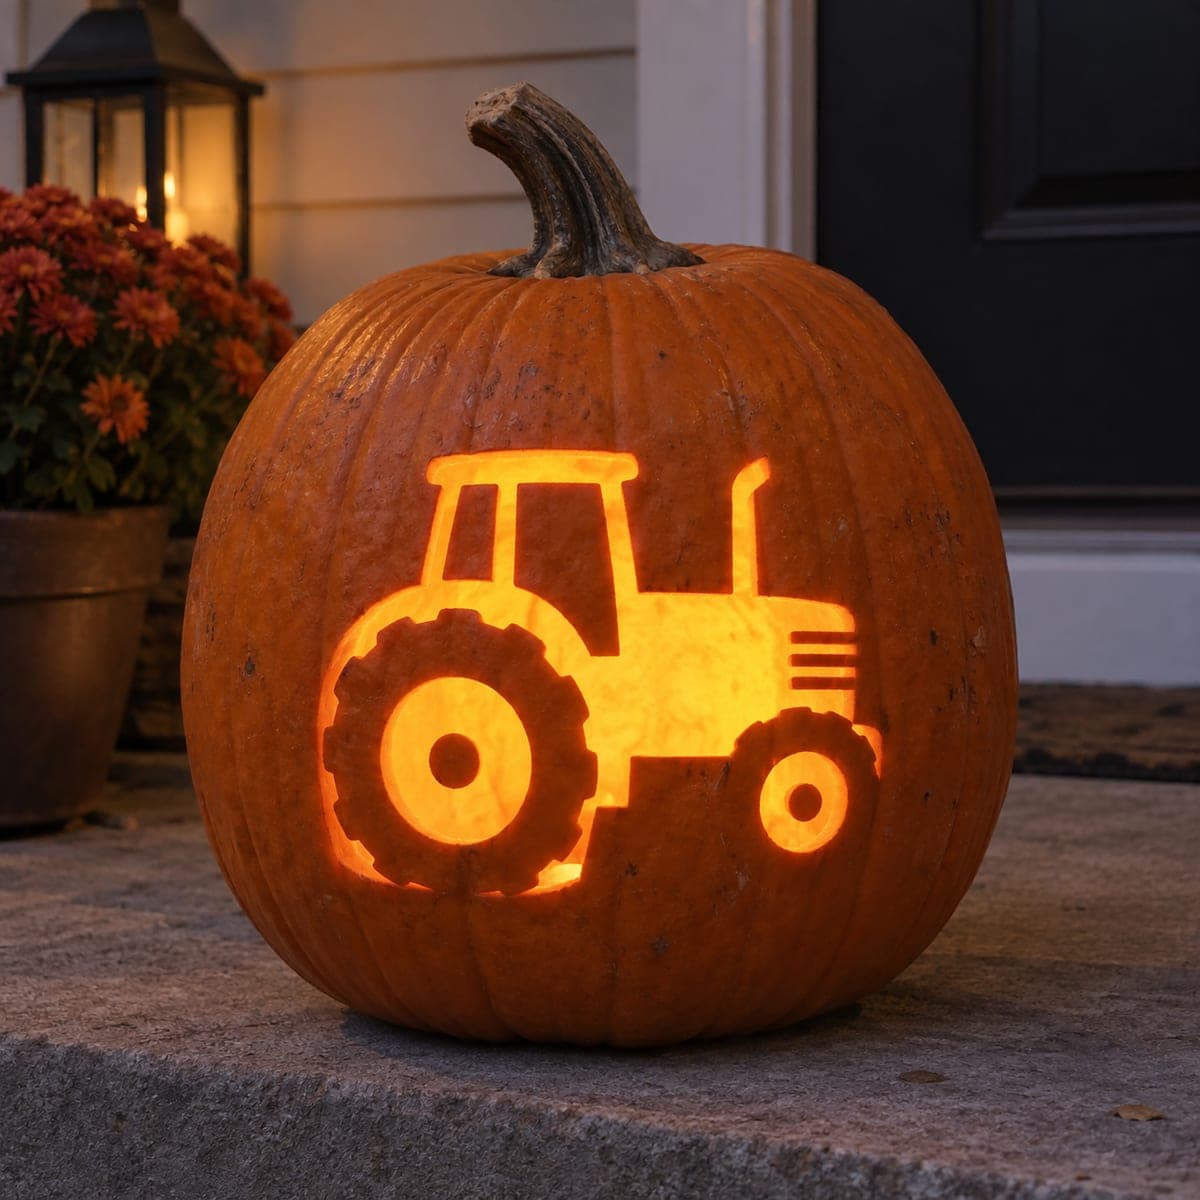
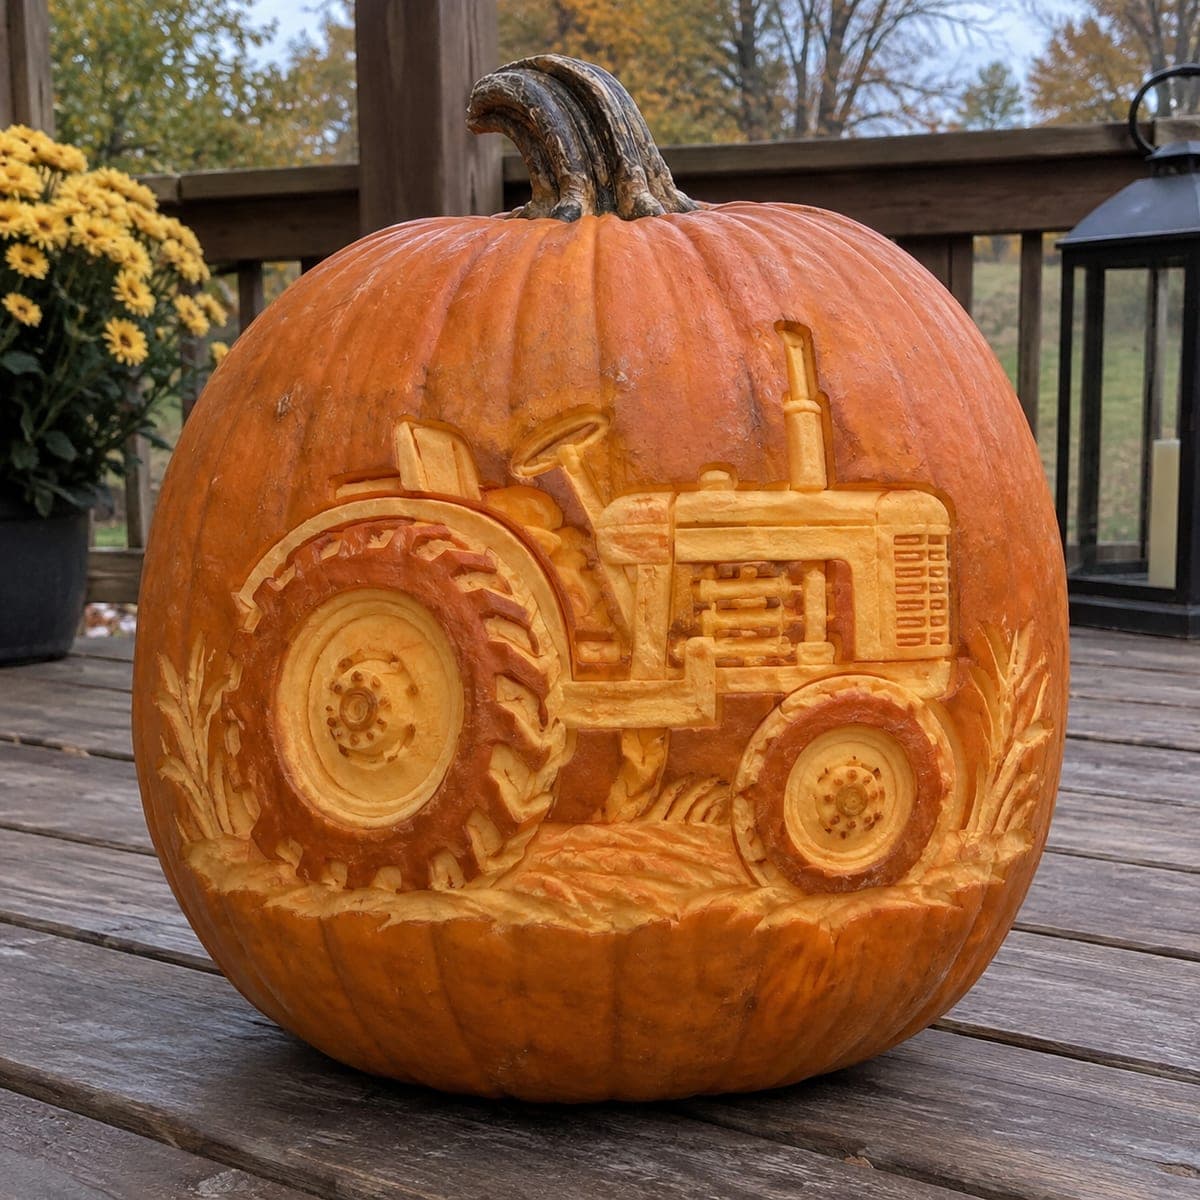
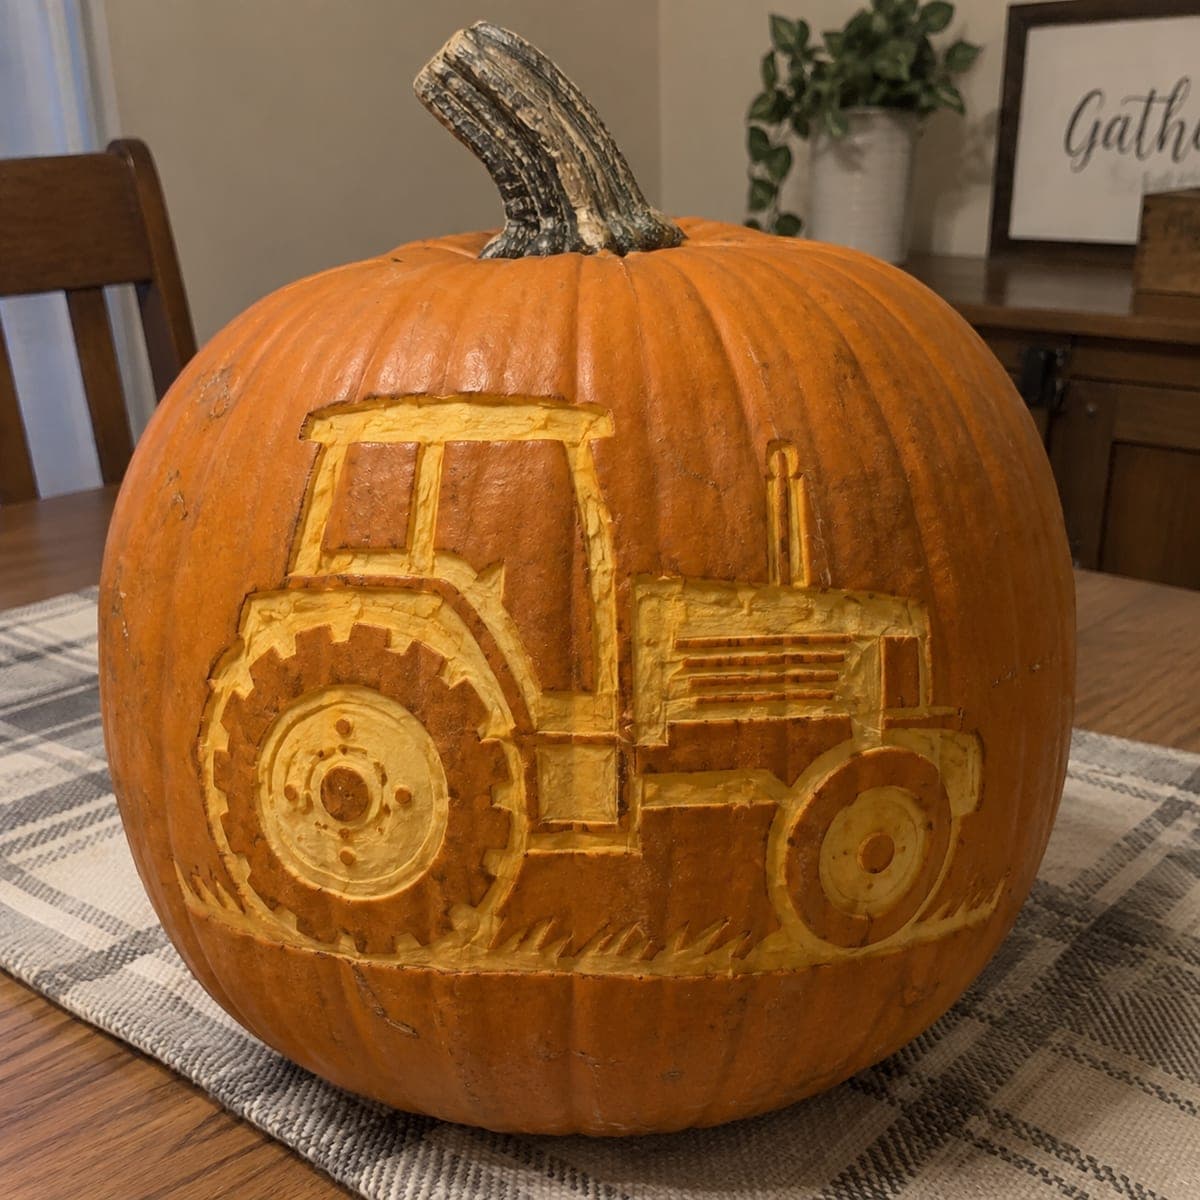
A workhorse farm tractor with a big treaded rear wheel and front-end grille is etched into this pumpkin, sitting on a strip of carved grass. All the lines are shallow peels rather than cutouts, so the design suits daytime display at a farm stand or on a hay bale. Trace a printed tractor outline with pin pricks, peel the large body panels first, then detail the wheel lugs. Tractor-obsessed kids will pick this one every time.

This is an AI-generated concept image: a realistic, carvable design idea rather than a photo of a finished carve. AI concepts are always labeled and sit out the leaderboard and the contest.

No ratings yet · Sign in to rate
Comments (0)

  • No comments yet — be the first.

Save without an account. Sign in to like or comment.

Our tips for carving a similar design

The whole trick here is that nothing gets cut through. The tractor, its treaded wheels, and the grass strip are all created by peeling away just the orange skin to different depths, so the design reads as a warm etched drawing rather than a glowing cutout. Work from the biggest body panels down to the fine wheel lugs, and keep the untouched skin around the tractor as your darkest contrast.

Written by PumpkinCarvingIdeas.com, inspired by the image above. These are our suggestions, not instructions from the uploader. This approach to the AI concept has not been tested on a real pumpkin.

From pumpkin to porch

  1. Pick a firm pumpkin and transfer the outline

    Choose a pumpkin with a broad, fairly flat front so the tractor sits without wrapping around a curve. Print a side-view tractor stencil sized to fill the middle of the pumpkin and tape it in place. Trace every line with a pin or poking tool, adding extra dots along the wheels and grille where detail is dense. Peel off the paper and connect the dots lightly with a washable marker so you can see the full shape.

  2. Score all your outlines first

    Before removing any skin, run a fine detail knife or a lino-style gouge along every traced line to a shallow depth. This gives each panel a clean edge and keeps your peeled areas from tearing into each other. Keep the blade shallow and let an adult handle the cutting. Do not cut through the wall at any point, since this design stays fully etched.

  3. Peel the large body panels

    Start with the big shapes: the cab frame, the hood, and the wheel bodies. Use a ribbon or loop tool to skim off just the orange skin, exposing the lighter flesh underneath for that soft glow. Keep the depth even so all the main panels match in tone. Save the thin lines and small circles for later so you do not undercut them.

  4. Add the wheel lugs and grille detail

    Now work the fine stuff: the treaded rear wheel lugs, the hub bolts, the grille slats, and the exhaust stack. Peel these areas slightly shallower than the big panels so they read as a lighter mid tone and pop against the deeper cuts. Take your time and rotate the pumpkin toward the light to check contrast as you go. Leave small skin bridges between close lines so nothing crumbles.

  5. Carve the grass strip

    Peel a shallow band across the bottom for the ground, then flick short upward strokes to suggest grass blades. Vary the height a little so it looks natural rather than a solid stripe. This anchors the tractor and hides the seam where the body meets the base. Brush away all loose bits with a dry pastry brush.

  6. Display and photograph

    Because everything is etched, this design shows best in daylight at a farm stand, on a hay bale, or on a porch step. If you want a little evening warmth, set a small LED puck behind or beside it rather than inside, since there are no cutouts to let interior light through. Rub the peeled areas with a thin coat of petroleum jelly to slow browning. Snap your photo within a day or two while the contrast is crisp.

Gather your supplies

Check things off as you get ready.

Work on a stable surface, keep your free hand out of the cutting path, and have an adult handle sharp tools.

Three levels of light

  • Leave intact

    The background skin around the tractor and the sky above it stays untouched and dark for contrast.

  • Peel & shade

    The tractor body panels, cab frame, wheels, and grass strip are skin-peeled for a soft mid glow.

  • Cut through

    Nothing is cut through on this design, so there are no full-brightness openings.

Learn the carving basics

Before you start cutting

Do I need to hollow out the pumpkin for an etched design?

You can leave it mostly intact since no light shines through. Some carvers still cut a small lid or bottom hole to slow rot and to slip an LED nearby, but a solid wall actually holds the shallow etching better. If you do open it, keep the wall at least an inch thick behind the tractor.

How do I keep the wheel lugs from crumbling?

Score their outlines before peeling and keep those lugs slightly shallower than the big panels. Leave thin ridges of skin between neighboring lugs so each one stays supported. Work slowly with a small tool rather than trying to scoop several at once.

Will this show up at night?

Etched designs are made for daytime, so plan to display it in daylight at a stand or on a hay bale. For evening, place a battery LED beside or behind the pumpkin to rake light across the surface and highlight the peeled tones. Do not rely on a light inside, since there are no cutouts.

Your take belongs here, too.

Changed a detail? Made it simpler? Share a photo of your version and tell the community what worked.

Share your pumpkin

More pumpkins like this

You've reached the end · 8 pumpkins
The Patch Report

Fresh pumpkins, in your inbox.

The best new carvings, ideas worth stealing, and how-tos for carving season. Short, seasonal, and gone by November.

A short email during carving season. Unsubscribe anytime. See our privacy policy.