Halloween Pumpkin Carving Contest · Starts October 1st · $500 in prizes
← Back to ideas
@ai_concepts
Jul 24, 2026
Farm Tractor Harvest Scene Pumpkin CarvingAI
0

Farm Tractor Harvest Scene Pumpkin Carving

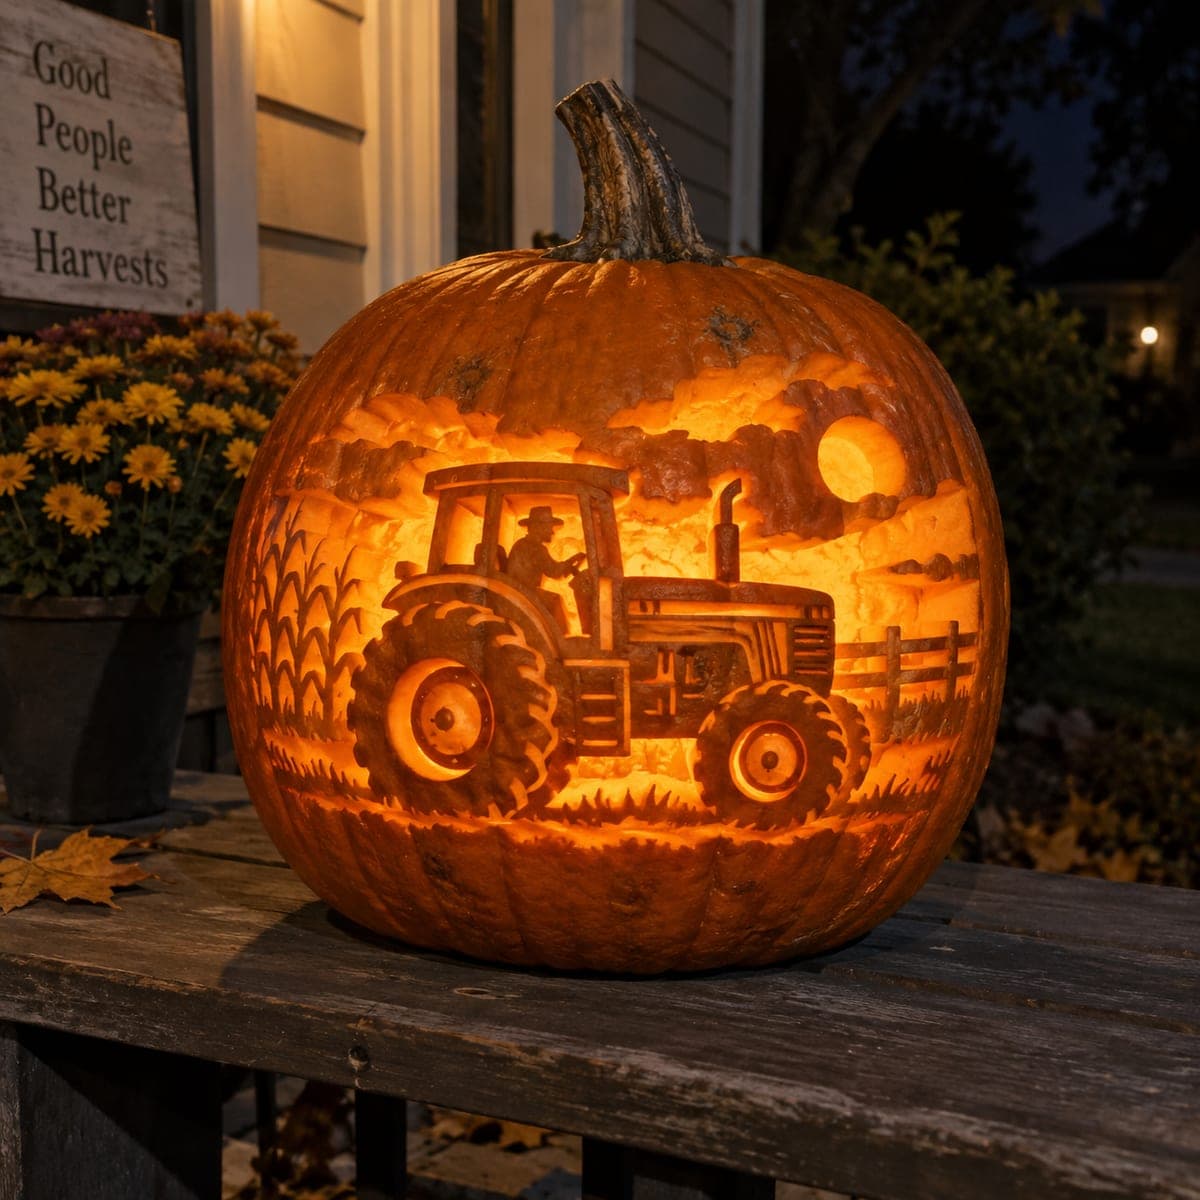
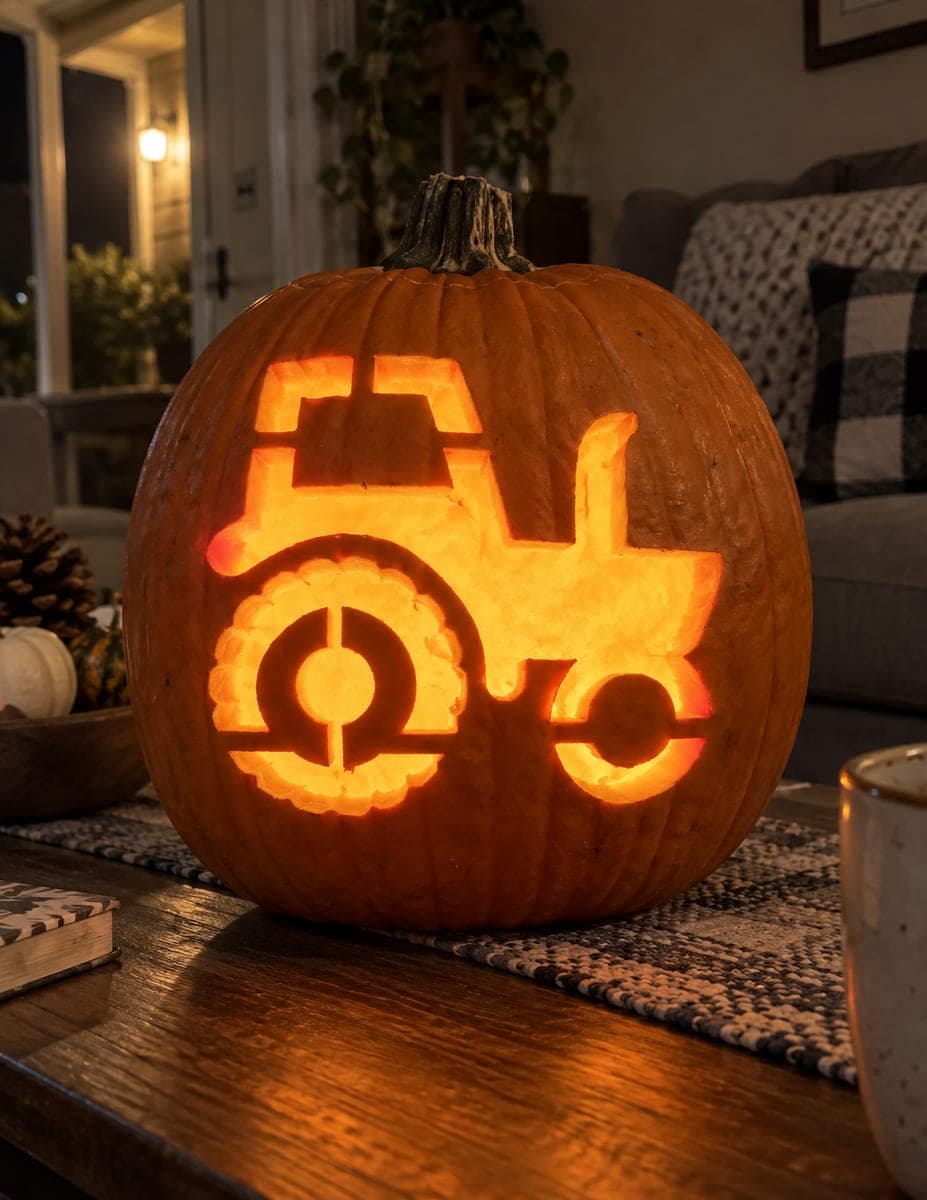
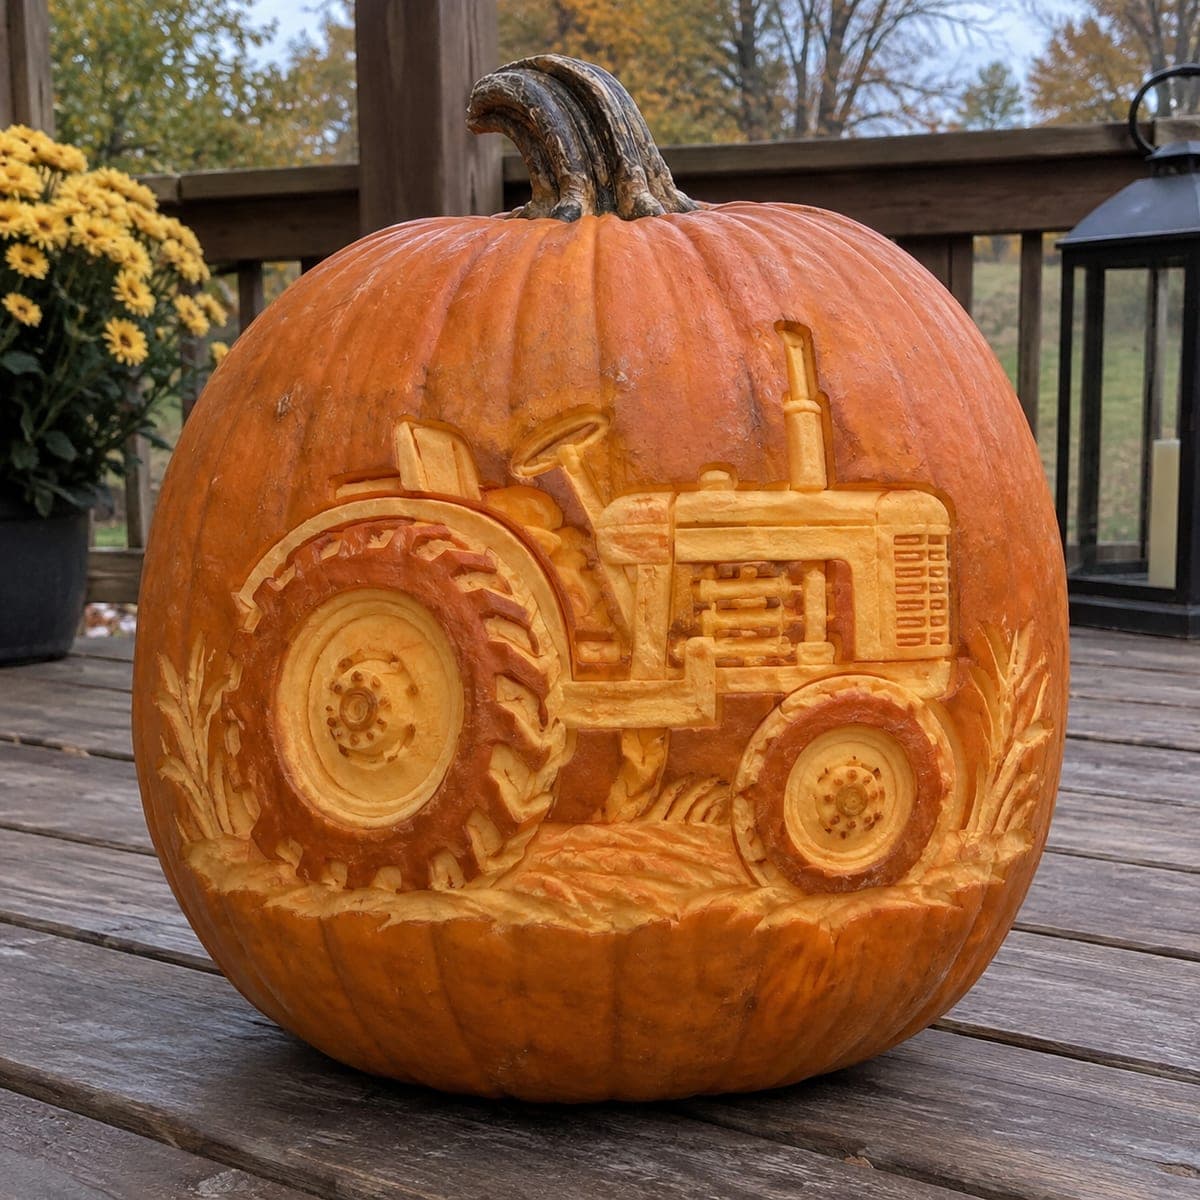
A detailed farm tractor driven by a figure rolls across a cornfield under a rising moon in this intricate shaded pumpkin carving, with clouds and fence posts filling the background. Every element from the tractor's ribbed tires to the corn stalks is rendered through graduated etching that makes the scene read like a woodcut print. For best results, thin the sky area most aggressively for a bright glow, and leave the foreground soil nearly at full wall thickness to create depth. This harvest pumpkin carving idea is a standout piece for a country-themed fall display.

This is an AI-generated concept image: a realistic, carvable design idea rather than a photo of a finished carve. AI concepts are always labeled and sit out the leaderboard and the contest.
No ratings yet · Sign in to rate

Comments (0)

  • No comments yet — be the first.

Save without an account. Sign in to like or comment.

Our tips for carving a similar design

The core trick here is graduated shading, where you scrape the skin to different depths so the scene reads like a woodcut print instead of a set of holes. Plan the pumpkin as three depth zones: a bright thinned sky, a mid glow for the tractor and corn, and a nearly untouched foreground soil for depth. Save any true cutouts, like the moon and a few window gaps, for the very end so the wall stays strong while you do the detailed etching.

Written by PumpkinCarvingIdeas.com, inspired by the image above. These are our suggestions, not instructions from the uploader. This approach to the AI concept has not been tested on a real pumpkin.

From pumpkin to porch

  1. Prep the pumpkin and transfer the scene

    Pick a large, wide pumpkin with a smooth, pale front panel so the shading shows clearly. Cut a lid or a bottom access hole and scrape the inside of the carving wall down to about one inch so light passes through evenly. Tape your tractor and cornfield pattern to the front, then poke the outlines with a pin or transfer tool so you have a dotted map to follow. Take your time here, since the whole scene depends on accurate placement.

  2. Etch the brightest sky first

    Using a ribbon or lino-style scraping tool, shave the skin off the sky area most aggressively to leave the thinnest wall for the strongest glow. Work in smooth horizontal strokes to suggest streaky clouds, easing off pressure where clouds should stay darker. Keep the moon as a slightly thicker circle for now so you can cut it fully later. Test with an LED light inside to check that the sky reads bright and even.

  3. Shade the tractor and driver in layers

    Switch to a smaller detail tool and carve the tractor in graduated depths, going shallow on shadowed panels and deeper on the sunlit edges of the hood, cab, and wheels. Leave thin ridges of skin between the tire treads and around the driver so those shapes stay crisp and structurally sound. The seated figure and cab frame should stay mostly mid-depth, with only tiny gaps in the cab windows. Step back often to make sure the tractor pops away from the background.

  4. Build the cornfield, fence, and grass

    Etch the corn stalks on the left with light vertical strokes, keeping them dimmer than the tractor so they sit behind it. Scrape the fence posts and rails on the right at a mid depth so they read as a soft silhouette against the glowing field. Add short flicking strokes along the bottom for grass and ground texture. Vary your pressure so nothing looks flat.

  5. Leave the foreground dark for depth

    Keep the lower soil band and the pumpkin's base nearly at full wall thickness so it stays dark and grounds the scene. A little contrast between the bright sky and the shadowed foreground is what gives the carving its sense of distance. Resist the urge to thin this area, even though it may look plain unlit. The dark base also keeps the bottom of the pumpkin strong.

  6. Cut through the moon, then light and photograph

    Now that the detailed etching is done, make your only full cutouts: the moon and a couple of tiny cab window gaps for accent sparkle. Cut cleanly with a fine saw so the edges stay smooth. Drop in a warm LED light or two, since candles can scorch the thin sky and are a fire risk. Photograph at dusk on a porch rail so the ambient light still shows the tractor detail while the cutouts glow.

Gather your supplies

Check things off as you get ready.

Work on a stable surface, keep your free hand out of the cutting path, and have an adult handle sharp tools.

Three levels of light

  • Leave intact

    The foreground soil, the pumpkin base, and the darkest cloud bands stay untouched for depth and shadow.

  • Peel & shade

    The tractor body, driver, corn stalks, fence, and grass are skin-peeled to varying depths for a mid orange glow.

  • Cut through

    The rising moon and a few tiny cab window gaps are cut fully through for the brightest points of light.

Learn the carving basics

Before you start cutting

This is an AI concept image, so can a scene like this really be carved?

Yes, a similar scene is achievable, though it is an expert-level shading project rather than a quick cutout. The key is treating almost the whole design as skin-peeling at different depths instead of open holes. Keep thin details like tire treads and corn stalks attached with small ridges of skin so nothing crumbles.

How do I keep the tractor from blending into the background?

Contrast in depth does the work. Thin the sky the most and keep the corn and fence at a shallower, dimmer shade, then carve the tractor edges a bit deeper so it glows brighter and steps forward. Checking with your LED light as you go helps you catch spots that are too even.

Why leave the bottom of the pumpkin so dark?

The dark foreground gives the scene depth and makes the lit tractor feel like it is sitting in a real field at night. It also preserves wall thickness at the base, which keeps the pumpkin sturdy. If you thin everything evenly, the picture looks flat and washed out.

Your take belongs here, too.

Changed a detail? Made it simpler? Share a photo of your version and tell the community what worked.

Share your pumpkin

More pumpkins like this

You've reached the end · 8 pumpkins
The Patch Report

Fresh pumpkins, in your inbox.

The best new carvings, ideas worth stealing, and how-tos for carving season. Short, seasonal, and gone by November.

A short email during carving season. Unsubscribe anytime. See our privacy policy.