Halloween Pumpkin Carving Contest · Starts October 1st · $500 in prizes
← Back to ideas
@ai_concepts
Sep 25, 2026
Fortnite Supply Llama Pumpkin Carving IdeaAI
0

Report this carving

Tell us what is wrong. Reports are private.

Fortnite Supply Llama Pumpkin Carving Idea

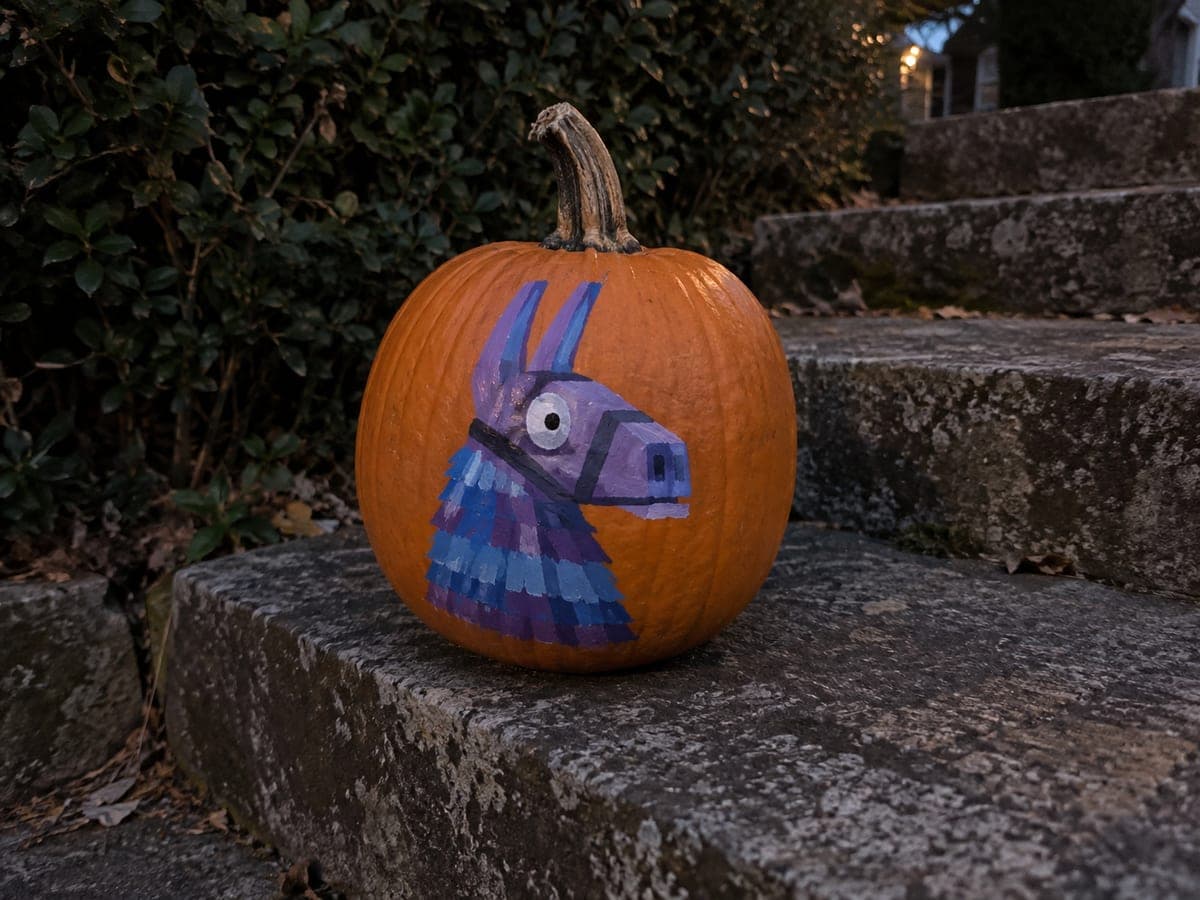
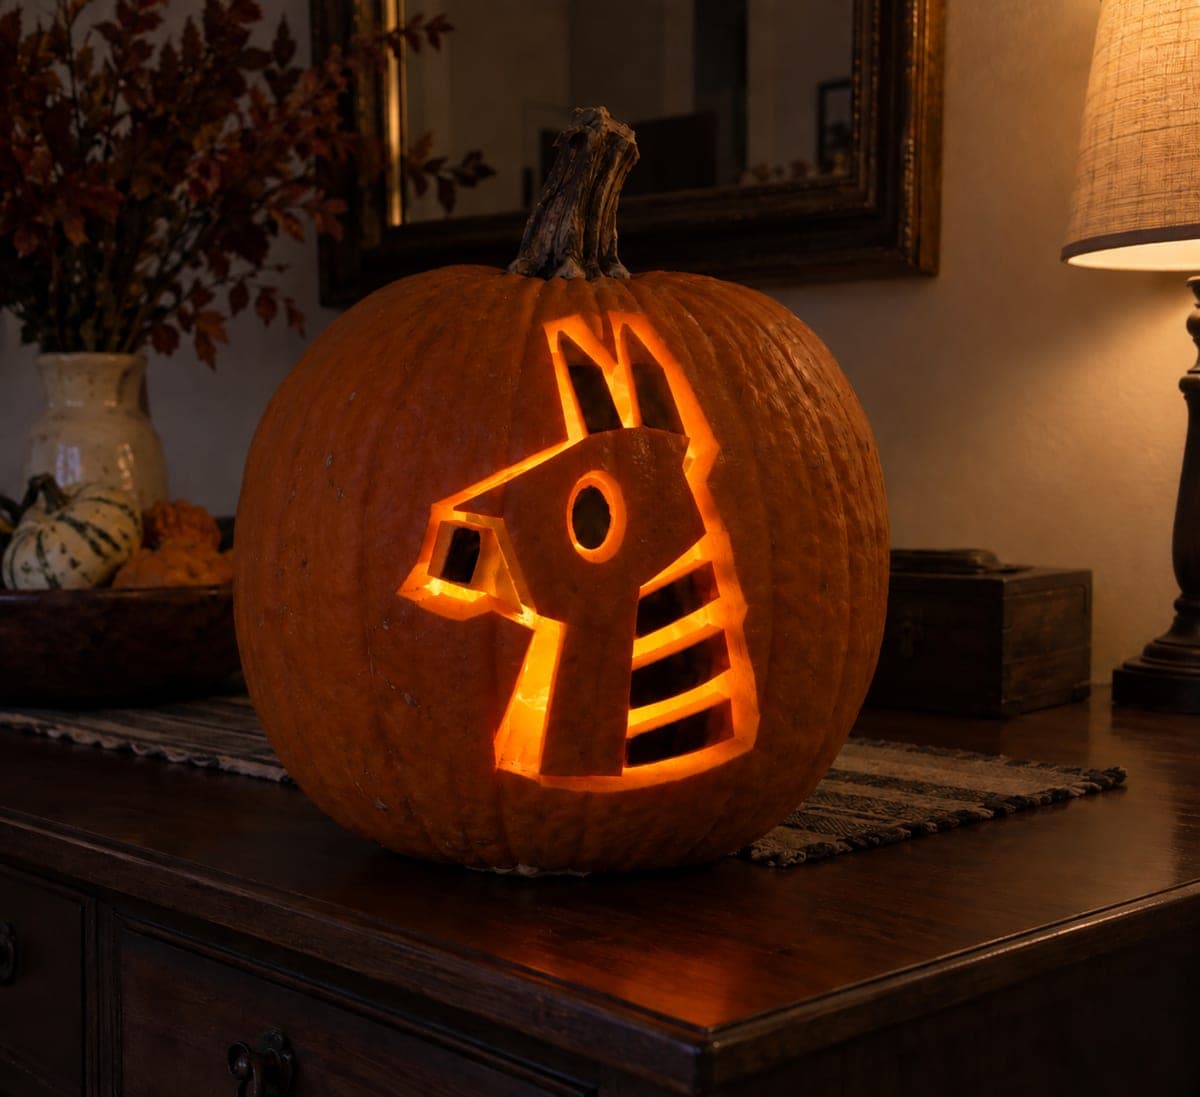
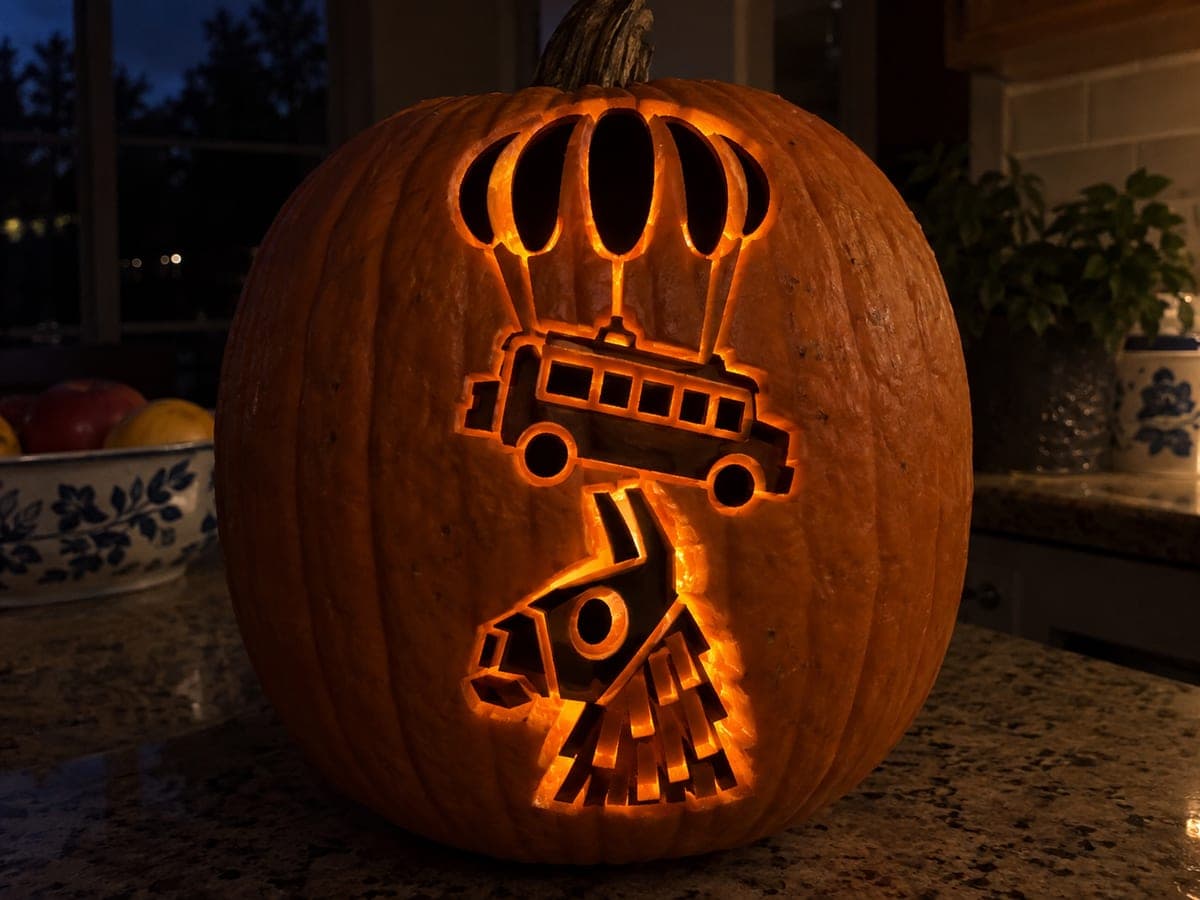
The intermediate fortnite pumpkin carving features the supply llama with hollow eye, muzzle, three mane slots, and ear areas, while the broad neck ribs and outer contour are backed for structure. Pin-poke the stencil carefully around the mane slots before cutting, since those narrow channels require a thin detail blade. Set this pumpkin on a wooden crate for a display that feels pulled right from the game's map.

No ratings yet · Sign in to rate
Comments (0)

  • No comments yet — be the first.

Save without an account. Sign in to like or comment.

Our tips for carving a similar design

The llama's hollow eye, muzzle, three mane slots, and ear openings are the glowing elements, with the broad neck ribs and backed outer contour providing structural support. The three narrow mane slots are the most demanding detail and require a thin detail blade guided by careful pin-poke lines. Displaying this pumpkin on a wooden crate adds a fitting in-game supply-drop atmosphere.

From pumpkin to porch

  1. Prep and gut the pumpkin

    Bottom-cut and gut the pumpkin, then scrape the interior walls to an even inch-thick depth with extra thinning behind the mane slot zone. The narrow mane slots need a thin wall behind them to glow brightly enough to be readable. Dry the interior before stenciling.

  2. Transfer the llama stencil carefully

    Pin-poke the full stencil outline, using a denser poke pattern along the three mane slot channels to mark their narrow borders precisely. Mark the eye, muzzle, ear, and mane slot areas as cut zones and the neck ribs and outer contour as scrape zones. Connect all poke dots with a felt-tip marker before removing the stencil.

  3. Cut the eye, muzzle, and ear openings

    Saw the eye opening first as it is the largest face opening, then the rectangular muzzle, then the ear outlines. Keep the rind between the ear and the head at least a half inch wide to prevent the ear from detaching. Clean the edges of each opening with a small pointed knife.

  4. Cut the three mane slots

    Switch to a thin, narrow detail blade for the mane slots. Score each slot outline with the knife tip before sawing, and cut with slow, deliberate strokes. Remove each slot piece by pushing it gently from behind rather than pulling from the front to avoid tearing. Keep the rind bridges between slots as wide as the stencil allows.

  5. Scrape the neck ribs and outer contour

    Use a flat gouge to shallow-back the broad neck rib areas and the outer llama contour, maintaining a consistent 3 to 4 millimeter depth. The neck ribs are the primary structural element holding the mane zone together, so do not thin them further than the surrounding backed areas. A steady, horizontal gouge stroke works well along the rib lines.

  6. Display on a wooden crate

    Place an LED tea light inside and set the pumpkin on a small wooden crate or box. The elevated position shows off the mane slots and ear openings at once. If the mane slots glow dimmer than the eye and muzzle, thin the wall behind them slightly from inside with a spoon until the brightness matches.

Written with AI to match this design

Gather your supplies

Check things off as you get ready.

Work on a stable surface, keep your free hand out of the cutting path, and have an adult handle sharp tools.

Three levels of light

  • Leave intact

    The broad neck ribs, head, and outer body stay fully dark, framing the llama silhouette.

  • Peel & shade

    The outer contour and neck ribs are shallow-scraped for a mid-level ambient glow.

  • Cut through

    The eye, muzzle, ear openings, and all three mane slots are cut fully through for the brightest light.

Learn the carving basics

Before you start cutting

The narrow mane slot pieces are stuck inside the pumpkin after cutting. How do I remove them?

Insert a thin skewer or the tip of a detail knife through the slot from outside and gently push the piece toward the interior, then retrieve it through the bottom opening. Never yank a stuck piece sideways or you risk cracking the bridge on one side. A headlamp aimed into the bottom opening lets you see the stuck piece clearly.

How do I get the llama's rectangular muzzle cut square on a curved surface?

Score the four corners of the muzzle with a pointed knife before sawing the sides to prevent over-cutting. Work each side of the rectangle as a separate straight cut rather than trying to turn corners mid-stroke. The slight curve of the pumpkin surface means a perfectly square muzzle on paper will look right once it is lit.

Is there a way to add the llama's colorful saddle decoration without carving?

Yes, use paint markers or small brush-applied acrylic in bright pink, blue, and yellow to paint the saddle pattern directly on the backed outer contour area. Apply the paint after carving is complete so the rind is already scraped to a thinner surface, which makes it more receptive to color. A matte sealer spray over the painted areas protects the detail.

Your take belongs here, too.

Changed a detail? Made it simpler? Share a photo of your version and tell the community what worked.

Share your pumpkin

More pumpkins like this

You've reached the end · 8 pumpkins
The Patch Report

Fresh pumpkins, in your inbox.

The best new carvings, ideas worth stealing, and how-tos for carving season. Short, seasonal, and gone by November.

A short email during carving season. Unsubscribe anytime. See our privacy policy.