@harvestmoonhank
Sep 5, 2026
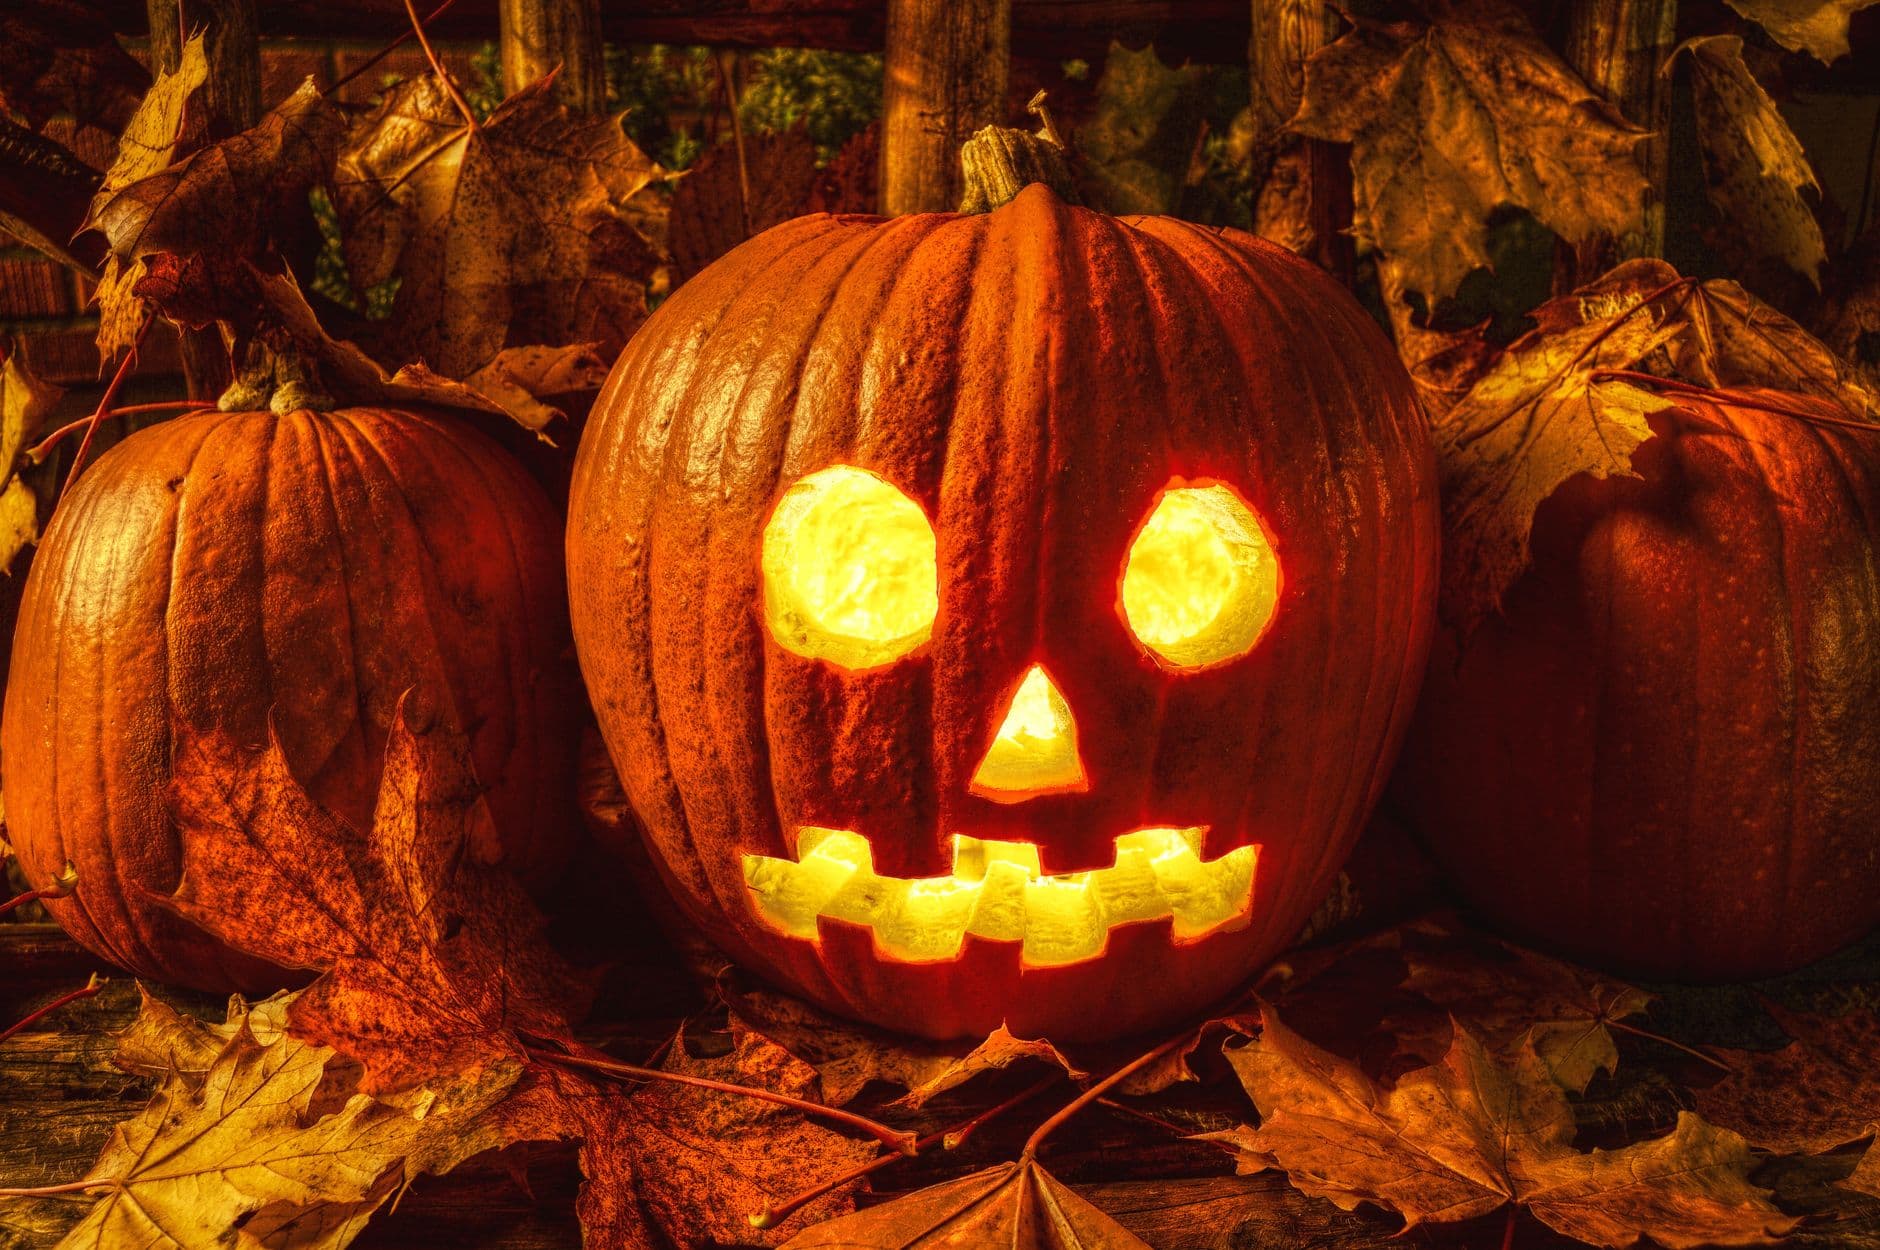
Fright night
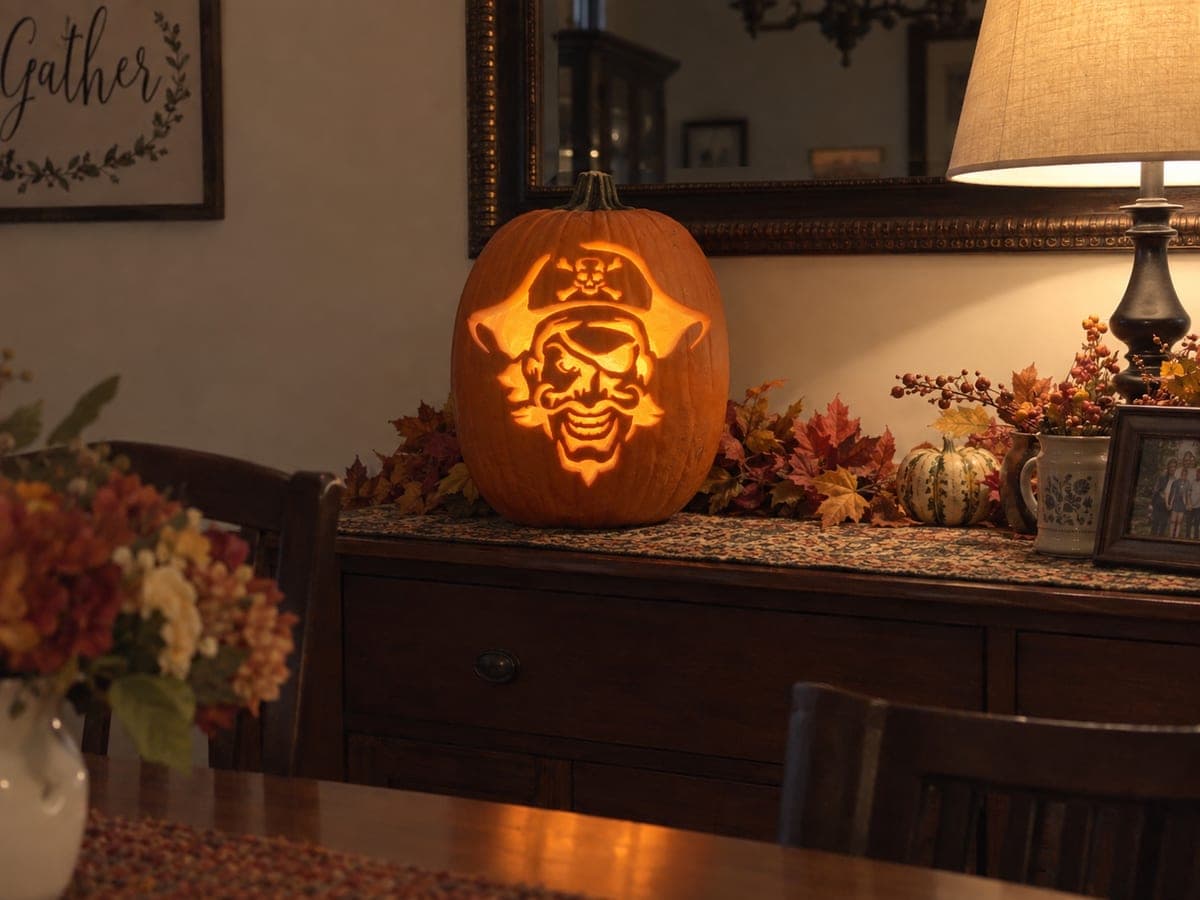
A skull-faced jack glowing hot among autumn leaves, flanked by two unlit pumpkins waiting their turn.
No ratings yet · Sign in to rate
A skull-faced jack glowing hot among autumn leaves, flanked by two unlit pumpkins waiting their turn.
The core trick here is the contrast between clean round eye cutouts and a blocky, tooth-lined mouth that reads like a skull grin. You carve every feature all the way through so the whole face pours out bright light, keeping small bridges between the teeth so the mouth holds its shape. Plan your feature placement first, then cut the biggest openings last so the pumpkin wall stays strong while you work.
Written by PumpkinCarvingIdeas.com, inspired by @harvestmoonhank's photo above. These are our suggestions, not instructions from the uploader, and this approach hasn't been tested on their exact carve.
Choose a large, round pumpkin with a smooth front panel and a sturdy stem. Cut a wide lid from the bottom or the back rather than the top so the pumpkin sits flat and hides the light later. Scoop out the insides and thin the carving wall on the face side to about one inch so your blade passes through easily. A thinner wall makes the round eyes and teeth much cleaner.
Sketch or tape a stencil with two large circular eyes, a small triangular nose, and a wide rectangular mouth. Space the eyes evenly on either side of the natural center rib and set the nose just below and between them. Poke through the outline with a pin or a poker tool so you have a dotted guide to follow. Step back and check the layout looks balanced before any cutting begins.
Start with the nose triangle since it is small and low-risk, using a fine saw tool with gentle sawing strokes. Keep your free hand behind the blade and let an adult handle all cutting. Cutting the small shapes first keeps the pumpkin rigid while you build confidence. Clear each piece by pushing it inward, then trimming any ragged edge.
Draw the mouth as a long rectangle, then mark alternating top and bottom teeth so uncut squares of skin stay between the openings. Cut only the gaps and leave every tooth attached to the rim above or below it. Those little bridges are what hold the grin together, so do not connect them all into one big slot. Work slowly and remove the small waste pieces one at a time.
Cut the two big circular eyes last since they remove the most material and weaken the wall. Rotate the pumpkin as you go so each circle stays smooth rather than lopsided. Ease the plugs out gently and scrape the inside edges so light spreads evenly through the openings. Save one small round scrap in case you want to prop a partial catchlight later.
Set a battery LED or a string of warm LEDs inside, never a real candle, and test the glow in a dark room. Nestle the finished jack among dry autumn leaves with a couple of uncut pumpkins beside it for that harvest scene. Shoot in low light so the eyes and teeth read as hot and bright against the dark skin. Rinse and dry the cut edges beforehand to slow browning if you want it fresh for photos.
Check things off as you get ready.
Work on a stable surface, keep your free hand out of the cutting path, and have an adult handle sharp tools.
The ridged outer skin across the forehead, cheeks, and sides stays dark for a moody backdrop.
You could shave a thin halo around the eyes or mouth to add a soft dim ring if you want extra depth.
The two round eyes, the triangle nose, and the toothy mouth are full cutouts that blaze the brightest.
Leave each tooth attached to the rim above or below it and only cut the gaps between them. These uncut squares act as bridges that lock the grin in place. Cut the mouth before the big eyes so the wall is still firm while you work the fine detail.
The large circles remove a lot of material and soften the pumpkin wall once they are open. Doing the small nose and detailed teeth first keeps the face rigid and easier to control. Save the biggest openings for the end and the whole carve holds its shape better.
Trace circles with a stencil, a cookie cutter outline, or a small round lid so both match. Cut with short strokes and rotate the pumpkin instead of twisting your wrist. Scrape the inner edges smooth afterward so the light glows in a clean circle.
Changed a detail? Made it simpler? Share a photo of your version and tell the community what worked.
The best new carvings, ideas worth stealing, and how-tos for carving season. Short, seasonal, and gone by November.




Comments (0)