Halloween Pumpkin Carving Contest · Starts October 1st · $500 in prizes
← Back to ideas
@ai_concepts
Aug 23, 2026
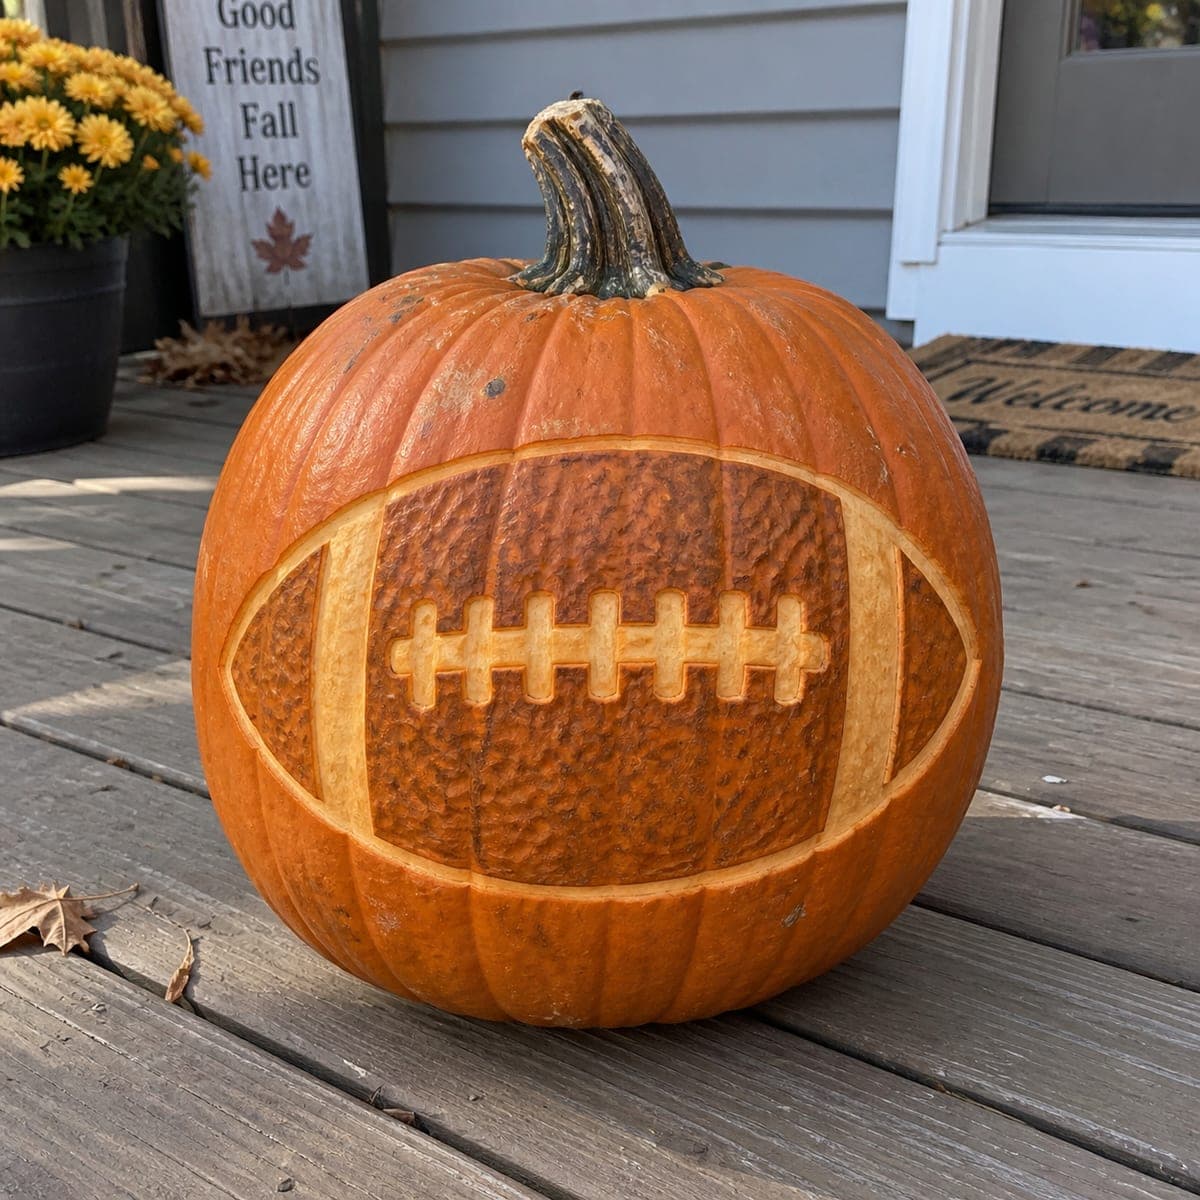
Game Day Football Etched PumpkinAI
0

Game Day Football Etched Pumpkin

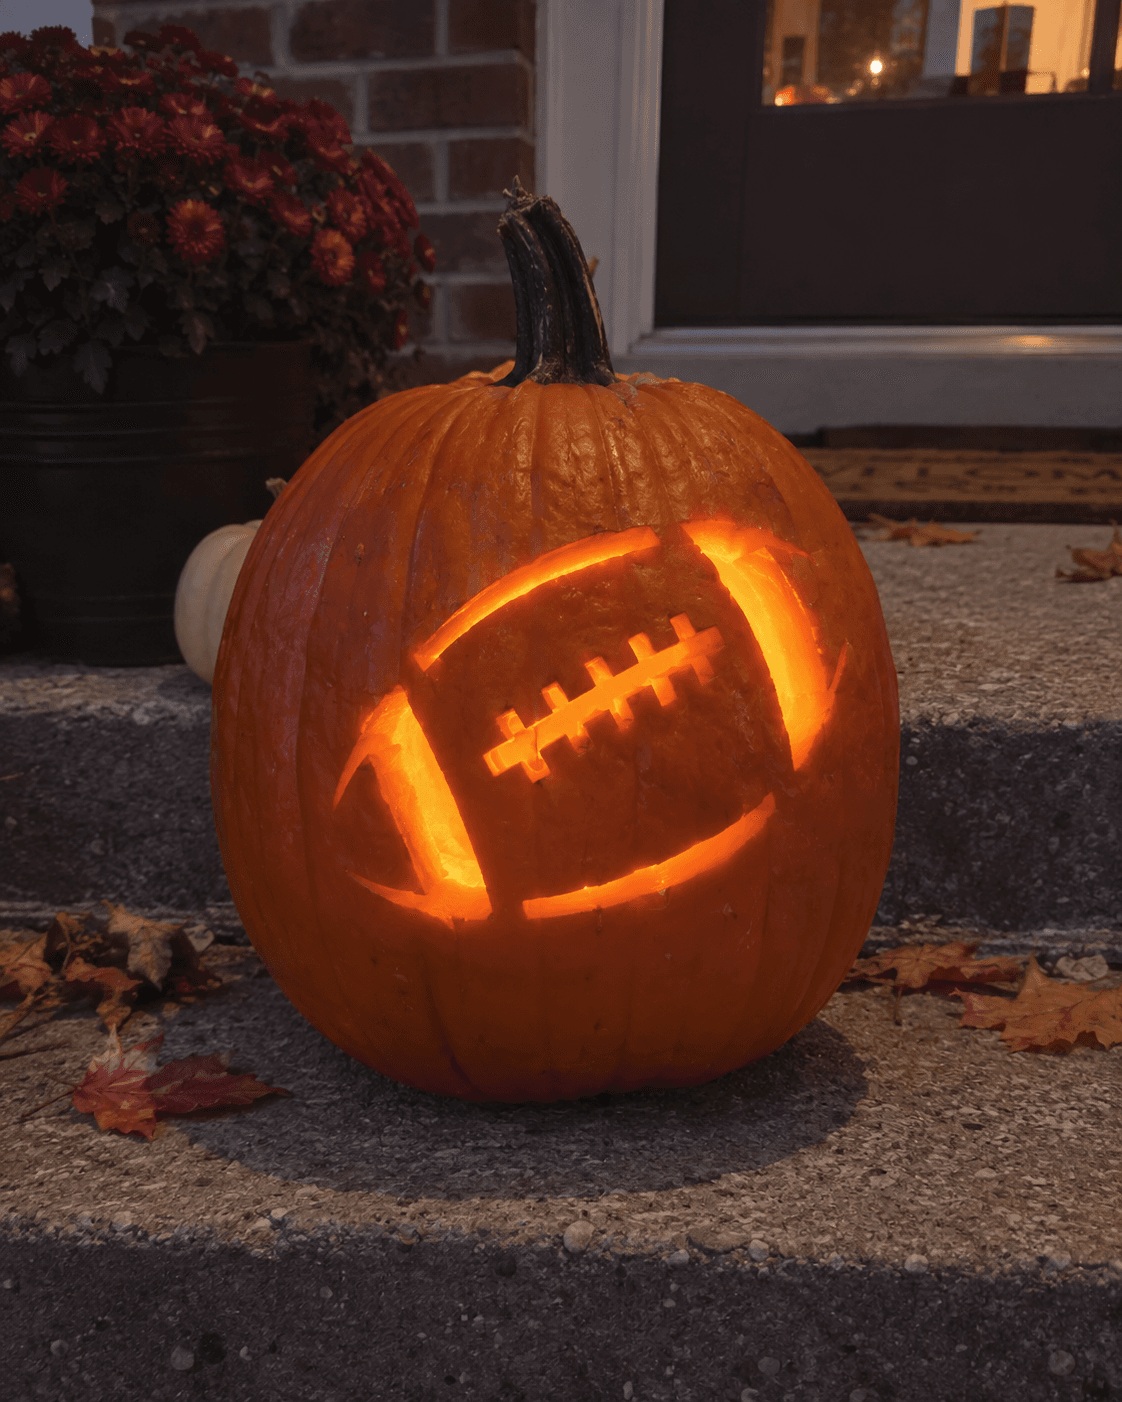
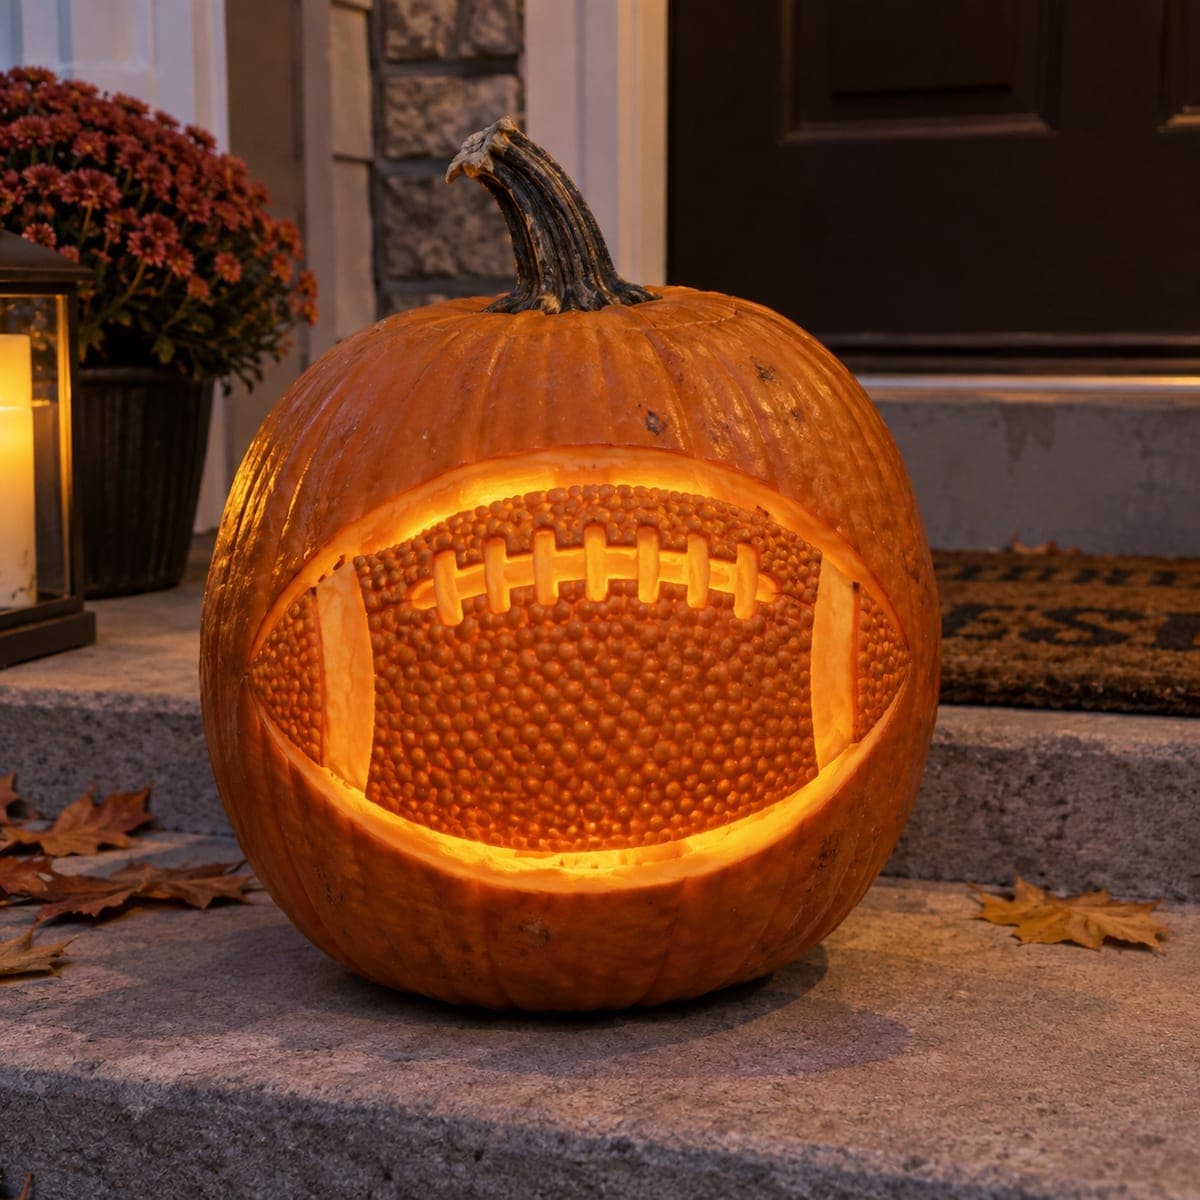
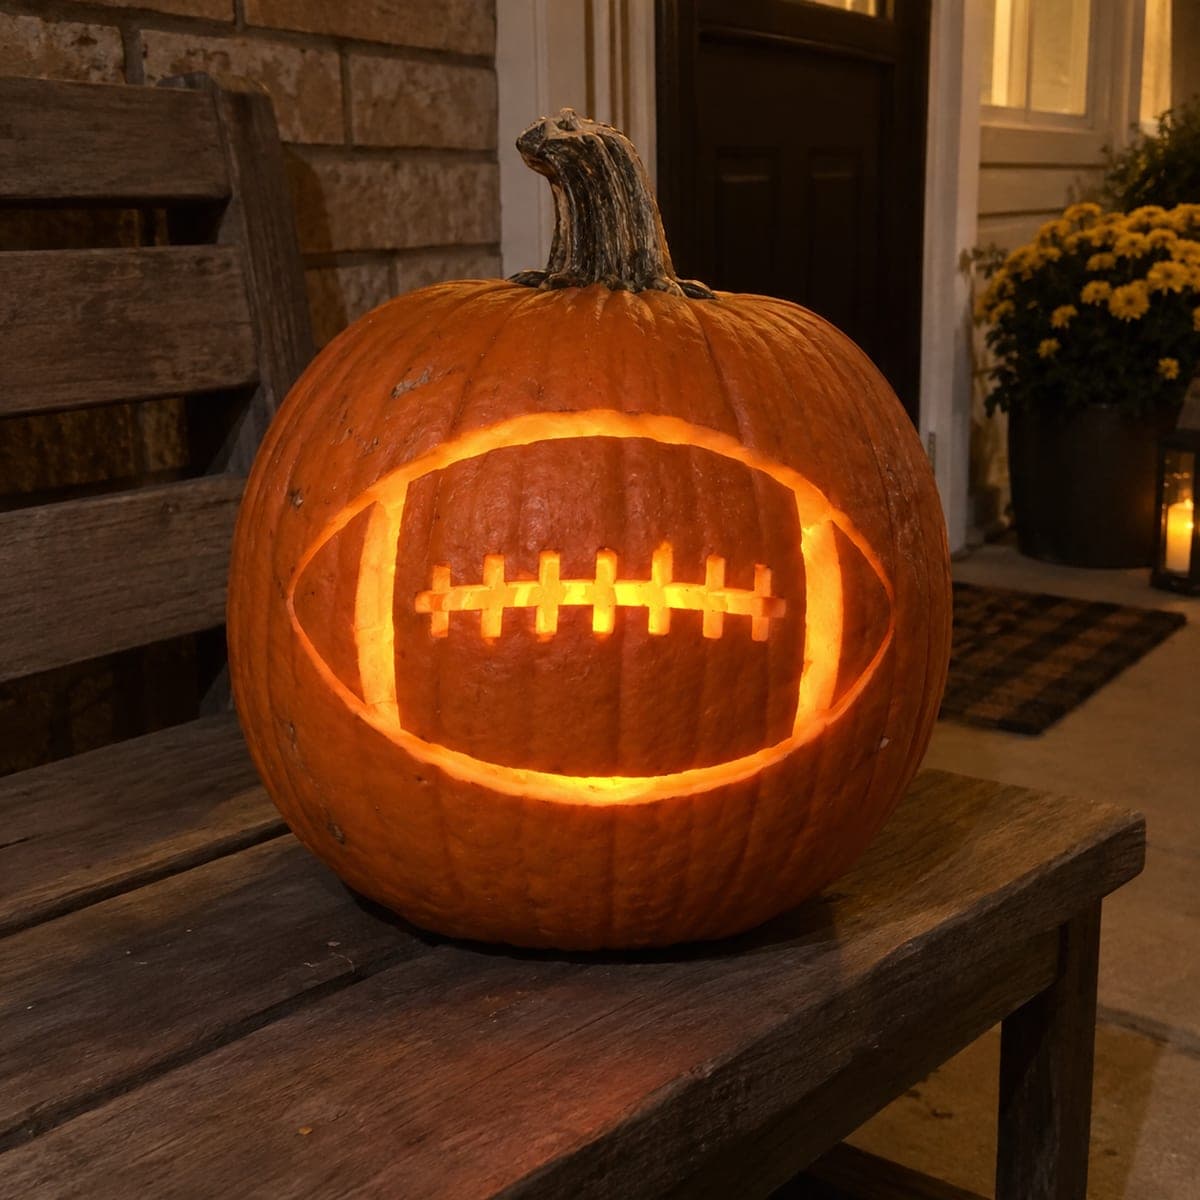
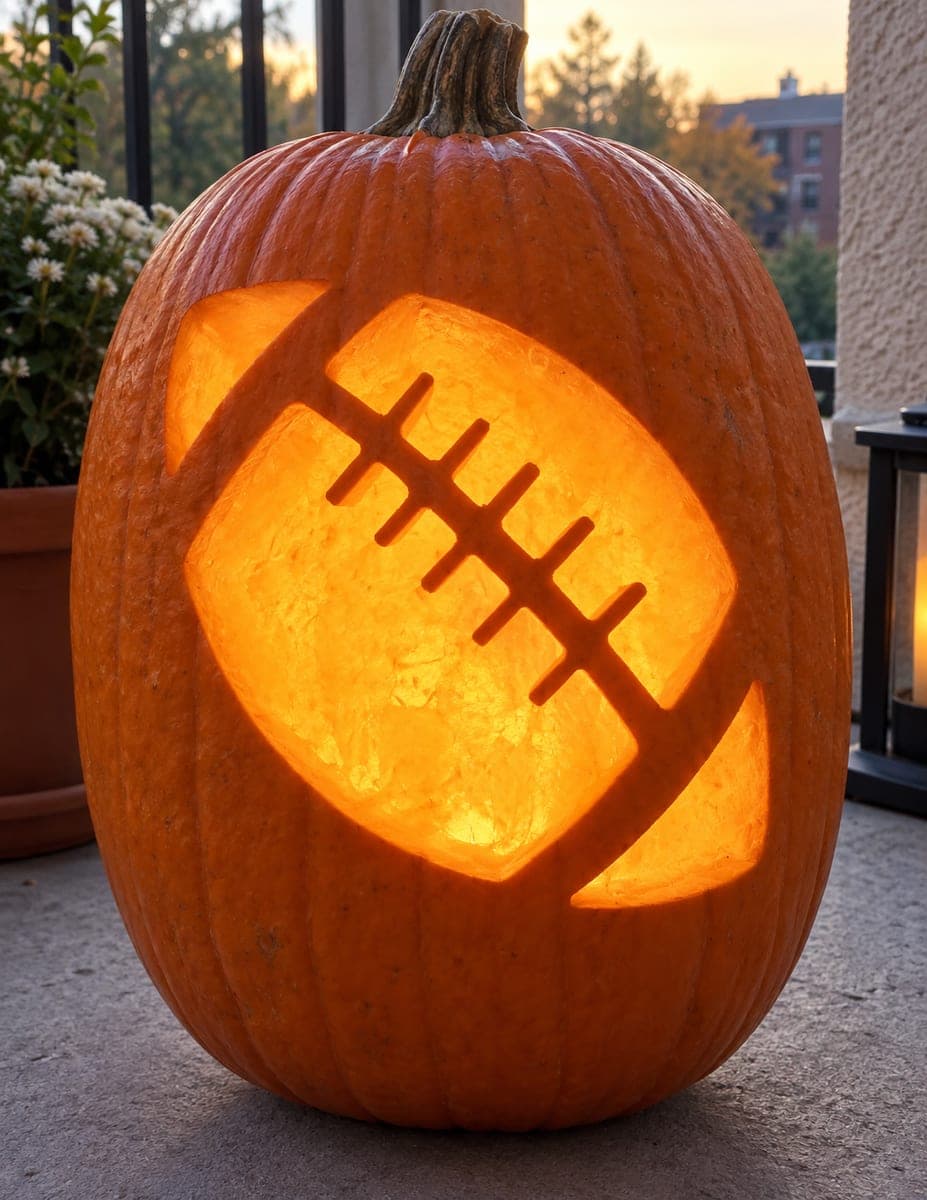
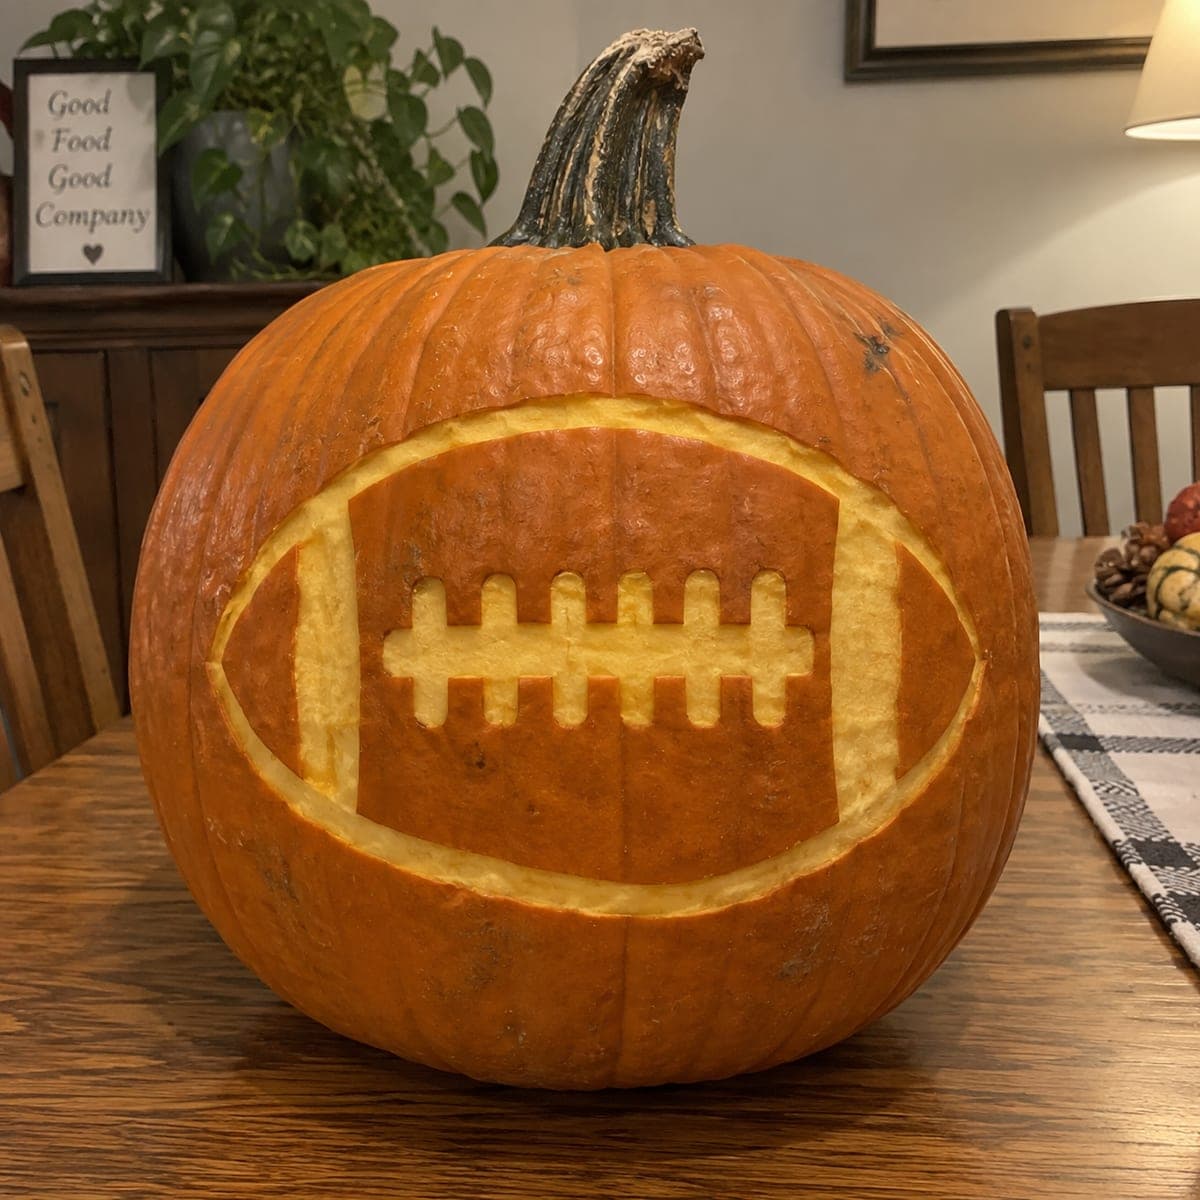
A full-size football with chunky laces is etched across the face of this pumpkin, using simple skin peeling instead of any through-cuts. The pale shaved background makes the untouched orange rind read as the ball itself, a clever negative-space trick that beginners can copy easily. Draw the oval with a flexible tape measure to keep it symmetrical, then peel around it and carve out the lace channel. Set it out for tailgates, team parties, or a sports-loving front step.

This is an AI-generated concept image: a realistic, carvable design idea rather than a photo of a finished carve. AI concepts are always labeled and sit out the leaderboard and the contest.

No ratings yet · Sign in to rate
Comments (0)

  • No comments yet — be the first.

Save without an account. Sign in to like or comment.

Our tips for carving a similar design

The trick here is negative space. You leave the untouched orange rind to read as the football itself, then peel away the skin all around it so the pale flesh glows softly by contrast. The only real detail work is a shallow lace channel and stitch marks carved into the middle of the ball.

Written by PumpkinCarvingIdeas.com, inspired by the image above. These are our suggestions, not instructions from the uploader. This approach to the AI concept has not been tested on a real pumpkin.

From pumpkin to porch

  1. Prep and mark the oval

    Wash and dry the pumpkin, then pick the flattest, cleanest face for your ball. Use a flexible tape measure or a strip of paper looped side to side to find center, then dot out a symmetrical football oval with a washable marker. Step back and check that both pointed ends match before committing. Redraw as needed since marker wipes off easily.

  2. Score the outline

    With a small detail saw or a craft knife, lightly trace the oval outline just deep enough to break the skin. Do not cut all the way through the wall. This shallow score gives you a clean edge to peel up to and keeps the background from bleeding into the ball. Add a thin inner line a little inside the oval to mark the football's seam stripe.

  3. Peel the background

    Using a lino cutter, ribbon tool, or the edge of a metal spoon, shave off only the orange skin outside the oval across the whole carving face. Aim for an even, shallow depth so the exposed flesh glows a consistent dim orange. Work in small strokes away from your body and keep your steadying hand behind the blade. Leave the oval itself and the thin seam stripe as untouched dark rind.

  4. Carve the lace channel

    In the center of the ball, mark the long vertical lace bar plus four or five short crossbars. Peel the skin inside these lace shapes down to the same flesh layer, or a touch deeper, so the laces read brighter than the background. Keep the crossbars evenly spaced and leave orange rind between them. Take your time here since these small shapes carry the whole design.

  5. Clean up the edges

    Go back around the oval and the laces with your knife tip to sharpen any ragged lines. Wipe away marker with a damp paper towel. Brush out loose shavings so the peeled areas stay smooth and even. A crisp edge between dark rind and pale flesh is what sells the football shape.

  6. Light it and show it off

    Set a battery LED puck or string inside, or simply place it on a table under lamp light since etched designs read well even without a hollow. Skip real candles because the shallow etch has no vent and open flame is a fire risk. Face it toward the room for tailgates or a front step display. Snap your photo in low light to show the glow contrast.

Gather your supplies

Check things off as you get ready.

Work on a stable surface, keep your free hand out of the cutting path, and have an adult handle sharp tools.

Three levels of light

  • Leave intact

    The football oval body and the thin seam stripe stay as untouched dark orange rind.

  • Peel & shade

    The whole background around the oval is skin-peeled to a soft mid orange glow.

  • Cut through

    No full through-cuts here. The lace bar and stitches are peeled a touch deeper for the brightest accents.

Learn the carving basics

Before you start cutting

How do I keep the oval symmetrical?

Find the vertical and horizontal center lines first, then use a flexible tape measure to mark equal distances toward each pointed end. Dot the outline before drawing a solid line. Step back and eyeball both halves, and wipe off and redraw with a damp towel until it looks balanced.

Since it is only etched, how should I light it?

Etched pumpkins glow best with a battery LED puck set inside a shallow hollow, or you can just display it under room lamps. Avoid candles because there is no cut opening to vent heat and flame is a fire hazard. Low ambient light makes the peeled contrast pop the most.

How deep should I peel the background?

Just deep enough to remove the orange skin and expose the pale flesh, roughly an eighth of an inch. Keep the depth even across the whole area so the glow stays uniform. Peel the laces slightly deeper so they read brighter than the surrounding background.

Your take belongs here, too.

Changed a detail? Made it simpler? Share a photo of your version and tell the community what worked.

Share your pumpkin

More pumpkins like this

You've reached the end · 8 pumpkins
The Patch Report

Fresh pumpkins, in your inbox.

The best new carvings, ideas worth stealing, and how-tos for carving season. Short, seasonal, and gone by November.

A short email during carving season. Unsubscribe anytime. See our privacy policy.