Halloween Pumpkin Carving Contest · Starts October 1st · $500 in prizes
← Back to ideas
@ai_concepts
Aug 13, 2026
Game Night Dice and Pawn Pumpkin CarvingAI
0

Game Night Dice and Pawn Pumpkin Carving

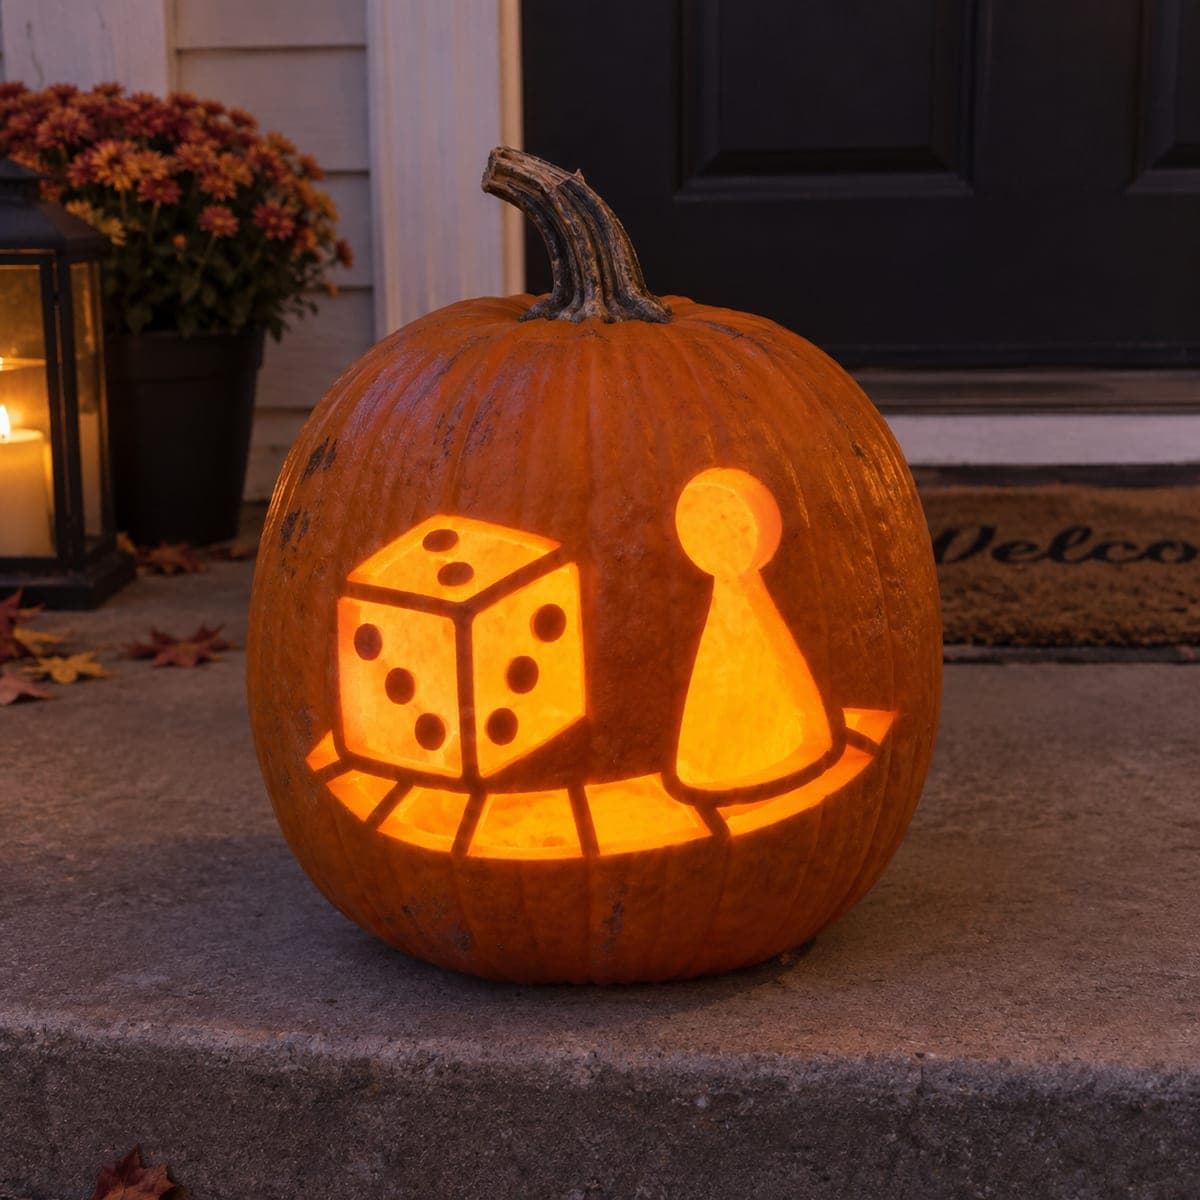
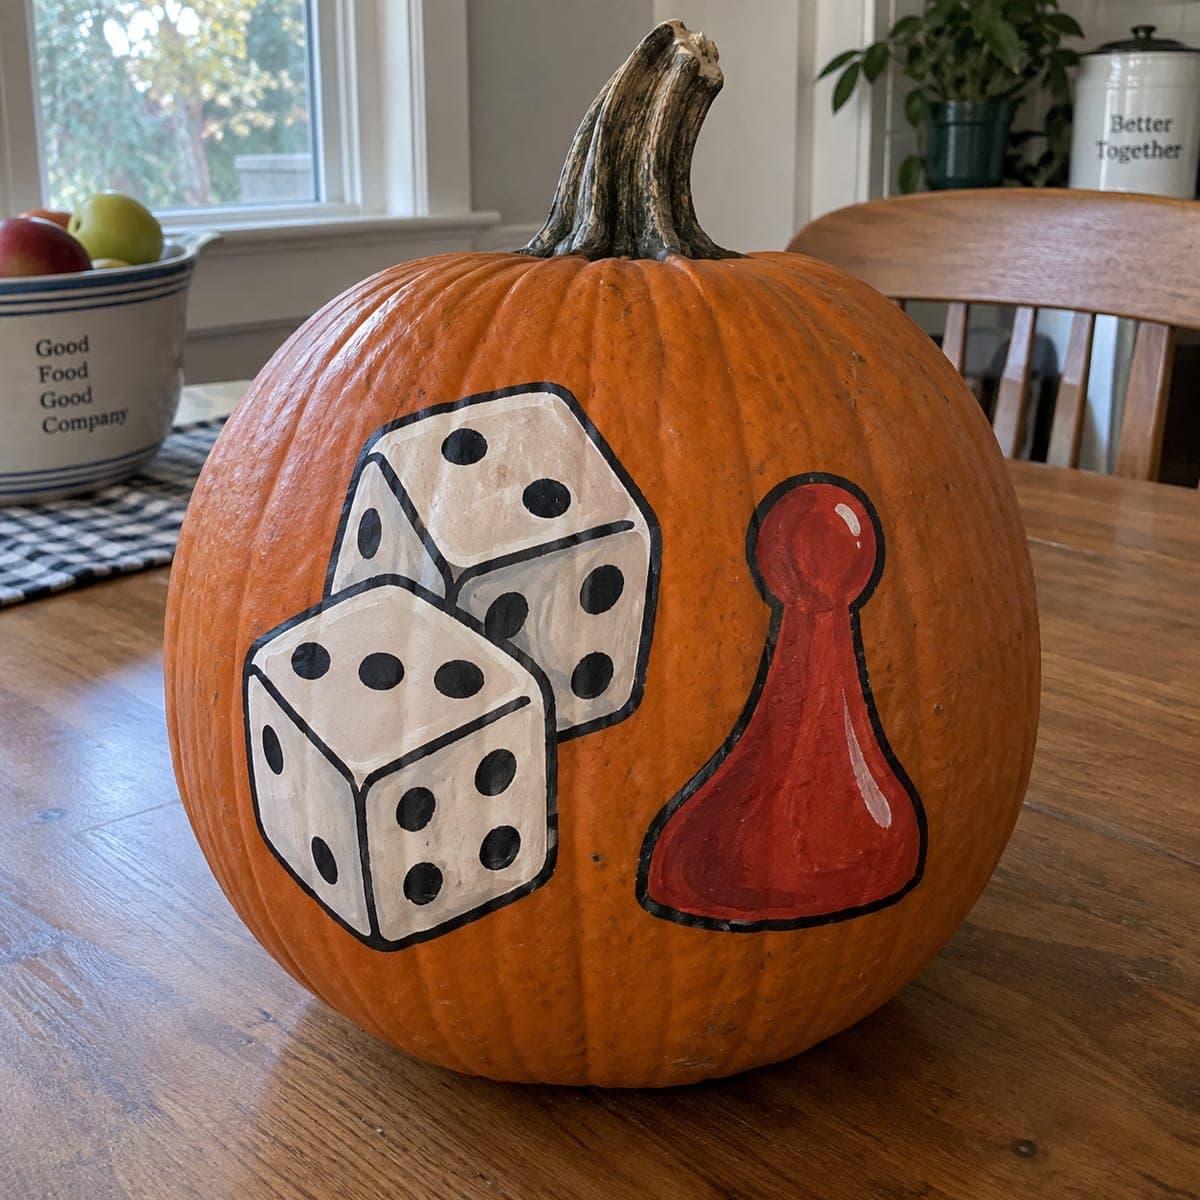
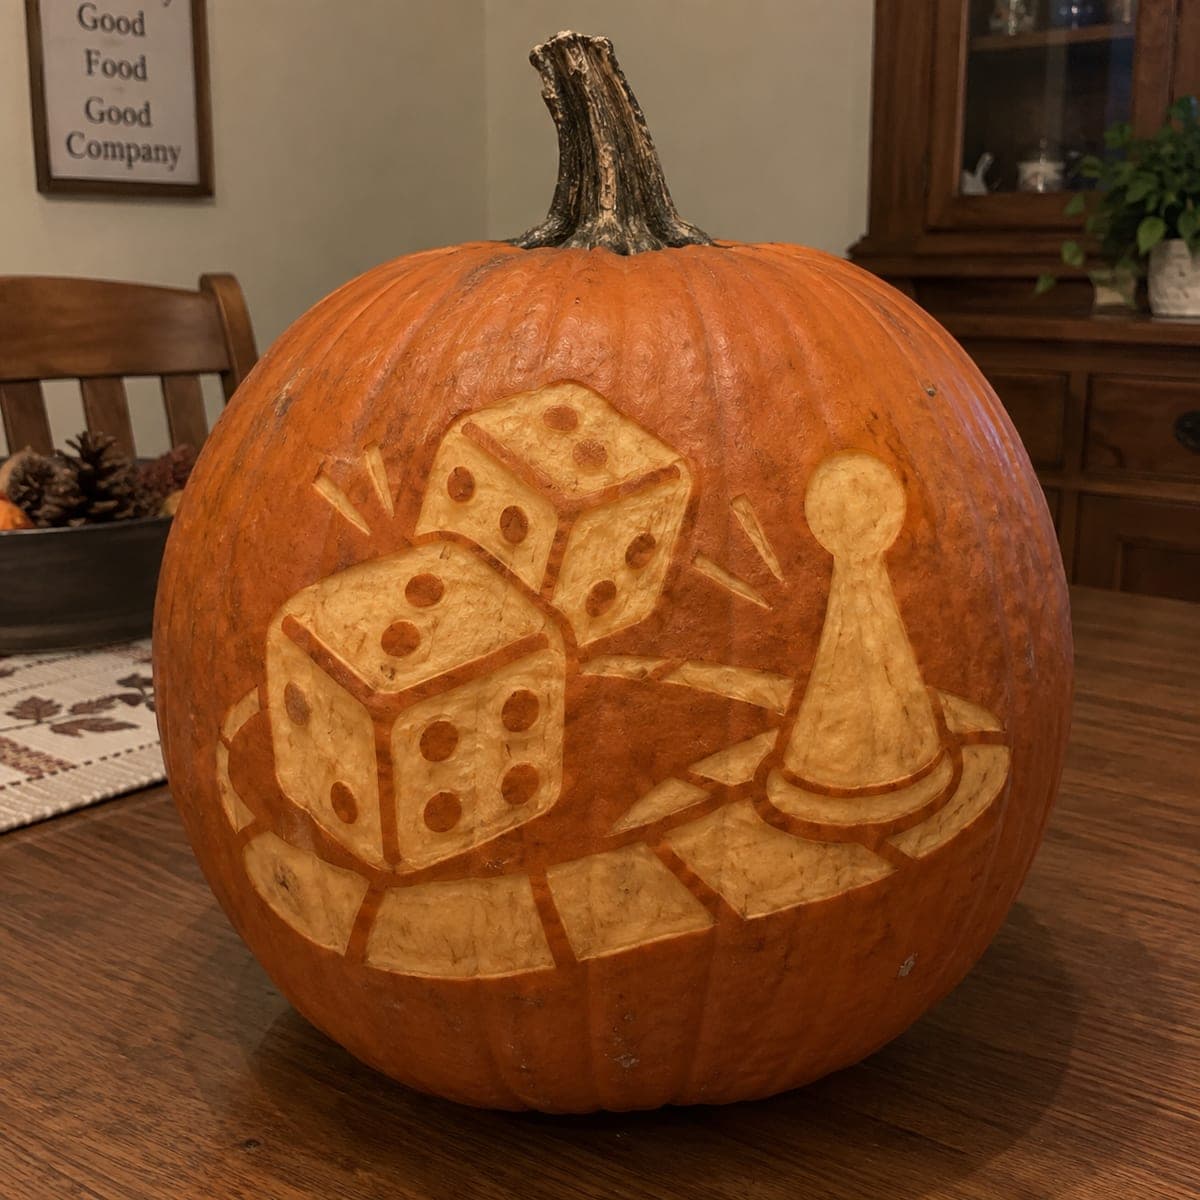
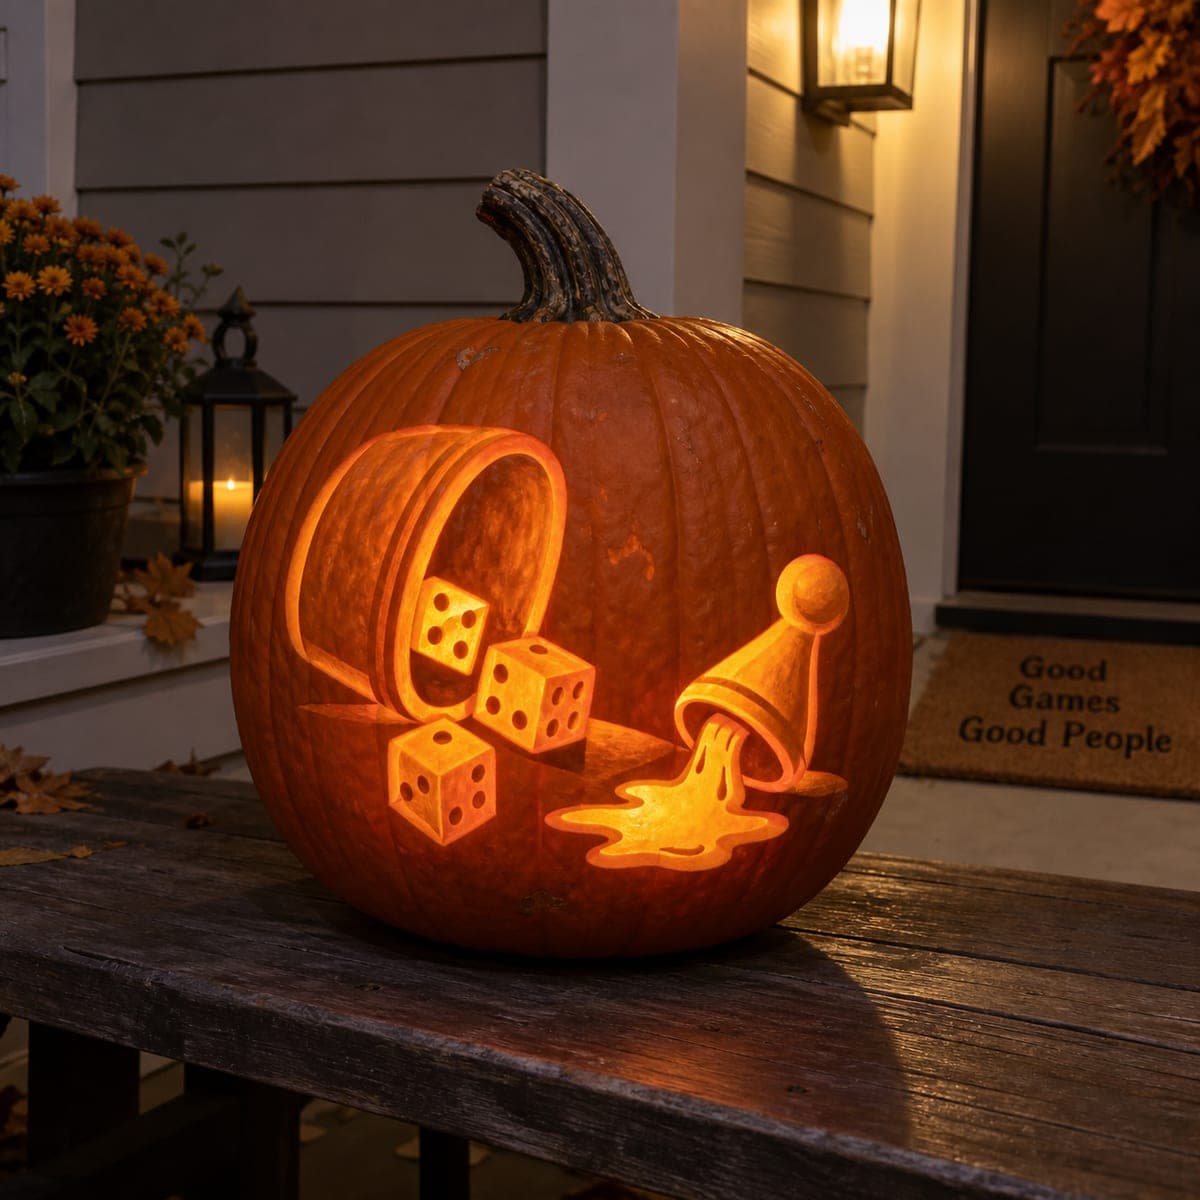
A tipped cup spills glowing dice across this pumpkin while a toppled game pawn melts into a puddle of light, a fun pumpkin carving idea for board game lovers. The pips and outlines are etched at partial depth while the brightest spill areas are shaved thinnest, so map your depths before cutting. Perch it beside the front door on game night so guests get the joke walking in.

This is an AI-generated concept image: a realistic, carvable design idea rather than a photo of a finished carve. AI concepts are always labeled and sit out the leaderboard and the contest.

No ratings yet · Sign in to rate
Comments (0)

  • No comments yet — be the first.

Save without an account. Sign in to like or comment.

Our tips for carving a similar design

The whole trick here is playing with depth so the scene reads like a spilled game in motion. The cup and pawn stay as outlined shapes with etched shading, the dice pips read through partial cuts, and the spilling puddle is shaved thinnest so it glows brightest. Since this is a concept image, treat it as a plan you could follow on a real pumpkin by mapping every depth before you make a single cut.

Written by PumpkinCarvingIdeas.com, inspired by the image above. These are our suggestions, not instructions from the uploader. This approach to the AI concept has not been tested on a real pumpkin.

From pumpkin to porch

  1. Pick a pumpkin and cut the lid

    Choose a large pumpkin with a broad, flat front face so the whole scene fits without wrapping around the curve. Have an adult cut a lid from the back rather than the top, which keeps the front face clean and hides the opening from porch view. Scoop the inside until the front wall is about one inch thick and even. A consistent wall thickness makes your shading depths predictable across the design.

  2. Transfer the stencil

    Print the dice, cup, and pawn layout at a size that fills the front face and tape it flat, snipping the edges so it hugs the curve. Poke the outlines with a pin or transfer tool, marking the cup rim, each die, the pawn, and the puddle. Add a few dots inside every die so you can place the pips later. Take the paper off and lightly pencil in which areas will be untouched, etched, or fully cut before touching a blade.

  3. Etch the outlines and shading

    Use a fine detail loop or shaving tool to skin the cup, pawn, and die outlines, removing only the top skin for a soft mid glow. Keep the linework thin and steady so shapes stay crisp when lit. Do not cut all the way through on these outline and shading passes yet. Work slowly and rest your hand often, since this stage carries most of the detail.

  4. Carve the dice pips and cup interior

    Deepen the pips on each die by carving little rounded pockets, going most of the way through the wall so they read as bright dots. Shave the inside of the tipped cup a touch thinner than the outer skin so it reads as a hollow opening catching light. Keep small bridges of skin between close pips so the face of each die does not collapse. Check the depth from inside with your hand to feel for even thinness.

  5. Shave the spill puddle thinnest

    The pouring puddle under the pawn is the brightest spot, so shave it down until the wall is thin and translucent but not open. Blend the edge of the puddle from a full shave into a lighter etch so the glow fades softly instead of stopping hard. Save this large thin area for near the end, since a thin panel is fragile while you still handle the pumpkin. Go gradually and hold the light behind it to judge how much to remove.

  6. Light it and photograph

    Drop in a battery LED puck, warm white or amber, and never a candle near thin shaved walls. Set the pumpkin by the door and rotate it until the puddle glow and dice pips both pop. Rub a little petroleum jelly on cut edges to slow drying if it will sit out for days. Snap your photo at dusk when the porch light and the pumpkin glow balance nicely.

Gather your supplies

Check things off as you get ready.

Work on a stable surface, keep your free hand out of the cutting path, and have an adult handle sharp tools.

Three levels of light

  • Leave intact

    The background pumpkin skin and the outer body of the pawn and cup stay untouched and dark.

  • Peel & shade

    The cup outline, pawn shading, and die faces are skin-peeled for a soft mid orange glow.

  • Cut through

    The die pips, cup opening, and the spilling puddle are cut or shaved thinnest for the brightest light.

Learn the carving basics

Before you start cutting

How do I keep the dice from looking flat?

Give each die a clear etched outline and carve the pips as deep rounded pockets so they catch the most light. Vary the angle of the three dice slightly so they look like they are tumbling rather than sitting in a row. The contrast between the shaded faces and the bright pips is what sells the dimension.

Why shave the puddle instead of cutting it open?

A thin shaved puddle glows like liquid catching light, which reads as a spill better than an empty hole would. Cutting it fully open would look like a plain window and lose the melting effect. Shave gradually and check from behind with your LED until it glows evenly without breaking through.

This is a concept image, so can it really be carved?

Yes, the design is built from sound techniques and could be carved on a real pumpkin by treating it as a depth map. Keep small skin bridges between close pips and go easy on the thin puddle so nothing tears. Map every depth in pencil first and the layered glow comes together.

Your take belongs here, too.

Changed a detail? Made it simpler? Share a photo of your version and tell the community what worked.

Share your pumpkin

More pumpkins like this

You've reached the end · 8 pumpkins
The Patch Report

Fresh pumpkins, in your inbox.

The best new carvings, ideas worth stealing, and how-tos for carving season. Short, seasonal, and gone by November.

A short email during carving season. Unsubscribe anytime. See our privacy policy.