Halloween Pumpkin Carving Contest · Starts October 1st · $500 in prizes
← Back to ideas
@ai_concepts
Aug 28, 2026
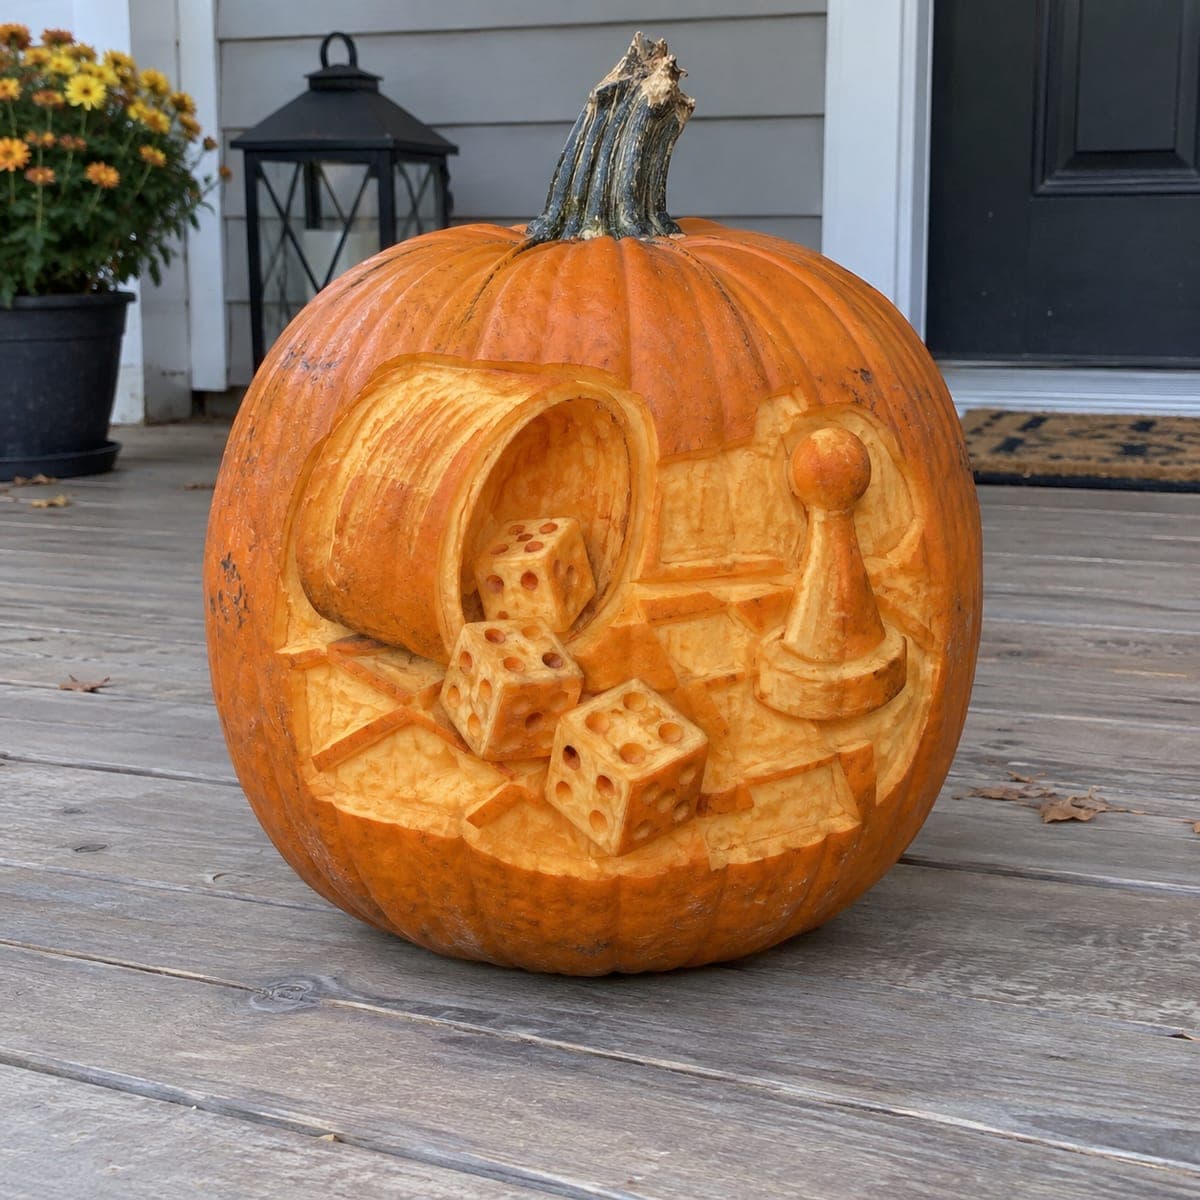
Board Game Dice and Meeple Relief Carved PumpkinAI
0

Board Game Dice and Meeple Relief Carved Pumpkin

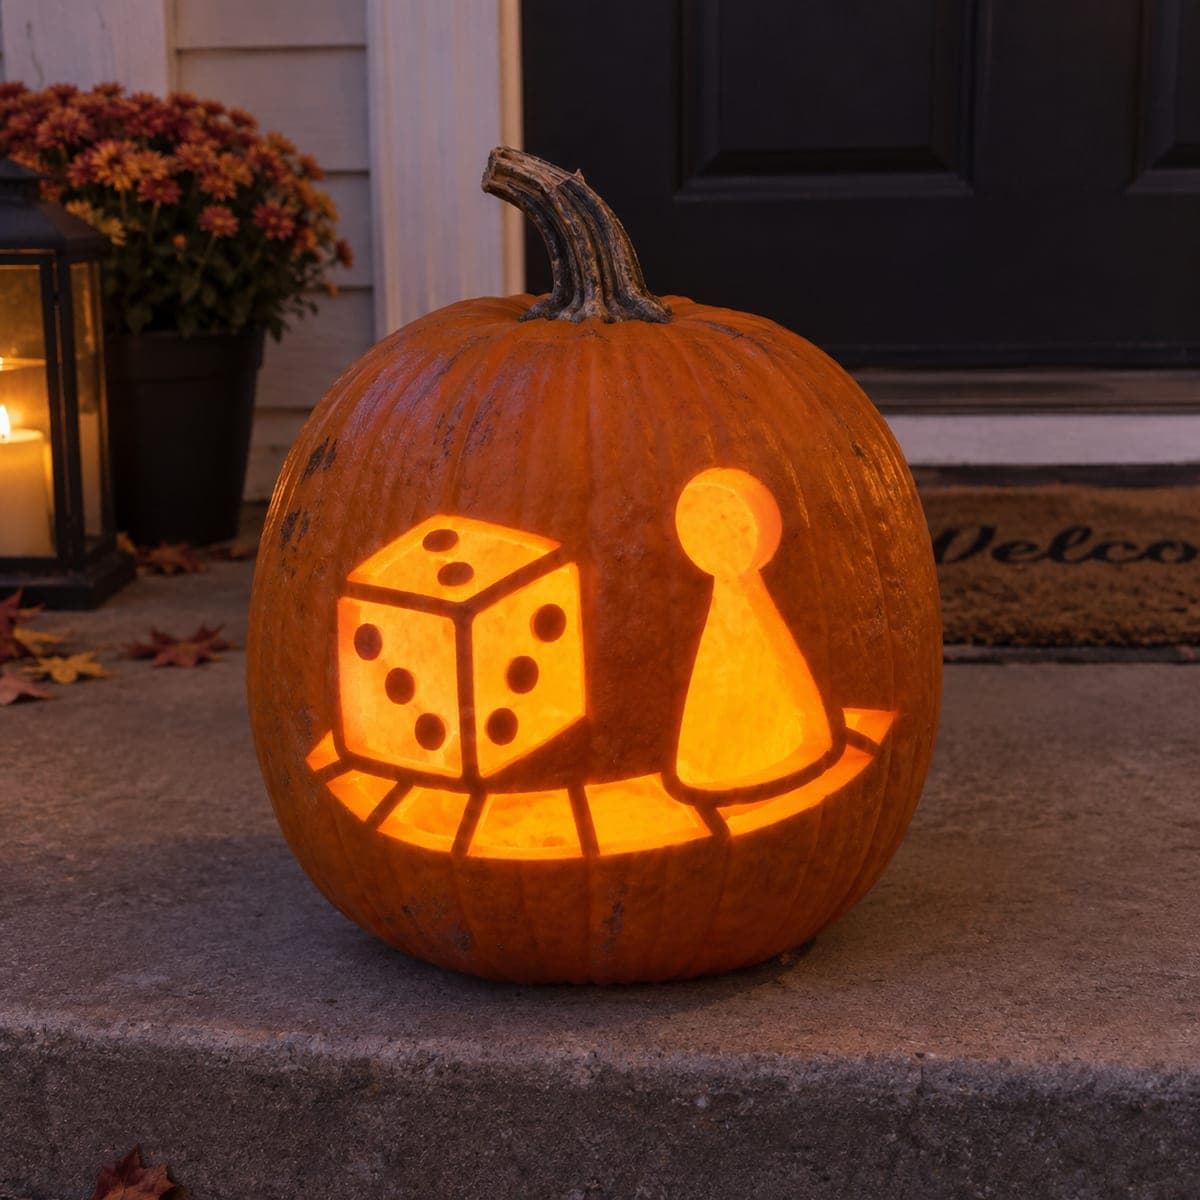
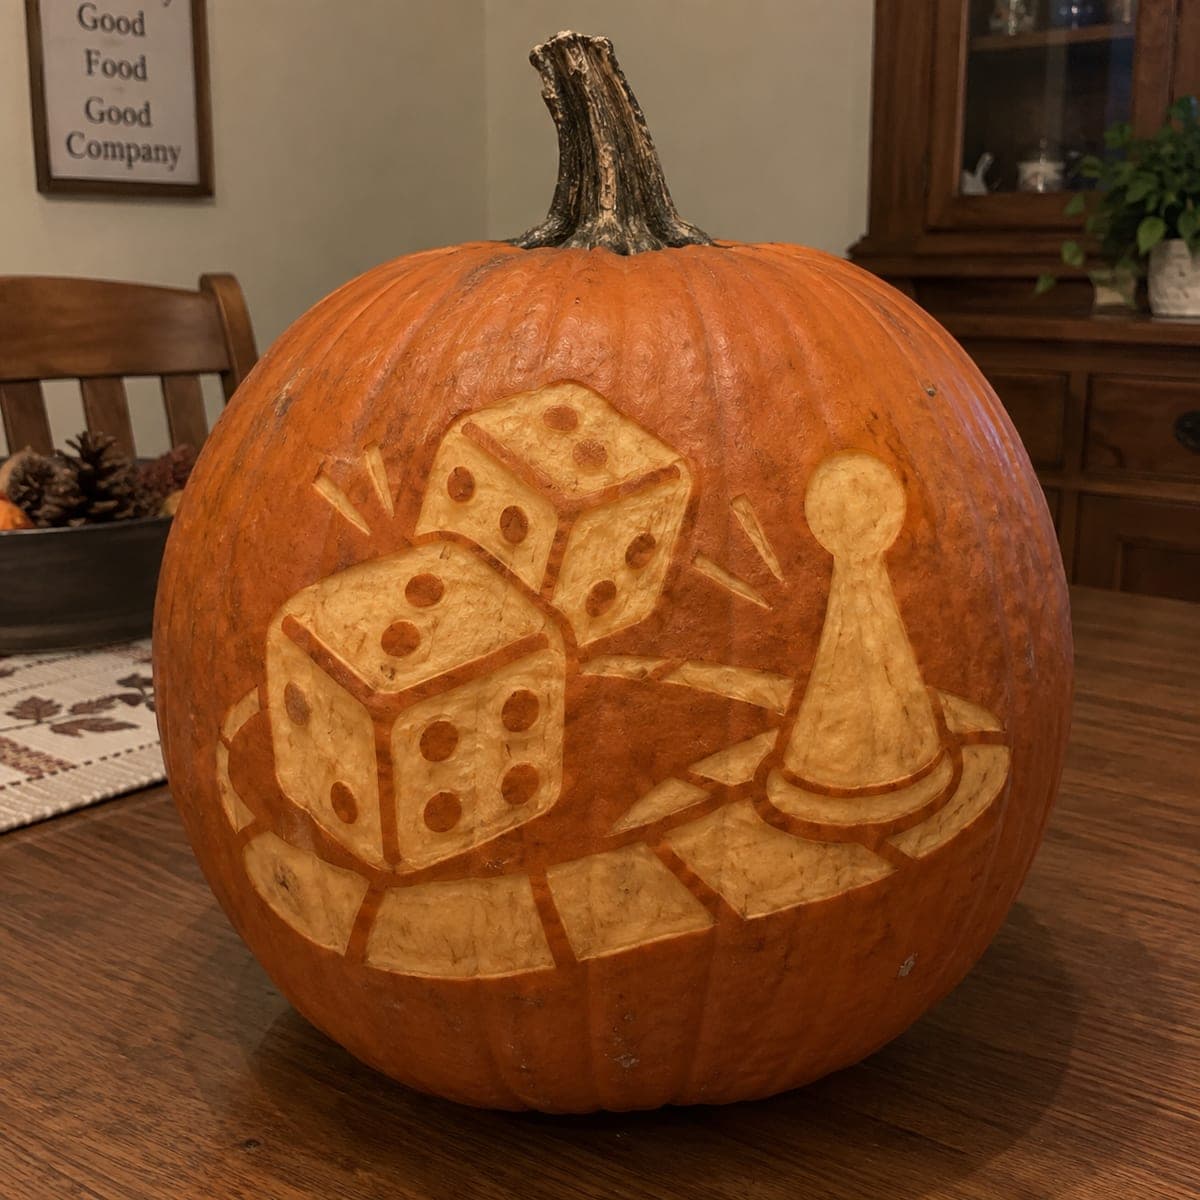
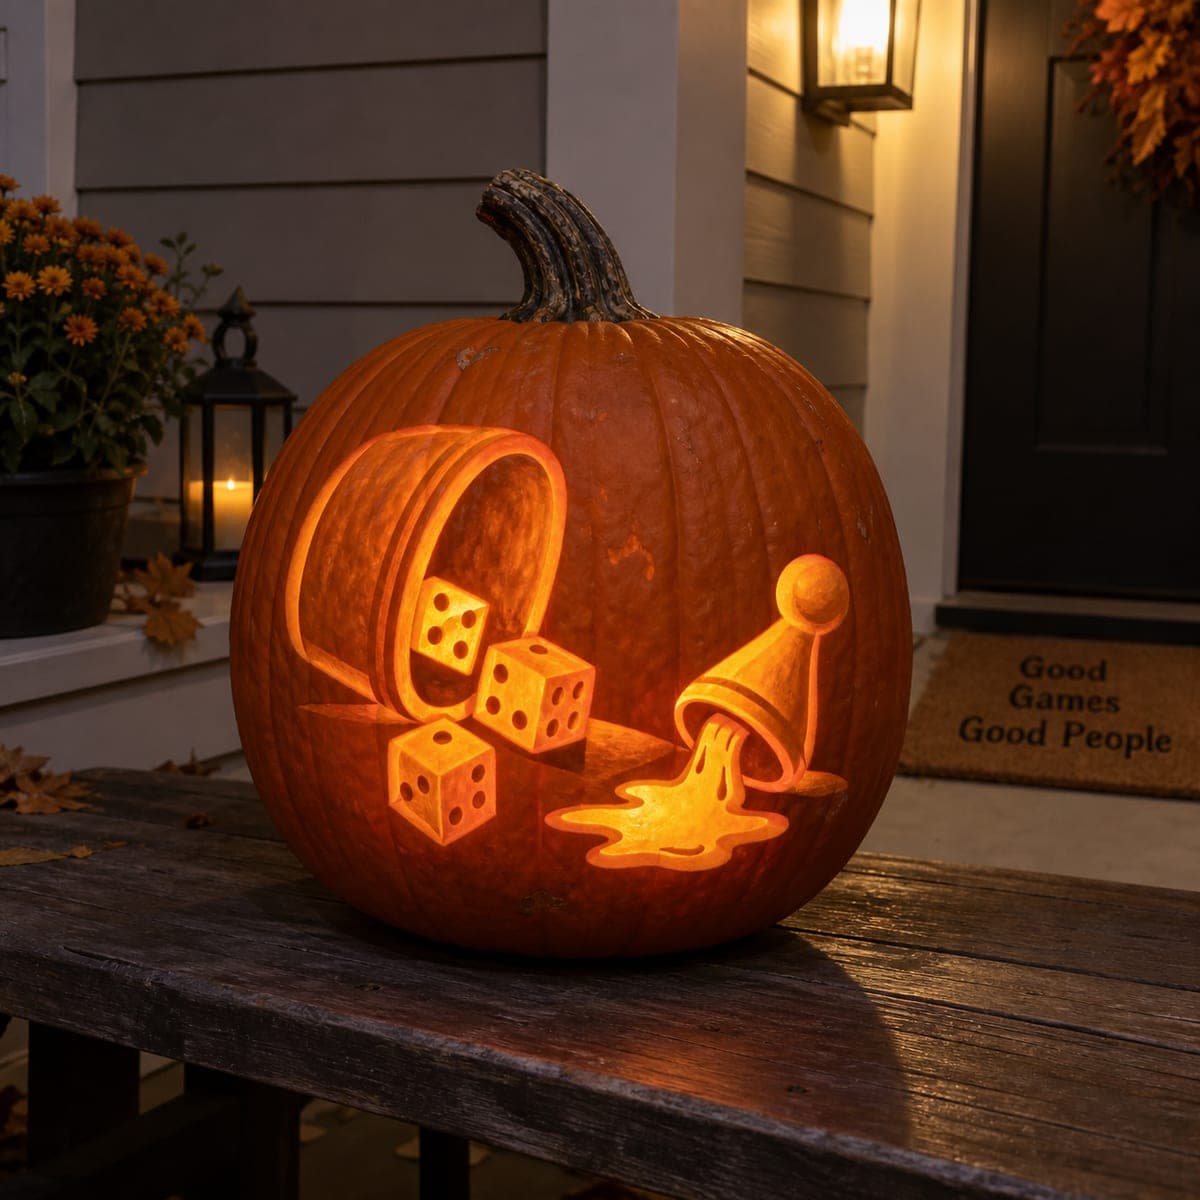
A tumbling cup spills oversized dice and a board game meeple token across this pumpkin in a detailed relief carving, complete with pips and card-like tiles. The entire design is carved at varying depths into the skin, requiring no through-cuts, so the pumpkin holds its structure and looks great under indirect lighting. Carve the background surface first at a shallow level, then progressively deepen the foreground dice faces and pips for a convincing 3-D effect.

This is an AI-generated concept image: a realistic, carvable design idea rather than a photo of a finished carve. AI concepts are always labeled and sit out the leaderboard and the contest.

No ratings yet · Sign in to rate
Comments (0)

  • No comments yet — be the first.

Save without an account. Sign in to like or comment.

Our tips for carving a similar design

This design leans entirely on relief carving, meaning you shave the pumpkin skin to different depths rather than cutting all the way through. The core trick is layering: a shallow background of card tiles sits behind rounded dice and a raised meeple token, so foreground shapes read as solid 3-D objects. Because it is a concept image with no real pumpkin, treat it as a plan you could sculpt into a thick-walled pumpkin, working from shallow to deep.

Written by PumpkinCarvingIdeas.com, inspired by the image above. These are our suggestions, not instructions from the uploader. This approach to the AI concept has not been tested on a real pumpkin.

From pumpkin to porch

  1. Prep and transfer the layout

    Pick a large pumpkin with a smooth, flat front and a thick wall, since relief work needs skin to carve into rather than empty space. Wipe the surface clean and dry it. Sketch the tumbling cup, three dice, the meeple, and the background tiles with a washable marker, or tape on a printed stencil and poke the outlines. Keep the dice and meeple clustered in the center where the pumpkin bulges toward you for the strongest 3-D effect.

  2. Score all the outlines

    With a fine detail blade, trace every major outline just deep enough to break the skin. Cut around the cup, each die, the meeple, and the tile edges so each object has a clean border. This step keeps your later shaving from bleeding into neighboring shapes. Do not remove any material yet, just define the map.

  3. Lower the background

    Using a ribbon or loop tool, shave away the outermost skin layer across the background tiles and open areas so they sit lower than the dice and meeple. Keep this pass shallow and even, removing just the orange skin to expose the lighter flesh. This single depth change is what makes the foreground objects appear to rise off the surface. Work slowly and check your depth often against the raised shapes.

  4. Round the dice and meeple

    Now sculpt the foreground. Carve gentle bevels around the edges of each die so the cubes look rounded and solid, and shape the meeple with a domed head and tapered body. Undercut slightly beneath the dice that overlap tiles to cast a real shadow line. Keep the meeple attached to the pumpkin on all sides so it stays structurally sound.

  5. Add pips and fine detail

    Switch to a small gouge or a fine blade for the dice pips. Scoop shallow round dimples into each die face, keeping them evenly spaced. Add the ribbed rim of the spilling cup and light lines suggesting the card tiles. Vary your depth a little so pips near the front read deeper and catch more light.

  6. Light it and photograph

    Because there are no through-cuts, this design glows softly rather than blasting light, so place a battery LED puck beside or in front of the pumpkin as indirect lighting, never a candle. Angle a warm light across the relief at a low angle to rake shadows into the pips and bevels, which is what sells the depth. Mist the carved flesh with water and photograph at dusk for the best contrast. Refrigerate overnight to slow drying between showings.

Gather your supplies

Check things off as you get ready.

Work on a stable surface, keep your free hand out of the cutting path, and have an adult handle sharp tools.

Three levels of light

  • Leave intact

    The uncarved orange skin around the outer edges and the stem area stays dark to frame the scene.

  • Peel & shade

    The shaved background tiles, cup body, dice faces, and meeple glow a soft mid orange where the skin is removed.

  • Cut through

    No full cutouts here, so for extra pop you could deepen a few dice pips almost through the wall to let pinpoints of brighter light show.

Learn the carving basics

Before you start cutting

Do I need to hollow out the pumpkin for a relief carving like this?

You do not need a big lid or full gutting since there are no through-cuts. A light interior scrape near the front helps if you want a few pips to glow, but keep the wall mostly intact. A thick wall is what gives you room to sculpt varying depths.

How do I keep the meeple and dice from looking flat?

The secret is depth contrast plus shadow. Lower the background clearly beneath the foreground, then round the edges of the dice and meeple and undercut slightly where they overlap tiles. Raking a low warm light across the finished piece deepens every shadow and makes the shapes look solid.

What kind of light works best since there are no cutouts?

Use indirect lighting rather than an internal glow. A warm battery LED placed in front of or beside the pumpkin, angled low across the surface, brings out the carved texture far better than a bulb inside. Skip candles entirely, as open flame near shallow relief flesh just dries and scorches it.

Your take belongs here, too.

Changed a detail? Made it simpler? Share a photo of your version and tell the community what worked.

Share your pumpkin

More pumpkins like this

You've reached the end · 8 pumpkins
The Patch Report

Fresh pumpkins, in your inbox.

The best new carvings, ideas worth stealing, and how-tos for carving season. Short, seasonal, and gone by November.

A short email during carving season. Unsubscribe anytime. See our privacy policy.