Halloween Pumpkin Carving Contest · Starts October 1st · $500 in prizes
← Back to ideas
@ai_concepts
Sep 25, 2026
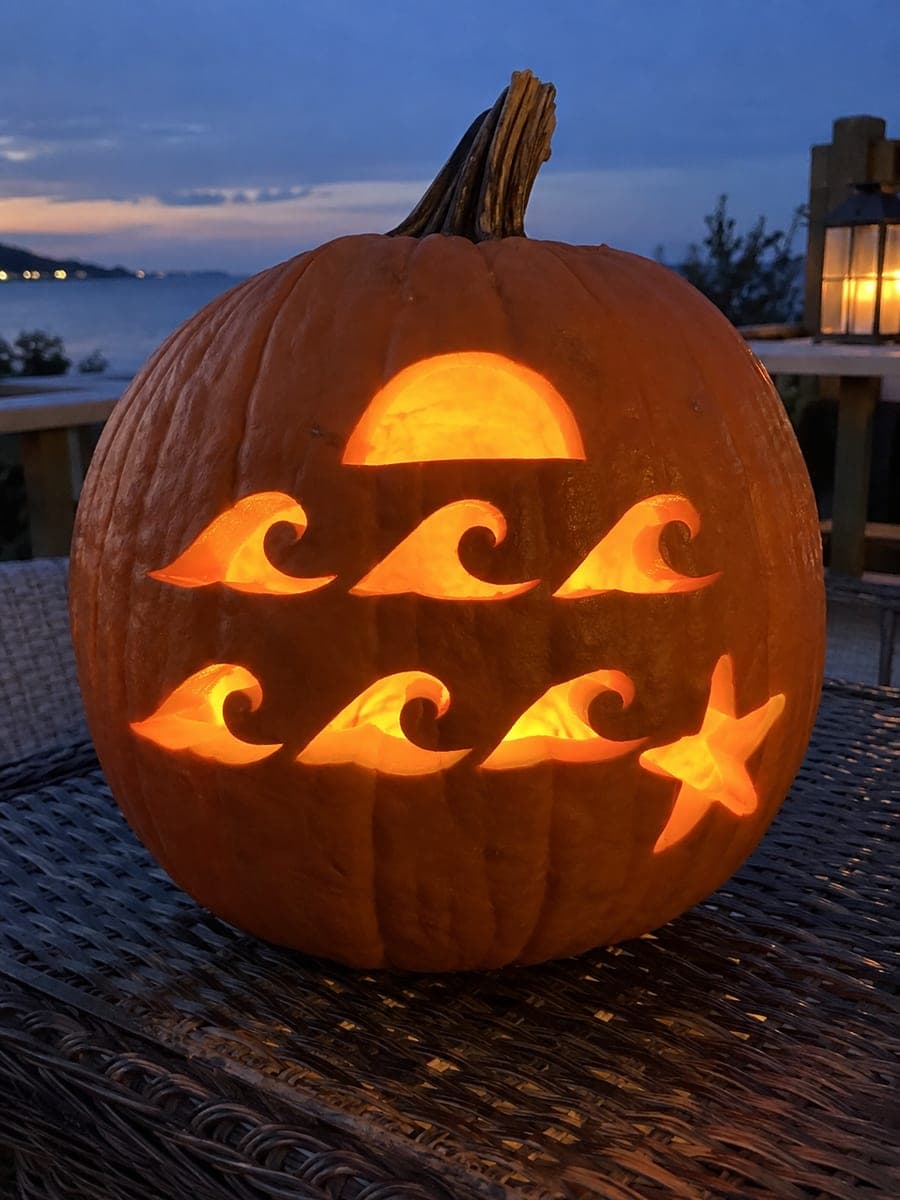
Glowing Waves and Starfish Beach Pumpkin at DuskAI
0

Report this carving

Tell us what is wrong. Reports are private.

Glowing Waves and Starfish Beach Pumpkin at Dusk

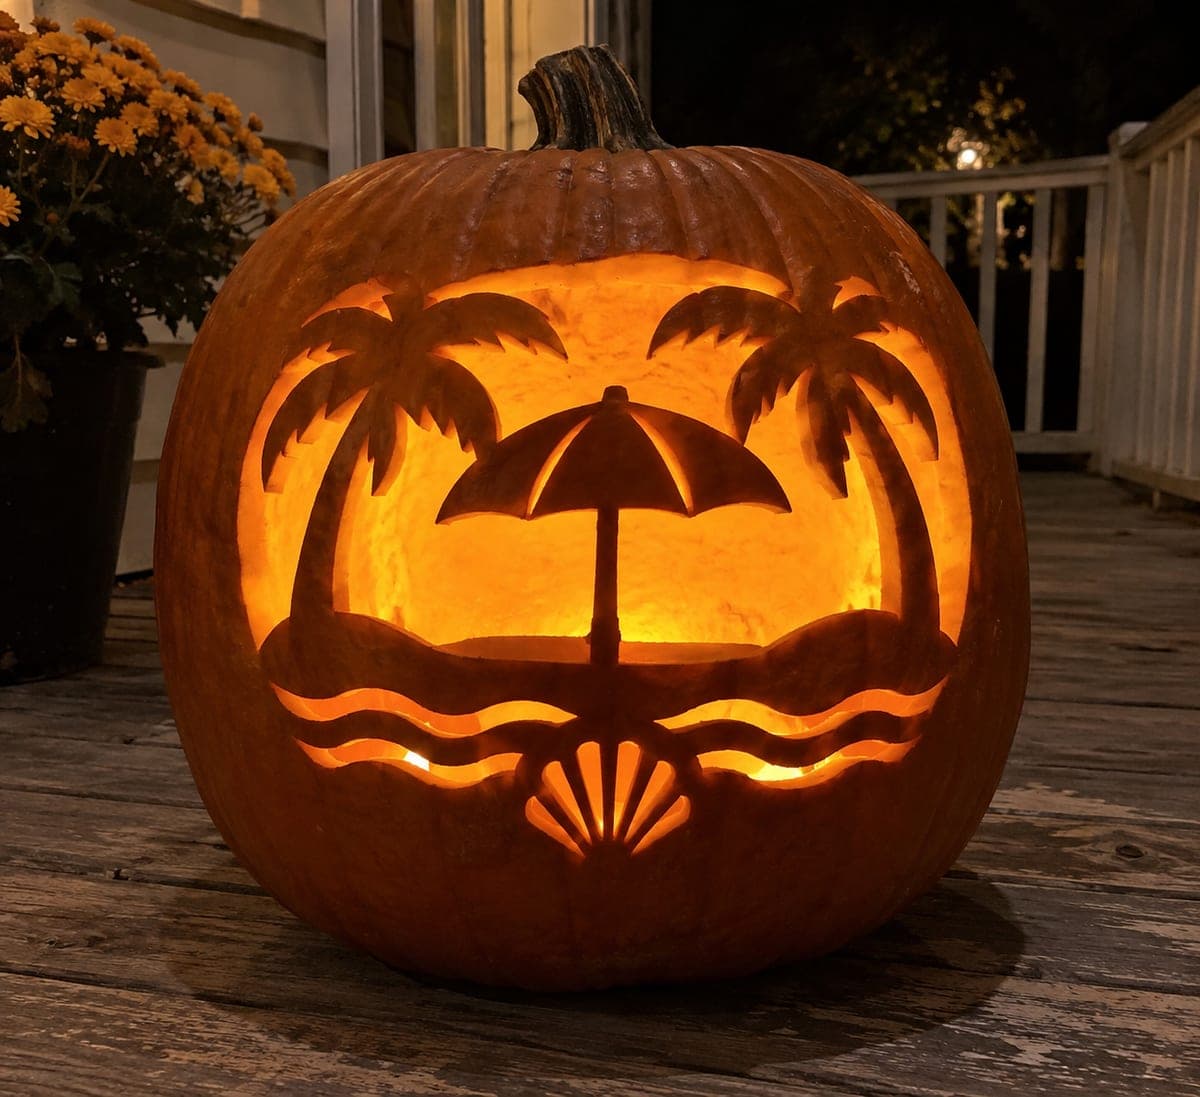
Separate wave slots, a setting sun aperture, and an empty starfish silhouette glow together on this medium beach pumpkin carving idea, displayed at dusk for a warm coastal atmosphere. Wide structural rind between each motif keeps the design sturdy despite the number of individual openings. Cut the sun first at the top, then work down through the wave slots, and finish with the starfish silhouette at the bottom. Arranging real sand dollars or small shells around the base of the pumpkin completes the beach-themed display.

No ratings yet · Sign in to rate
Comments (0)

  • No comments yet — be the first.

Save without an account. Sign in to like or comment.

Our tips for carving a similar design

A sun aperture sits at the top, wave slots fan across the mid-section, and an empty starfish silhouette anchors the base, with wide structural rind between all three zones keeping the design sturdy. Cutting the sun first at the top and working downward through the wave slots to the starfish follows the natural visual flow of the scene and prevents any single zone from being isolated before its neighbors are established.

From pumpkin to porch

  1. Hollow the pumpkin

    Cut the back lid and scoop walls to an even inch thick. The wave slots run across a wide horizontal band, so consistent wall depth throughout the mid-section is particularly important. Dry the face before attaching the template.

  2. Transfer the full scene

    Position the sun circle near the top of the face, arrange three or four wave slots below it in a stacked formation, and place the starfish silhouette near the base. Tape the template flat, trace all outlines with a stylus, and go over the lines with a marker after removing the paper.

  3. Cut the sun aperture

    Start with the circular sun at the top of the composition. Cut in smooth curved arcs with a jab saw, rotating the pumpkin to maintain a comfortable cutting angle. The rind below the sun opening remains intact and wide at this stage.

  4. Cut the wave slots

    Working from the top wave down to the bottom, cut each slot as a slightly curved rectangular aperture. Keep at least three quarters of an inch of rind between adjacent wave slots to prevent one from merging with another. Each slot is an independent cut with no shared walls.

  5. Cut the starfish silhouette

    The starfish is a five-arm silhouette opening at the base. Use a jab saw for the outer arm edges and a detail knife for the tight concave junctions between arms. Score the concave points first before sawing to prevent blade wander.

  6. Light and arrange for dusk

    Place a battery LED inside and set the pumpkin on an outdoor display surface at dusk. Arrange sand dollars or small real shells around the base to reinforce the coastal theme. The staggered glowing wave slots read as rolling ocean movement when viewed from a few feet away.

Written with AI to match this design

Gather your supplies

Check things off as you get ready.

Work on a stable surface, keep your free hand out of the cutting path, and have an adult handle sharp tools.

Three levels of light

  • Leave intact

    Rind between wave slots, above the sun, and between zones stays solid and dark

  • Peel & shade

    None on this design

  • Cut through

    Sun aperture, all wave slots, and starfish silhouette cut fully through

Learn the carving basics

Before you start cutting

How many wave slots create the best visual rhythm without weakening the mid-section?

Three or four slots work well. Fewer than three make the wave section look sparse, while more than five slots with minimal rind between them risk weakening the mid-section significantly. Three wider slots or four narrower ones with at least three quarters of an inch between each provides rhythm without structural risk.

The starfish arm junctions are very tight concave curves. Any tips for cutting them cleanly?

Score each concave junction twice with a detail knife before the saw pass, deepening the score on the second pass to create a clear groove. Then use the jab saw to approach each junction from the arm outward rather than pushing into the junction, which reduces blade wandering at the tightest point.

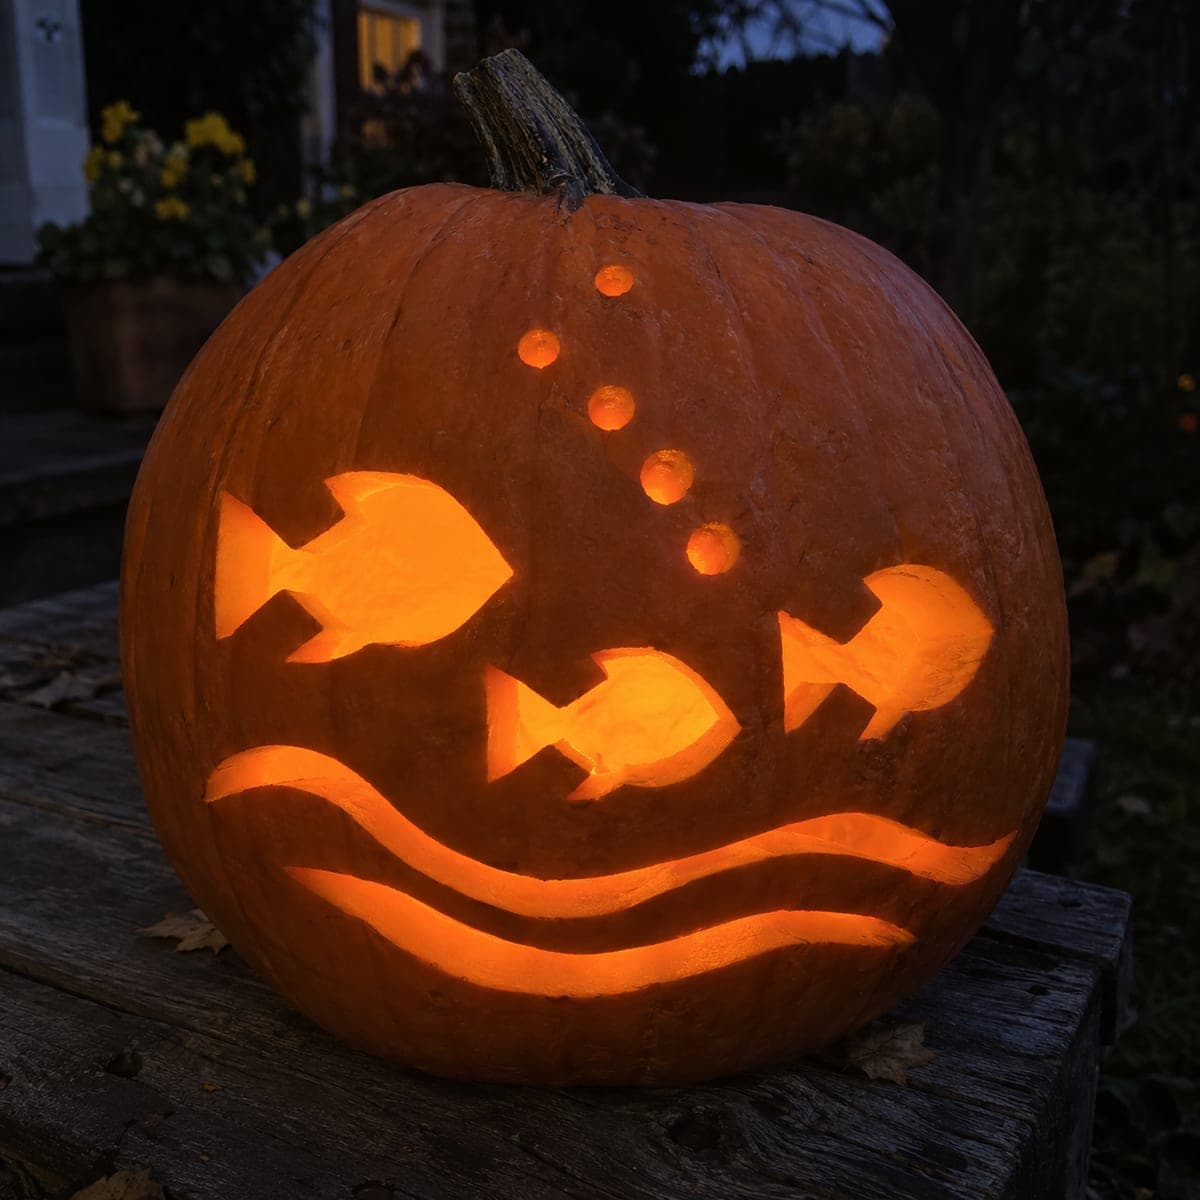
Can I add small bubble holes scattered between the wave slots?

Yes. Small circular holes between the wave slots reinforce the underwater theme without adding structural risk since they are surrounded by wide rind on all sides. Use a narrow circular cutter or the tip of a detail knife to punch clean small circles. Space them irregularly for a natural bubble effect.

Your take belongs here, too.

Changed a detail? Made it simpler? Share a photo of your version and tell the community what worked.

Share your pumpkin

More pumpkins like this

You've reached the end · 8 pumpkins
The Patch Report

Fresh pumpkins, in your inbox.

The best new carvings, ideas worth stealing, and how-tos for carving season. Short, seasonal, and gone by November.

A short email during carving season. Unsubscribe anytime. See our privacy policy.