Halloween Pumpkin Carving Contest · Starts October 1st · $500 in prizes
← Back to ideas
@ai_concepts
Jul 22, 2026
Great White Shark Attack Cutout Pumpkin CarvingAI
0

Great White Shark Attack Cutout Pumpkin Carving

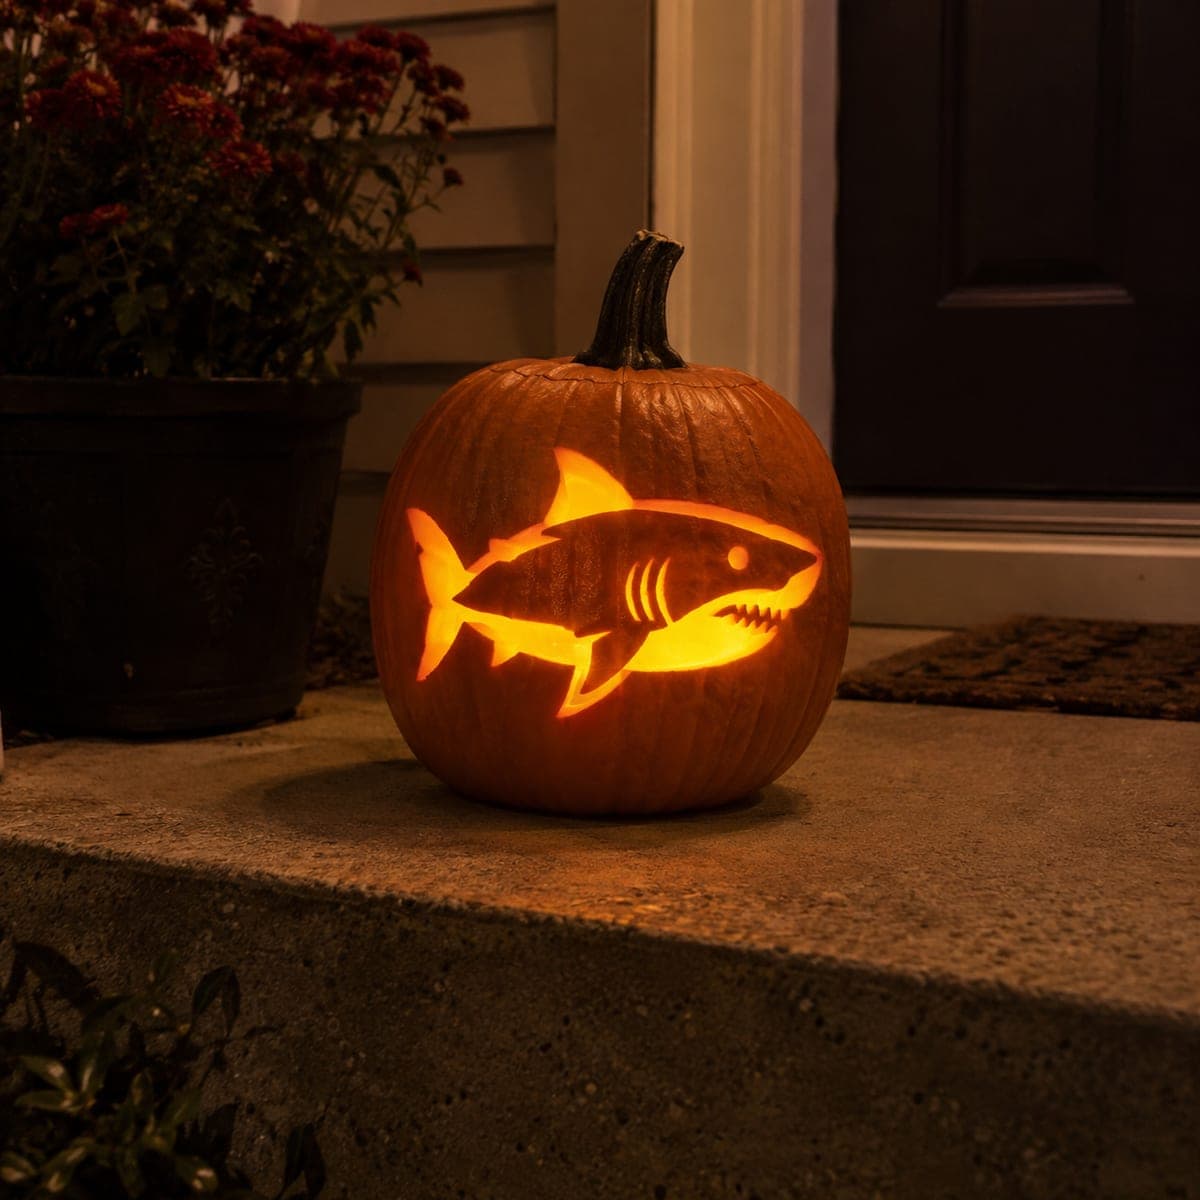
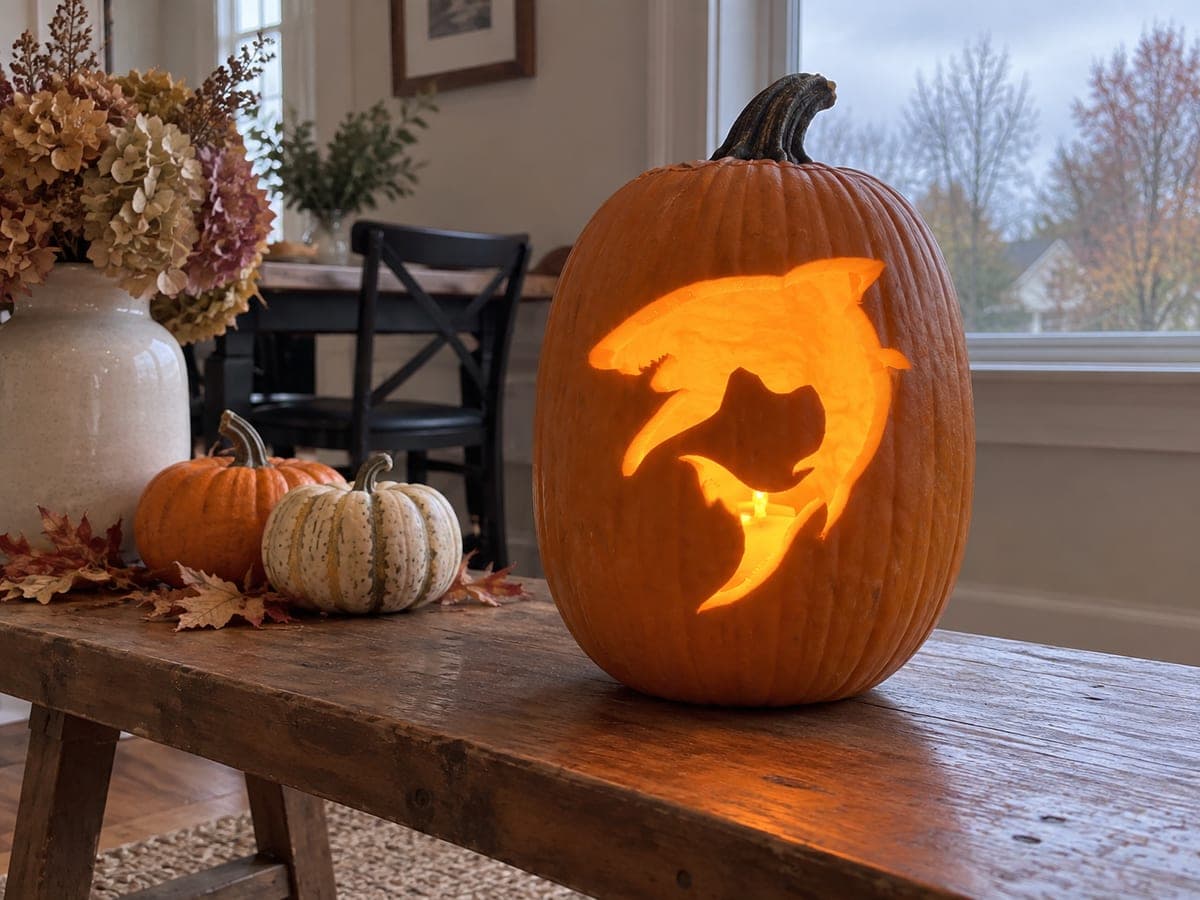
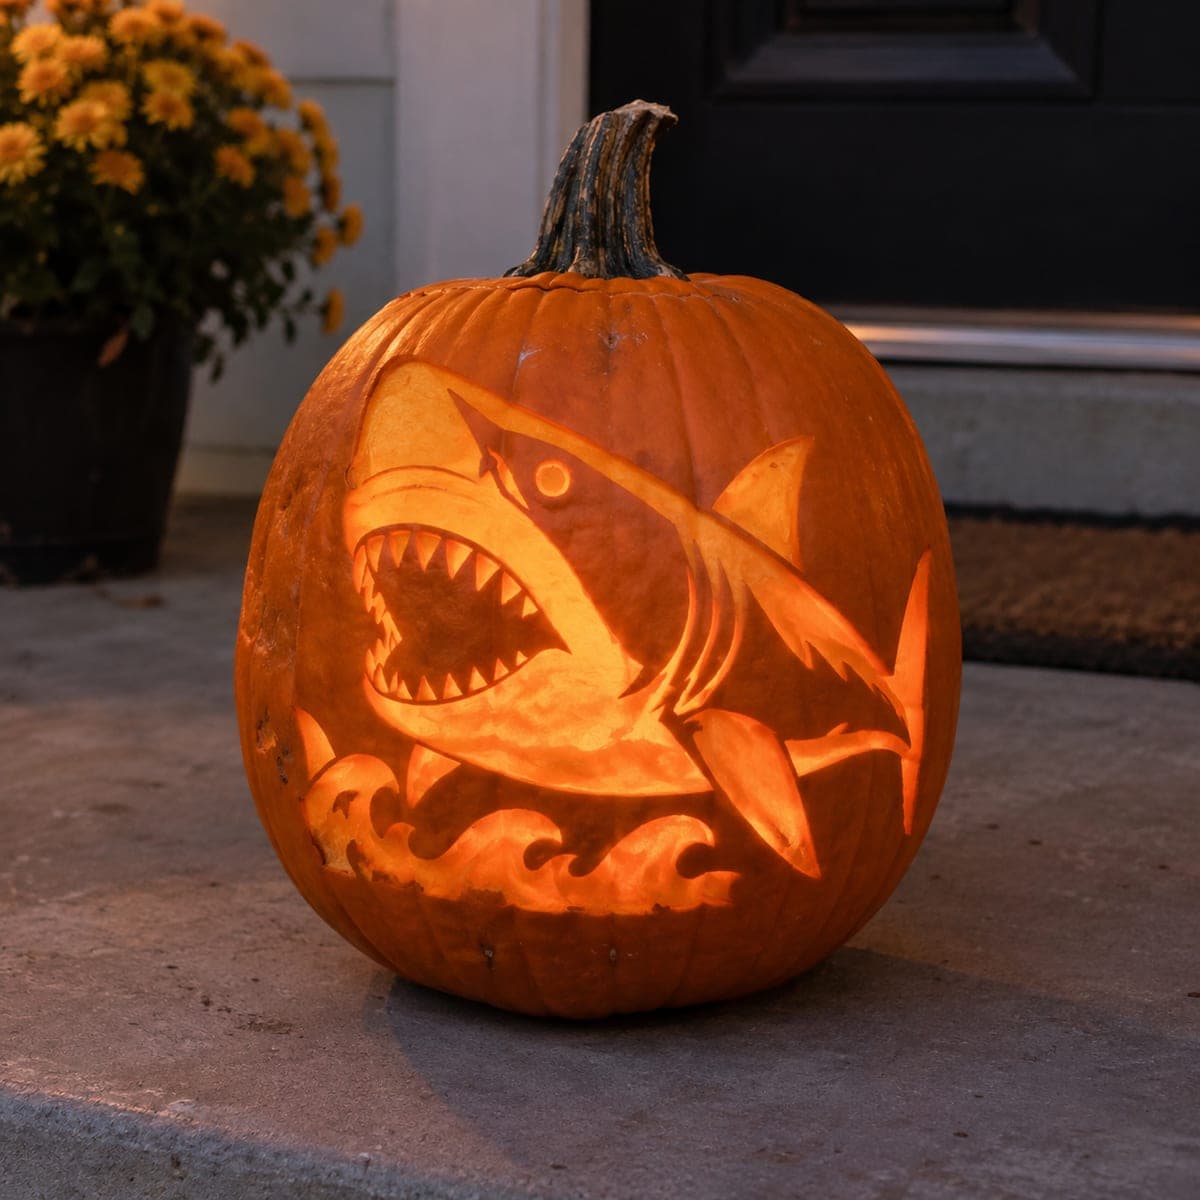
A great white shark bursts upward through carved ocean waves, its rows of jagged teeth and torpedo body cut all the way through the pumpkin wall so candlelight floods every detail. The wave crests at the bottom are carved in a relief-shading hybrid while the shark itself is a full cutout, combining two techniques for added visual depth. Carve the wave base first to gauge wall thickness, then cut the shark body working from the dorsal fin downward to maintain structural integrity. Set on a front-porch step with a warm candle for a show-stopping underwater-themed Jack-O-Lantern.

This is an AI-generated concept image: a realistic, carvable design idea rather than a photo of a finished carve. AI concepts are always labeled and sit out the leaderboard and the contest.
No ratings yet · Sign in to rate

Comments (0)

  • No comments yet — be the first.

Save without an account. Sign in to like or comment.

Our tips for carving a similar design

The core trick here is mixing two techniques on one pumpkin: the shark is a full cutout that lets light pour through the teeth and body, while the wave crests at the bottom use shallow relief shading for a softer glow. Plan the layout so the shark rises diagonally out of the waves, and carve the wave base first so you learn how thick the pumpkin wall is before you commit to the big openings. Since this is a concept image, treat it as a target to aim for rather than a fixed recipe.

Written by PumpkinCarvingIdeas.com, inspired by the image above. These are our suggestions, not instructions from the uploader. This approach to the AI concept has not been tested on a real pumpkin.

From pumpkin to porch

  1. Prep the pumpkin and transfer the design

    Pick a large pumpkin with a smooth, flat front face and a firm wall. Cut a lid from the bottom or the back rather than the top so the shape stays clean, then scrape the inside of the carving wall down to about one inch thick. Tape your shark and wave stencil to the front and poke the outline with a pushpin or transfer tool. Step back and check that the shark reads clearly before you cut anything.

  2. Carve the wave base first

    Start with the wave crests along the bottom because they tell you how the wall behaves before you make big cuts. For these, use a shallow relief method: peel away the outer skin on the wave faces and scrape the flesh thinner where you want a dim glow, leaving the deepest curls uncut. This gives you a feel for the wall thickness and warms you up on gentle curves. Keep the little wave points attached to the pumpkin body so nothing snaps off.

  3. Cut the shark body from the dorsal fin down

    Begin the full cutouts at the dorsal fin at the top, then work downward through the back, tail, and lower fins. Working top to bottom keeps the uncut lower section supporting the pumpkin while you carve. Use a fine saw for the long body curves and a detail blade for the fin tips. Remove each piece slowly and push it inward so you do not tear the edges.

  4. Save the mouth and teeth for near the end

    The open jaw is the most fragile part, so carve it once the surrounding shape is stable. Cut the black gap of the mouth as one open area first, then shape each tooth by leaving small triangles of pumpkin wall attached top and bottom. Keep every tooth connected to the jaw line so none of them break loose. Round a small hole for the eye and leave a thin ring of skin around it for a glowing dot.

  5. Clean edges and add depth

    Go back over every cut with a fine blade to bevel the inside edges slightly, which lets more light escape and sharpens the shape. Scrape a little extra flesh behind the teeth and gills so those spots glow brighter than the solid body. Wipe the cut surfaces and rub a thin coat of petroleum jelly on the exposed edges to slow drying. Check that the shark still reads as one solid animal from a few feet away.

  6. Light it and stage the porch shot

    Drop in a bright battery LED or a string of warm LEDs rather than a candle, since the tall cutouts need even light and open flame near thin walls is a fire risk. Set the pumpkin on a front-porch step where the shark faces the walkway. Add a few mums or a doormat nearby to frame it, then shoot your photo at dusk when the glow reads strongest. Turn the pumpkin slightly until the teeth and waves both catch the light.

Gather your supplies

Check things off as you get ready.

Work on a stable surface, keep your free hand out of the cutting path, and have an adult handle sharp tools.

Three levels of light

  • Leave intact

    The main mass of the shark body and snout stays as untouched skin so it reads dark and solid against the glow.

  • Peel & shade

    The wave crests at the bottom get their skin peeled and thinned for a soft, dim orange shimmer like moving water.

  • Cut through

    The open jaw, teeth gaps, fins, and eye ring are cut all the way through for the brightest flood of light.

Learn the carving basics

Before you start cutting

How do I keep the teeth from breaking off?

Carve the mouth as one open area first, then leave each tooth as a small triangle still joined to the jaw at both ends. Never free a tooth completely on all sides. Use a sharp detail blade and go slow so you are slicing, not forcing, the flesh.

Why carve the waves before the shark?

The wave base is shallow relief work, so cutting it first lets you learn how thick and firm the wall is before you commit to the large cutouts. It also keeps the lower pumpkin solid and supportive while you carve the heavier shark shapes above. Think of it as a warm-up that doubles as structural insurance.

Can I really cut the whole shark body through the wall?

Yes, but work from the dorsal fin downward so the uncut lower half braces the pumpkin the whole time. Save the biggest openings and the mouth for last. If the wall feels soft or thin in one spot, shift to relief shading there instead of a full cutout.

Your take belongs here, too.

Changed a detail? Made it simpler? Share a photo of your version and tell the community what worked.

Share your pumpkin

More pumpkins like this

You've reached the end · 8 pumpkins
The Patch Report

Fresh pumpkins, in your inbox.

The best new carvings, ideas worth stealing, and how-tos for carving season. Short, seasonal, and gone by November.

A short email during carving season. Unsubscribe anytime. See our privacy policy.