Halloween Pumpkin Carving Contest · Starts October 1st · $500 in prizes
← Back to ideas
@ai_concepts
Sep 25, 2026
Handlebar Moustache Jack-O-Lantern With Diamond DetailsAI
0

Report this carving

Tell us what is wrong. Reports are private.

Handlebar Moustache Jack-O-Lantern With Diamond Details

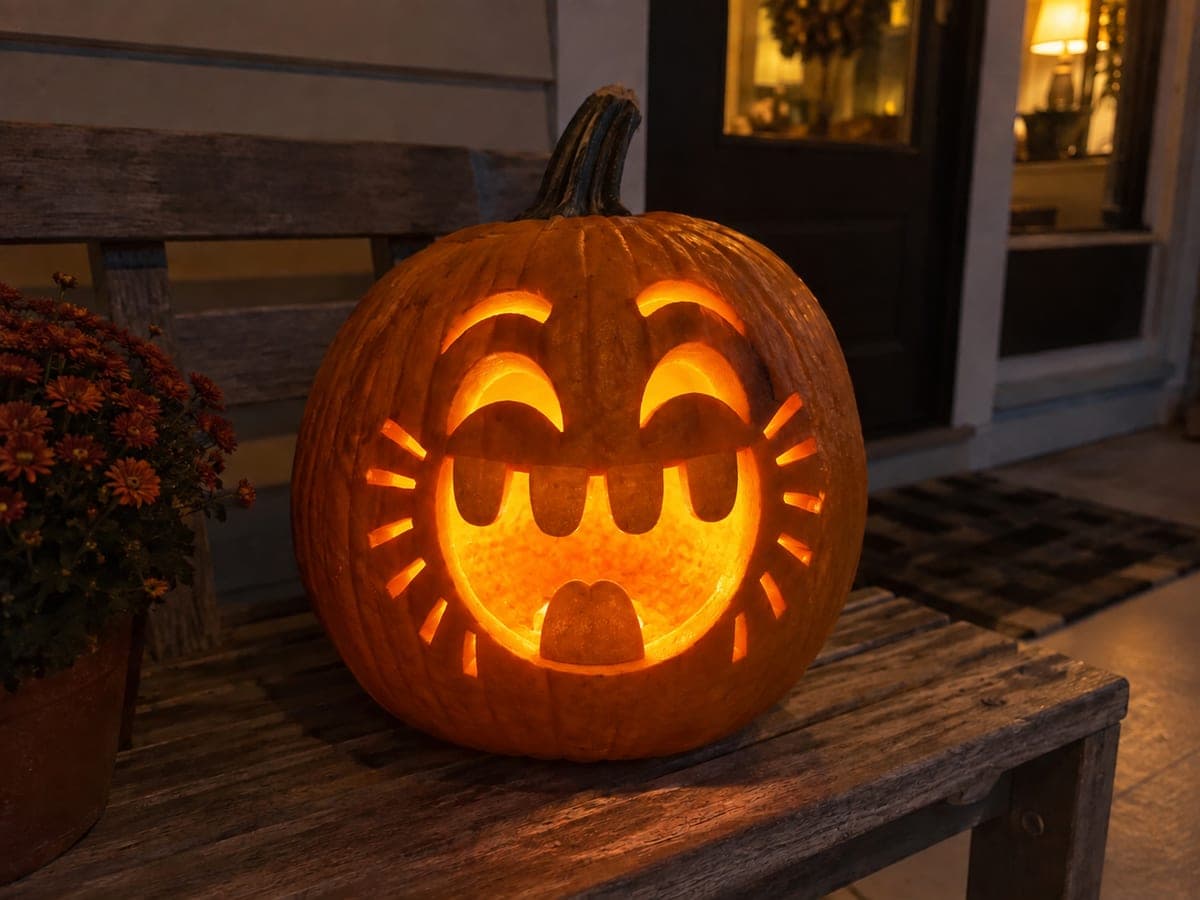
Upper-rooted pupils angled sideways, a big nose formed by intact rind between two separate nostril holes, a handlebar moustache built from two independent curved apertures, six rooted teeth, and twenty tiny diamond and round forehead holes make this an elaborate expert-level funny pumpkin face. The moustache is the trickiest part: the two curved holes must not form a closed ring, so keep a generous rind strip between their ends. Cut the forehead diamonds first to gauge remaining rind strength, then carve the moustache apertures from the outer curve inward. A strong LED spotlight inside brings the sideways-glancing pupils to life.

No ratings yet · Sign in to rate
Comments (0)

  • No comments yet — be the first.

Save without an account. Sign in to like or comment.

Our tips for carving a similar design

The handlebar moustache is two independent curved apertures that must never form a closed ring, so a generous rind strip between their inner ends is non-negotiable. The twenty forehead diamonds set the structural tone for the whole design: cut them first to gauge remaining rind strength before any face cuts, then work the moustache from its outer curve inward.

From pumpkin to porch

  1. Plan every opening before cutting

    Scoop to an even inch of wall thickness. Use a paper template and pin tool to map all twenty forehead holes, the two nostril holes, the big nose rind island, the moustache apertures, the mouth, six rooted teeth, and the two sideways-glancing pupil tabs. Measure all bridges at this stage.

  2. Cut the twenty forehead diamonds and rounds first

    Work through the forehead decorative holes from the top of the pumpkin downward, keeping each hole at least 10mm from its neighbor. Diamonds need a single entry point at one corner; cut each side as a straight pass. Check rind strength after every five holes.

  3. Carve the sideways-glancing pupil tabs

    Each pupil is an upper-rooted oval tab angled to one side. Cut the full eye opening perimeter, leaving the pupil attached at its upper rim. The sideways angle of the pupil tab is what sells the shifty look: angle the tab toward the moustache side of the face.

  4. Cut the nostril holes and nose island

    The big nose is formed by the intact rind between two separate nostril holes. Cut both nostrils as clean ovals and leave the central rind island untouched. A wide nose island looks more expressive and holds better than a narrow one.

  5. Carve the handlebar moustache apertures

    Each aperture is a curved open shape, not a closed ring. Start from the outer curl of each handlebar and cut inward, stopping well before the two apertures would meet. Keep at least 15mm of solid rind between the inner ends of the two moustache shapes. Adults only for this step.

  6. Cut the mouth and six rooted teeth, then light

    Saw the broad grin perimeter, then cut the gaps between all six teeth, leaving every tooth broadly rooted to the lip. Insert a strong LED spotlight and replace the lid. The sideways pupils and glowing forehead diamonds come fully alive under a steady, bright internal light.

Written with AI to match this design

Gather your supplies

Check things off as you get ready.

Work on a stable surface, keep your free hand out of the cutting path, and have an adult handle sharp tools.

Three levels of light

  • Leave intact

    The big nose island, rind between moustache apertures, tooth roots, and all bridge rind between decorative holes stay solid and dark

  • Peel & shade

    None, all glow comes from through-cuts

  • Cut through

    Twenty forehead holes, two pupil eye surrounds, two nostrils, two moustache apertures, tooth gaps, and the grin perimeter are all cut through

Learn the carving basics

Before you start cutting

How do I ensure the moustache apertures don't accidentally form a closed ring?

Mark the inner end of each moustache aperture with a clear stop line before you cut. As you approach the stop line, reduce stroke length and check progress frequently. Once you reach it, stop and move to the other aperture. Connecting the two curves would create a floating rind island, which will fall out.

What is the trickiest part to cut on this design?

The curved moustache apertures are the hardest because they require a sustained curve without the blade wandering or connecting to the opposite aperture. Practicing the curved stroke on a piece of scrap pumpkin rind before cutting the actual pumpkin is well worth a few minutes.

Can I substitute round holes for some of the forehead diamonds to save time?

Yes, using a drill for some of the forehead holes is a reasonable shortcut. A mix of drilled round holes and hand-cut diamonds still creates a rich decorative pattern. Just maintain 10mm spacing between all holes regardless of shape.

Your take belongs here, too.

Changed a detail? Made it simpler? Share a photo of your version and tell the community what worked.

Share your pumpkin

More pumpkins like this

You've reached the end · 8 pumpkins
The Patch Report

Fresh pumpkins, in your inbox.

The best new carvings, ideas worth stealing, and how-tos for carving season. Short, seasonal, and gone by November.

A short email during carving season. Unsubscribe anytime. See our privacy policy.