Halloween Pumpkin Carving Contest · Starts October 1st · $500 in prizes
← Back to ideas
@ai_concepts
Jul 20, 2026
Headless Horseman Shading Pumpkin SceneAI
0

Headless Horseman Shading Pumpkin Scene

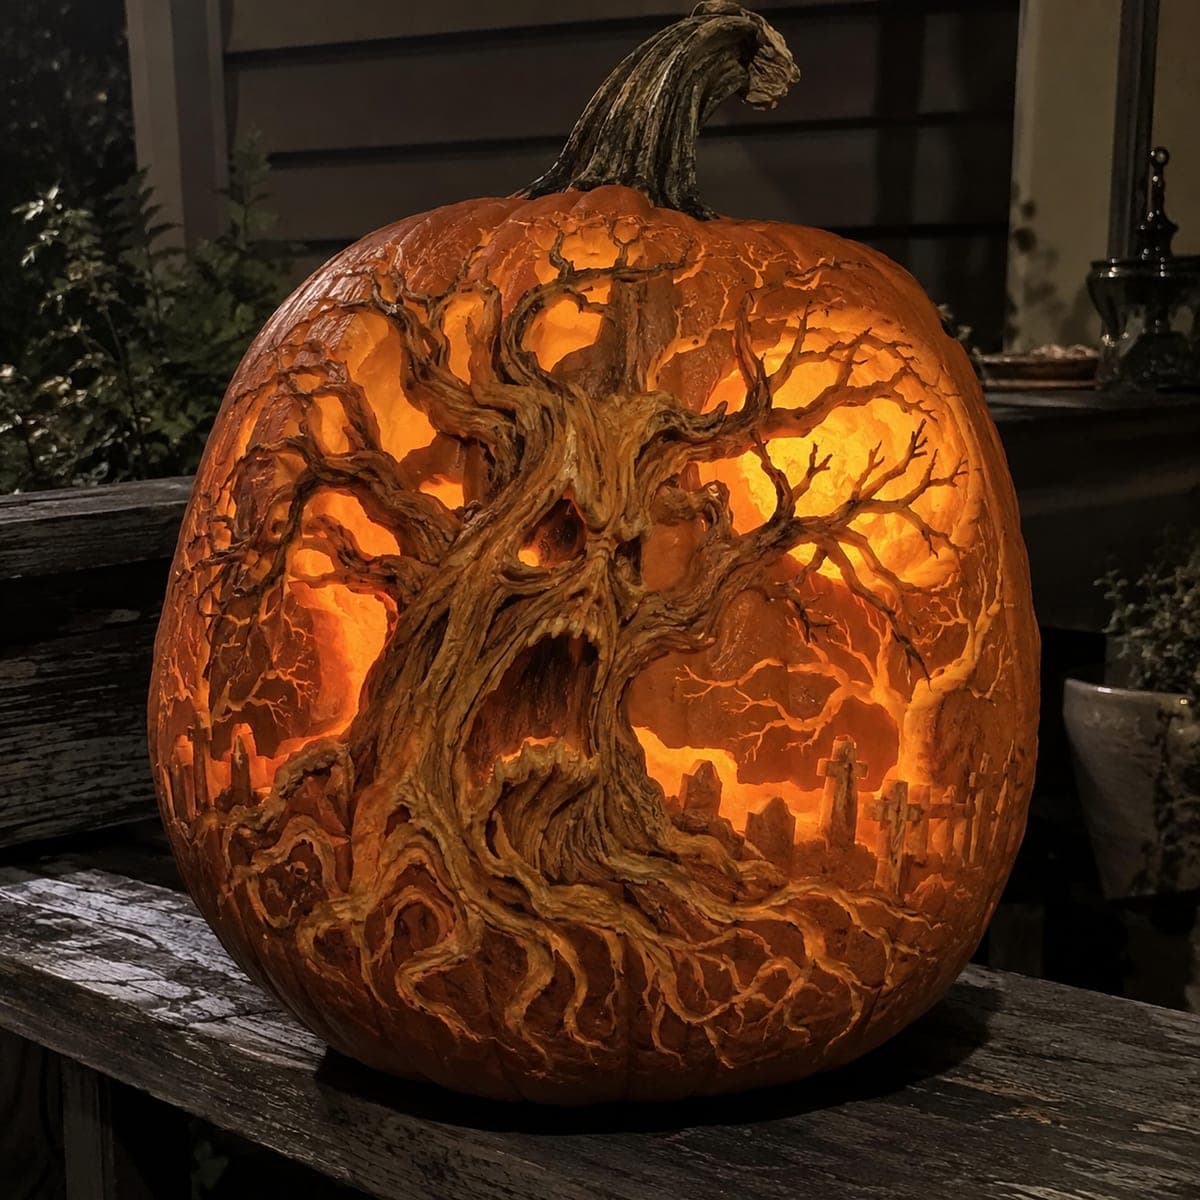
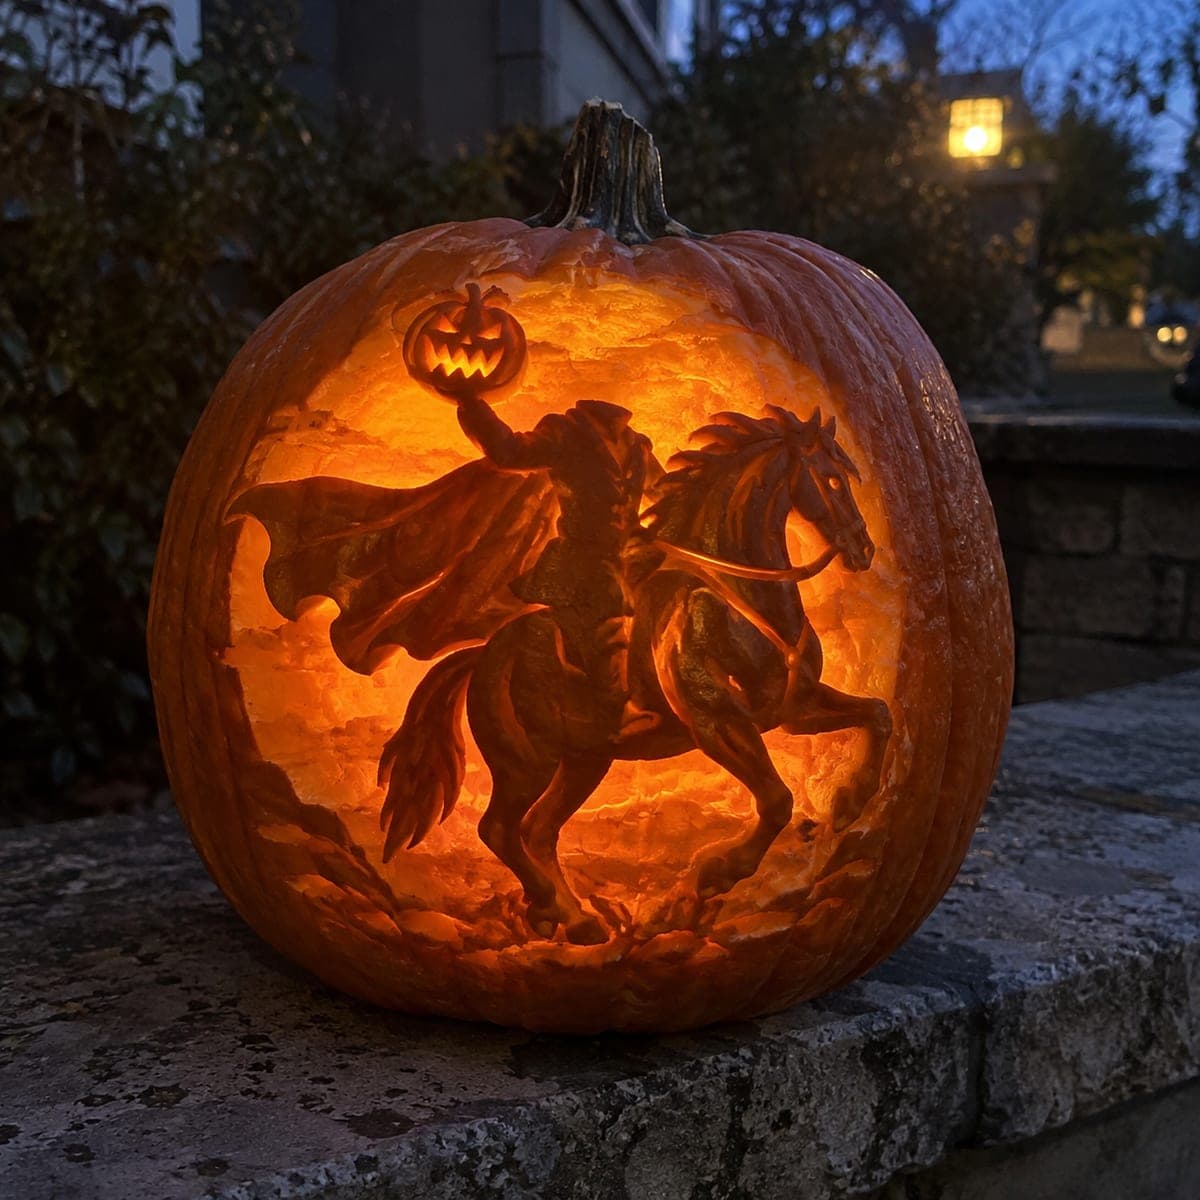
The Headless Horseman gallops across a moonlit graveyard on a rearing horse, holding a glowing Jack-O-Lantern aloft, all carved in rich shaded relief that glows brilliantly when lit from inside. Tombstones, bare trees, and a full moon fill the background of this cinematic pumpkin carving idea. Backlight the pumpkin with a warm LED to make every detail of the scene luminous. Score the composition in pencil first, then build depth by removing progressively more skin from the foreground figures and leaving more material on the distant background.

This is an AI-generated concept image: a realistic, carvable design idea rather than a photo of a finished carve. AI concepts are always labeled and sit out the leaderboard and the contest.

No ratings yet · Sign in to rate
Comments (0)

  • No comments yet — be the first.

Save without an account. Sign in to like or comment.

Our tips for carving a similar design

The whole illusion here rests on relief shading, where you skin the pumpkin to different depths instead of cutting all the way through. The horseman, rearing horse, and raised jack-o-lantern get the thinnest skin so they glow brightest, while the moon, trees, and tombstones stay thicker and darker to sit back in space. Only a few small details, like the lit face of the little pumpkin, are cut clean through for punch.

Written by PumpkinCarvingIdeas.com, inspired by the image above. These are our suggestions, not instructions from the uploader. This approach to the AI concept has not been tested on a real pumpkin.

From pumpkin to porch

  1. Pick a big pumpkin and sketch the scene

    Choose a large, tall pumpkin with a smooth, blemish-free face and a flat-ish carving area. Cut a lid or a wide access hole in the back, never the top decorative stem, and hollow the front wall down to about one inch so light passes evenly. Transfer or trace your horseman stencil onto the skin with a washable marker or pencil, keeping the horse and rider centered. Mark which zones are foreground, midground, and background so you know how deep to shade each.

  2. Outline every shape before you shade

    With a fine detail knife, score along the main outlines of the horse, rider, raised jack-o-lantern, and tombstones. These shallow cuts act like fences that stop your shading from bleeding into the wrong area. Keep the blade shallow and let an adult handle all sharp tools. Do not remove any skin yet, just define the borders.

  3. Shade the background first

    Using a ribbon or loop tool, gently scrape away just the top layer of skin for the moon and sky so they glow a soft, even orange. Leave the bare trees and distant tombstones with more skin so they read darker and further away. Work from lightest to darkest by removing less material as you move back in the scene. Frequent test lighting with an LED helps you judge the glow as you go.

  4. Build the horse and rider in relief

    Bring the horse and horseman forward by peeling their skin thinner than the background so they catch more light. Vary the depth to suggest muscle, cloak folds, and the mane, going deepest on the brightest highlights. Keep thin elements like the reins and legs attached to surrounding material so nothing snaps off. Step back often to check that the figures pop against the darker sky.

  5. Light up the raised jack-o-lantern

    The little pumpkin held aloft is your focal point, so skin its body very thin and cut its tiny face features, the eyes, nose, and grin, all the way through for the brightest light. Cut these small openings carefully and last, since full cutouts weaken the shell. Leave narrow bridges between the face features so the shapes stay crisp. This tiny bright face draws the eye straight to the story.

  6. Clean up and light the final scene

    Go back over the whole carving to smooth ragged edges and deepen any highlights that look flat under light. Wipe the surface and coat cut edges with a little petroleum jelly to slow drying. Place a warm white LED inside, toward the back, so it backlights the thinned areas evenly. Photograph it at dusk against a dark porch to make the whole moonlit scene glow.

Gather your supplies

Check things off as you get ready.

Work on a stable surface, keep your free hand out of the cutting path, and have an adult handle sharp tools.

Three levels of light

  • Leave intact

    The bare trees, distant tombstones, and darkest sky edges stay as untouched skin.

  • Peel & shade

    The full moon, sky, horse, rider, and cloak get skin-peeled to varying depths for the glowing relief.

  • Cut through

    Only the tiny face of the raised jack-o-lantern is cut all the way through for the brightest light.

Learn the carving basics

Before you start cutting

This is shown as an AI concept, so can it really be carved?

A scene this detailed is very demanding but achievable for an advanced carver using relief shading rather than full cutouts. The key is thinning the shell to different depths instead of punching holes, which keeps the pumpkin strong. Simplify the busiest areas if you need to, and expect it to take several hours.

How do I keep the horse legs and reins from breaking?

Treat them as shaded relief, not cutouts, so they stay part of the solid wall. If any thin element must be a true opening, leave small uncut bridges to hold it in place. Shading avoids the fragility problem almost entirely, which is why this design relies on it.

What light makes the shading show best?

Use a warm white LED placed toward the back of the cavity so it backlights the thinned areas evenly. Avoid candles, since the open flame and heat are unsafe and give uneven light. Test the light repeatedly while carving so you can judge each depth as you work.

Your take belongs here, too.

Changed a detail? Made it simpler? Share a photo of your version and tell the community what worked.

Share your pumpkin

More pumpkins like this

You've reached the end · 8 pumpkins
The Patch Report

Fresh pumpkins, in your inbox.

The best new carvings, ideas worth stealing, and how-tos for carving season. Short, seasonal, and gone by November.

A short email during carving season. Unsubscribe anytime. See our privacy policy.