Halloween Pumpkin Carving Contest · Starts October 1st · $500 in prizes
← Back to ideas
@ai_concepts
Jul 17, 2026
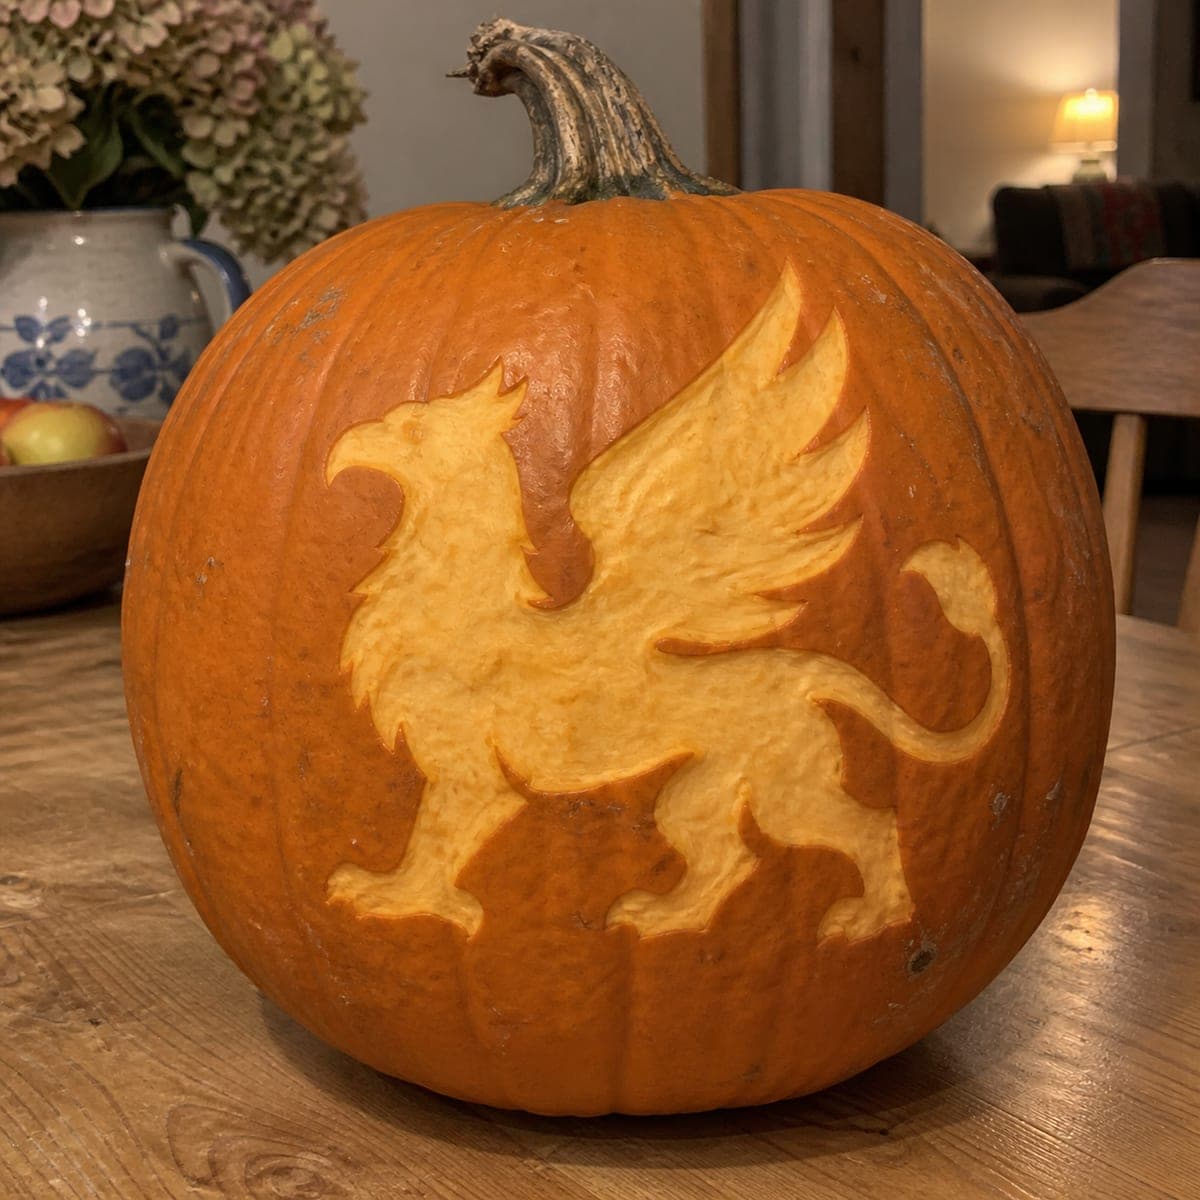
Heraldic Griffin Etched Pumpkin DesignAI
0

Heraldic Griffin Etched Pumpkin Design

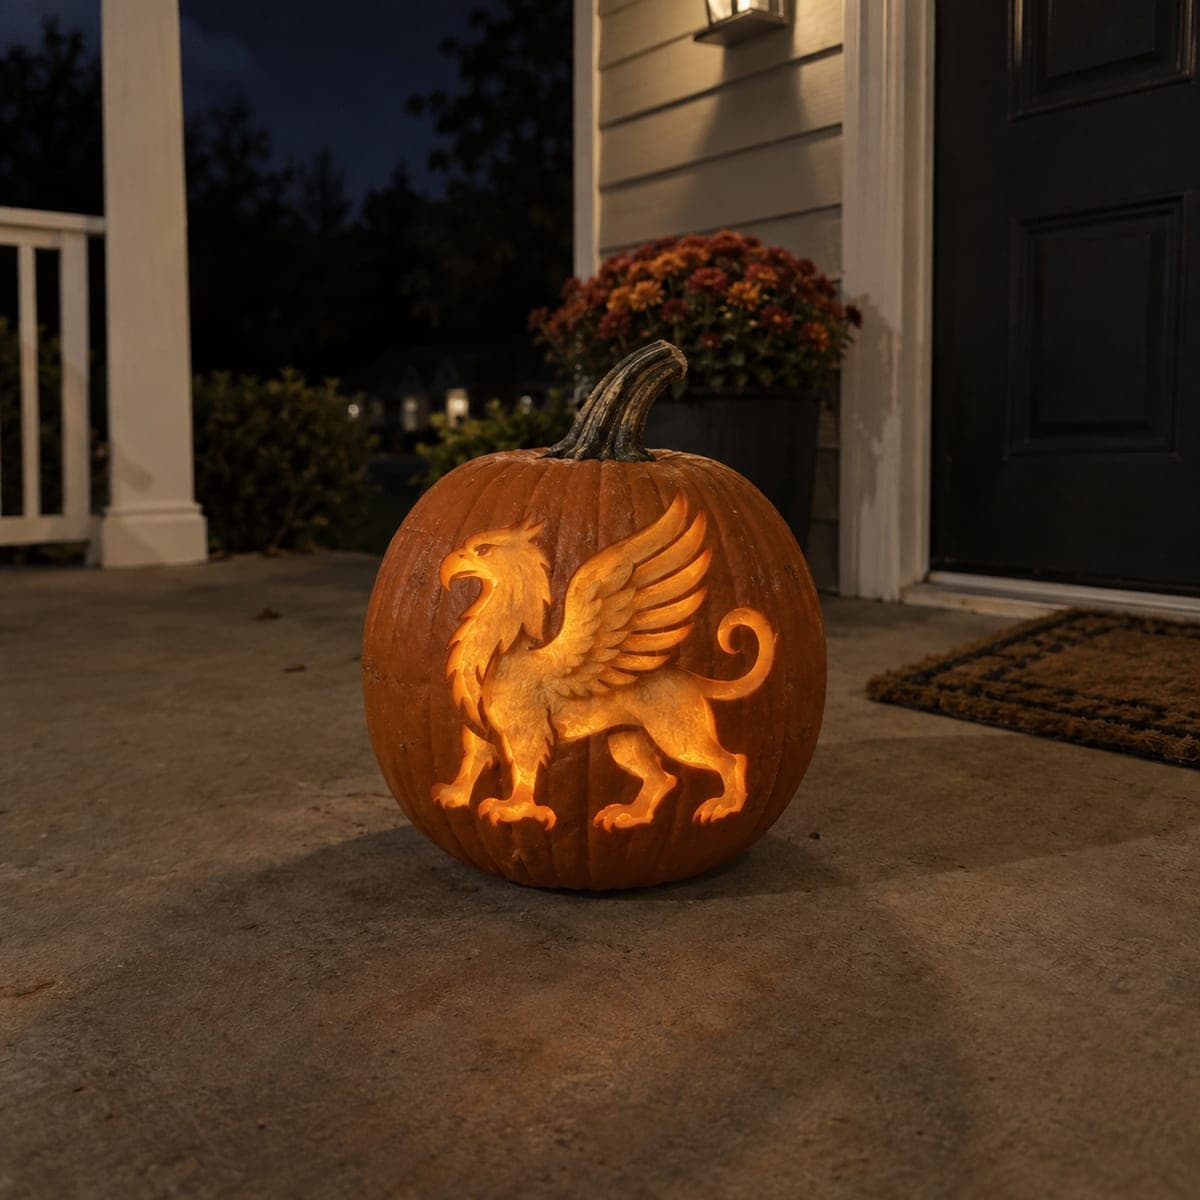
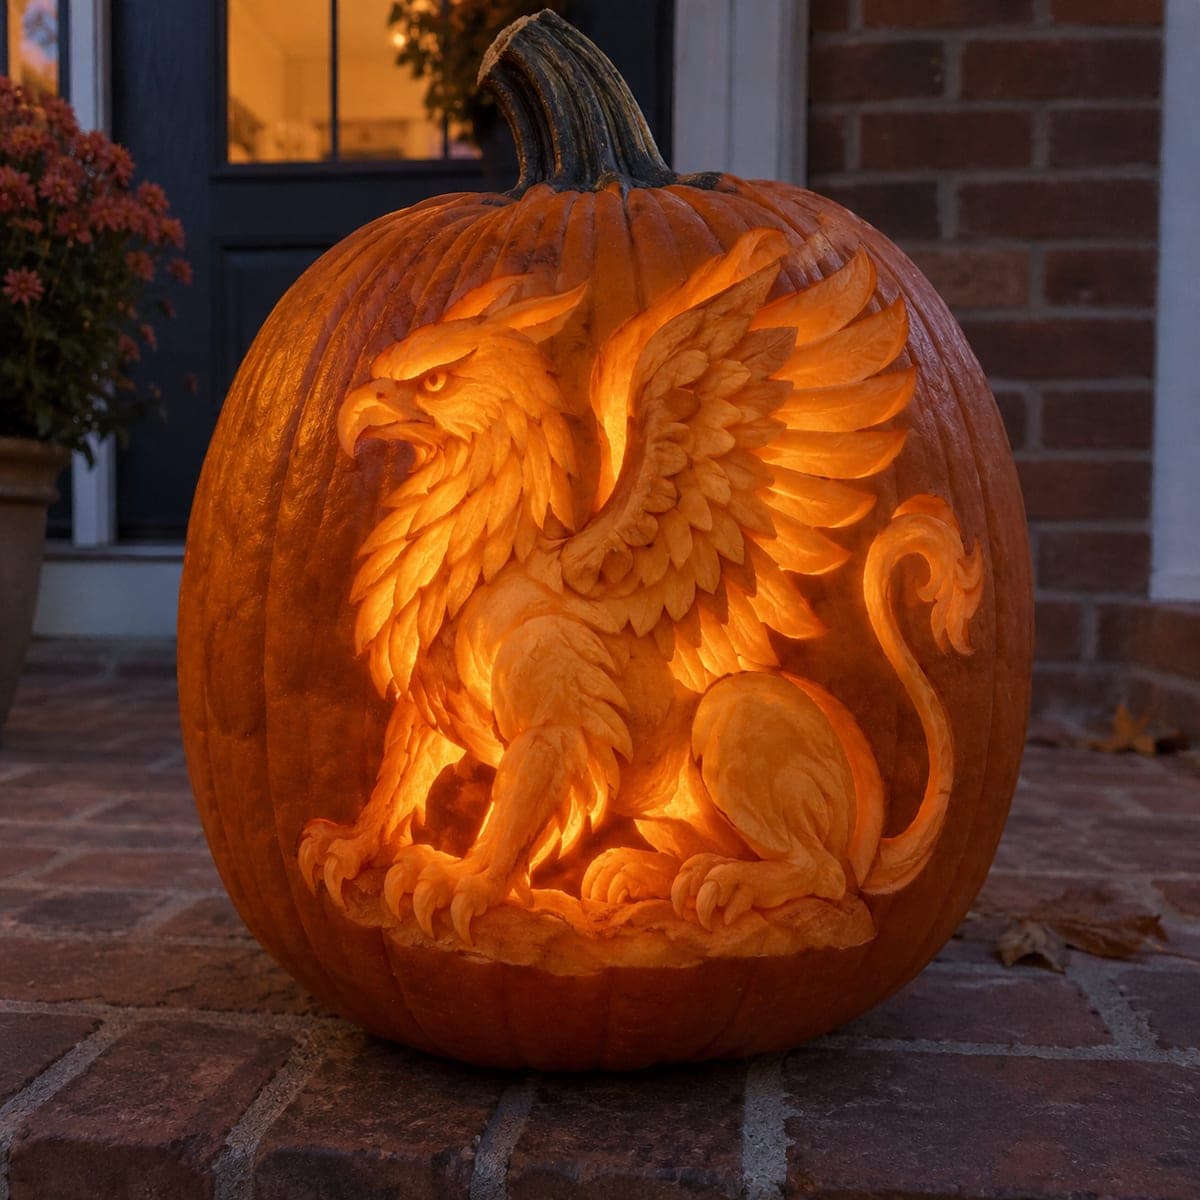
A rampant griffin, wings spread and tail curled, stands out in pale gold against the orange skin of this pumpkin. The whole figure is surface etched, peeling away just the outer rind at one shallow depth so the design reads clearly in daylight without any pierced holes. Transfer a printed stencil with a pounce wheel or transfer paper, then peel inside the lines with a loop tool. It looks sharp unlit on a bookshelf or mantel.

This is an AI-generated concept image: a realistic, carvable design idea rather than a photo of a finished carve. AI concepts are always labeled and sit out the leaderboard and the contest.

No ratings yet · Sign in to rate

Comments (0)

  • No comments yet — be the first.

Save without an account. Sign in to like or comment.

Our tips for carving a similar design

The core trick here is single-depth surface etching, where you peel only the outer rind so the whole griffin reads as pale gold against the darker skin, with no pierced holes at all. Because nothing is cut through, the design stays strong and looks sharp whether lit or sitting unlit on a shelf. Plan to transfer a clean stencil first, then patiently peel the interior to one even depth.

Written by PumpkinCarvingIdeas.com, inspired by the image above. These are our suggestions, not instructions from the uploader. This approach to the AI concept has not been tested on a real pumpkin.

From pumpkin to porch

  1. Pick your pumpkin and stencil

    Choose a pumpkin with a broad, smooth face and few deep ribs so the griffin sits flat and readable. Print your heraldic griffin stencil sized to fill most of the front. Since this design is all surface work, you do not need to open the top or gut it, though a lightweight pumpkin is easier to turn as you carve. Wipe the skin clean and dry before you start.

  2. Transfer the outline

    Tape the stencil firmly over the face, smoothing it to follow the curve. Trace every line with a pounce wheel, or slip transfer paper underneath and go over the lines with a stylus. Peel the paper back and check that the beak, wing tips, legs, and curled tail all came through clearly. Darken any faint lines with a washable marker so you always know where the edges are.

  3. Score the edges

    With a fine detail knife or a small gouge, trace just along the outside of the griffin outline at a shallow depth, only through the skin. This gives you a crisp wall so your peeled area stops exactly at the line. Work slowly around tight spots like the beak, feather points, and the tail curl. Let an adult handle the blade and keep your free hand behind the cutting edge.

  4. Peel the interior to one depth

    Switch to a loop or ribbon tool and scrape away the outer rind inside the whole griffin shape, staying at one shallow, even depth. Aim to expose the pale flesh just under the skin so the figure turns a uniform gold. Keep pressure light and consistent so you do not dig through in the thin wing and leg areas. Brush away shavings often to check that the tone is even.

  5. Refine the shading and details

    Go back over any spots that look patchy and even out the color across the wings, body, and tail. If you want a little depth, scrape the mane and wing feathers a hair deeper for a slightly lighter, more textured feel. Clean up the scored edges so each point stays sharp and the silhouette pops. Step back and view it from a few feet to catch uneven areas.

  6. Seal, light, and photograph

    Rub a thin coat of petroleum jelly or a spritz of preservative over the etched area to slow browning and lock in the gold tone. This design shines in daylight on a mantel or bookshelf with no light at all. If you do want a glow, set a small LED puck behind it or tuck one inside through a discreet bottom hole. Snap your photo within a day or two, since etched flesh dulls faster than deep cuts.

Gather your supplies

Check things off as you get ready.

Work on a stable surface, keep your free hand out of the cutting path, and have an adult handle sharp tools.

Three levels of light

  • Leave intact

    The orange background skin around the griffin stays untouched and dark, framing the figure.

  • Peel & shade

    The entire griffin body, wings, and curled tail are peeled to one shallow depth for a warm gold glow.

  • Cut through

    Nothing is cut all the way through on this design, which keeps the silhouette strong.

Learn the carving basics

Before you start cutting

Do I need to hollow out the pumpkin for an etched design like this?

Not really, since none of the griffin is cut through. You can leave it whole and work only on the surface. If you plan to add an LED glow later, cut a small hole in the bottom or back so you can slip a light in without disturbing the front.

How do I keep all that peeled area an even color?

Work at one consistent depth and check often by brushing away shavings and viewing from a few feet back. A loop tool helps you keep pressure light and steady across the wings and body. If one patch looks darker, it usually just needs a little more rind scraped away.

Will an etched griffin last as long as a cut one?

Etched flesh dries and browns faster than deep cutouts, so plan to display it within a day or two of carving. A thin coat of petroleum jelly or preservative over the exposed area slows the browning. Keeping it cool and out of direct sun also helps the gold tone stay bright.

Your take belongs here, too.

Changed a detail? Made it simpler? Share a photo of your version and tell the community what worked.

Share your pumpkin

More pumpkins like this

You've reached the end · 8 pumpkins
The Patch Report

Fresh pumpkins, in your inbox.

The best new carvings, ideas worth stealing, and how-tos for carving season. Short, seasonal, and gone by November.

A short email during carving season. Unsubscribe anytime. See our privacy policy.