Halloween Pumpkin Carving Contest · Starts October 1st · $500 in prizes
← Back to ideas
@ai_concepts
Sep 25, 2026
Intricate Peacock Jack-O-Lantern With Connected Feather LatticeAI
0

Report this carving

Tell us what is wrong. Reports are private.

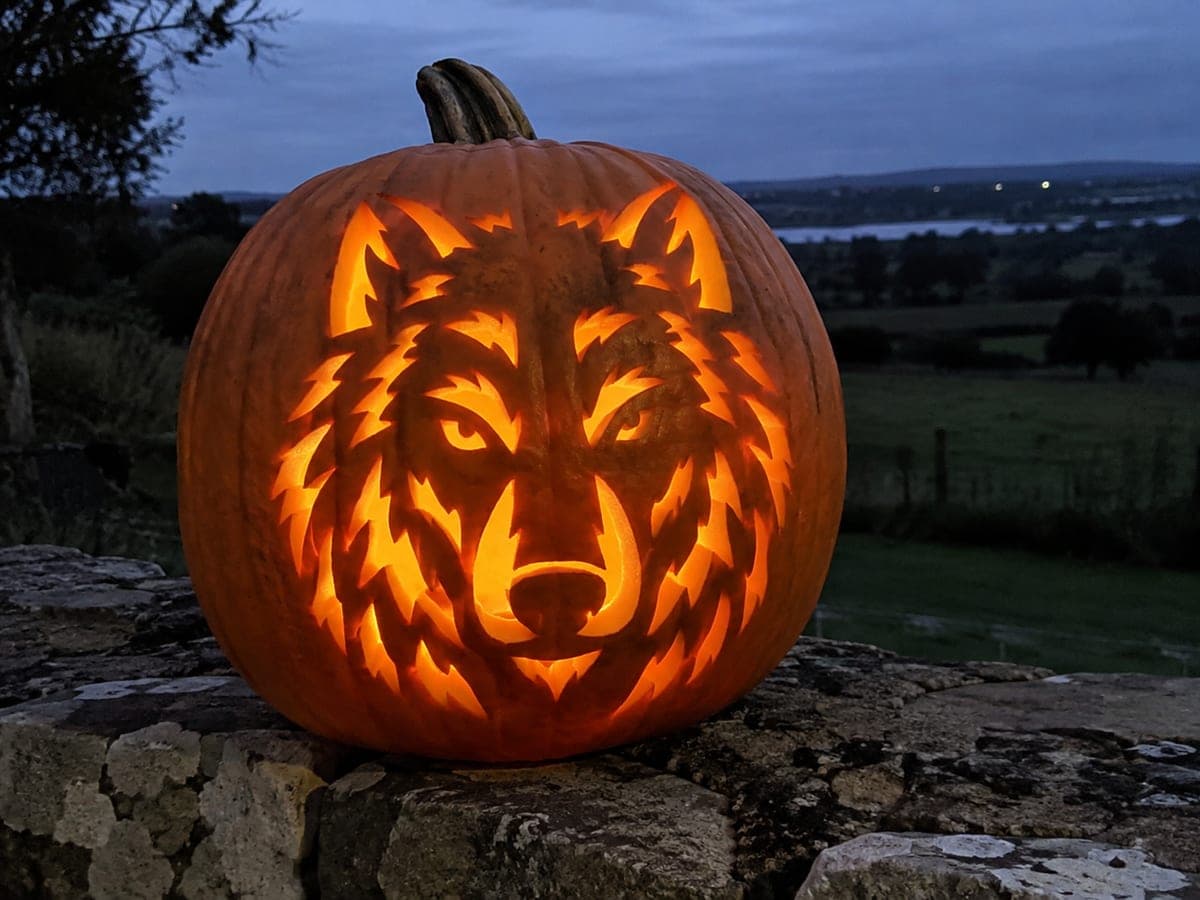
Intricate Peacock Jack-O-Lantern With Connected Feather Lattice

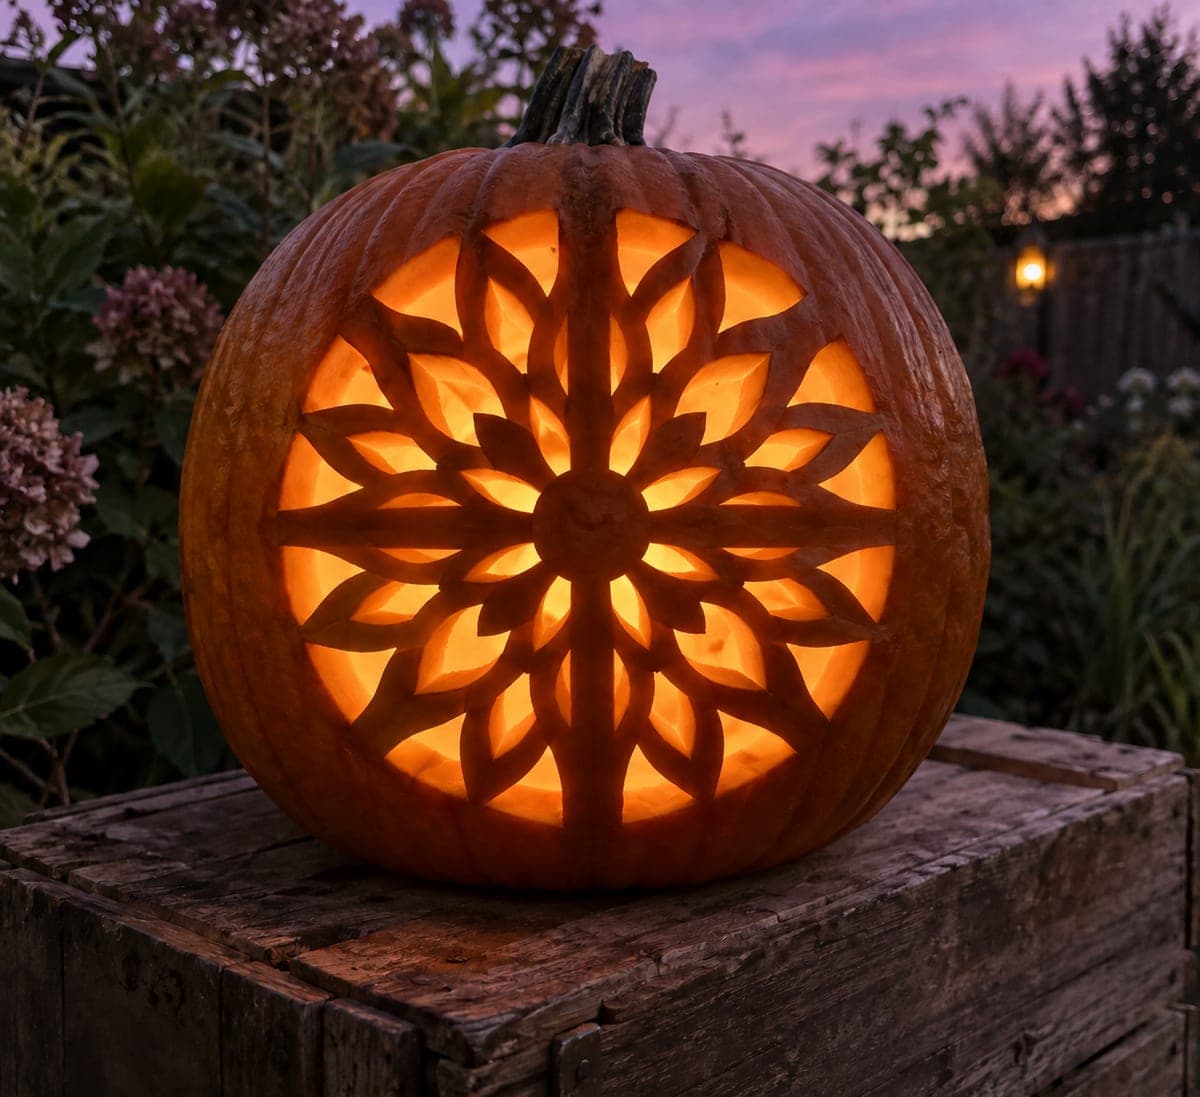
A glowing peacock with an elaborate feather lattice, connected crest, and bridged body defines this expert advanced pumpkin carving idea at its most technically demanding. Fill the horizontal gap beneath all four crest stems with solid rind so each stem connects continuously to the head before cutting any surrounding feather holes. Add two broad lateral bridges joining the left and right sides of the peacock body to the nearest solid feather ribs, preventing the body from detaching under its own weight. Cut the feather holes individually after all structural connections are secured.

No ratings yet · Sign in to rate

Save this design for carving night, then share a photo of your own jack-o'-lantern once it's glowing.

Comments (0)

  • No comments yet — be the first.

Save without an account. Sign in to like or comment.

Our tips for carving a similar design

The peacock is a silhouette design where dark rind forms the bird body and glowing apertures form the feather lattice around it. The critical structural moves are filling the gap beneath all four crest stems so they connect continuously to the head, and adding two broad lateral bridges from the body to the nearest solid feather ribs. Only after those connections are confirmed should any feather holes be cut.

From pumpkin to porch

  1. Prep a large tall pumpkin

    A tall pumpkin with at least 8 inches of carveable face height gives the peacock and crest enough vertical room. Scoop to three-quarters of an inch of wall thickness and chill overnight. Firm, cold rind is essential for the detailed silhouette cuts this design requires.

  2. Transfer the template and mark all bridges

    Tape the peacock template to the face and poke through all outlines. After removing the paper, mark every structural connection in a contrasting color: the crest stem bases, the two lateral body bridges, and the feather rib connections to the outer wall. These marks are your cutting stop points.

  3. Verify and fill the crest stem connection

    The most critical step is confirming that all four crest stems connect continuously to the top of the peacock head with no glowing gap. If your traced design shows any gap beneath the stems, draw a bridge of rind across it on the pumpkin surface before cutting anything. This connection must be solid before work proceeds.

  4. Cut the large background apertures

    Open the large glowing areas of the feather lattice, working from the outer edges inward. Leave the two lateral body bridge positions uncut throughout. After every few apertures, press gently on the bird body to confirm it is still firmly anchored.

  5. Confirm bridges, then cut feather holes

    Once large apertures are open, verify both lateral bridges from the body to the feather ribs are at least 12 mm wide. Then work through the individual feather holes systematically from the outer ring inward, completing each full ring before moving to the next.

  6. Light and display

    A very bright LED lantern is needed to push light evenly through all feather holes and large apertures simultaneously. Display at eye level on a pedestal so the peacock tail fans correctly at viewing height. The design reads best against a dark wall or curtain.

Written with AI to match this design

Gather your supplies

Check things off as you get ready.

Work on a stable surface, keep your free hand out of the cutting path, and have an adult handle sharp tools.

Three levels of light

  • Leave intact

    The full peacock body silhouette, crest stems, lateral bridges, and all feather rib rind stay solid and dark.

  • Peel & shade

    None for this design.

  • Cut through

    All large background apertures of the feather lattice and every individual feather hole are cut through for full glowing light.

Learn the carving basics

Before you start cutting

How thick should the lateral body bridges be?

Each bridge should be at least 12-15 mm wide to carry the weight of the body rind. Position each bridge where it naturally blends into an existing dark area of the feather design so it looks intentional. Two bridges, one on each side at mid-body height, distribute the load evenly.

What if the crest stem connection looks too thick after bridging?

A slightly wider connection between the crest stems and head reads as a natural rind shadow from a few feet away. Structural integrity outweighs strict template accuracy at this level of detail, and viewers will not notice a 2-3 mm widening of the stem base connection.

How long will a pumpkin this detailed stay display-ready?

Plan on 4-5 days of display life with LED lighting and refrigeration between sessions. The many small feather holes increase air-exposed surface area, which accelerates drying. Sealing all cut edges immediately after finishing with petroleum jelly can extend display life by at least one full day.

Your take belongs here, too.

Changed a detail? Made it simpler? Share a photo of your version and tell the community what worked.

Share your pumpkin

More pumpkins like this

You've reached the end · 8 pumpkins
The Patch Report

Fresh pumpkins, in your inbox.

The best new carvings, ideas worth stealing, and how-tos for carving season. Short, seasonal, and gone by November.

A short email during carving season. Unsubscribe anytime. See our privacy policy.