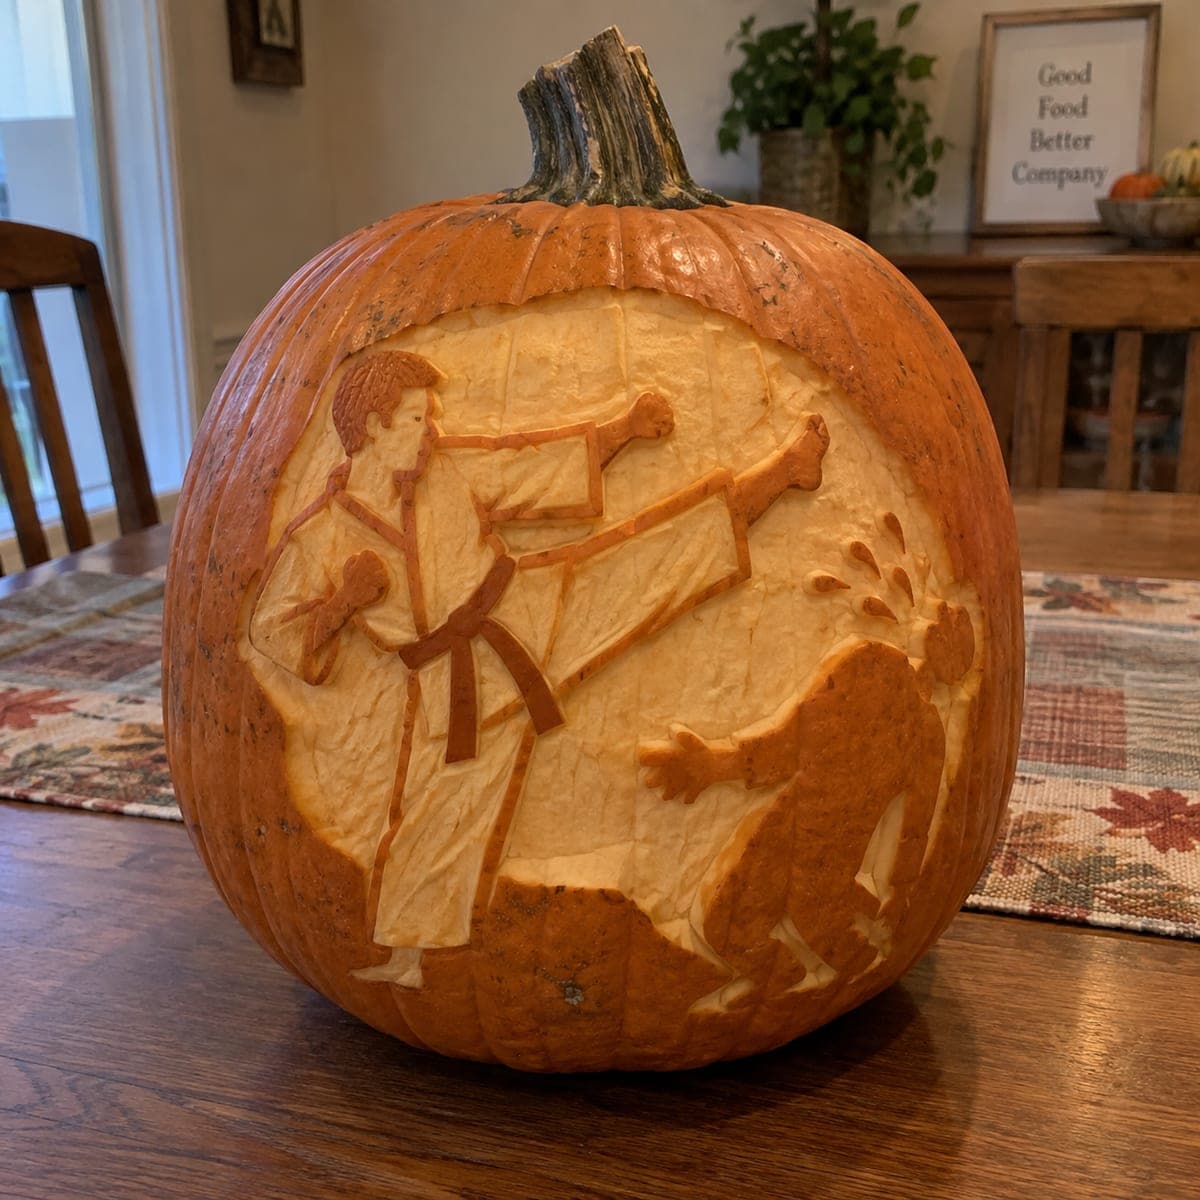
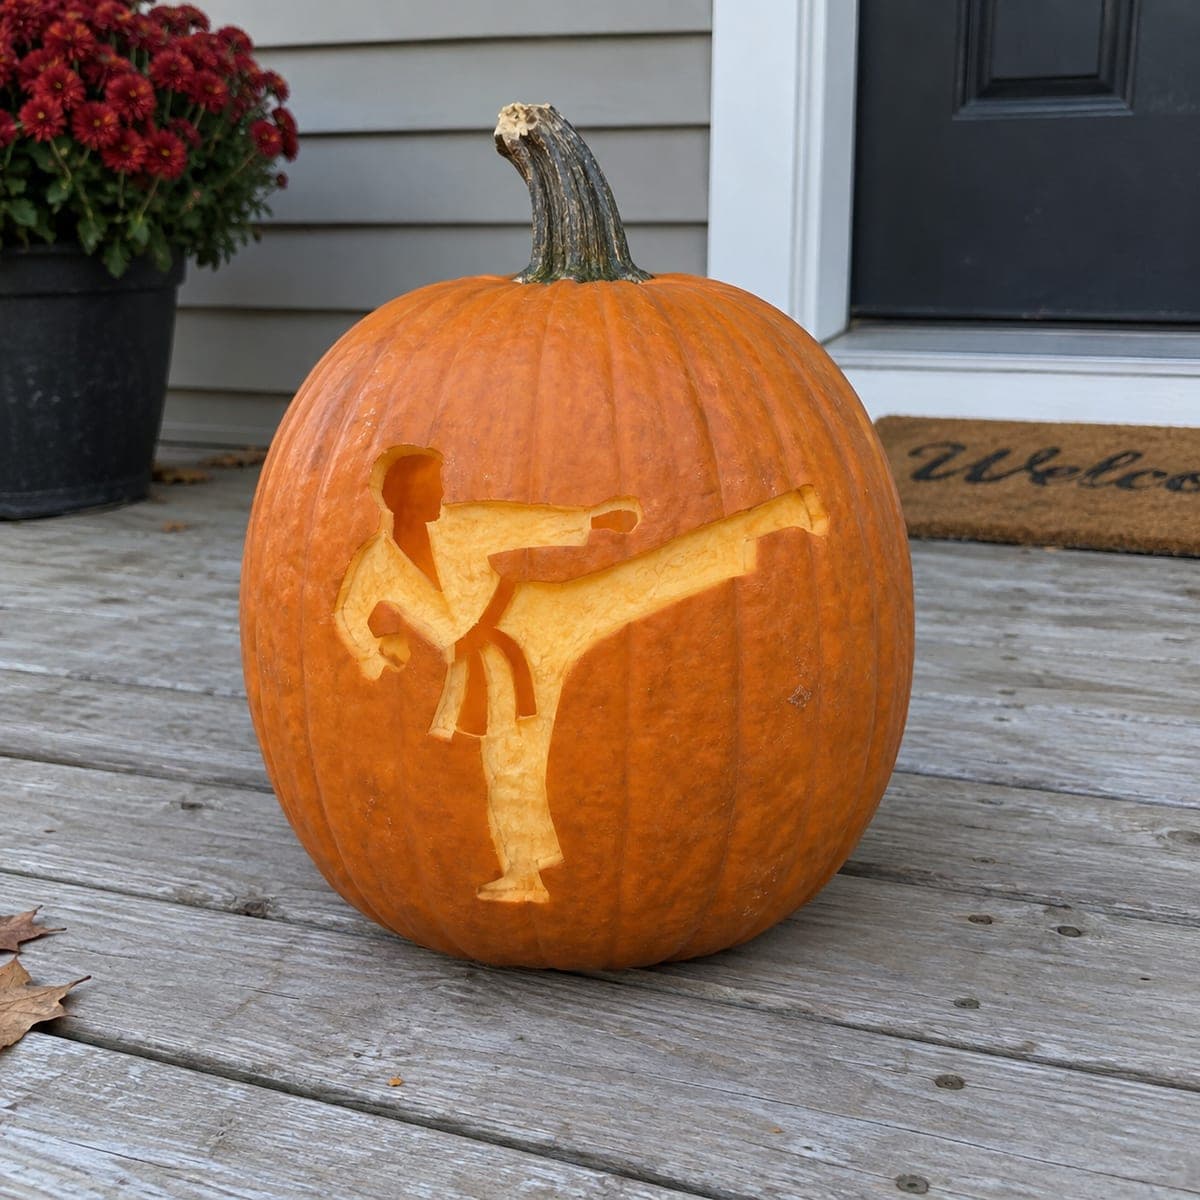
A martial artist mid-flying-kick is captured in detailed relief carving, the figure's gi and belt rendered in layered shading against a circular negative-space background. The dynamic pose, complete with impact spray at the kick point, rewards close-up viewing and shows how deep pumpkin carving can rival sculpture. Begin by outlining the figure with a detail knife, then use a loop tool to remove background layers at consistent depth before adding shading gradients to the figure. This pumpkin carving idea is a great conversation piece for any sports fan.
This is an AI-generated concept image: a realistic, carvable design idea rather than a photo of a finished carve. AI concepts are always labeled and sit out the leaderboard and the contest.
The core trick here is relief carving, where you never cut all the way through the shell and instead shave the skin and flesh to different depths so light passes through in gradients. The plan is to lock in the figure's outline first, scoop the circular background down to a steady depth so the fighter reads in front of it, then add shallow shading to the gi, belt, and impact spray. This is an AI concept image, so treat it as a target look you build toward on a real pumpkin, not a set of steps someone already did.
Written by PumpkinCarvingIdeas.com, inspired by the image above. These are our suggestions, not instructions from the uploader. This approach to the AI concept has not been tested on a real pumpkin.
From pumpkin to porch
1
Pick a pumpkin and plan the panel
Choose a large pumpkin with one broad, smooth face and a fairly flat wall, since relief work needs room and a surface that will not distort your figure. Wipe it clean and dry it. Sketch or tape your stencil roughly in the center where the figure and the circular background will fit without wrapping around the shoulder of the pumpkin. Keep the flying-kick figure a little left of center so the impact spray has space on the right.
2
Open a back door, not the top
Cut a hatch in the back of the pumpkin rather than the stem lid so the front wall stays uncut and strong for relief work. Scoop the seeds and pulp, then thin the carving wall on the inside to about one inch using a scraper or a big spoon. A steady, even wall thickness is what lets your shading glow consistently later. Set an LED light or two inside and never a candle.
3
Transfer and outline the figure
Tape your pattern to the front and poke the main outlines with a pin or transfer tool. Remove the paper and, with a detail knife, score the outline of the fighter, the gi folds, the belt, and the circle edge of the background. Cut only skin deep at this stage so you have crisp borders to work against. Take your time on the raised knee and extended leg, since those lines sell the motion.
4
Lower the background
Using a loop tool, remove the background inside the circle down to a consistent shallow depth, working right up to but not into your figure outline. Aim for the same depth all the way around so the fighter appears to stand out in front of an even, glowing disc. Go slow near the arms and leg where the figure meets open background. Check your depth often by eye and by feel.
5
Shade the gi, belt, and spray
Now vary depth on the figure itself. Peel just the surface skin on the brightest folds of the gi, leave the hair and belt darker by keeping skin intact, and cut a touch deeper on the small impact-spray marks so they read as the brightest sparks. Blend the edges of each shaded area with the loop tool so the gradients look smooth rather than stepped. Step back with the light on to judge contrast as you go.
6
Clean up and light it
Trim any furry edges with your detail knife and brush out loose pulp so nothing blocks the light. Wipe the cut faces and rub a little petroleum jelly on them to slow drying. Place your LEDs inside, close the back hatch, and dim the room to check that the figure pops against the glowing circle. Photograph it up close, since this design rewards a tight shot.
Gather your supplies
Check things off as you get ready.
Work on a stable surface, keep your free hand out of the cutting path, and have an adult handle sharp tools.
Three levels of light
Leave intact
The hair, the belt, and the darkest gi folds stay as untouched skin so they read as shadow and give the figure depth.
Peel & shade
The circular background and the bright side of the gi get skin peeled to a shallow, even depth for a soft mid glow.
Cut through
The small impact-spray sparks at the kick point are shaved deepest for the brightest highlights, without cutting fully through.
No, this is relief carving, so the light comes through thinned flesh rather than open holes. Keeping the front wall intact is what makes the shading gradients possible. If you cut through the background you lose the soft glow and the figure will look flat against a bright hole.
How do I keep the thin extended leg and arms from looking weak?
Since you are not cutting through, the figure is fully supported by the shell, so there is no risk of pieces snapping off. Just keep your outline cuts clean and shallow so the limbs stay sharp against the background. Work slowly where a narrow limb sits next to a large peeled area.
How thick should my carving wall be for good shading?
Thin the inside wall to about one inch and keep it even across the whole panel. An even wall means light glows at the same brightness everywhere, so your depth changes on the surface control the shading instead of random thin spots. Check thickness by pressing a pin through in a hidden edge before you commit.
Your take belongs here, too.
Changed a detail? Made it simpler? Share a photo of your version and tell the community what worked.
 AI
AI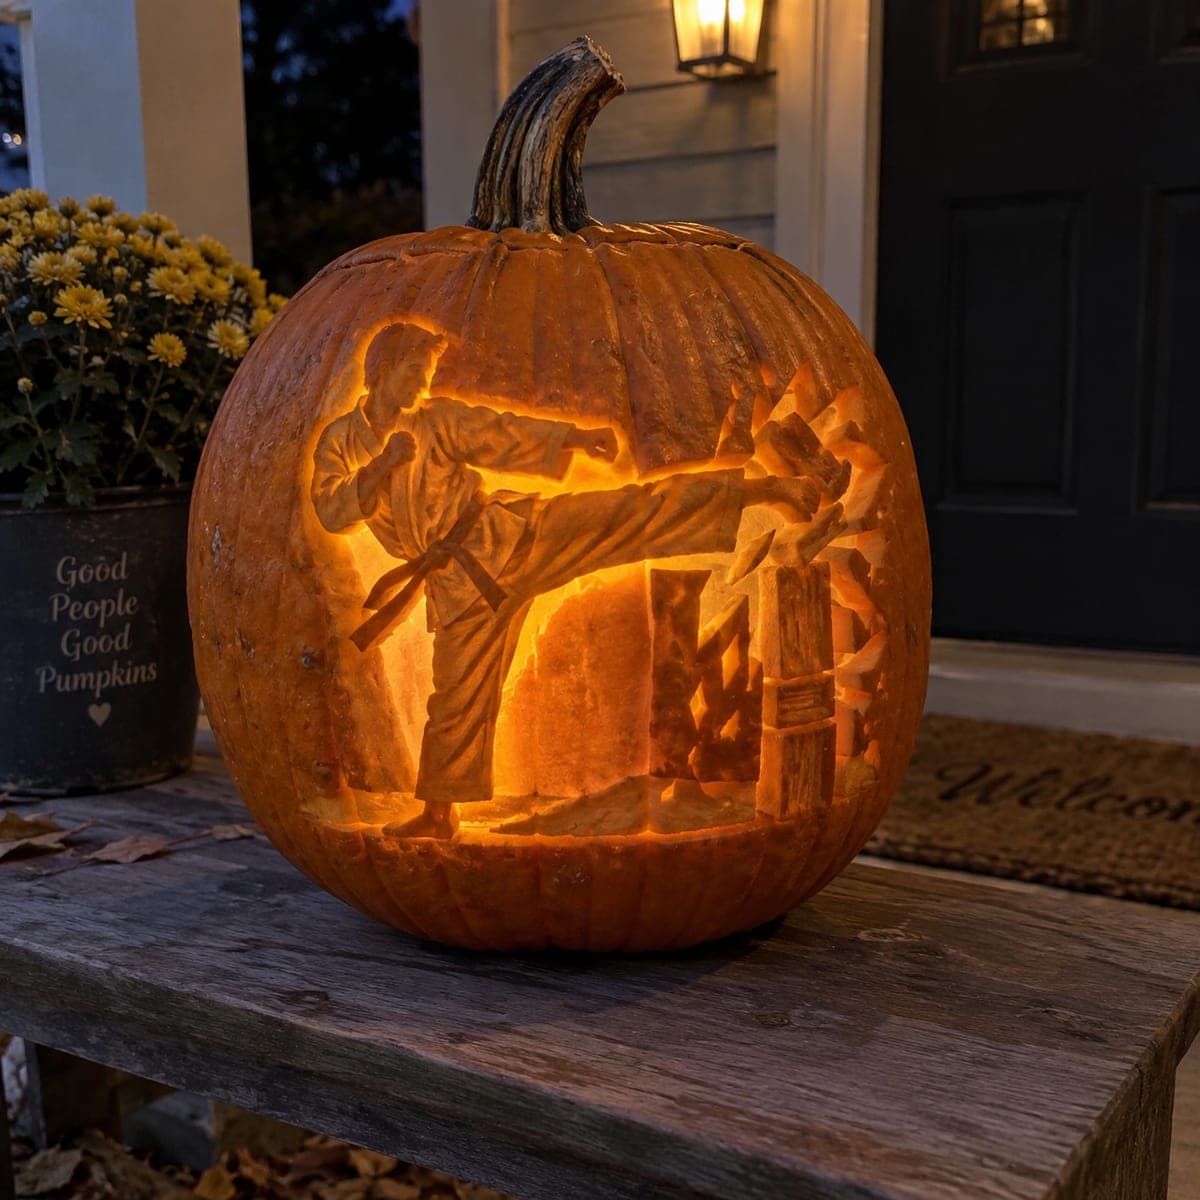
Comments (0)