@lanternlane
Sep 5, 2026
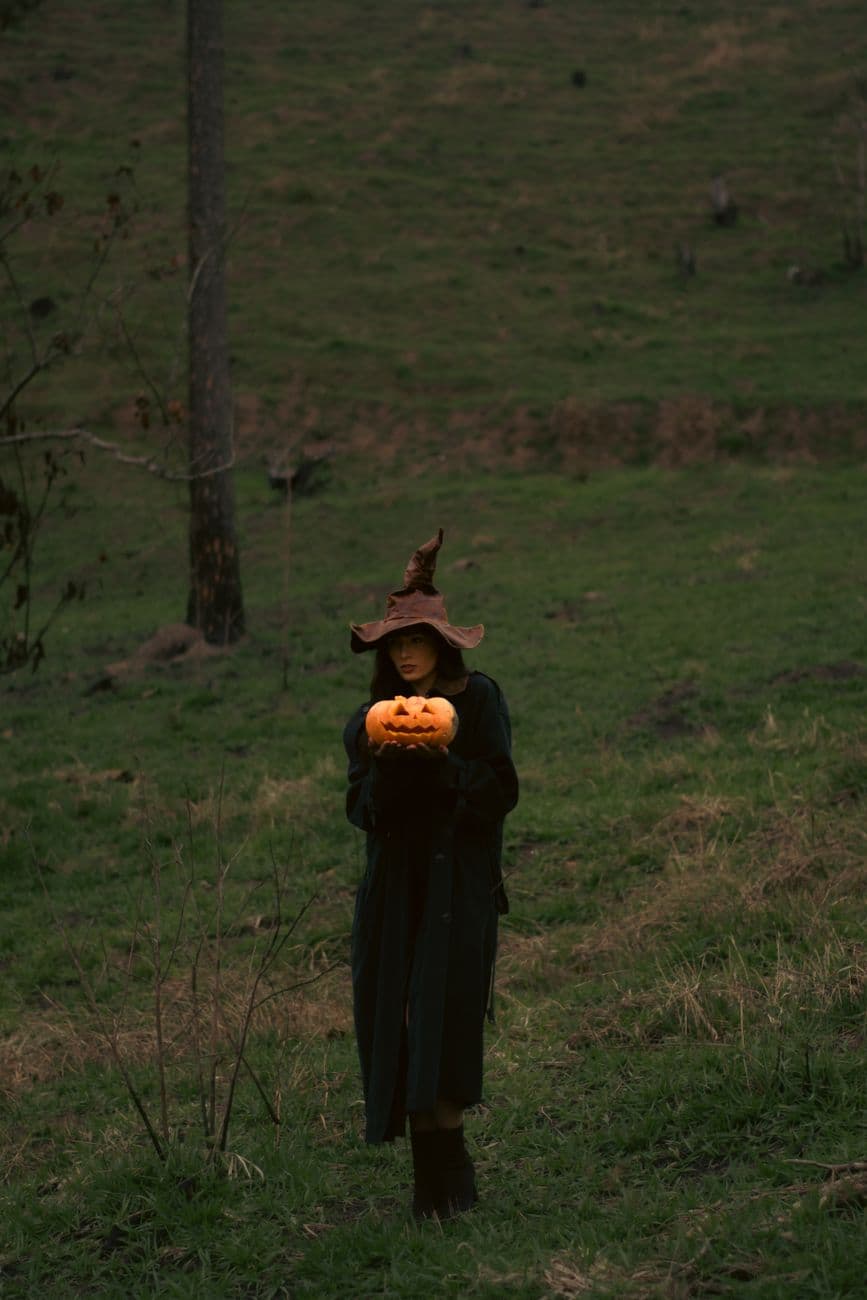
Lantern in the meadow
A lone witch in the field at dusk, cradling a small glowing jack like a found treasure.
No ratings yet · Sign in to rate
A lone witch in the field at dusk, cradling a small glowing jack like a found treasure.
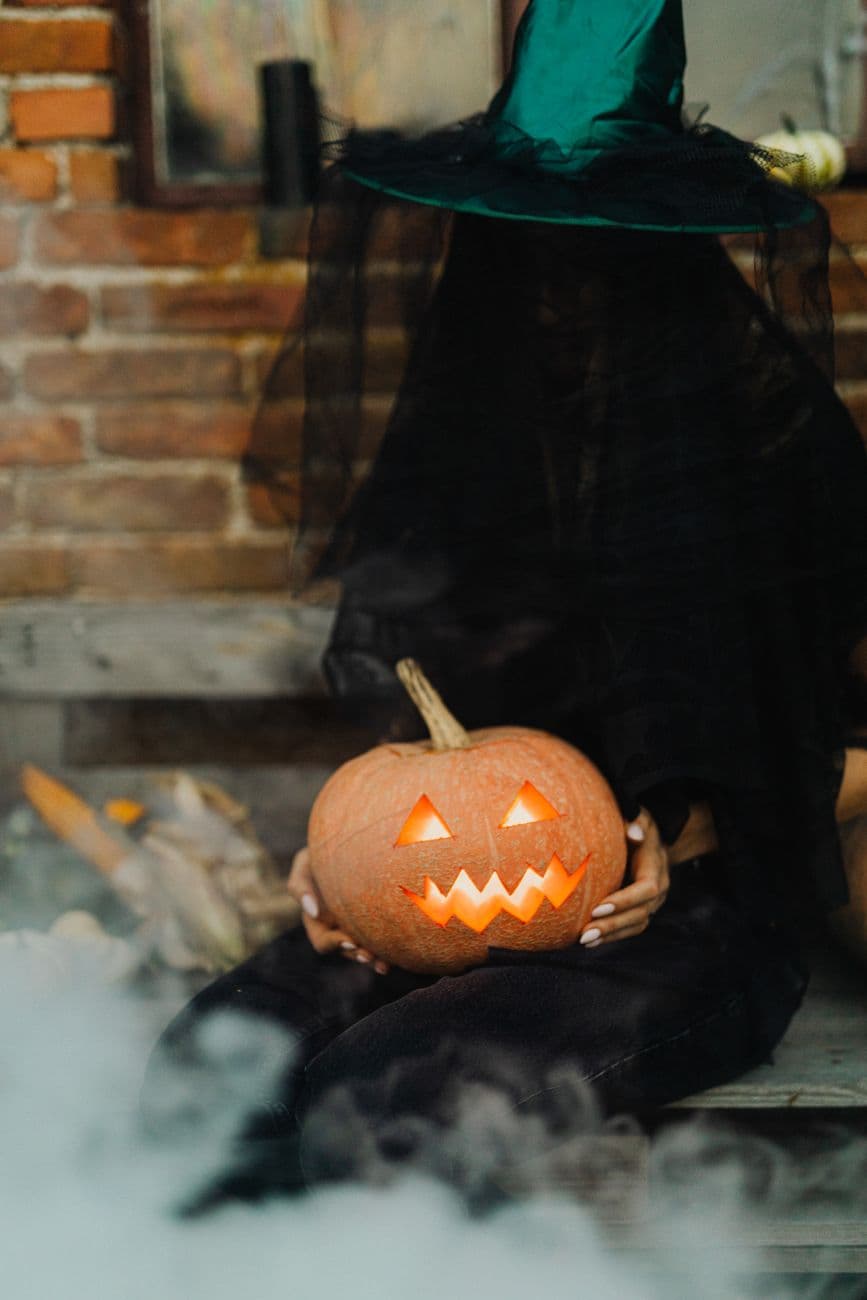
The whole charm here is a small, hand-held pumpkin with a simple classic face: triangle eyes, a triangle nose, and a wide toothy grin. The trick is keeping the cuts clean and the teeth chunky so a little LED throws a warm, even glow. Pick a pumpkin small enough to cradle in two hands and the design will read from across a field.
Written by PumpkinCarvingIdeas.com, inspired by @lanternlane's photo above. These are our suggestions, not instructions from the uploader, and this approach hasn't been tested on their exact carve.
Choose a pumpkin about the size of a cantaloupe so it sits comfortably in your hands. Look for a firm shell with no soft spots and a flat-ish spot on one side for the face. A smaller pumpkin means less wall to cut through and faster carving. Wipe it clean and dry before you draw.
Have an adult cut a lid at an angle around the stem so it drops back in without falling through. Scoop out the seeds and pulp, then scrape the front wall down to about one inch thick where the face will go. A thinner wall makes carving easier and lets more light pass. Save the flat inner scrapings if you want to plant seeds later.
Sketch two triangle eyes, a small triangle nose, and a wide mouth with a couple of square teeth. Keep the shapes bold and a little chunky since tiny details get lost on a small pumpkin. Leave solid pumpkin between the teeth so the grin stays strong and does not crumble. Step back and check the spacing before you cut.
Start with the eyes and nose using a small carving saw, cutting slowly and letting the tool do the work. Push the cut pieces out from the inside with your thumb. Doing the little cutouts before the big mouth keeps the shell rigid while you work. Adults should handle all the sharp tools.
Save the wide mouth for last since it is the largest opening. Cut around each tooth carefully, then remove the mouth sections in a few pieces rather than one big pull. Trim any ragged edges from the back so the light shines through clean. Test-fit a battery LED to check the glow.
Drop in a warm-white LED tea light or a small puck light, never a candle, especially if you plan to hold it. Head out at dusk when a little ambient light still frames the scene, like the meadow in the photo. Cradle it in both hands or set it on a low stump for a photo. A warm bulb gives that cozy found-treasure look.
Check things off as you get ready.
Work on a stable surface, keep your free hand out of the cutting path, and have an adult handle sharp tools.
The outer orange skin across the body stays untouched and dark, keeping the pumpkin looking solid.
Optional: lightly peel a thin outline around the eyes and grin for a soft halo before the full cuts.
The triangle eyes, nose, and toothy mouth are cut all the way through for the brightest glow.
Aim for something around six to eight inches across, roughly cantaloupe size, so it rests in two hands without strain. Smaller pumpkins have thinner walls that are quicker and safer to cut. Just make sure it is firm with no soft or moldy patches.
Yes, as long as you use a battery LED and never a candle. A flame is a burn and fire risk when held, and it can go out in a breeze outdoors. A warm-white LED puck gives a steady glow and stays cool to the touch.
Keep the teeth wide and blocky rather than thin and pointy, and leave solid pumpkin between each one. On a small pumpkin, chunky teeth are much sturdier and still read clearly. Cut the mouth last so the shell stays firm while you carve everything else.
Changed a detail? Made it simpler? Share a photo of your version and tell the community what worked.
The best new carvings, ideas worth stealing, and how-tos for carving season. Short, seasonal, and gone by November.

Comments (0)