Halloween Pumpkin Carving Contest · Starts October 1st · $500 in prizes
← Back to ideas
@ai_concepts
Aug 4, 2026
Leprechaun Face Carved Pumpkin with Shamrock HatAI
0

Leprechaun Face Carved Pumpkin with Shamrock Hat

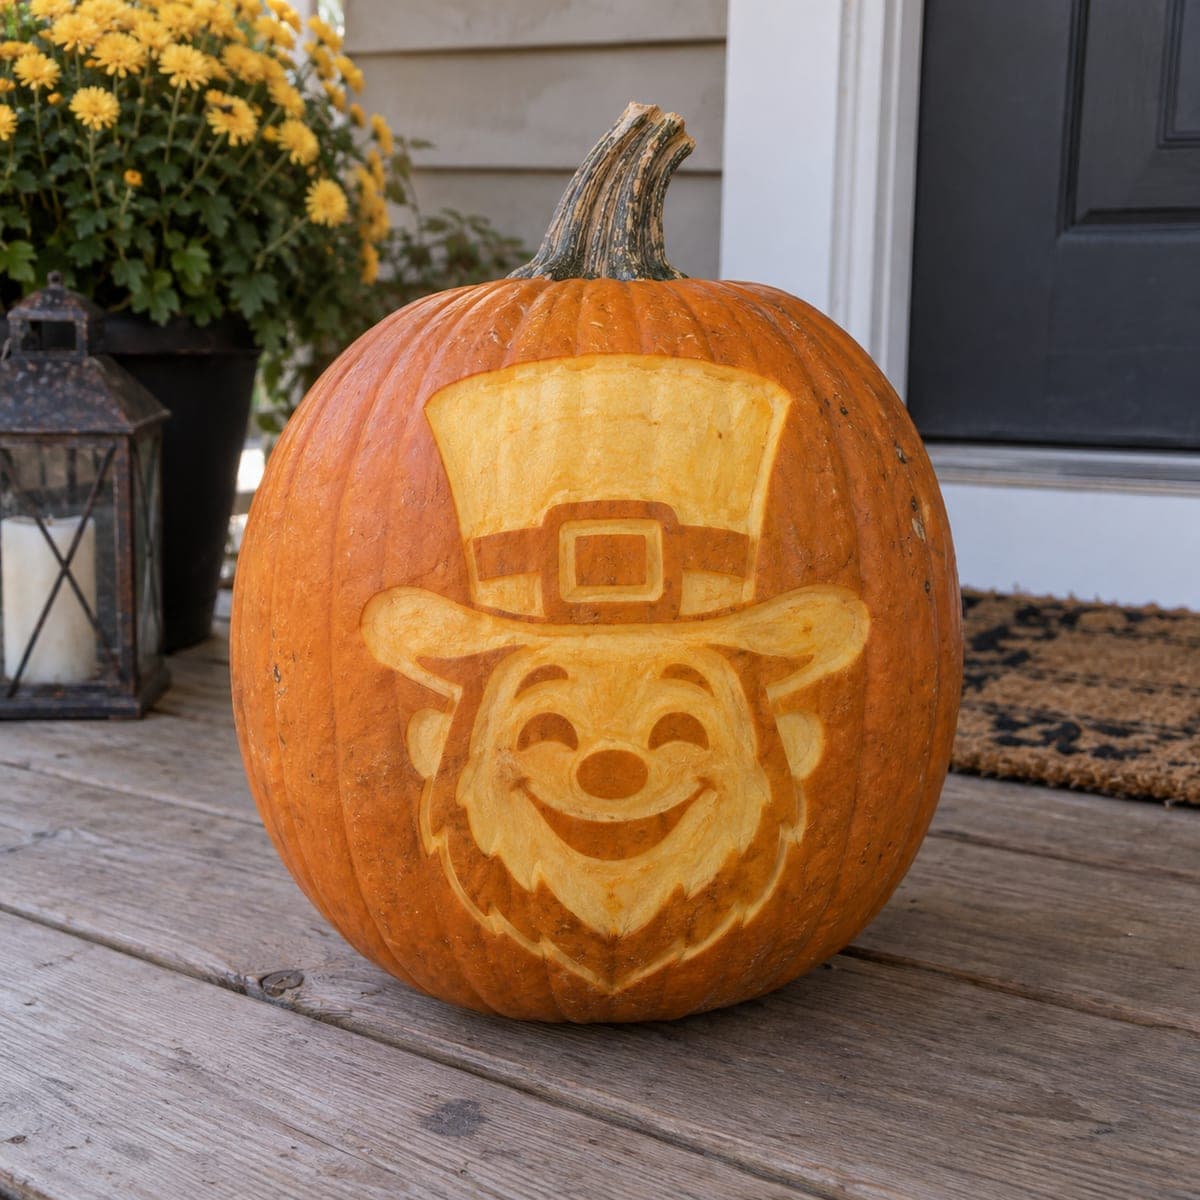
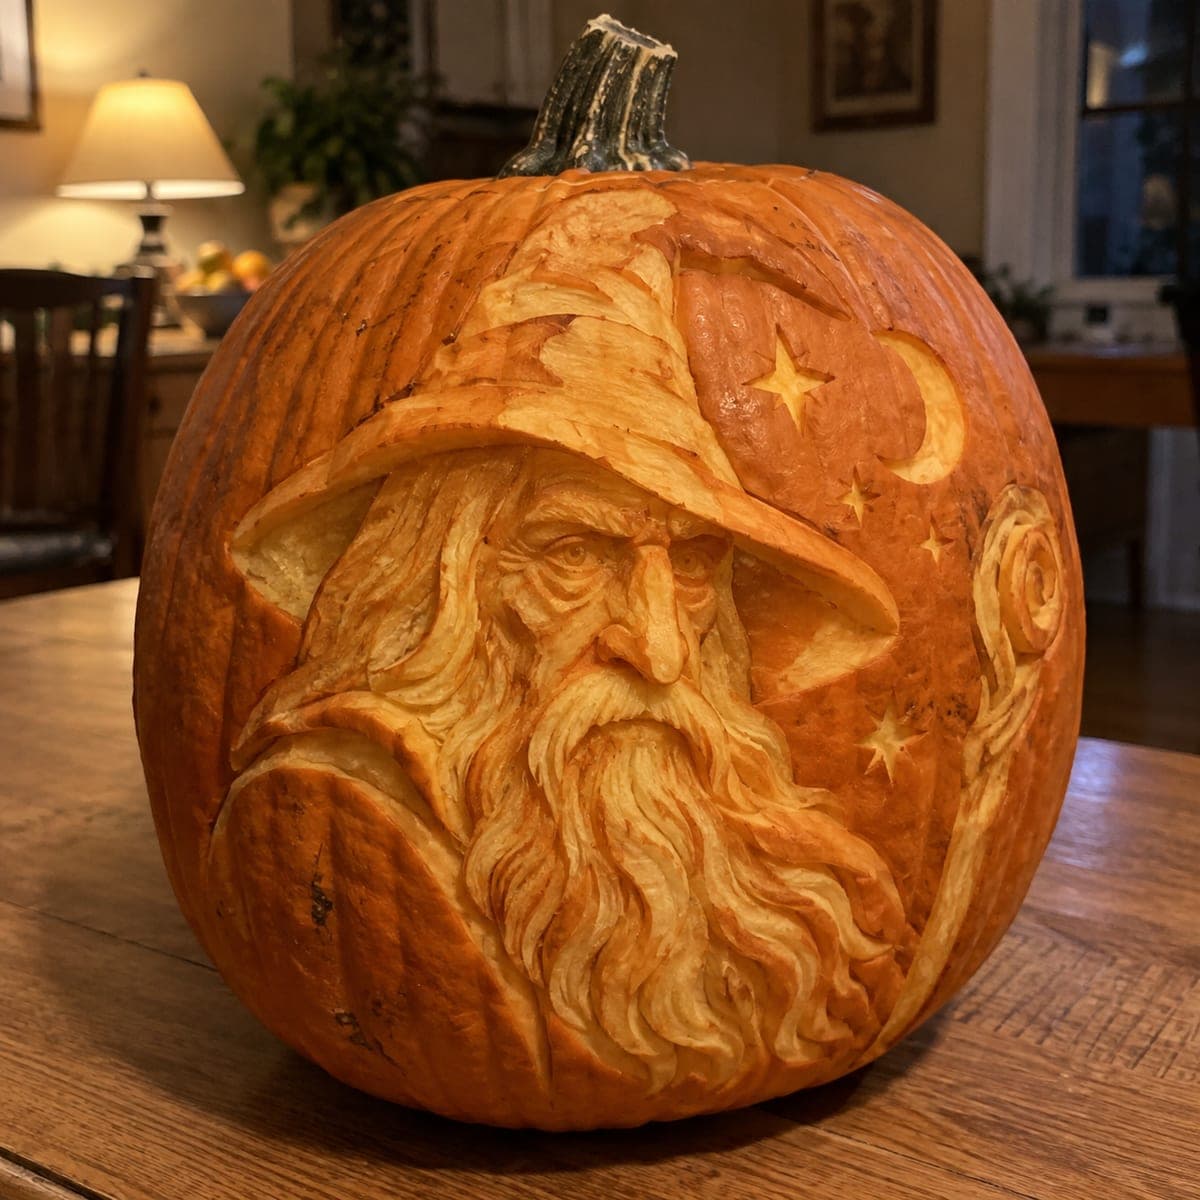
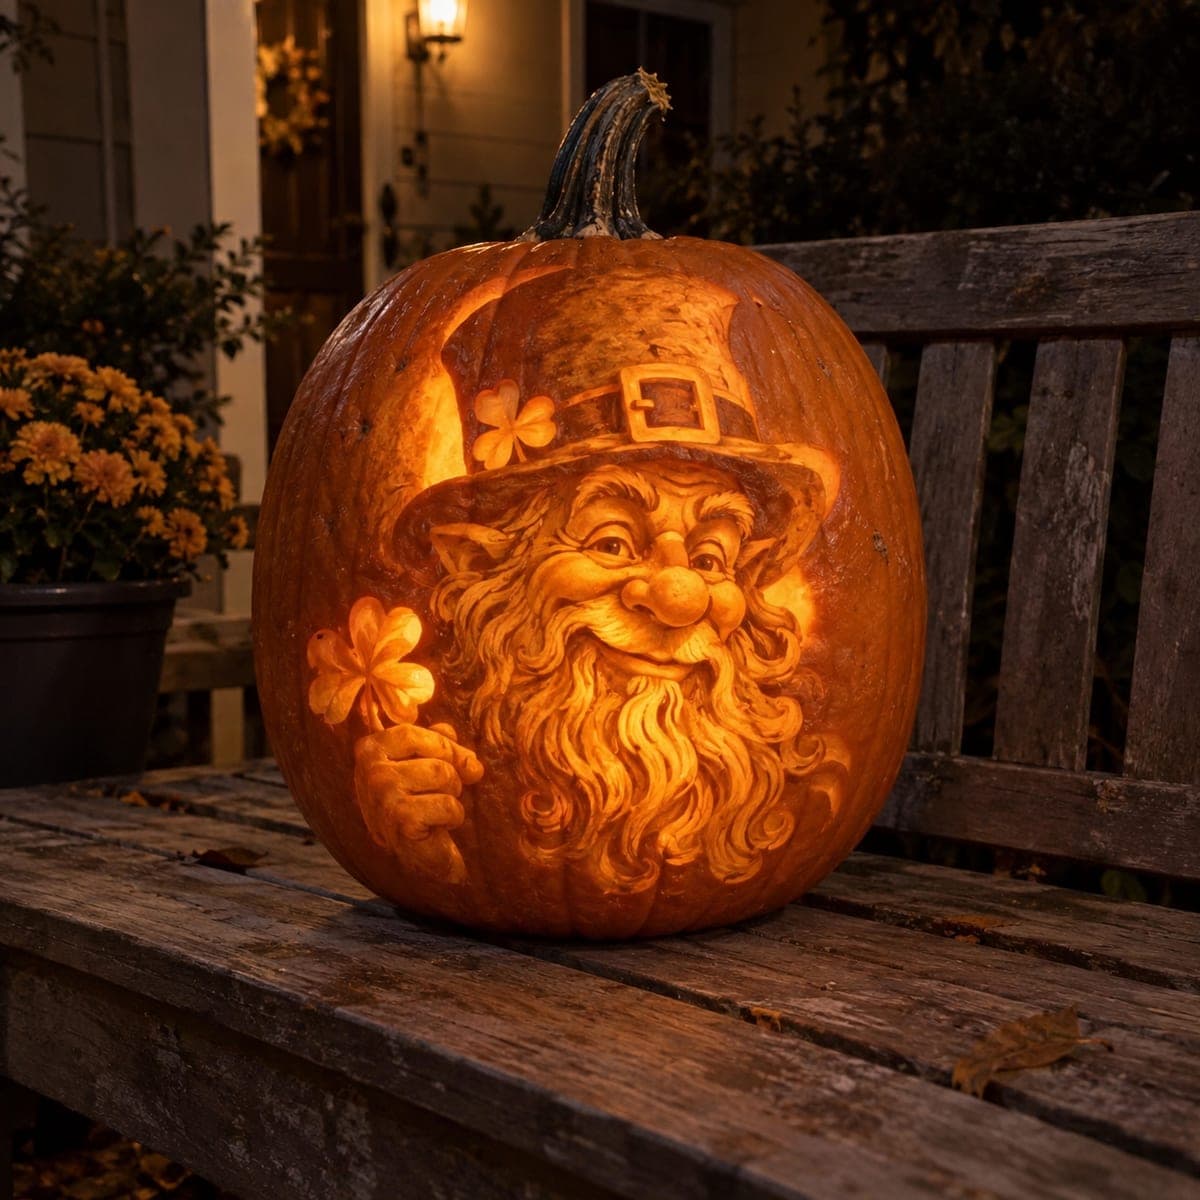
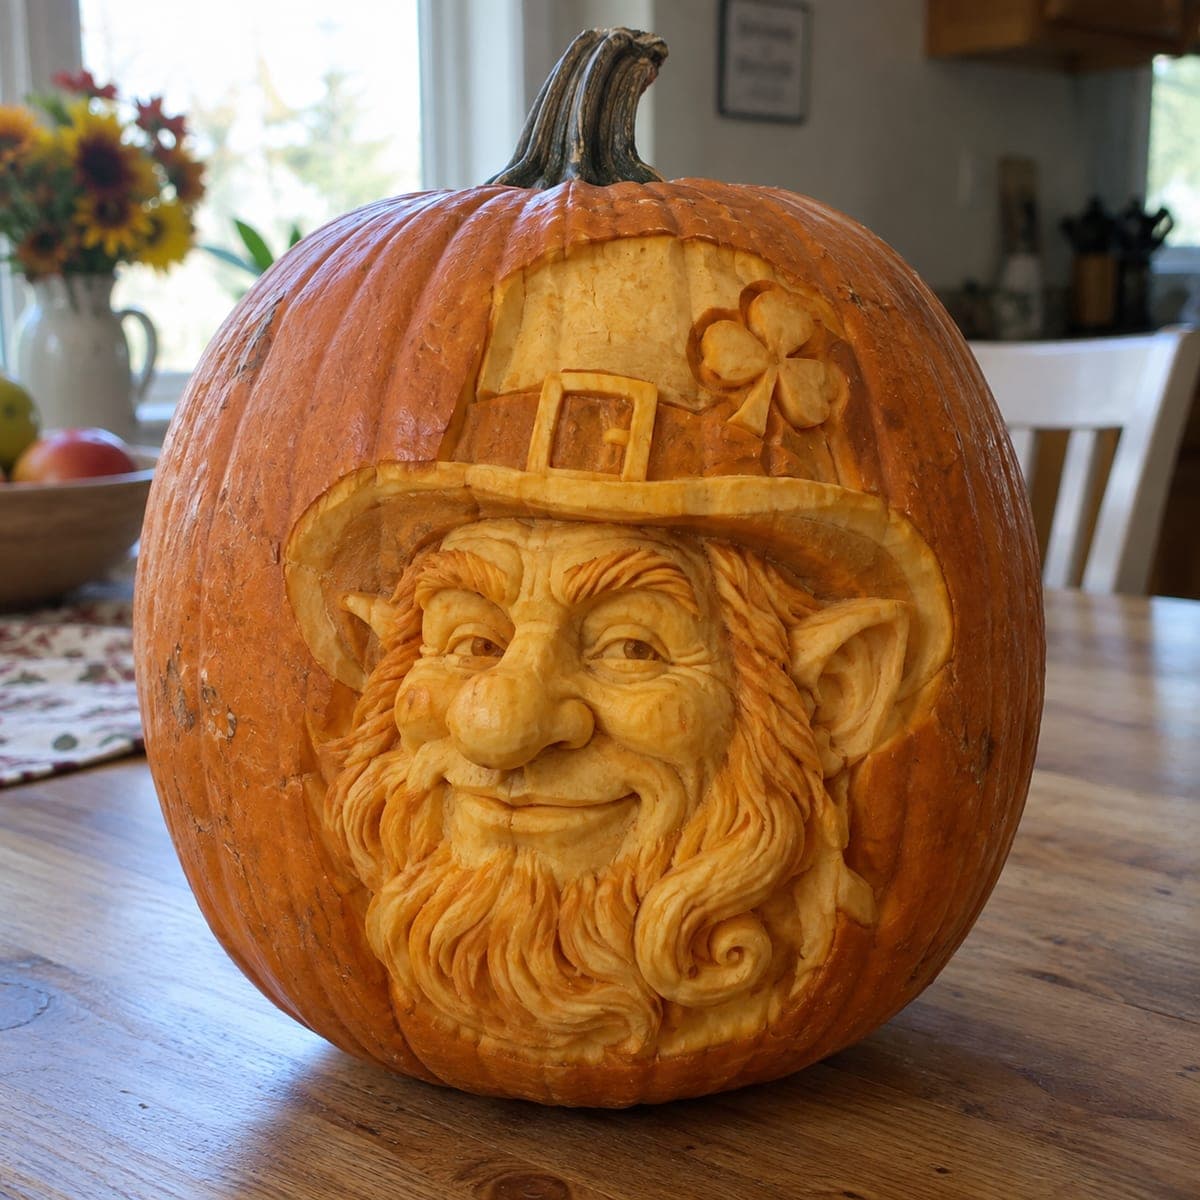
A jovial leprechaun face with a buckled top hat, a shamrock pinned to the brim, pointed ears, and a flowing curly beard is carved in deep three-dimensional relief that makes the character leap off the pumpkin's surface. The sculptor-level carving removes material at multiple depths to create a nearly sculptural effect, with the nose and cheeks projecting forward while the beard curls recede behind. Work in stages using a Dremel and gouges, roughing out the overall form before refining facial details. This pumpkin carving idea doubles as a seasonal display piece well beyond Halloween, especially around St. Patrick's Day.

This is an AI-generated concept image: a realistic, carvable design idea rather than a photo of a finished carve. AI concepts are always labeled and sit out the leaderboard and the contest.
No ratings yet · Sign in to rate

Comments (0)

  • No comments yet — be the first.

Save without an account. Sign in to like or comment.

Our tips for carving a similar design

The core trick here is relief carving at several depths so the face reads as a sculpture rather than a flat cutout. You leave the nose and cheeks standing proud, then carve the beard curls and hat back in stages so they recede into shadow. Nothing is cut all the way through, so the whole design glows from skin thickness and surface texture rather than backlight.

Written by PumpkinCarvingIdeas.com, inspired by the image above. These are our suggestions, not instructions from the uploader. This approach to the AI concept has not been tested on a real pumpkin.

From pumpkin to porch

  1. Pick a deep-walled pumpkin and transfer the design

    Choose a large pumpkin with thick, blemish-free walls, since 3D relief eats into a lot of flesh. Cut a lid or a base plug and scoop the front wall until it is a consistent thickness, thick enough to sculpt into. Tape your leprechaun pattern to the face and poke the main outlines through with a stylus. Mark the highest points, the nose and cheeks, so you remember to protect them.

  2. Rough out the overall form

    With a large loop tool or a Dremel sanding drum, lower the background around the hat and beard first. Establish the big depth difference between the projecting face and the receding beard before touching any detail. Work slowly and keep checking the silhouette from the side. Leave plenty of extra material everywhere at this stage so you have room to refine.

  3. Shape the face and hat

    Switch to smaller gouges to round the nose, brow, and cheeks into smooth curves. Carve the eye sockets slightly deeper and leave a ridge for the nose and smile lines. Define the hat brim as a raised band and press in the buckle and shamrock as shallow relief shapes. Keep the ears attached to the head with solid flesh behind them so they do not snap.

  4. Sculpt the beard and hair curls

    Use a V-gouge to cut long flowing lines that spiral into the beard curls. Vary the depth so some strands sit forward and others tuck behind, which is what sells the movement. Undercut the edges of a few curls just slightly for shadow, but leave a bridge of flesh underneath so they stay supported. Take your time, since this texture is where the character comes alive.

  5. Skin-peel for glow and refine shading

    Peel the outer skin off the raised areas you want to catch light, like the cheeks, nose tip, and hat band, so they turn a warm dim orange. Leave background skin dark for contrast. Smooth any rough facets with fine sanding and clean out debris with a soft brush. Step back often to judge the balance of light and shadow.

  6. Light it and photograph

    This design is a relief sculpture, so light it from the front or side with a small LED spotlight rather than from inside. Angle the light to rake across the beard and catch the raised nose and cheeks. Mist the surface lightly and take photos soon after carving, since fine relief dries and curls within a day. Coat cut areas with petroleum jelly to slow browning if displaying longer.

Gather your supplies

Check things off as you get ready.

Work on a stable surface, keep your free hand out of the cutting path, and have an adult handle sharp tools.

Three levels of light

  • Leave intact

    The dark background around the hat and beard, plus the deepest curl recesses, stays as untouched skin for shadow.

  • Peel & shade

    The cheeks, nose, hat band, and buckle get skin-peeled to a soft orange to catch a front light.

  • Cut through

    No full cutouts here, since this is a relief sculpture lit from the front rather than backlit.

Learn the carving basics

Before you start cutting

Do I need to hollow the pumpkin and light it from inside?

Not for this design. It is a relief sculpture meant to be lit from the front or side with an LED spotlight, so the shadows in the beard and face show up. You can still scoop the inside to lighten it, but the glow comes from surface treatment, not backlight.

How do I keep the pointed ears and beard curls from breaking off?

Keep solid flesh behind every raised detail rather than carving fully around it. The ears should stay connected to the head, and each beard curl needs a bridge of pumpkin underneath. Undercut only slightly for shadow, and avoid thin free-standing tips.

This looks very advanced. Where should I focus my time?

Spend most of your effort roughing out the big depth difference between the face and the beard first, because that is what creates the sculptural pop. Detail work like curls and smile lines is quicker once the major forms are correct. If you rush the rough-out, no amount of fine detail will save it.

Your take belongs here, too.

Changed a detail? Made it simpler? Share a photo of your version and tell the community what worked.

Share your pumpkin

More pumpkins like this

You've reached the end · 8 pumpkins
The Patch Report

Fresh pumpkins, in your inbox.

The best new carvings, ideas worth stealing, and how-tos for carving season. Short, seasonal, and gone by November.

A short email during carving season. Unsubscribe anytime. See our privacy policy.