Halloween Pumpkin Carving Contest · Starts October 1st · $500 in prizes
← Back to ideas
@ai_concepts
Sep 6, 2026
Medusa Snake Hair Glowing Pumpkin CarvingAI
0

Medusa Snake Hair Glowing Pumpkin Carving

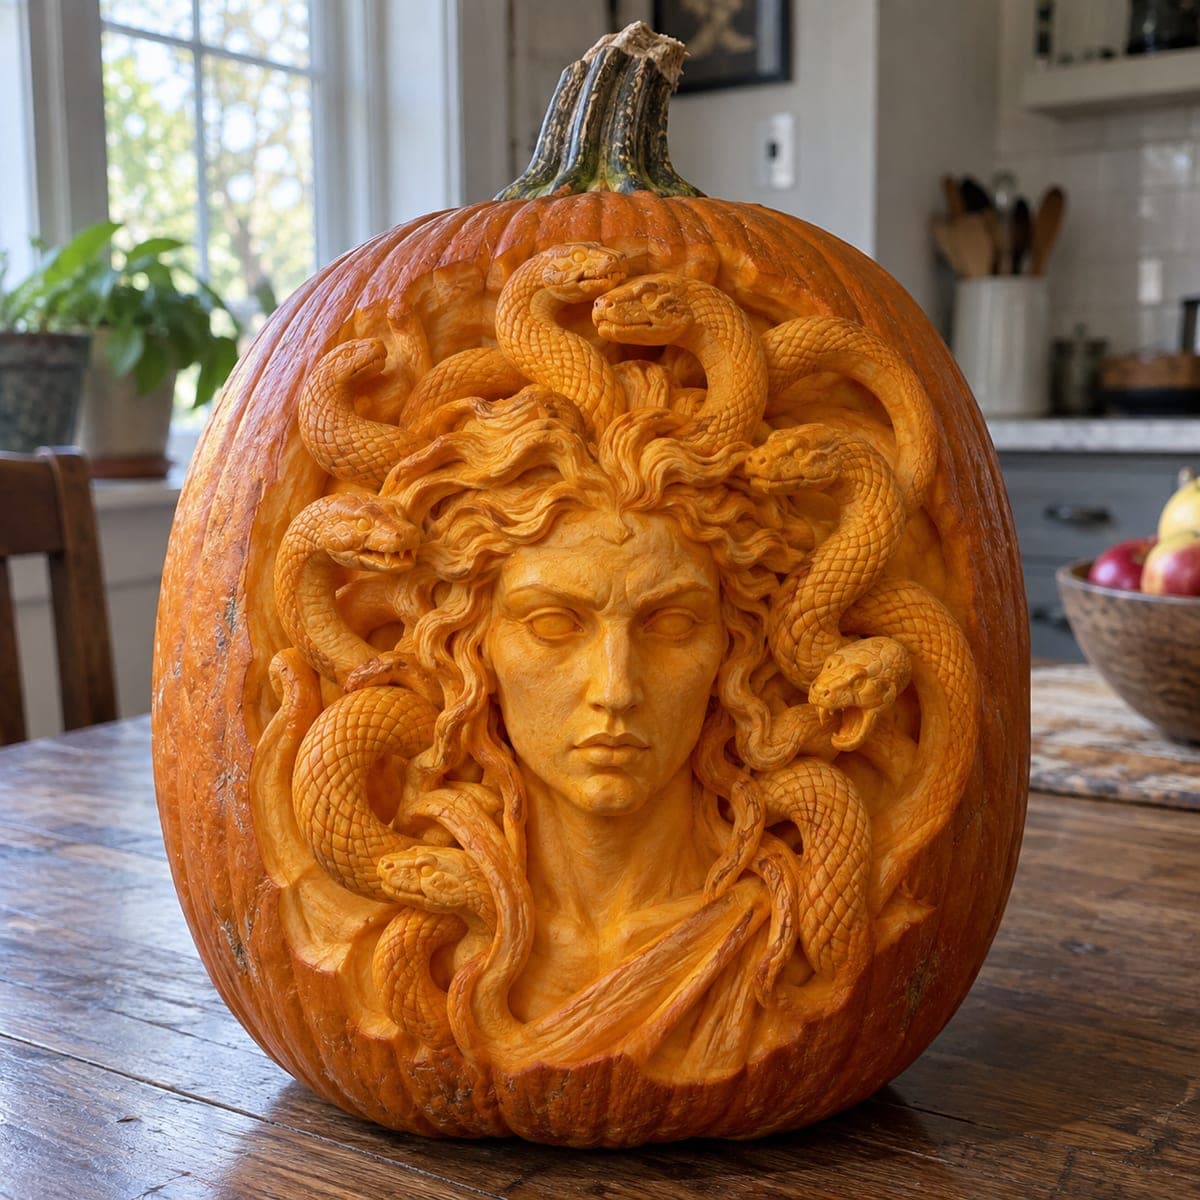
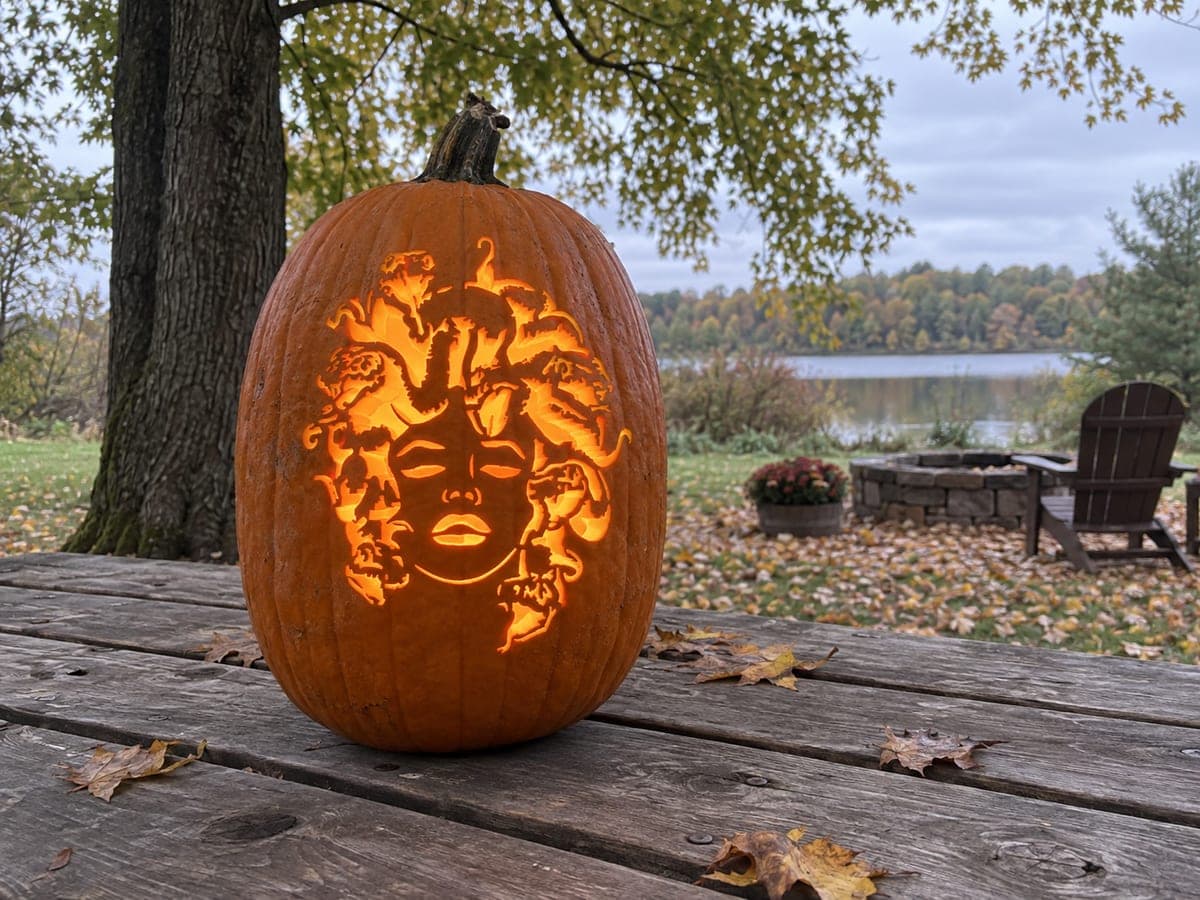
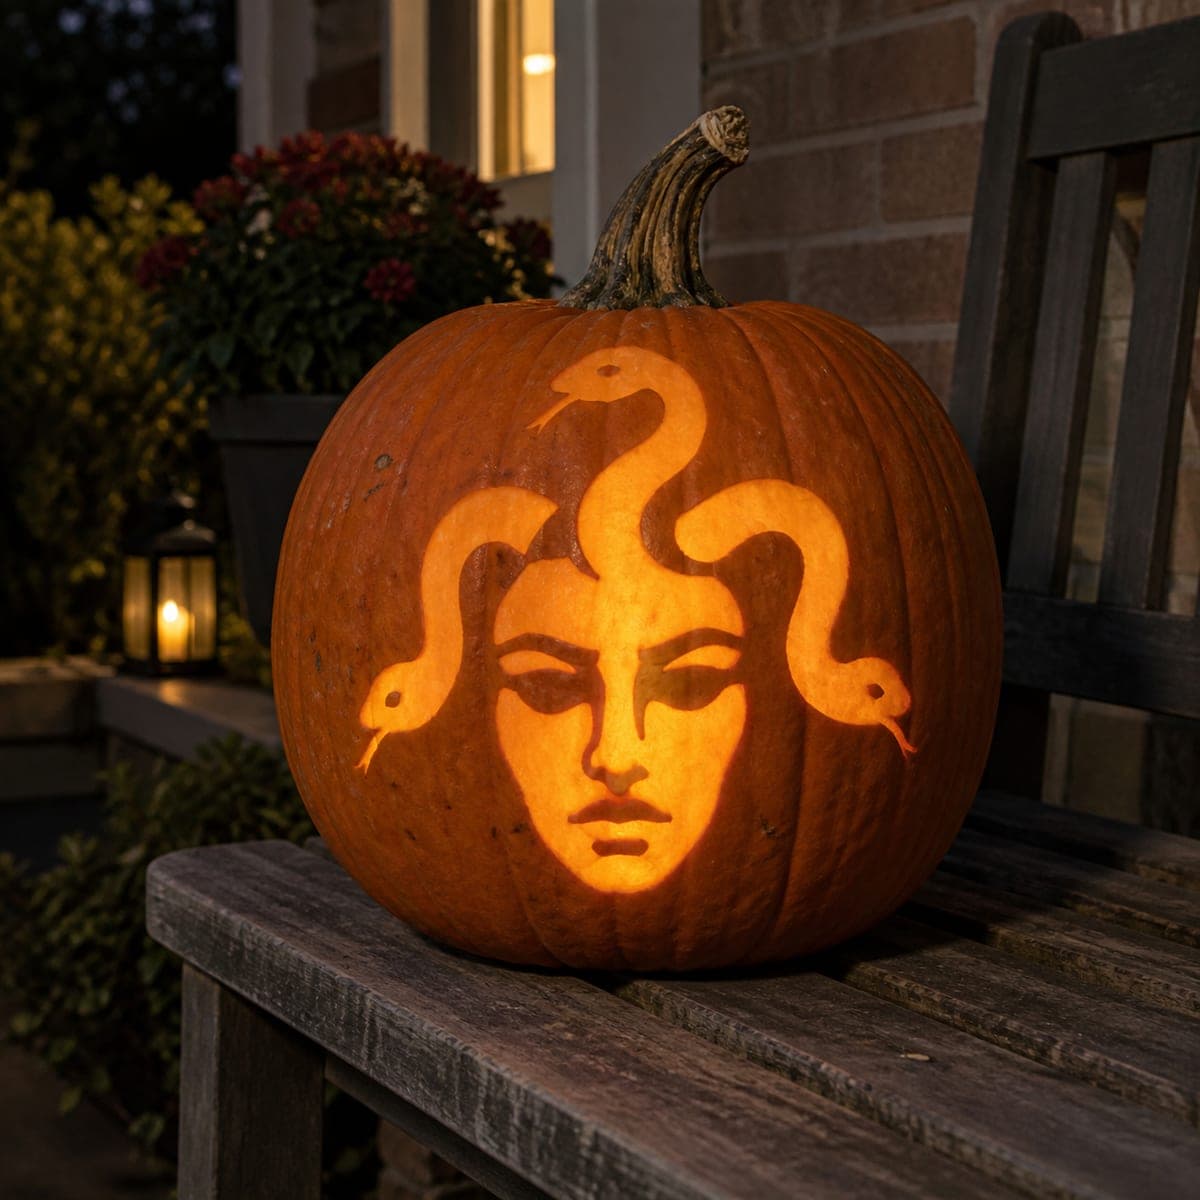
Medusa's calm face floats among five glowing serpents in this Greek mythology pumpkin carving idea, with the snakes' curves doing most of the visual work. The face stays as uncarved silhouette while the snakes and surrounding shapes are carved through to glow, so cut the smallest snake heads first while the wall is still rigid. Leave sturdy bridges where each serpent meets the hairline so nothing sags. A flickering candle makes the snakes appear to writhe after dark.

This is an AI-generated concept image: a realistic, carvable design idea rather than a photo of a finished carve. AI concepts are always labeled and sit out the leaderboard and the contest.

No ratings yet · Sign in to rate

Comments (0)

  • No comments yet — be the first.

Save without an account. Sign in to like or comment.

Our tips for carving a similar design

The core trick here is contrast: Medusa's face stays as a calm, uncut silhouette while the five snakes around it are cut clean through to glow. Because the face carries the design with almost no interior cutting, all your careful work goes into the serpents and the negative space between them. Plan your bridges before the first cut so the hairline and snake bodies stay firmly anchored to the pumpkin wall.

Written by PumpkinCarvingIdeas.com, inspired by the image above. These are our suggestions, not instructions from the uploader. This approach to the AI concept has not been tested on a real pumpkin.

From pumpkin to porch

  1. Pick a tall pumpkin and cut a bottom or back opening

    Choose a smooth, fairly round pumpkin with a broad front face for the portrait. Cut your access hole in the back or bottom, not the top, so the stem stays intact for that draped-hair look. Scrape the inside wall behind the face down to about one inch thick so light passes evenly. A flatter, thinner wall makes the peeled face glow smoothly.

  2. Transfer the stencil and mark your bridges

    Tape the pattern flat against the front and poke through the outlines with a pin or transfer tool. Before cutting anything, mark small connector bridges where each snake meets the hairline and where snake bodies cross, since those spots hold the design together. Also mark the facial features, eyes, nose, and lips, as lines to keep dark. Double check that no thin snake neck is left floating without support.

  3. Cut the small snake heads first

    While the pumpkin wall is still rigid, cut the smallest, most delicate shapes: the snake heads, forked tongues, and eye dots. Use a fine detail saw and take slow, short strokes. Working small to large keeps the wall strong so tiny points do not tear out. Leave the tongues connected by a short bridge so they do not snap off.

  4. Cut the snake bodies and negative space

    Move on to the longer, curving snake bodies and the open areas between the serpents, saving the largest openings for last. Keep the bridges you marked at the hairline intact so the snakes appear to grow from her head without sagging. Support the wall with your free hand as you free each large piece. Push cut pieces inward and out through your access hole.

  5. Peel the face for a soft glow

    For Medusa's skin, use a lino or ribbon tool to shave off only the orange outer layer across the face, leaving the eye, nose, and lip lines as uncut dark skin. This gives her a warm, floating glow that reads as a face without hollow eye sockets. Go slow and check the depth often against a light. The thinner you peel, the brighter that area shines.

  6. Light it and photograph after dark

    Set a battery LED puck or string inside rather than a candle, since the many cutouts and thin bridges do best with cool, steady light. Position the light low and slightly forward so it fills the snakes and washes up over the face. Take your photo at dusk on a porch or bench so the glow stands out against the dark. Mist the cut edges with water and refrigerate between showings to keep the snakes crisp.

Gather your supplies

Check things off as you get ready.

Work on a stable surface, keep your free hand out of the cutting path, and have an adult handle sharp tools.

Three levels of light

  • Leave intact

    The facial feature lines, the eyes, nose, and lips, stay as uncut dark skin so they read as calm features.

  • Peel & shade

    The face itself is shaved to the second layer for a soft, even mid glow that makes her skin float.

  • Cut through

    The five snakes and the open spaces between them are cut clean through for the brightest light.

Learn the carving basics

Before you start cutting

This is an AI concept image, so can a real pumpkin actually hold these thin snakes?

Yes, if you keep short bridges where each snake meets the hairline and where bodies cross. Cut the snake heads and tongues first while the wall is rigid, and thin the inside wall for glow rather than making the snakes wider. Avoid leaving any long snake neck floating with no anchor.

How do I keep the face looking calm instead of scary?

The face reads gently because you only peel the skin and leave the features as thin dark lines rather than hollow cutouts. Keep the eye lines soft and slightly closed, and give the lips a small, neutral shape. Resist cutting all the way through on the face, since open eye holes would change the whole mood.

Should I use a candle like the caption suggests to make the snakes writhe?

Skip the open flame and use a battery LED instead. With this many cutouts and delicate bridges, a candle risks scorching thin edges and is a fire hazard on a porch. Some LED lights offer a flicker mode that gives the same lively shimmer safely.

Your take belongs here, too.

Changed a detail? Made it simpler? Share a photo of your version and tell the community what worked.

Share your pumpkin

More pumpkins like this

You've reached the end · 8 pumpkins
The Patch Report

Fresh pumpkins, in your inbox.

The best new carvings, ideas worth stealing, and how-tos for carving season. Short, seasonal, and gone by November.

A short email during carving season. Unsubscribe anytime. See our privacy policy.