Halloween Pumpkin Carving Contest · Starts October 1st · $500 in prizes
← Back to ideas
@ai_concepts
Sep 25, 2026
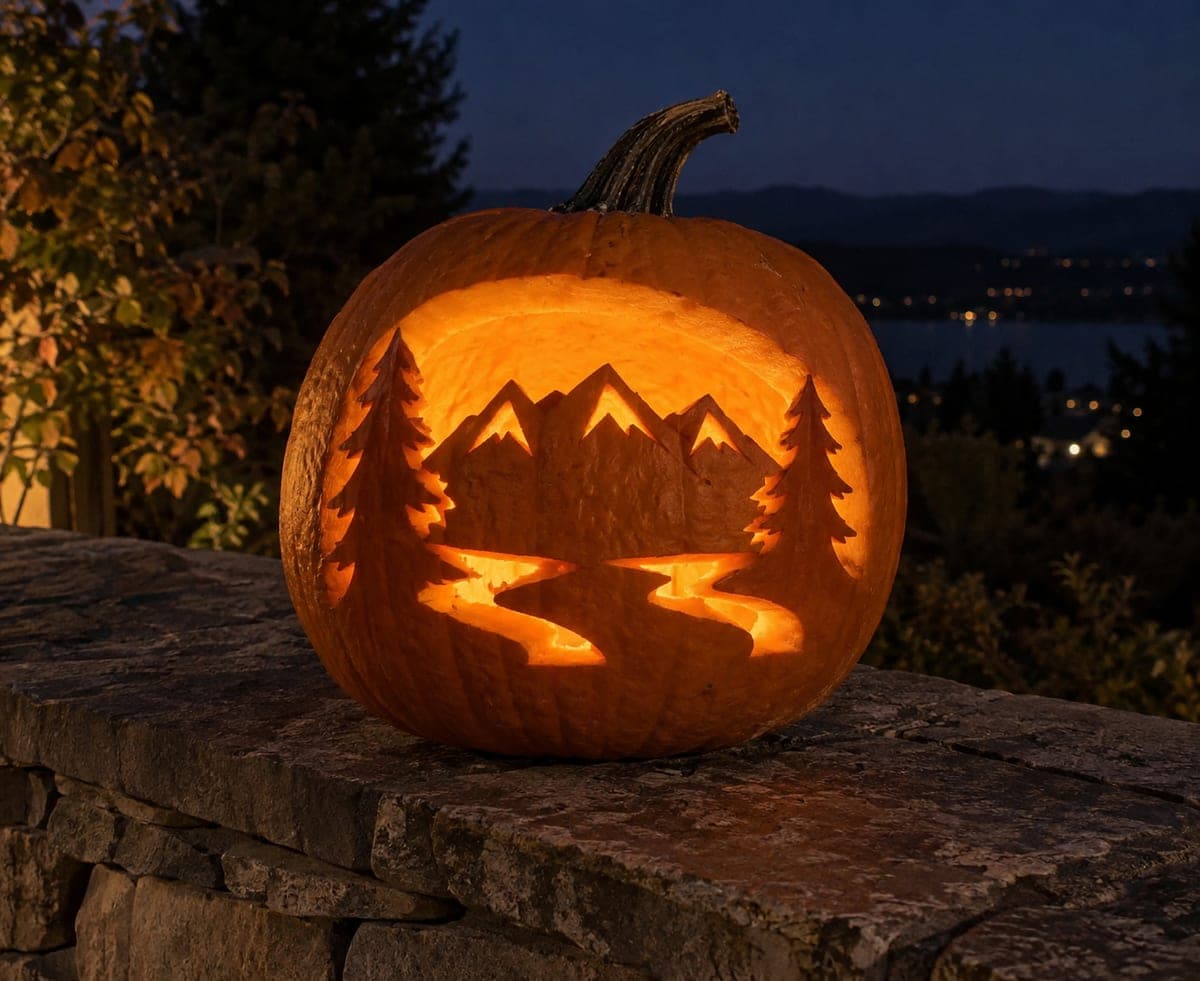
Mountain Pumpkin With Rooted Pine Trees and a RiverAI
0

Report this carving

Tell us what is wrong. Reports are private.

Mountain Pumpkin With Rooted Pine Trees and a River

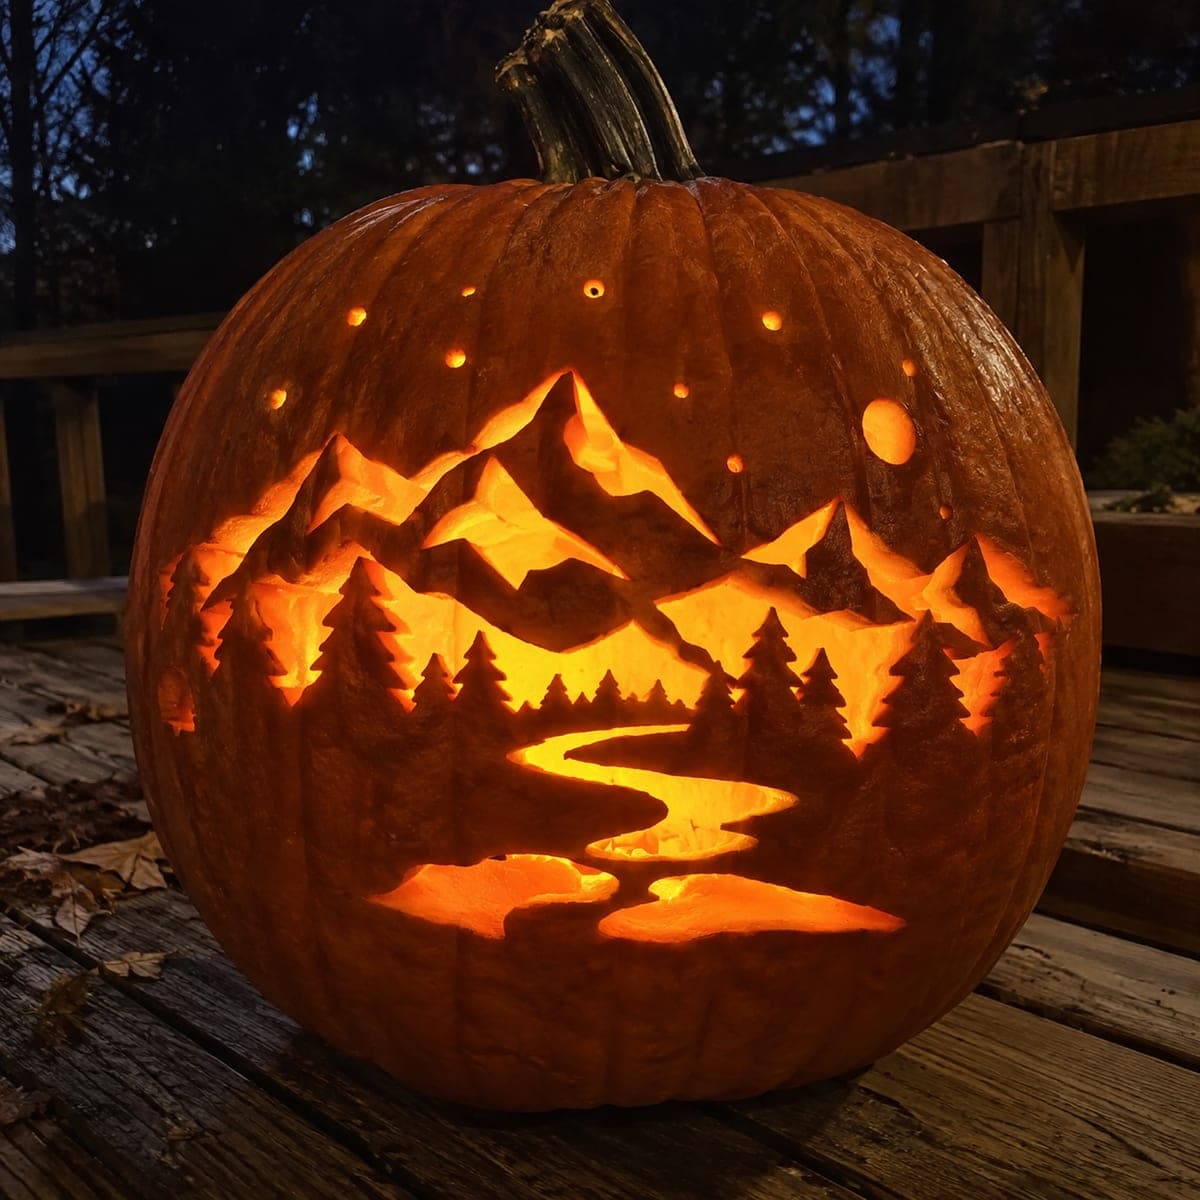
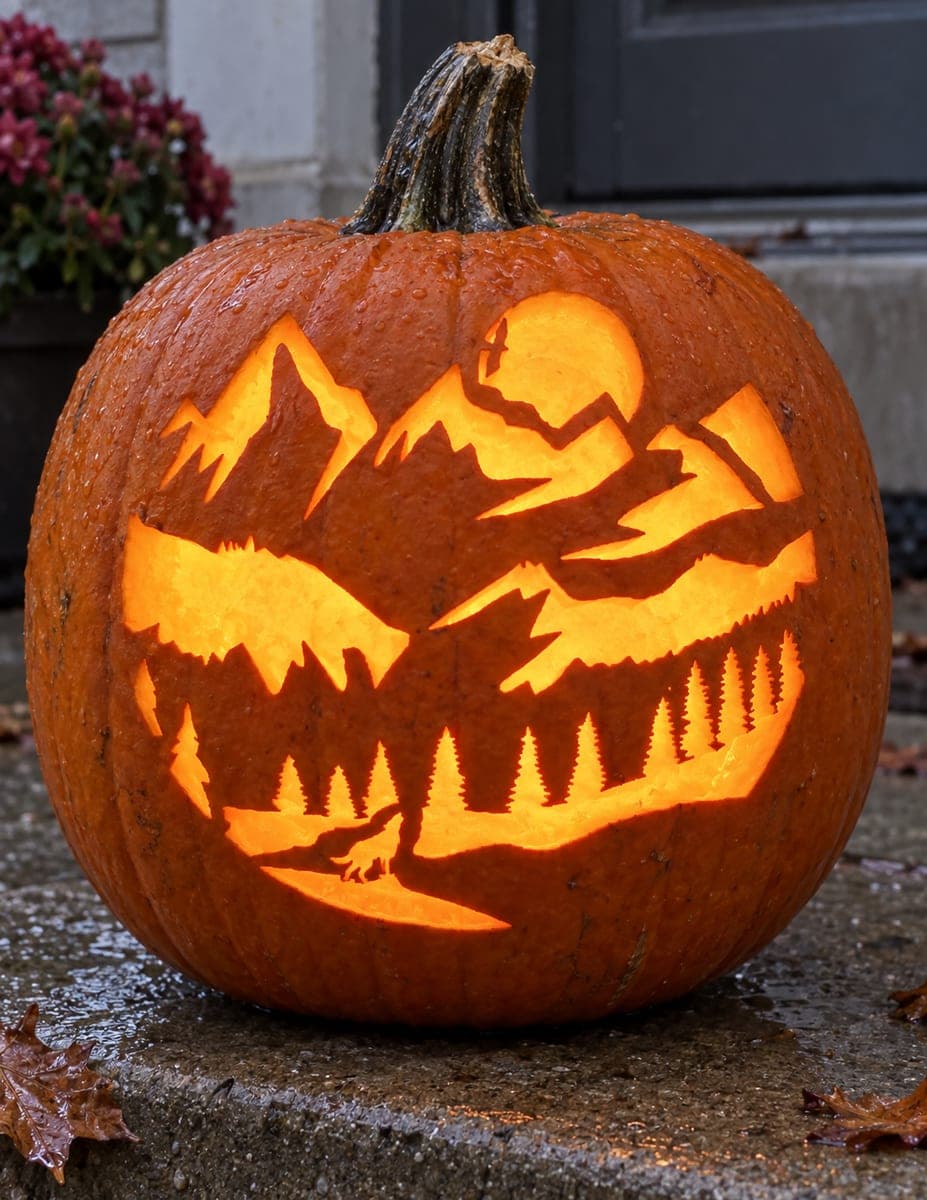
Pine trees root into the base frame and a winding river winds between retained mountain forms on this hard mountain pumpkin carving, with snowcap holes and river slots leaving wide continuous supports throughout. Transfer the stencil with a stylus and tape, then cut the snowcap holes and river slots first so the mountain and tree silhouettes stay stable as you work inward. Keep the bridge rind between each opening at least half an inch wide to hold the mountain range together. Display on a lit surface so the layered silhouette reads clearly from across the room.

No ratings yet · Sign in to rate
Comments (0)

  • No comments yet — be the first.

Save without an account. Sign in to like or comment.

Our tips for carving a similar design

Pine trees root into the base frame and mountain forms retain their solid rind while snowcap holes and winding river slots are cut fully through, leaving wide continuous rind bridges throughout the composition. The key structural principle is that every tree and mountain element connects broadly to the base or frame before any aperture adjacent to it is removed. Transferring the stencil with a stylus and tape is essential for accurately mapping all the support bridges before any cutting begins.

From pumpkin to porch

  1. Choose and prep your pumpkin

    Select a wide pumpkin with a broad flat face to give the landscape composition adequate horizontal space. Cut the back lid and scrape walls to an inch and a half thickness. Consistent depth matters particularly along the river slot areas where cuts must be precise and straight.

  2. Transfer and plan bridges

    Tape the full landscape template and trace all lines with a stylus. Remove the paper and spend a few minutes reviewing the map with a marker, confirming each tree trunk base meets the bottom frame and each mountain silhouette has broad rind on at least two sides before any adjacent aperture is cut. Mark every intended bridge clearly.

  3. Cut snowcap holes first

    The snowcap cut-throughs at mountain peaks are isolated small cuts surrounded by solid mountain rind on all sides, making them a safe starting point. Use a small jab saw and cut each snowcap cleanly. These early cuts confirm the wall thickness and give the design its first visible glow.

  4. Cut river slots

    The winding river slot follows a curved or meandering path across the lower landscape area. Cut it as a continuous curved aperture using a jab saw, working in short sections around each bend. Keep at least half an inch of rind between the river slot and any tree trunk base.

  5. Remove remaining mountain sky apertures

    Cut any open sky spaces between mountain peaks or above the ridgeline, working from largest to smallest. Each sky cut is bounded by mountain rind below and the outer pumpkin rim above. Confirm all mountain-to-base connections remain wide and solid after each cut.

  6. Finalize and display

    Place a battery LED inside centered at the floor. Position the finished pumpkin on a lit surface and check the layered silhouette from several feet away to confirm pine trees, mountains, and river all read clearly as distinct elements.

Written with AI to match this design

Gather your supplies

Check things off as you get ready.

Work on a stable surface, keep your free hand out of the cutting path, and have an adult handle sharp tools.

Three levels of light

  • Leave intact

    Solid mountain forms, pine tree silhouettes, and base frame rind stay dark

  • Peel & shade

    None on this design

  • Cut through

    Snowcap holes, winding river slot, and sky apertures cut fully through

Learn the carving basics

Before you start cutting

How wide should the rind bridge between the river slot and a tree trunk base be?

Half an inch is the minimum comfortable bridge width for a design that will be displayed for several days. Narrower bridges between a cut slot and a structural element tend to crack as the pumpkin dries. If your template places a river bend very close to a tree trunk, widen the bridge by narrowing the river slot width in that section.

The river slot curves quite sharply in one spot. How do I cut a tight inside curve cleanly?

Score the tight curve with a detail knife before using the jab saw. Then use very short back-and-forth strokes with the saw rather than pushing through the curve in one sweep. You can also approach a very tight inside curve from two directions, cutting halfway in from each side and meeting in the middle.

Do the pine trees need interior cuts or are they solid retained shapes only?

The pine trees in this design are solid retained silhouettes with no interior cuts. Their visual impact comes entirely from the negative space around them. Interior cuts would require additional bridge management that significantly increases the complexity beyond the hard difficulty level this design already represents.

Your take belongs here, too.

Changed a detail? Made it simpler? Share a photo of your version and tell the community what worked.

Share your pumpkin

More pumpkins like this

You've reached the end · 8 pumpkins
The Patch Report

Fresh pumpkins, in your inbox.

The best new carvings, ideas worth stealing, and how-tos for carving season. Short, seasonal, and gone by November.

A short email during carving season. Unsubscribe anytime. See our privacy policy.