Halloween Pumpkin Carving Contest Β· Starts October 1st Β· $500 in prizes
← Back to ideas
@ai_concepts
Sep 14, 2026
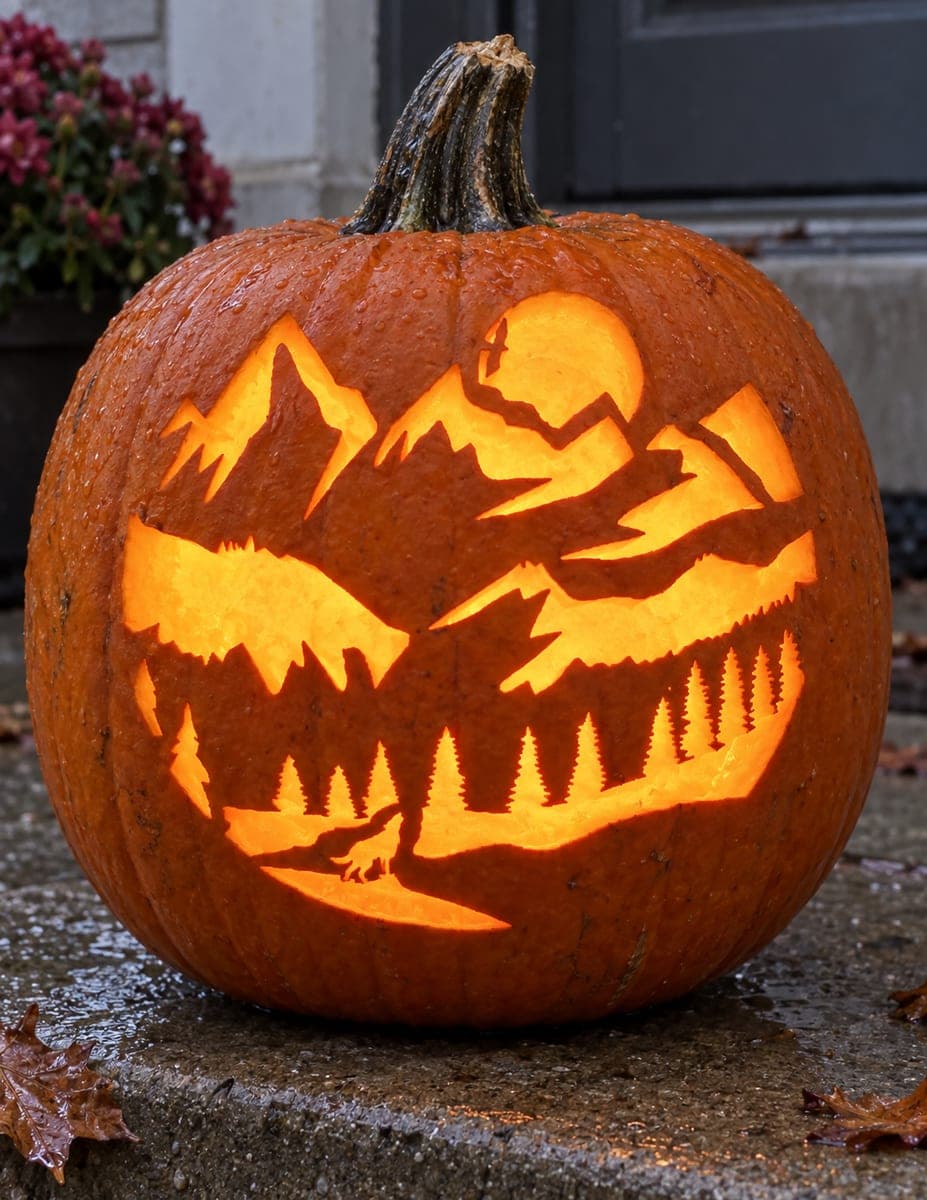
Mountain Peaks and Pine Forest PumpkinAI
0

Mountain Peaks and Pine Forest Pumpkin

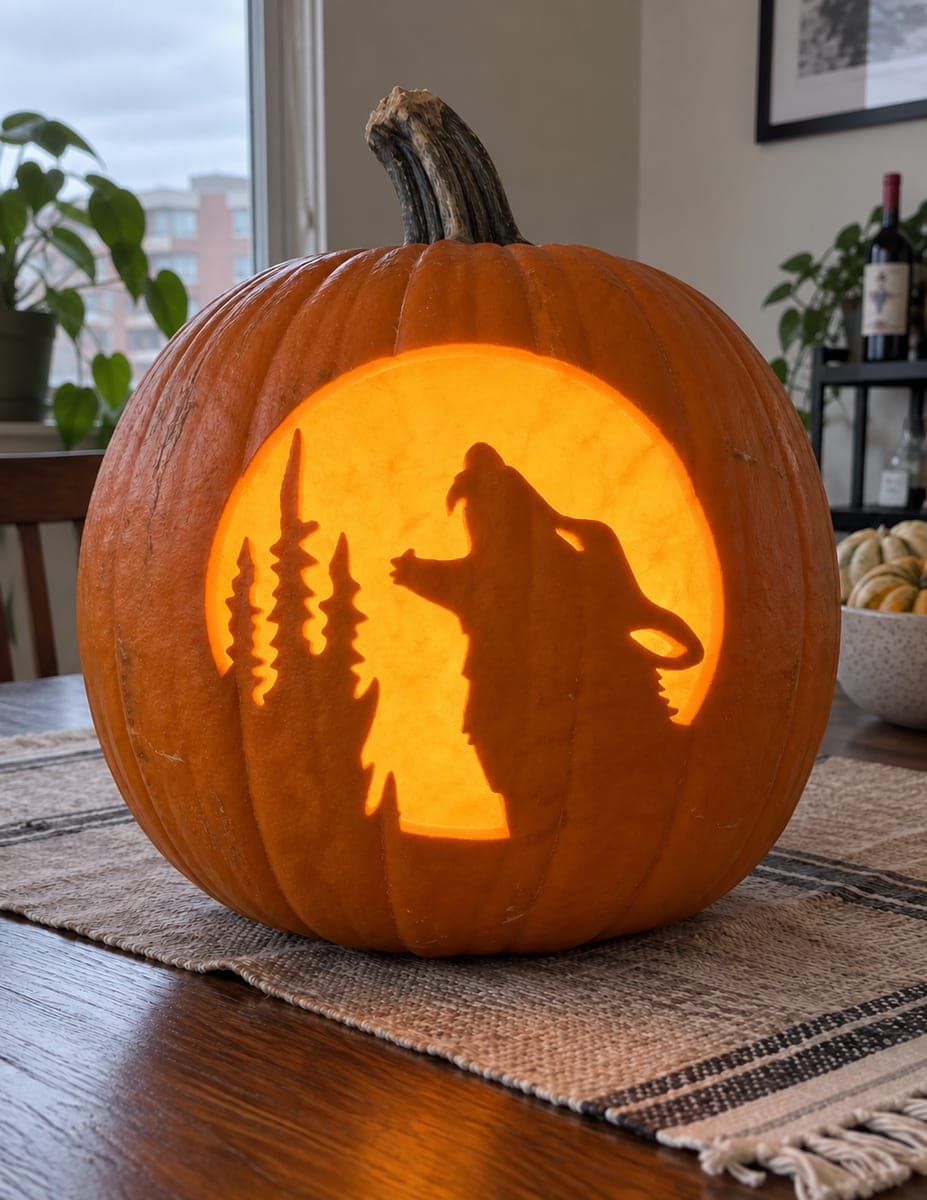
Jagged mountain peaks, a winding river, a row of pointed pine trees, and a round moon fill the pumpkin face in a layered wilderness panorama. The dark silhouette shapes of the peaks and trees remain as uncut rind while the sky and water glow through, making this one of the more detailed silhouette pumpkin carving ideas available. Cut the small tree points from their widest base upward so the narrow tips do not snap before the surrounding sky sections are removed.

This is an AI-generated concept image: a realistic, carvable design idea rather than a photo of a finished carve. AI concepts are always labeled and sit out the leaderboard and the contest.

No ratings yet Β· Sign in to rate

Comments (0)

  • No comments yet β€” be the first.

Save without an account. Sign in to like or comment.

Our tips for carving a similar design

The core trick here is a layered silhouette, where the dark mountains, pine trees, and riverbank stay as uncut rind while the sky and water are cut fully through to glow. You build depth by keeping some silhouette edges solid and letting light frame them from behind. Plan it as background sky first, then the jagged midground ridges, then the fine pine tips and river last so nothing fragile breaks early.

Written by PumpkinCarvingIdeas.com, inspired by the image above. These are our suggestions, not instructions from the uploader. This approach to the AI concept has not been tested on a real pumpkin.

From pumpkin to porch

  1. Transfer a detailed reference pattern

    Since this is an AI concept image and no real pumpkin exists, start by finding or drawing a layered landscape pattern with peaks, a moon, pines, and a river. Tape the paper to a smooth section of the pumpkin and poke the outlines with a pin or transfer tool. Space your dots close together on the jagged mountain edges so the shapes stay readable. Peel the paper and connect any faint spots with a washable marker.

  2. Open a base lid and clean the wall

    Have an adult cut a lid from the bottom of the pumpkin rather than the top, which keeps the stem intact and gives a stable base. Scoop the seeds and scrape the inside wall behind your design down to about one inch thick. A thinner wall makes the fine pine and mountain cuts far easier and lets more light pass. Work slowly with a sturdy scraping tool.

  3. Cut the sky and moon first

    Using a fine saw, cut fully through the large sky area and the round moon so those become your brightest open glow. Leave the mountain ridge lines intact as you cut down to them, since those dark peaks are meant to stay as solid rind. Cut the big sky opening in a few connected sections rather than one giant hole to keep the shell strong. Take breaks and let the pumpkin rest on a flat surface.

  4. Carve the pine trees from base to tip

    Cut the sky around each pine tree, working from the widest base of the tree upward toward the narrow point. This keeps the delicate tips supported by surrounding rind until the last moment so they do not snap. Keep the tree silhouettes themselves uncut so they read as dark shapes against the glow. A small detail saw gives you the most control on the tiny branches.

  5. Open the river and add skin-peel depth

    Cut fully through the winding river and lake area at the bottom for a bright water glow. For the distant hills and haze, use a lino or ribbon tool to peel away just the orange skin without going through the wall, giving a dim mid glow that adds depth. Keep the foreground riverbank and the howling animal shape as untouched dark rind. Go light on the peel and deepen it only if you want more brightness.

  6. Light it and take your photo

    Set a battery LED puck or string inside, never a candle, since the thin wall and fine cuts can scorch. Test the glow in a dark room and rotate the light to even out bright spots behind the sky and water. If any pine tip looks weak, dab a toothpick with a little glue behind it for support. Photograph at dusk against a dark doorway so the scene pops.

Gather your supplies

Check things off as you get ready.

Work on a stable surface, keep your free hand out of the cutting path, and have an adult handle sharp tools.

Three levels of light

  • Leave intact

    The mountain peaks, pine trees, and the foreground riverbank stay as uncut dark rind.

  • Peel & shade

    The distant haze and low hills get a shallow skin peel for a soft mid glow.

  • Cut through

    The open sky, the round moon, and the winding river are cut through for the brightest light.

Learn the carving basics

Before you start cutting

How do I keep the narrow pine tips from breaking?

Always cut the sky around each tree starting from the wide base and moving up toward the point. The surrounding rind supports the fragile tip until the very last stroke. If a tip still feels loose, back it with a dab of glue on a toothpick.

Should I cut the mountains out or leave them?

Leave the mountains as solid rind so they read as dark silhouettes. You cut the sky behind and around them instead, so the light frames their jagged edges. This layered contrast is what gives the scene its depth.

Why cut the lid from the bottom instead of the top?

A bottom opening keeps the stem intact for a cleaner look and lets you set the pumpkin down over the light like a lid. It also avoids a large hole near the top sky area, which keeps that thin, detailed section stronger. Just make sure the base still sits flat and stable.

Your take belongs here, too.

Changed a detail? Made it simpler? Share a photo of your version and tell the community what worked.

Share your pumpkin

More pumpkins like this

You've reached the end Β· 8 pumpkins
The Patch Report

Fresh pumpkins, in your inbox.

The best new carvings, ideas worth stealing, and how-tos for carving season. Short, seasonal, and gone by November.

A short email during carving season. Unsubscribe anytime. See our privacy policy.