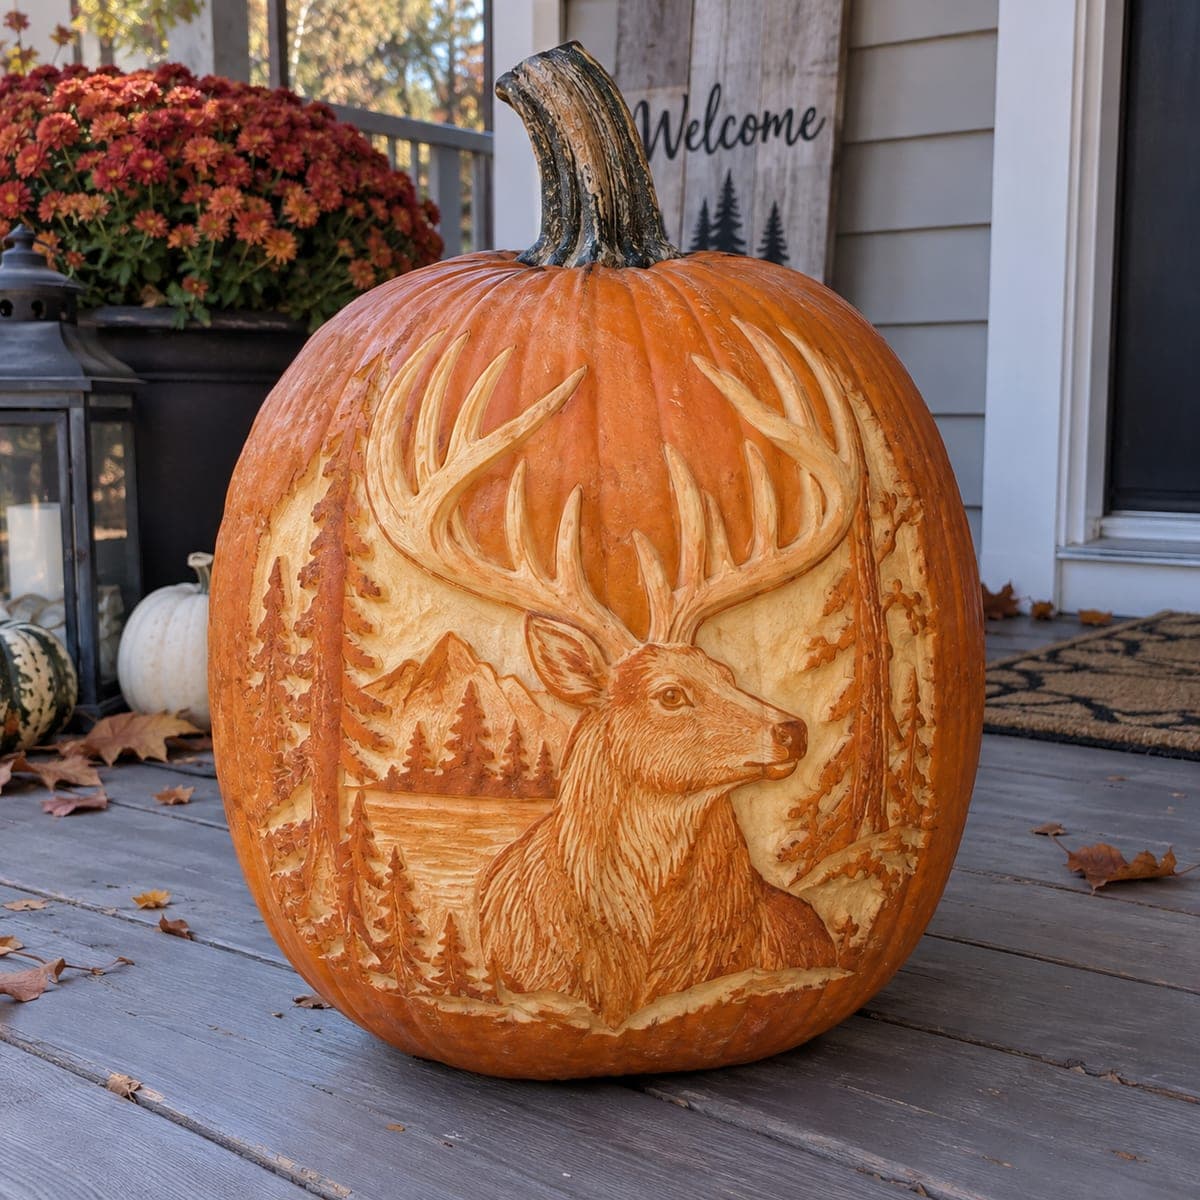
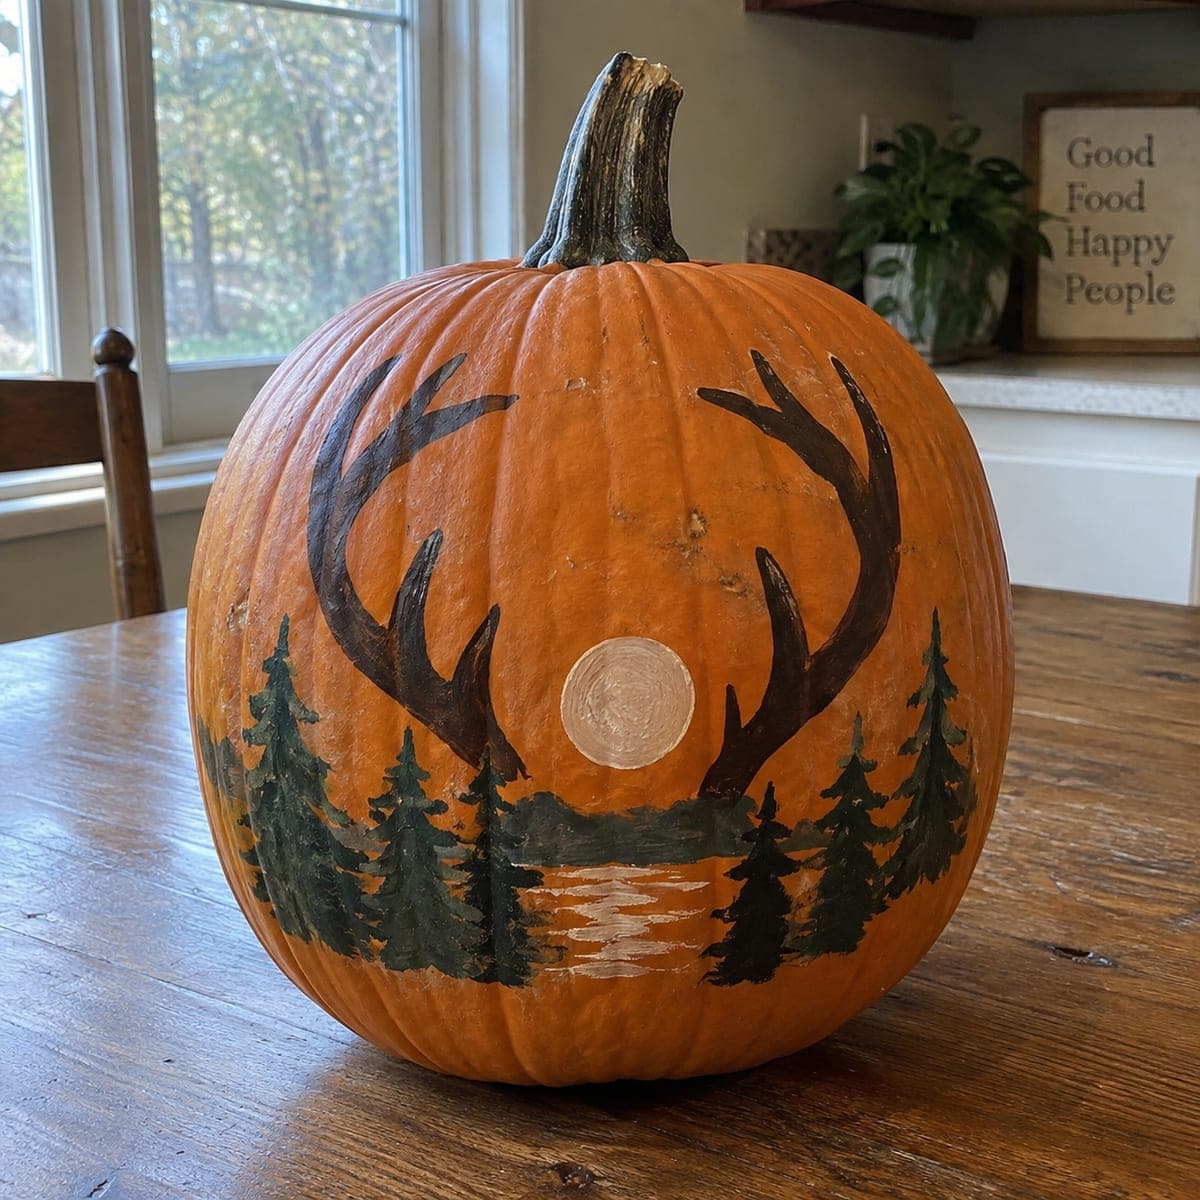
An entire mountain scene wraps this pumpkin, with a wide-antlered stag standing before carved pines, peaks, and a rippled lake, all done as unlit daytime relief. The design relies on peeling the skin to expose pale flesh, then cutting deeper grooves for outlines, so it reads like a woodcarving on the porch. Sketch the horizon line and the deer first, and save the delicate antler tips for last since they chip easily. Set it against a dark door so the pale carving stands out.
This is an AI-generated concept image: a realistic, carvable design idea rather than a photo of a finished carve. AI concepts are always labeled and sit out the leaderboard and the contest.
This design is a shaded relief, meaning almost nothing is cut all the way through. The core trick is peeling away only the orange skin to reveal pale flesh, then carving grooves at different depths so the stag, pines, mountains, and lake read like a woodcarving in daylight. Plan it as layers, working from the far background forward to the deer, and treat the antlers as the most fragile part of the whole piece.
Written by PumpkinCarvingIdeas.com, inspired by the image above. These are our suggestions, not instructions from the uploader. This approach to the AI concept has not been tested on a real pumpkin.
From pumpkin to porch
1
Pick a firm pumpkin and prep it
Choose a tall, evenly shaped pumpkin with smooth skin and few blemishes, since a relief scene needs a large clean canvas. Wipe the surface clean and dry it. For a relief like this you can carve on the wall without cutting a lid, which keeps the shell strong. If you do want to add a light later, cut a small access hole in the back or bottom instead of the top.
2
Transfer the scene and set the horizon
Sketch or tape your stencil in place, then mark the horizon line first so the lake, tree line, and peaks all sit at the right height. Add the deer's head and shoulders next as your focal point, then fill in the pines and mountains around it. Poke through the main outlines with a transfer tool or pin so you have a guide once the paper comes off. Step back and check the layout before you cut anything.
3
Peel the skin for the bright base
Use a ribbon or looped shading tool to shave off just the orange skin across the areas that should glow pale, such as the sky, mountain faces, lake, and the lit side of the stag. Keep the peeled depth shallow and even so the flesh reads as one soft tone. Leave patches of skin intact wherever you want the darkest shadows. Work slowly, since this stage sets the whole light-to-dark map of the scene.
4
Carve the mid-depth shading
Now go deeper in stages to build form. Cut slightly further into the flesh for the shadowed pines, the far mountain valleys, and the muscle and neck shadows of the deer. The deeper you scoop, the paler and softer the tone becomes, so use depth to model the stag's face and chest. Follow the direction of the fur with short strokes to suggest texture.
5
Cut the outline grooves and antlers last
Switch to a fine detail knife for the crisp outlines that separate the deer from the trees and the trees from the sky. Save the antler tips for the very end, since those thin points chip easily. Carve them as shallow grooves rather than free-standing spikes, and keep short bridges of flesh so they stay supported. Take your time on the eye and nose, since those small marks bring the stag to life.
6
Clean up and photograph in daylight
Brush away loose bits and gently rub the peeled areas with a damp cloth to even the tone. Coat the cut surfaces with a thin layer of petroleum jelly or a lemon-water wipe to slow browning. This is a daytime relief piece, so set it on the porch against a dark door or backdrop so the pale carving stands out. If you want a faint evening glow, tuck a small LED behind it rather than a candle.
Gather your supplies
Check things off as you get ready.
Work on a stable surface, keep your free hand out of the cutting path, and have an adult handle sharp tools.
Three levels of light
Leave intact
The untouched orange skin stays for the darkest shadows, like the deep spaces between pines and the shaded side of the stag.
Peel & shade
Skin-peeled flesh gives the soft mid glow across the sky, mountain slopes, lake, and the deer's lit face and body.
Cut through
Deeper grooves cut into the flesh mark the brightest lines, the antler edges, tree outlines, and the horizon separating scene layers.
No, this is a relief design, so the light comes from peeled and grooved flesh rather than open cutouts. Keeping the shell intact makes the pumpkin much stronger and lets the fine antler detail survive. If you want a light, add a small hidden LED through a back hole.
How do I keep the antler tips from breaking?
Carve them as shallow grooves pressed into the surface rather than thin raised spikes. Leave the flesh behind them supported and never undercut the points. Save them for the very last stage so you are not leaning on them while carving other areas.
How do I get smooth shading instead of choppy scoops?
Work in even, overlapping strokes and control depth gradually, since deeper flesh reads paler. Use a looped ribbon tool for broad areas and a fine blade only for crisp lines. Step back often to check that your tones blend from dark skin to bright grooves.
Your take belongs here, too.
Changed a detail? Made it simpler? Share a photo of your version and tell the community what worked.
 AI
AI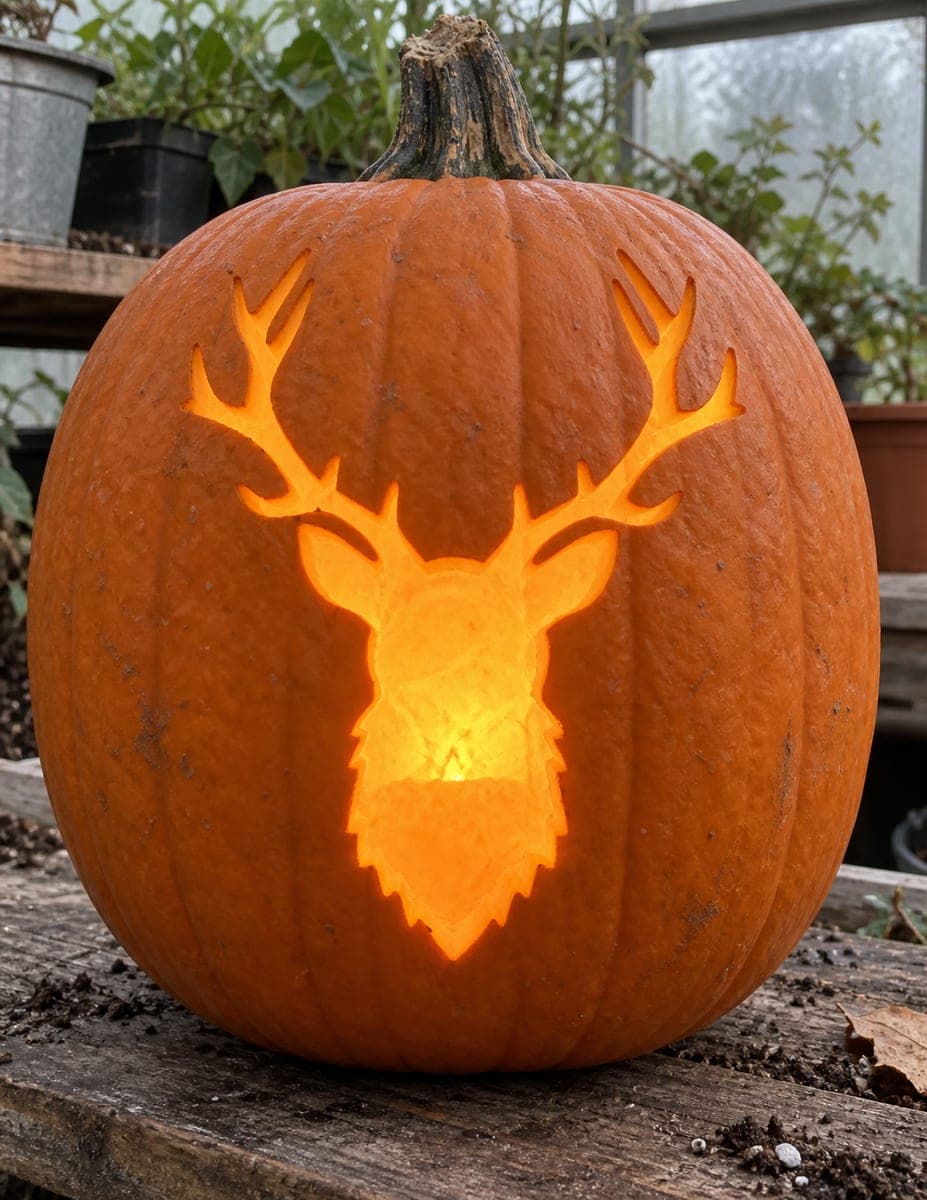

Comments (0)