@hallowharvest
Sep 7, 2026
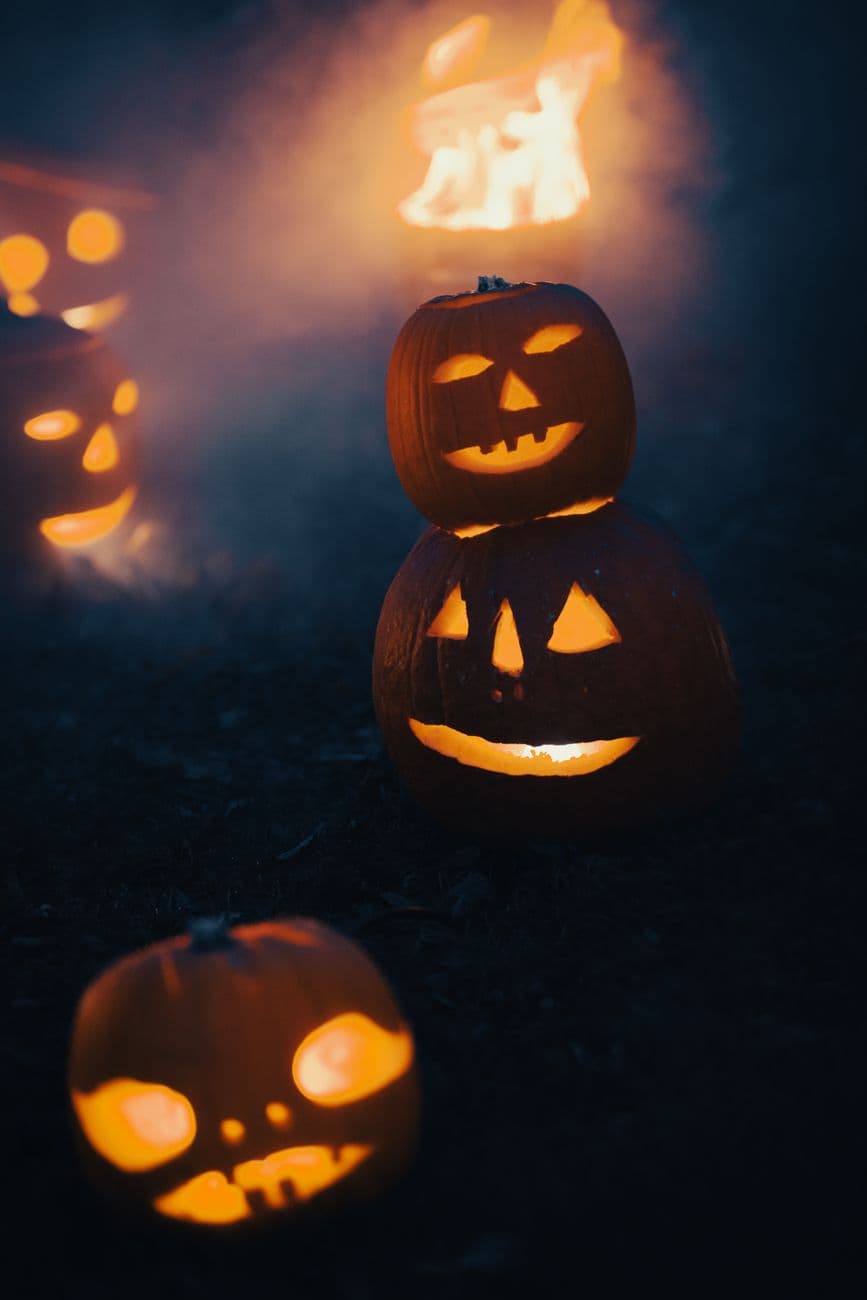
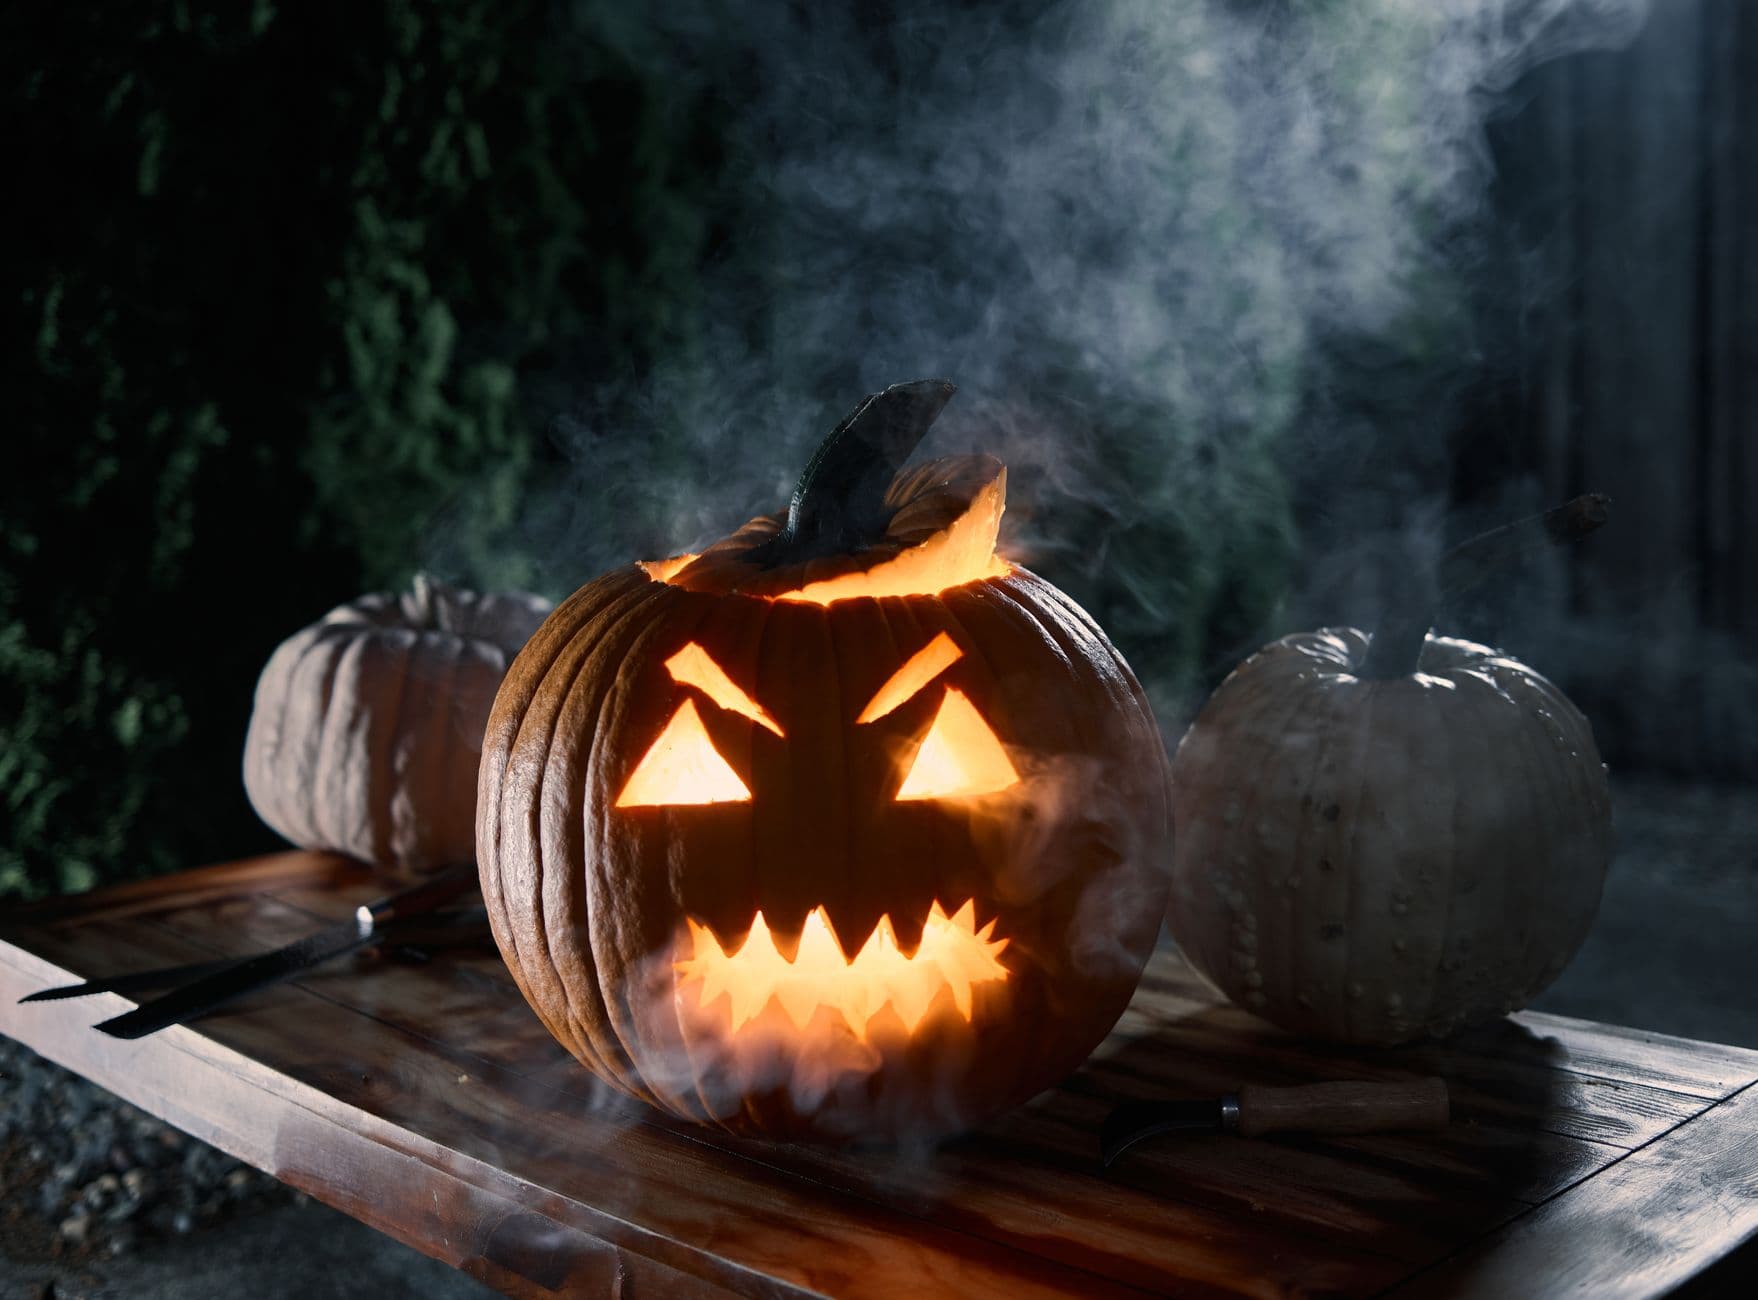
The trick here is stacking two separate classic faces into one totem, with a sharp triangle-and-teeth top head over a rounder smiling base. Each pumpkin is carved on its own with simple straight cutouts, then set one atop the other for a stacked figure. Keep the shapes bold and open so a single LED reads clearly through the smoke.
Written by PumpkinCarvingIdeas.com, inspired by @hallowharvest's photo above. These are our suggestions, not instructions from the uploader, and this approach hasn't been tested on their exact carve.
Choose a smaller pumpkin for the top head and a rounder one for the base so they nest well. Cut a lid on each from the top at a slight angle so the caps do not fall in. Scoop out seeds and pulp, then thin the front carving wall of each to about one inch. A thinner wall makes the cutouts far easier and lets more light through.
Tape a stencil onto each pumpkin where the surface is flattest. For the top head, mark angular eyes, a small nose, and a wide row of blocky teeth. For the base, mark two triangle eyes, a triangle nose, and a curved grinning mouth. Poke along the lines with a pin or dotting tool so you have a clear dotted guide.
Start with the smallest shapes first, the eyes and nose, using a fine carving saw. Cut the teeth as one open mouth, then leave thin uncut bridges between each tooth so they stay strong. Work slowly and let the tool do the sawing rather than forcing it. Push each cut piece out gently from the inside.
Cut the triangle eyes and nose first, keeping the edges crisp and straight. Save the wide smiling mouth for last since it is the biggest opening and weakens the shell. If you want a toothy grin, leave one or two small bridges in the mouth. Clean up any rough edges with a small knife.
Set the base pumpkin on flat ground and place an LED tea light or puck light inside each pumpkin. Rest the top head carefully on the base, adjusting until it sits stable and both faces point forward. Skip real candles here, since stacked pumpkins trap heat and the top one blocks airflow. LEDs keep everything cool and steady.
Shoot in near darkness so the glow carries the image. A little low fog or haze behind the pumpkins adds mood without hiding the faces. Get down low and level with the stack for the strongest look. Take a few frames at different exposures to keep the bright cutouts from blowing out.
Check things off as you get ready.
Work on a stable surface, keep your free hand out of the cutting path, and have an adult handle sharp tools.
The outer skin of both pumpkins stays dark, framing each face against the night.
Shave a thin halo around the eyes or mouth if you want a soft dim glow bleeding past the edges.
The eyes, noses, mouths, and teeth are cut fully through for the brightest light.
Pick a base pumpkin with a wide, flat bottom and a fairly level top where the head will sit. If the head wobbles, trim a small flat spot on the base lid area so the two nest together. You can also set a small ring or bit of non-slip mat between them for grip.
Use LED lights instead. The top pumpkin blocks airflow to the base, so a real candle can smother or overheat and scorch the shell. LED tea lights or puck lights give the same warm glow safely and last all night.
Carve the teeth as a single mouth opening, then leave narrow uncut bridges of skin between each tooth. These bridges hold the delicate points in place. Cut them last and handle that area gently when you stack the head.
Changed a detail? Made it simpler? Share a photo of your version and tell the community what worked.
The best new carvings, ideas worth stealing, and how-tos for carving season. Short, seasonal, and gone by November.

Comments (0)