Halloween Pumpkin Carving Contest · Starts October 1st · $500 in prizes
← Back to ideas
@ai_concepts
Sep 25, 2026
Ornate Owl White Pumpkin Carving with Feather WindowsAI
0

Report this carving

Tell us what is wrong. Reports are private.

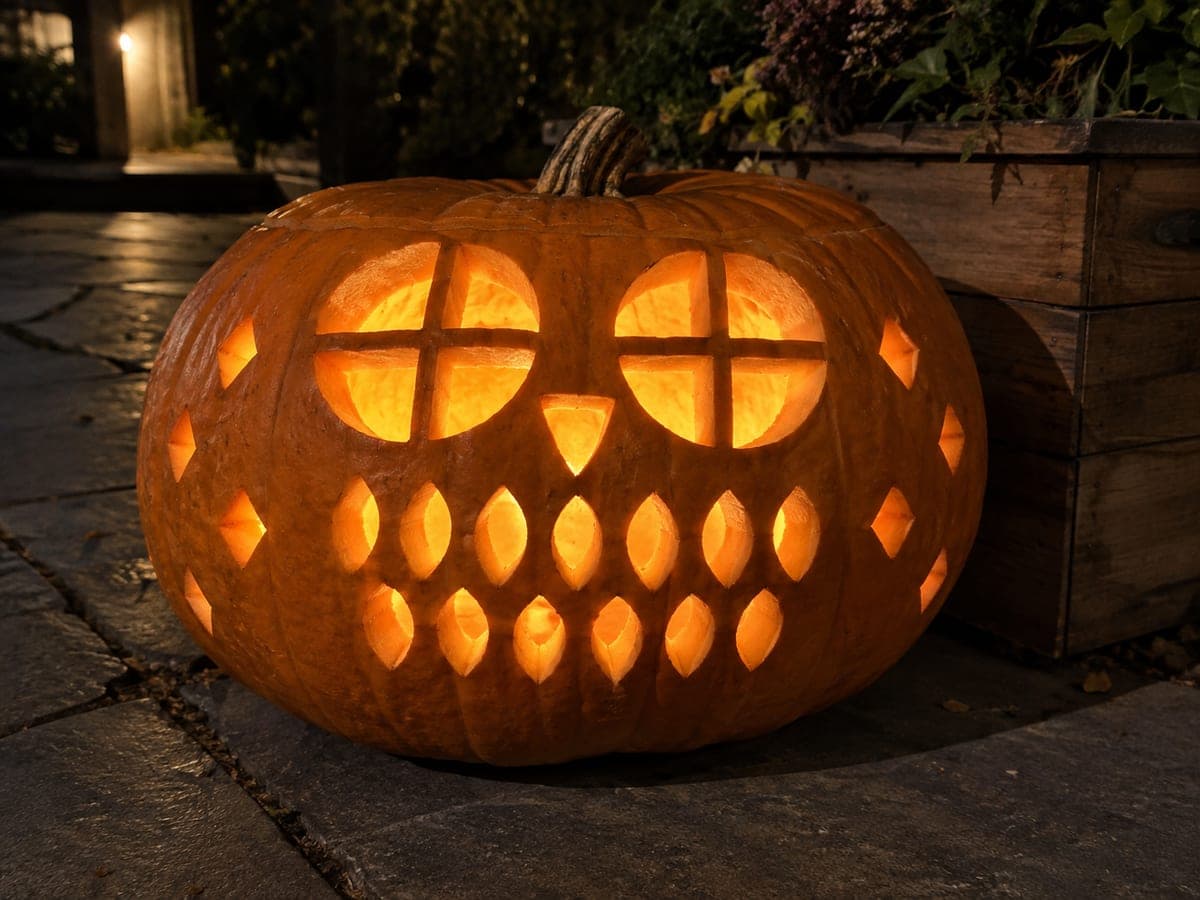
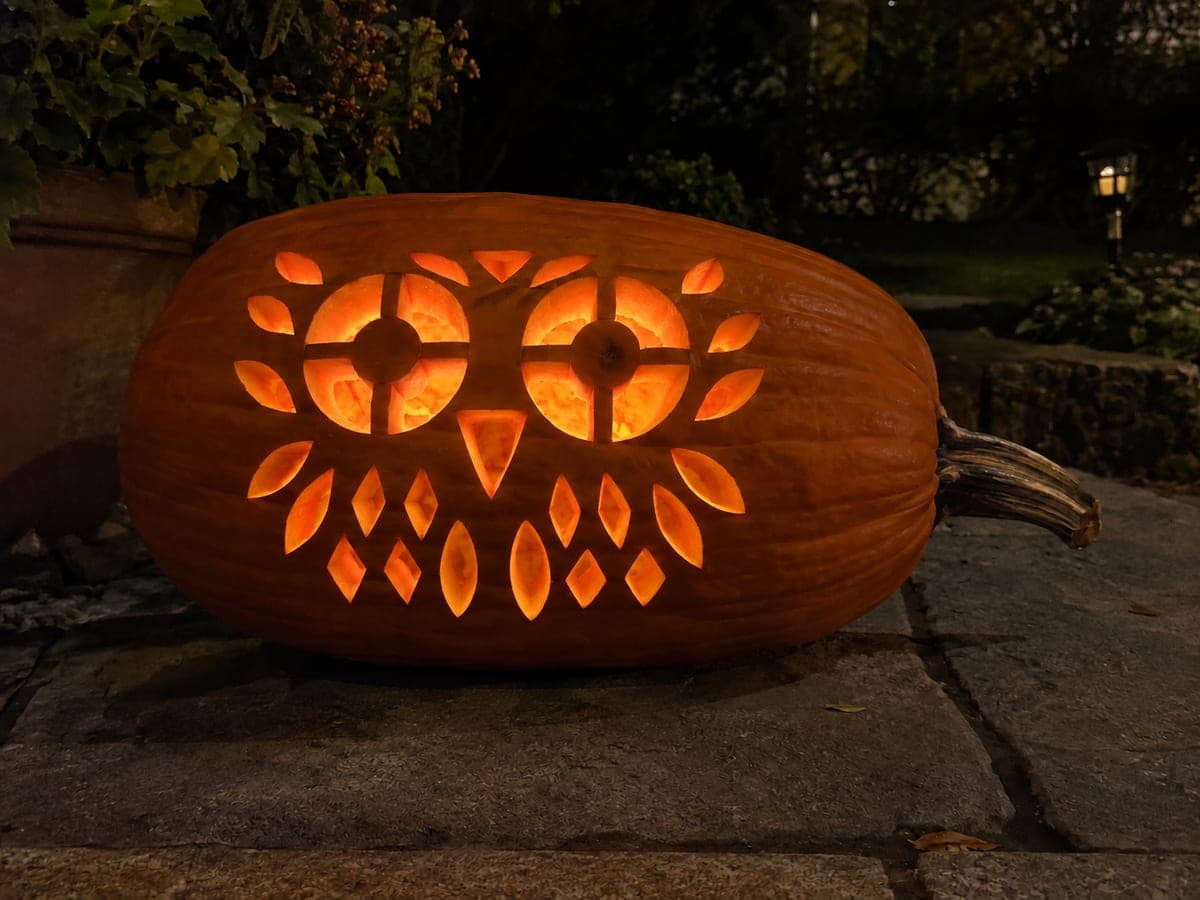
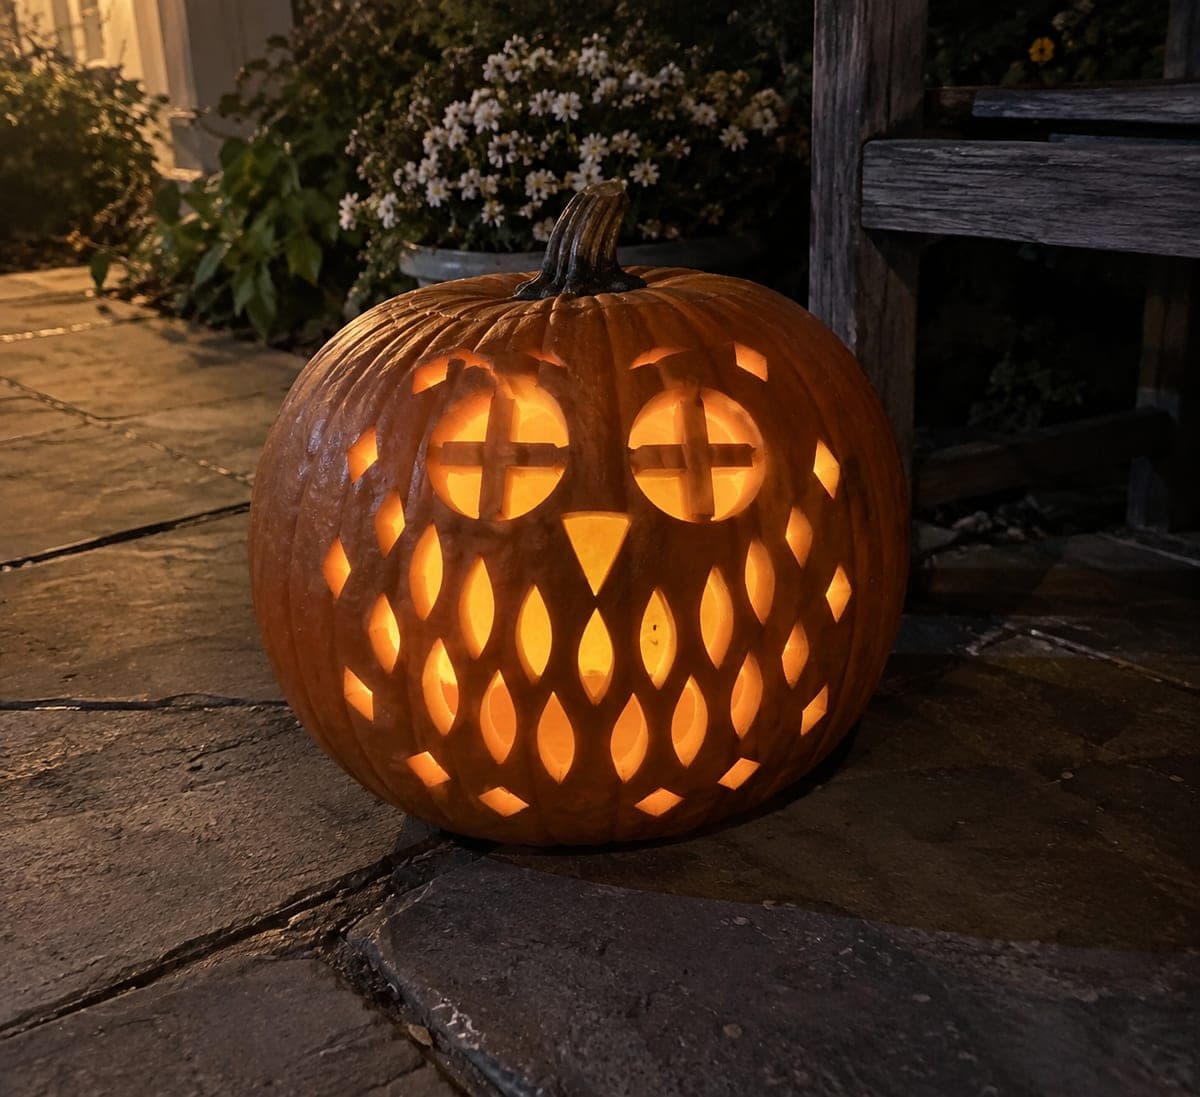
Ornate Owl White Pumpkin Carving with Feather Windows

Wide rind crossbars divide two round owl eye openings into quadrants, a broad connected brow and center spine run vertically, twenty-four separate wing feather holes, six diamond forehead holes, and twelve drilled dots cover this expert white pumpkin carving idea on a natural ivory-white pumpkin. All retained rind pieces connect through substantial original white rind, so no floating islands are permitted. Work the feather holes outward from the spine to keep the center structure rigid throughout.

No ratings yet · Sign in to rate

Comments (0)

  • No comments yet — be the first.

Save without an account. Sign in to like or comment.

Our tips for carving a similar design

This design is a fully connected rind lattice: the owl takes shape entirely through isolated holes and crossbars, with no floating pieces at all. The spine and brow run vertically as the structural backbone, the crossbar eyes radiate from that center structure, and the feather holes splay outward from the spine. The rule is to always work from the center structure outward, never cutting a hole that would leave a neighbor unsupported.

From pumpkin to porch

  1. Transfer a precise full-scale template

    Print the entire design at the correct scale for your pumpkin. Every element, the two eye circles with their crossbars, the brow arc, the center spine, the twenty-four feather positions, the six diamond foreheads, and the twelve dot positions, must appear on the template. Transfer every point with a pin tool, then connect with pencil. Do not skip any element even if it looks easy to estimate.

  2. Hollow to three-quarter-inch walls

    Scoop carefully to a consistent thickness. The feather holes are close together on the sides, and uneven wall thickness greatly increases the risk of the blade breaking through between two adjacent holes. Check thickness at several points around the face after hollowing.

  3. Cut the brow, spine, and crossbar eyes

    Start at the center structure: cut the broad brow arc and the vertical spine line as border definitions, then remove each of the four quadrants of both eyes one at a time. The crossbars are the structural core of the design; confirm they are solid after each quadrant removal before proceeding.

  4. Work the diamond forehead holes

    Cut the six diamond holes across the forehead, starting from the center pair and moving outward. Use a chisel to score the corners before sawing each diamond. Each forehead diamond must connect to the brow or spine through original rind.

  5. Cut the feather holes outward from the spine

    Begin with the innermost row of feathers on each side of the spine and work outward. Cut each elongated feather hole individually, keeping the rind between adjacent feathers at least a quarter inch wide. Never cut two adjacent feathers without pausing to confirm the rind bridge between them is intact.

  6. Drill the accent dots and light

    Drill the twelve accent dots with a step bit, working around the perimeter of the design. Once all elements are cut, place a warm LED inside at the center. The owl face will glow with the crossbar eye quadrants most brilliantly lit and the feather field fanning out in scattered warm light.

Written with AI to match this design

Gather your supplies

Check things off as you get ready.

Work on a stable surface, keep your free hand out of the cutting path, and have an adult handle sharp tools.

Three levels of light

  • Leave intact

    The wide brow arc, the center spine, all four crossbars in both eyes, and the rind between every feather hole stay as solid white rind.

  • Peel & shade

    None; every rind surface remains at full thickness.

  • Cut through

    All four quadrants of both eyes, all six forehead diamonds, all twenty-four feather holes, and all twelve accent dots are cut completely through.

Learn the carving basics

Before you start cutting

How do I prevent the narrow rind between feather holes from cracking as I work?

Cut the feather holes in a skip-one pattern: cut holes 1, 3, 5, 7 along a row first, then return to 2, 4, 6 after those are done. This keeps every hole surrounded by uncut rind on both sides during cutting. Always cut short strokes and remove waste pieces inward.

The template shows the crossbar eyes overlapping the brow region. How do I handle that intersection?

The brow must remain as a solid connected arc above the eyes. The vertical crossbar of each eye connects to the brow, and the horizontal crossbar connects to the spine or to rind beyond the eye circle. Score the eye circle outline first, then cut each quadrant; the brow and crossbars define the cuts, not the other way around.

Is there a realistic time estimate for this project?

A careful expert carver should budget three to five hours for this design, including template preparation. Do not attempt it in a single evening session if you are tired. Work the spine and eye structure in one sitting, let the pumpkin rest overnight in a cool spot, and complete the feathers and borders the next day.

Your take belongs here, too.

Changed a detail? Made it simpler? Share a photo of your version and tell the community what worked.

Share your pumpkin

More pumpkins like this

You've reached the end · 8 pumpkins
The Patch Report

Fresh pumpkins, in your inbox.

The best new carvings, ideas worth stealing, and how-tos for carving season. Short, seasonal, and gone by November.

A short email during carving season. Unsubscribe anytime. See our privacy policy.