Halloween Pumpkin Carving Contest · Starts October 1st · $500 in prizes
← Back to ideas
@ai_concepts
Sep 25, 2026
Intricate Owl Perched on a Branch Jack-O-LanternAI
0

Report this carving

Tell us what is wrong. Reports are private.

Intricate Owl Perched on a Branch Jack-O-Lantern

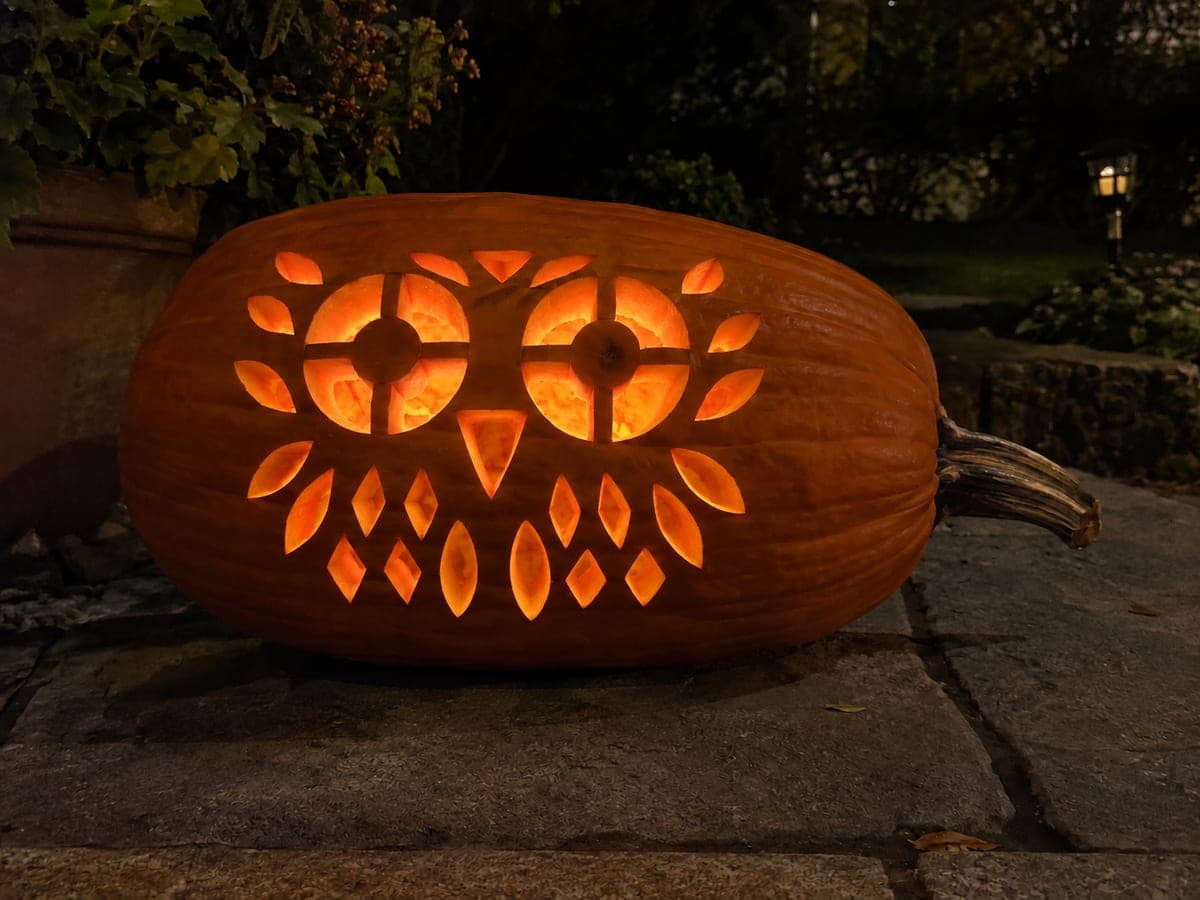
A detailed owl perched on a branch connected to both sides of the outer wall, with twenty individual feather holes through the body and wings, makes this hard pumpkin carving idea one of the most structurally demanding bird designs. Establish the branch first, ensuring it runs continuously from wall to wall at the base of the design, then fuse the owl's feet and body firmly to the branch before cutting any surrounding background. Connect the ear tufts to the outer wall with thick rind bridges, and split any large background gap with a structural tie to prevent cracking.

No ratings yet · Sign in to rate

Comments (0)

  • No comments yet — be the first.

Save without an account. Sign in to like or comment.

Our tips for carving a similar design

The structural strategy for this owl is to build the design from the ground up: the branch runs continuously from wall to wall as the foundation, the owl's feet and body fuse firmly to it, and the ear tufts bridge outward to the upper wall before any background rind is removed. Only after every anchor point is established should the surrounding background and the 20 feather holes be cut. Large background gaps are split with thin rind ties to prevent the shell from cracking under its own weight.

From pumpkin to porch

  1. Choose a large pumpkin and scoop thin

    This design requires a large pumpkin with at least 7 inches of vertical carving face and thick starting walls, which you will scoop to about three-quarters of an inch. Thinner walls make the 20 feather holes crisper and easier to cut without the saw binding. Refrigerate the pumpkin overnight before carving to firm the flesh.

  2. Transfer the template

    Print the owl design, tape it to the pumpkin face, and poke through every outline with a poking tool to transfer dots to the rind. Remove the paper and connect the dots with a fine marker. Verify the branch runs fully from wall to wall, the owl's feet overlap generously with the branch, and both ear tuft tips reach the upper wall.

  3. Cut the branch first

    Cut the branch opening along both edges, preserving the full width of the branch as solid intact rind. The branch is the base anchor for the entire owl, so any cut that narrows it must be avoided. Test that the branch feels solid by pressing lightly on its center after cutting the top and bottom background strips.

  4. Cut the surrounding background with structural ties

    Open the large background areas in sections, leaving thin rind ties across any gap wider than about 40 mm to prevent the shell from flexing and cracking. Cut the ear tuft boundaries up to but not beyond the outer wall connection points. Connect the pupil discs to the brows via the broad bridges marked on the template.

  5. Cut the 20 feather holes

    Work through the feather holes systematically from the outer wing edges inward toward the body, completing each row before moving to the next. Use a small detail blade or a narrow pumpkin saw for clean edges. Check the structural tie positions after every five holes.

  6. Insert light and display

    A bright LED lantern on a timer is essential here. The many small feather holes need strong even backlight to glow fully. Display the pumpkin on a pedestal or table where it can be seen at a distance, since the perched owl silhouette reads best from a few feet away.

Written with AI to match this design

Gather your supplies

Check things off as you get ready.

Work on a stable surface, keep your free hand out of the cutting path, and have an adult handle sharp tools.

Three levels of light

  • Leave intact

    The owl silhouette body, branch, ear tuft bridges, pupil disc bridges, and structural rind ties all stay solid and dark.

  • Peel & shade

    None for this design.

  • Cut through

    The large background surrounding the owl, all 20 individual feather holes, and the eye openings around the pupil discs are cut through for full glowing light.

Learn the carving basics

Before you start cutting

How wide should the structural ties across the background be?

Each tie should be at least 8-10 mm wide. Thinner than that and the rind may flex enough to crack when you press against it while cutting nearby areas. You can position the ties so they align with natural dark shadows in the design, making them nearly invisible once the pumpkin is lit.

What do I do if an ear tuft bridge breaks during carving?

Immediately press the broken section back into place and push a thin bamboo skewer horizontally through the rind to pin it from inside. Then adjust your remaining cuts to avoid stressing that area further. The skewer is invisible from outside when the pumpkin is lit.

How long will a design this complex hold up?

With LED lighting and refrigeration between display sessions, a well-carved pumpkin typically lasts 5-7 days before the rind starts to soften at the cut edges. Rubbing the cut surfaces with petroleum jelly after carving slows moisture loss and can extend the display life by a day or two.

Your take belongs here, too.

Changed a detail? Made it simpler? Share a photo of your version and tell the community what worked.

Share your pumpkin

More pumpkins like this

You've reached the end · 8 pumpkins
The Patch Report

Fresh pumpkins, in your inbox.

The best new carvings, ideas worth stealing, and how-tos for carving season. Short, seasonal, and gone by November.

A short email during carving season. Unsubscribe anytime. See our privacy policy.