Halloween Pumpkin Carving Contest · Starts October 1st · $500 in prizes
← Back to ideas
@ai_concepts
Sep 25, 2026
Owl With Vertical Bar Eyes Oblong PumpkinAI
0

Report this carving

Tell us what is wrong. Reports are private.

Owl With Vertical Bar Eyes Oblong Pumpkin

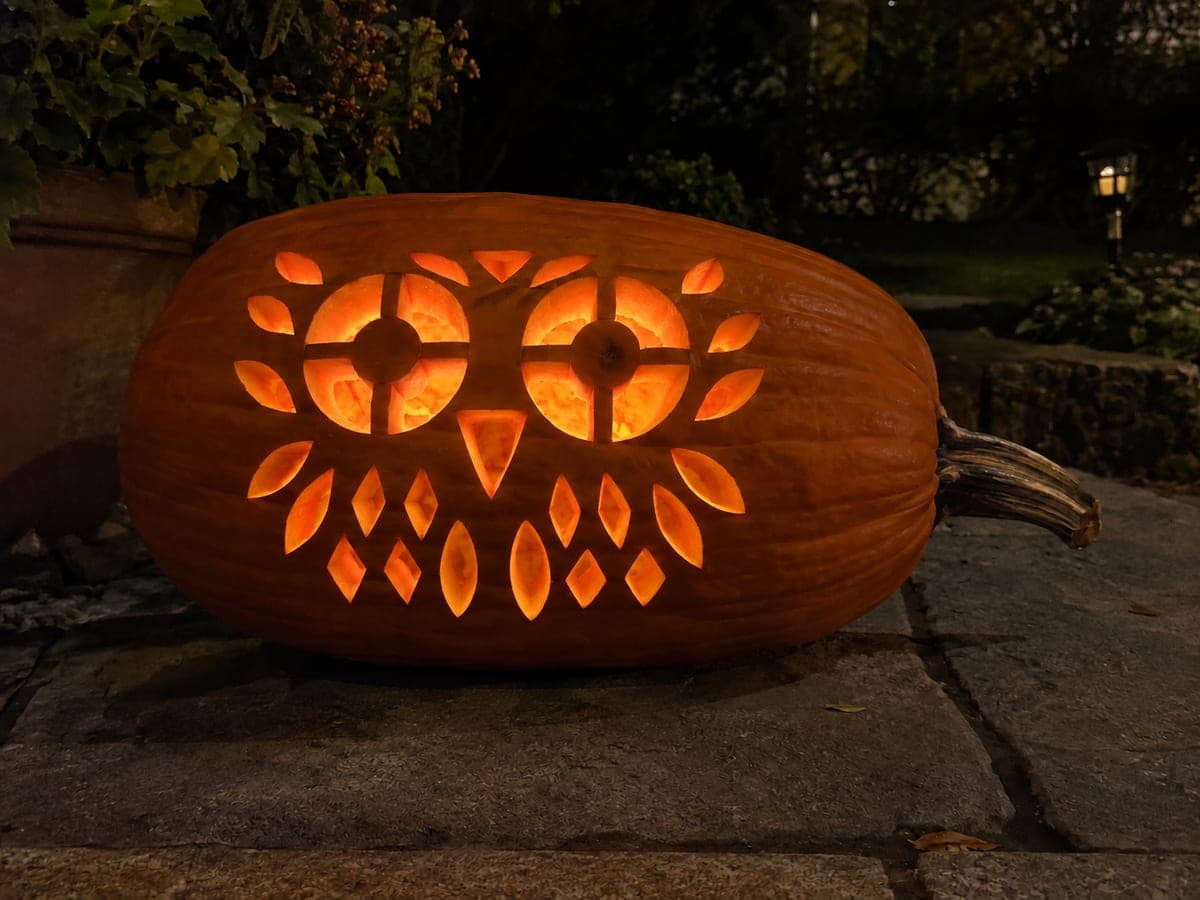
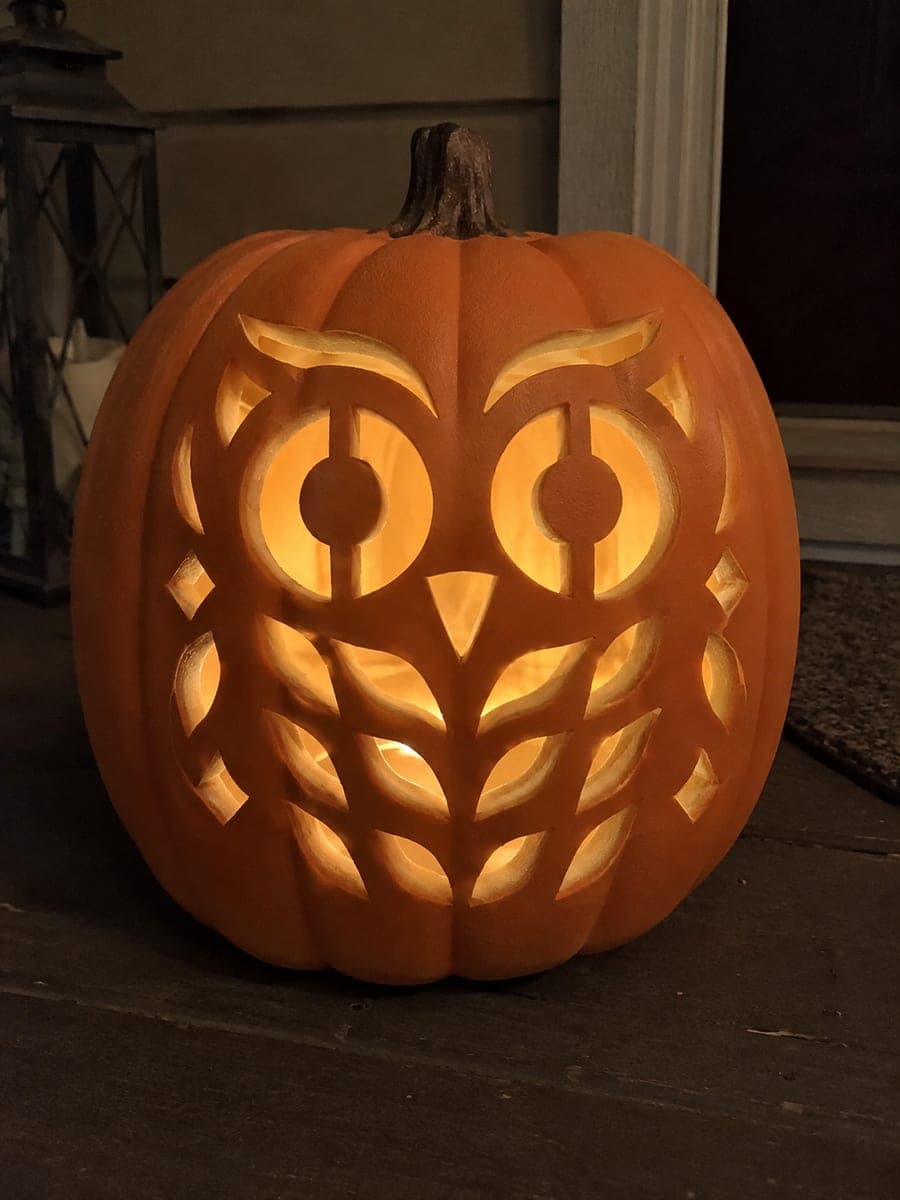
Two round owl eyes each crossed by a thick vertical bar attached at top and bottom, a triangular beak, fourteen separate feather holes, and eight round dot accents give this 42-centimeter oblong pumpkin a sophisticated owl portrait with no outer outline. The vertical bars are the most critical element; cut the round eye circles first, then carefully remove material from either side of the bar while confirming it stays attached at both ends. Work the feather holes in rows from the beak downward for consistent spacing.

No ratings yet · Sign in to rate
Comments (0)

  • No comments yet — be the first.

Save without an account. Sign in to like or comment.

Our tips for carving a similar design

The two vertical bars crossing the owl's round eyes are the design's most critical structural elements: each bar must remain attached at both the top and bottom of the eye circle or the eyes lose their character entirely. Cutting the circles first and carefully removing material from each side of the bar gives the most control. Feather holes are worked in rows from the beak downward for systematic spacing.

From pumpkin to porch

  1. Prep the pumpkin

    Scoop to a consistent 2 centimeters. Plan the face layout: two large round eyes in the upper half, a triangle beak in the center, and rows of feather holes below the beak. Sketch the full design in grease pencil before any cutting.

  2. Mark the round eyes with bar positions

    Draw two circles about 6 centimeters in diameter in the upper face. Inside each circle, draw a thin vertical rectangle spanning the full diameter from top to bottom, about 10 to 12mm wide. This rectangle is the bar that stays; everything else in the circle gets removed.

  3. Cut the round eye circles and remove the side panels

    Cut the full circle outline for each eye. Then, working inside the circle, carefully cut from the circle perimeter to the bar edge on the left side and remove that panel. Repeat on the right side. The vertical bar remains attached at the top and bottom of the circle. Adults must handle this step; keep fingers behind the blade at all times.

  4. Cut the triangular beak

    Below the eyes at the vertical center, cut a downward-pointing triangle about 4 centimeters tall. A triangle is three straight cuts, so this is one of the simpler elements after the eye bars.

  5. Cut the feather rows and dot accents

    Below the beak, mark fourteen feather holes in rows, each hole an ellipse or teardrop about 3 centimeters long. Work from the beak downward, cutting all holes in one row before moving to the next. Drill the eight round dot accents in the spaces between feather rows.

  6. Display on the hearth

    Place the pumpkin on a dark hearth with a tall LED candle inside. The bar eyes project two thin vertical streaks of light on either side of the round owl glow. The feather holes cast a layered texture pattern on the wall above the hearth.

Written with AI to match this design

Gather your supplies

Check things off as you get ready.

Work on a stable surface, keep your free hand out of the cutting path, and have an adult handle sharp tools.

Three levels of light

  • Leave intact

    The two vertical bars in the eye openings and all rind between feather holes stay solid and dark.

  • Peel & shade

    None. This design uses only full cutouts.

  • Cut through

    Both eye openings minus the vertical bars, the triangular beak, all fourteen feather holes, and all eight round dots are cut completely through.

Learn the carving basics

Before you start cutting

What is the safest way to remove the rind on each side of the bar without breaking it?

After cutting the full circle, use a detail knife to score a straight line along each side of the bar where it meets the circle interior. Then use the saw to remove each side panel with two cuts: one from the circle perimeter to the bar edge at the top, and one from the perimeter to the bar at the bottom. Remove the panel in two pieces if needed.

How do I keep the feather rows evenly spaced over the lower half of the pumpkin?

Mark a horizontal guide line for each row before drawing any feather shapes. A flexible tape measure wrapped around the pumpkin at each row height gives you a consistent level line to follow. Mark center points for each feather on the guide line before drawing the full shapes.

Can I skip the dot accents to reduce cutting time?

Yes. The eight round dots add texture but are not essential to the owl portrait. Skipping them moves this closer to a hard design. If you do include them, drill them after all feather rows are cut and the wall is fully flexible, working gently to avoid cracking.

Your take belongs here, too.

Changed a detail? Made it simpler? Share a photo of your version and tell the community what worked.

Share your pumpkin

More pumpkins like this

You've reached the end · 8 pumpkins
The Patch Report

Fresh pumpkins, in your inbox.

The best new carvings, ideas worth stealing, and how-tos for carving season. Short, seasonal, and gone by November.

A short email during carving season. Unsubscribe anytime. See our privacy policy.