Halloween Pumpkin Carving Contest · Starts October 1st · $500 in prizes
← Back to ideas
@ai_concepts
Sep 25, 2026
Painted Daisy Pumpkin with Cream Petals and Sage LeavesAI
0

Report this carving

Tell us what is wrong. Reports are private.

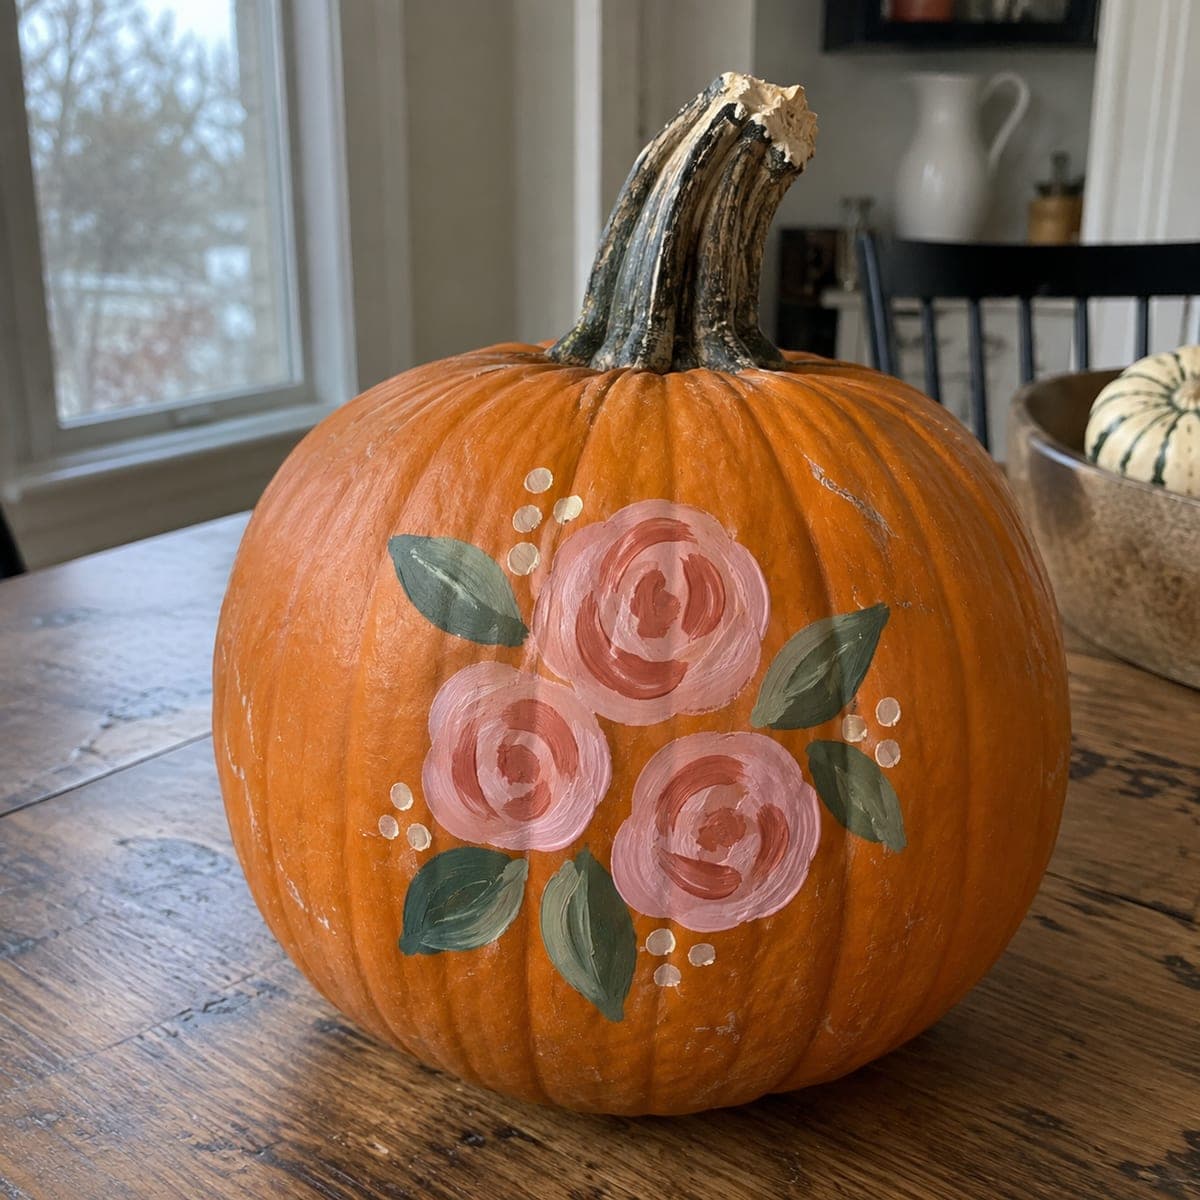
Painted Daisy Pumpkin with Cream Petals and Sage Leaves

Cream daisy petals, rounded yellow centers, and sage green leaves painted on an intact orange pumpkin make this easy no-carve flower pumpkin carving idea fresh and autumnal. Start with the centers as round dots of yellow, then build petals outward with a flat brush in cream. Add sage leaves between flowers using a slightly loaded brush dragged to a point for natural leaf tips. Finishing with a matte sealant keeps the soft palette from yellowing outdoors.

No ratings yet · Sign in to rate
Comments (0)

  • No comments yet — be the first.

Save without an account. Sign in to like or comment.

Our tips for carving a similar design

The design layers flat acrylic paint directly on the intact rind, starting with small round yellow centers and building cream petals outward in a second pass. Sage green leaves fill the spaces between flowers using a dragged brush stroke. A matte sealant protects the soft, earthy palette from outdoor humidity and UV without changing the color.

From pumpkin to porch

  1. Clean and dry the surface

    Wipe the pumpkin with a damp cloth to remove any dirt or wax coating, then dry it thoroughly. Paint does not bond well to a waxy or dusty surface. Let it air-dry for at least thirty minutes before you begin.

  2. Sketch the flower positions lightly

    Use a soft pencil or chalk to mark where each flower center will sit. Aim for a loose, asymmetric cluster rather than a perfect grid. This light sketch is easy to wipe away if you want to adjust the layout.

  3. Paint the centers first

    Load a round brush with yellow acrylic and dab a solid circle for each flower center. Let these dry completely before adding petals so the yellow does not bleed into the cream. Two thin coats give a clean, opaque dot.

  4. Build the cream petals outward

    Switch to a flat brush and stroke cream petals outward from each center, lifting the brush at the tip to taper each petal naturally. Aim for six to eight petals per flower. Cream over dry yellow stays crisp; cream over wet yellow blurs the boundary.

  5. Add sage leaf strokes

    Mix a mid-tone sage green and drag a flat brush loaded with paint from a thick base to a pointed tip between and around the flowers. Vary the leaf angle slightly from flower to flower so the arrangement looks natural rather than stamped.

  6. Seal and display

    Once the paint is fully dry (wait two hours minimum), apply an even coat of matte acrylic sealant. This prevents the cream tones from yellowing in sun and keeps the sage leaves from fading. Display indoors on a windowsill or outside on a shaded porch for best color life.

Written with AI to match this design

Gather your supplies

Check things off as you get ready.

Work on a stable surface, keep your free hand out of the cutting path, and have an adult handle sharp tools.

Three levels of light

  • Leave intact

    The full intact orange rind surrounding the painted flowers stays bare, providing warm contrast to the cream petals.

  • Peel & shade

    None. This design leaves the shell completely intact.

  • Cut through

    None. Use an external spotlight or porch light to illuminate the painted surface instead.

Learn the carving basics

Before you start cutting

Will cream acrylic cover the orange rind in one coat?

Usually not. Cream and other light colors need two thin coats over orange to appear opaque. Let the first coat dry before applying the second, and apply each coat thinly to avoid brushstroke texture.

How do I get a natural leaf tip instead of a blunt end?

Load the flat brush moderately, press the full width down at the leaf base, and then gradually lift the brush while pulling toward the tip. Practicing the stroke on paper a few times before touching the pumpkin builds the muscle memory quickly.

Can I redo a petal that came out uneven?

Yes. Once the misshapen petal is dry, paint over it with the base orange color to reset the area, let that dry fully, then re-stroke the petal. Acrylic is very forgiving for corrections as long as you work in thin layers.

Your take belongs here, too.

Changed a detail? Made it simpler? Share a photo of your version and tell the community what worked.

Share your pumpkin

More pumpkins like this

You've reached the end · 8 pumpkins
The Patch Report

Fresh pumpkins, in your inbox.

The best new carvings, ideas worth stealing, and how-tos for carving season. Short, seasonal, and gone by November.

A short email during carving season. Unsubscribe anytime. See our privacy policy.