@maple_mae
Sep 5, 2026
Peaches with attitude
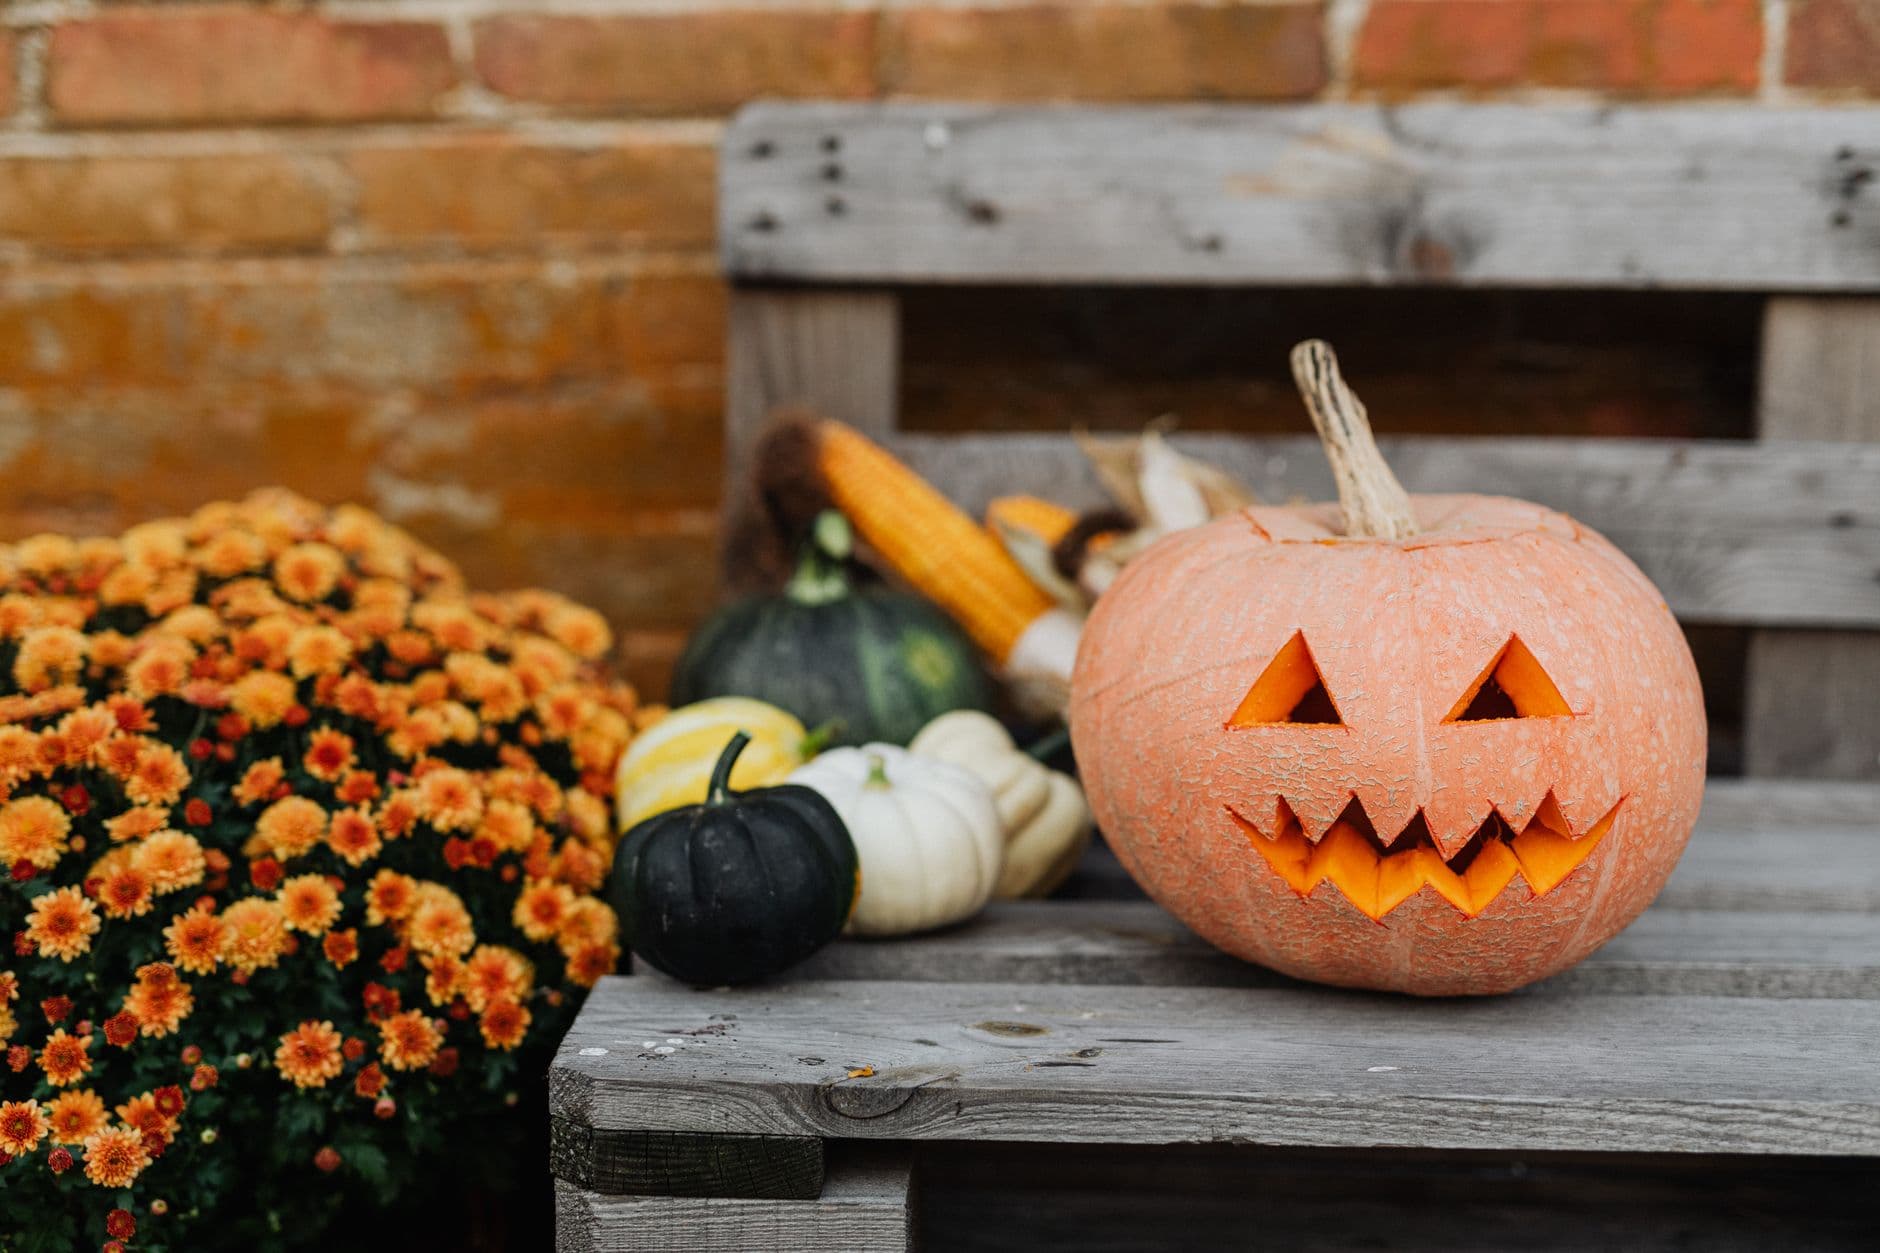
A peach-toned jack with knitted brows and a double-jag mouth, holding the pallet bench next to the mums.
No ratings yet · Sign in to rate
A peach-toned jack with knitted brows and a double-jag mouth, holding the pallet bench next to the mums.
The whole charm here is a tidy classic face where every cut is angled slightly inward so the walls catch light and glow. Triangle eyes with a subtle inward tilt read as knitted brows, and a double row of jagged teeth gives the mouth its cheeky attitude. Plan the face small and centered on the roundest part of the pumpkin so the cheeks stay full.
Written by PumpkinCarvingIdeas.com, inspired by @maple_mae's photo above. These are our suggestions, not instructions from the uploader, and this approach hasn't been tested on their exact carve.
Choose a squat, round pumpkin with a flat resting spot so it will not roll on the bench. Wipe it clean and dry, then mark the face lightly with a washable marker or a poke pattern. Keep the eyes, nose, and mouth in the lower-middle third so the tall shoulders frame the design. Sketch the eyes as triangles that tilt down toward the center to suggest the angry brow.
Have an adult cut a lid around the stem at an angle so it rests without falling in. Scoop out the seeds and pulp, then scrape the inside wall behind the face down to about one inch thick. A thinner wall is much easier to cut cleanly and it lets more light through. Save the scraped guts for compost or roasting the seeds.
Start with the smaller shapes while the pumpkin is still strong. Use a small serrated carving saw and cut each triangle with slow, straight strokes, angling the blade slightly toward the center. Push the cut pieces out from the inside with a thumb so the edges stay crisp. Cut both eyes and the nose before moving to the mouth.
Draw a long grin with a zigzag top edge and a matching zigzag bottom so the teeth interlock. Cut the outline of the whole mouth first, then remove the gaps between the teeth one at a time. Leave each tooth attached at its base so none snap off. Take your time on the points, since sharp clean tips are what give this mouth its bite.
Run your saw or a small knife back over every opening to shave off ragged bits. For a softer look you can bevel the front edges slightly. Drop in a battery LED tealight or a small LED puck, never a candle, and check the light in a dark room. Widen any cut that looks dim or uneven.
Set the finished jack on a sturdy surface like a pallet bench, away from foot traffic. Cluster mums, gourds, and a few small pumpkins around it to build a warm fall display. Shoot at dusk so the glowing face pops against the darker background. Bring the pumpkin inside overnight to make it last longer.
Check things off as you get ready.
Work on a stable surface, keep your free hand out of the cutting path, and have an adult handle sharp tools.
The entire outer skin stays untouched and dark, keeping the peachy round face solid.
Optional shallow scraping just inside the eye and mouth edges gives a soft dim halo around each opening.
The two triangle eyes, the triangle nose, and the full jagged mouth are cut through for the brightest glow.
Cut the full outline of the mouth first, then remove only the small gaps between teeth one at a time. Leave every tooth connected to the pumpkin wall at its base rather than floating. Thinning the inside wall to about an inch makes clean cuts easier so you are not forcing the blade.
Tilt each triangle eye so the inner corner points down toward the nose. That downward slope reads as a knitted brow and gives the face its attitude. Keep both eyes matched in size and angle so the expression looks intentional.
Yes. A lighter, peach-toned skin still stays dark where it is uncut, and the cut openings will glow warm orange from the flesh inside. A brighter LED will help the color read well at dusk. Thinning the wall behind the face also boosts the glow.
Changed a detail? Made it simpler? Share a photo of your version and tell the community what worked.
The best new carvings, ideas worth stealing, and how-tos for carving season. Short, seasonal, and gone by November.







Comments (0)