@toothpick_tessa
Sep 7, 2026

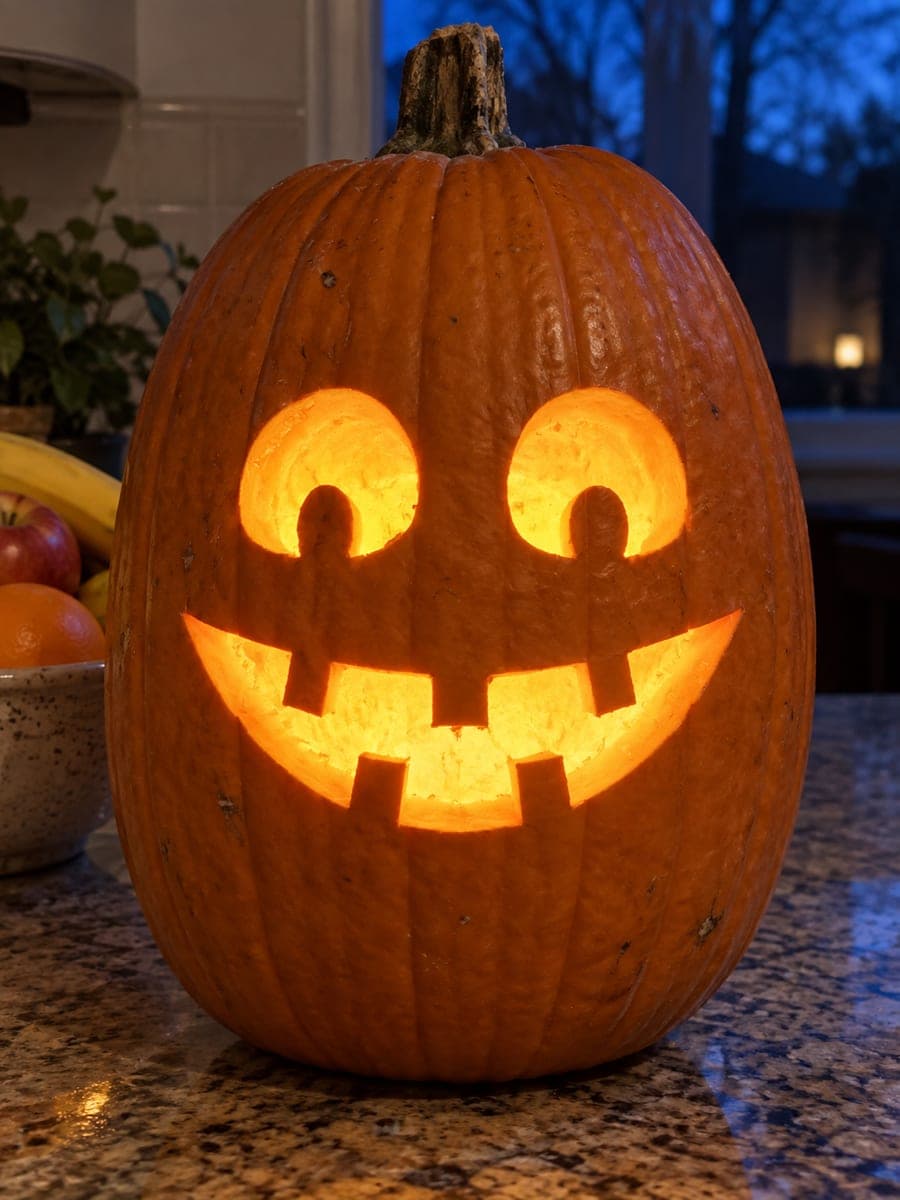
The whole charm here is restraint: two round eyes and one gentle curved smile, nothing more. The trick is keeping the shapes small and well spaced so the face reads as sweet rather than spooky. Round eyes are the easiest openings to cut cleanly, which makes this an ideal design for a child helping under adult supervision.
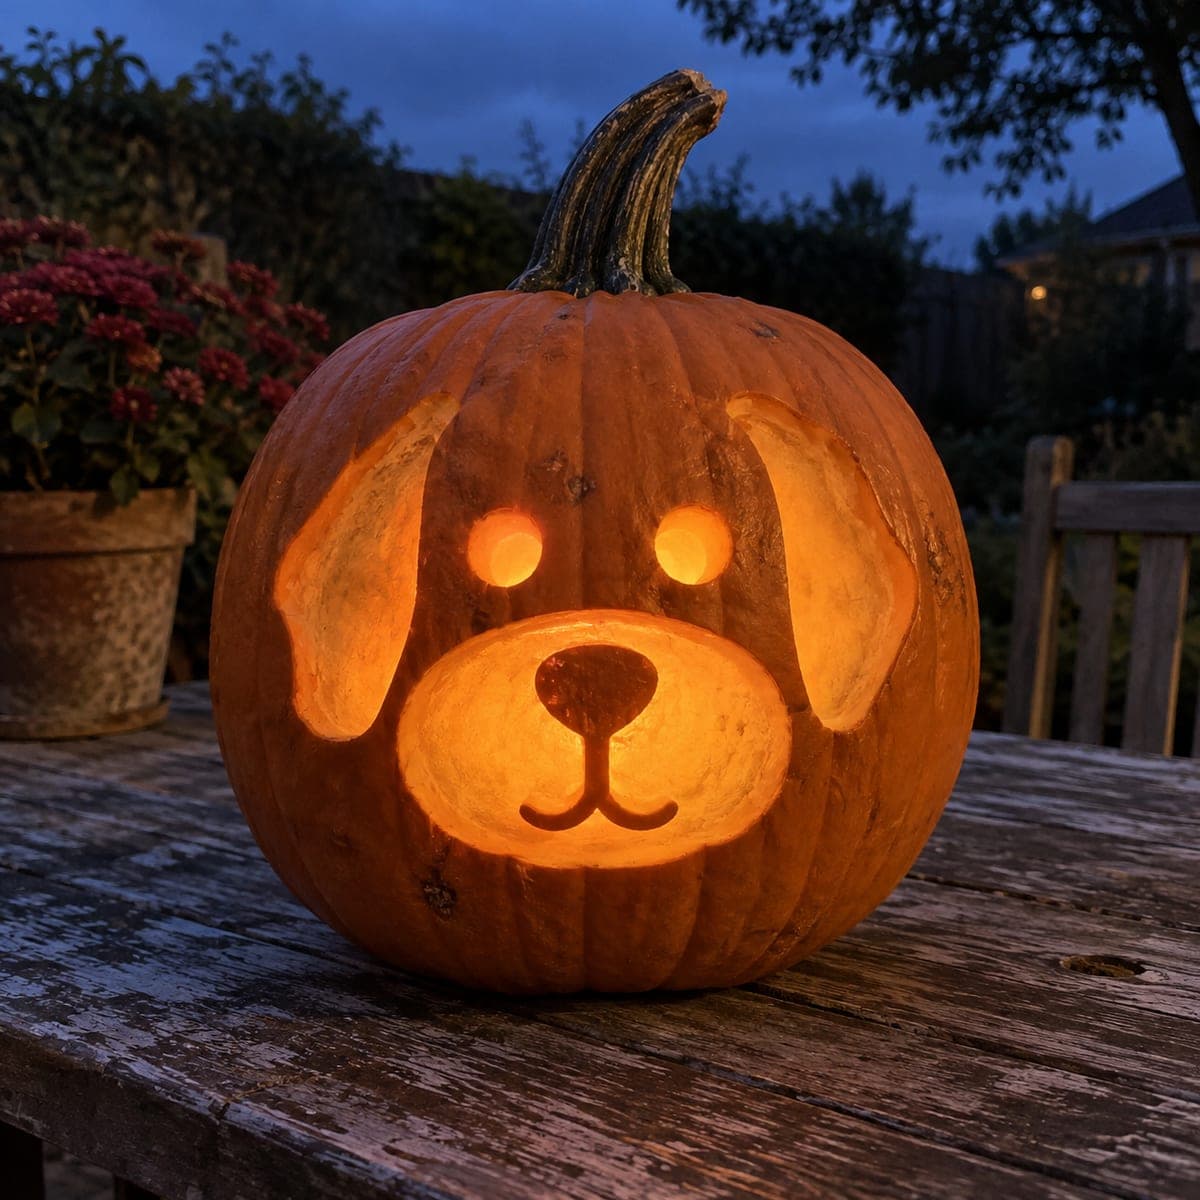
Written by PumpkinCarvingIdeas.com, inspired by @toothpick_tessa's photo above. These are our suggestions, not instructions from the uploader, and this approach hasn't been tested on their exact carve.
Pick a smooth, round pumpkin that sits flat without rolling. An adult should cut a lid around the stem at an angle so it rests back in place later. Scoop out the seeds and pulp, then thin the front wall to about one inch with a scraper. A thinner wall is much easier to push a small blade through.
Use a washable marker to draw two small round eyes and one wide, gentle smile. Keep the eyes level with each other and set the mouth a little below them, centered. Step back and check the spacing before you cut, since the empty space around the shapes is what makes this face feel calm and cute. Redraw until it looks right.
Have an adult carve the two round eyes first using a small serrated carving saw or a sturdy paring knife. Work slowly with short, gentle strokes and let the blade do the work. Push the cut pieces out from the inside so the edges stay clean. Small openings like these keep the pumpkin strong.
Carve the mouth as one smooth curved opening, following your marker line. Take your time on the corners so the smile stays soft and rounded, not jagged. Save this larger cut for after the eyes so the pumpkin stays firm while you work. Clean up any rough edges with the tip of the blade.
Wipe away leftover marker lines with a damp paper towel and trim any stray bits inside the openings. Drop in a battery LED tea light, never a real candle, and set the lid back on. If the lid smothers the light, cut a small vent notch at the back. Test it in a dark room to see the glow.
Set the finished pumpkin somewhere safe and snap a photo while the little face glows. Natural evening light or a dim room shows off the warm color best. This is a great one to display at kid height so young carvers can admire their work. Share it with the community when you are done.
Check things off as you get ready.
Work on a stable surface, keep your free hand out of the cutting path, and have an adult handle sharp tools.
The entire orange body stays untouched and dark, keeping the face simple and clean.
Optional: lightly shave a thin ring around each eye if you want a soft halo, though this design looks great with no peeling at all.
The two round eyes and the curved smile are cut fully through for bright, cheerful glow.
Yes, this is one of the best beginner designs for kids. A child can draw the face and scoop the insides, while an adult handles all the actual cutting. Keep the shapes small and simple and everyone stays involved safely.
Draw both eyes with the marker first and check that they sit level before any cutting. You can trace around a bottle cap or coin to get matching circles. If one ends up slightly bigger, gently widen the other to match.
Absolutely. Simple faces often glow the cleanest because there are no thin details to break. A single LED tea light makes the three openings pop against the dark skin, and the wide smile reads clearly even from across a room.
Changed a detail? Made it simpler? Share a photo of your version and tell the community what worked.
The best new carvings, ideas worth stealing, and how-tos for carving season. Short, seasonal, and gone by November.






Comments (0)