@carvequeen
Sep 5, 2026
Pumpkin eat pumpkin world
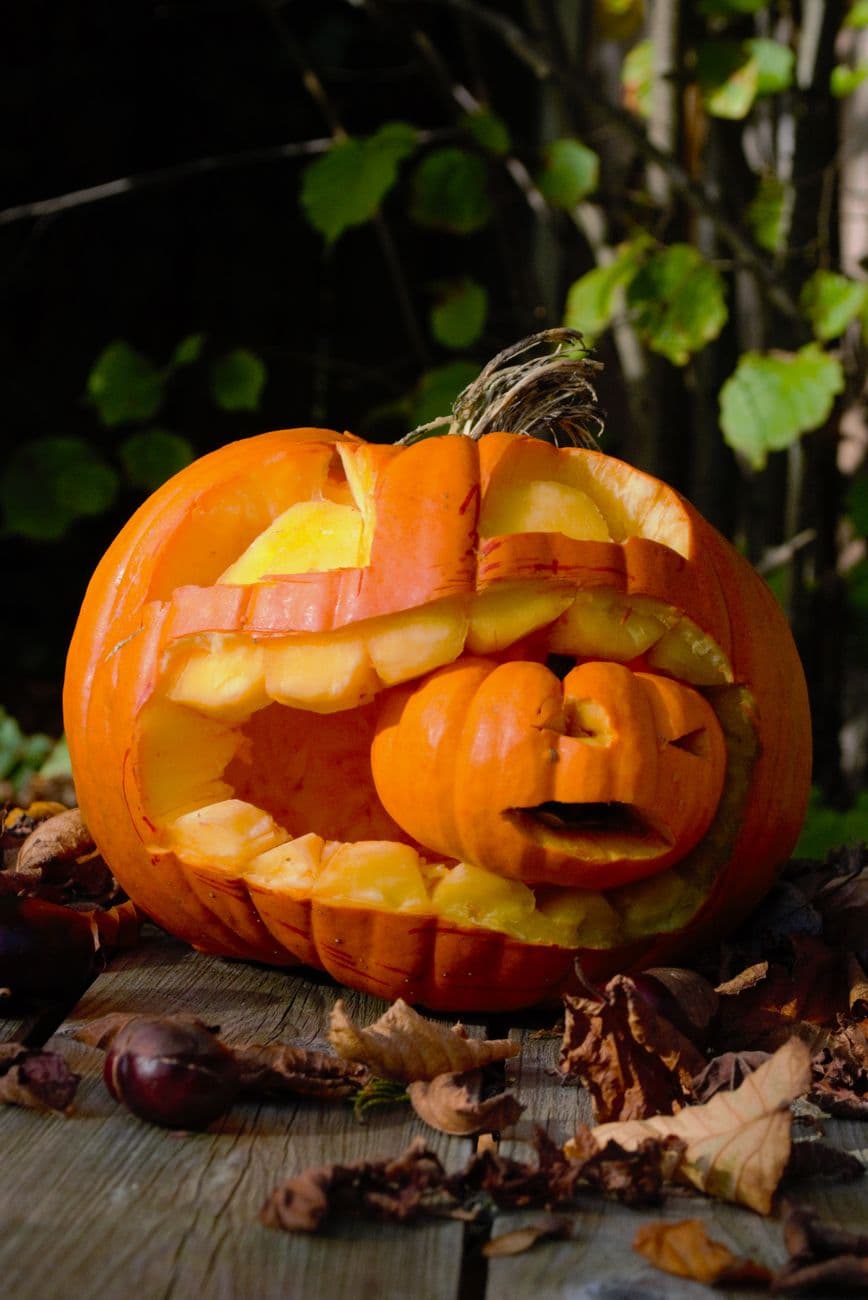
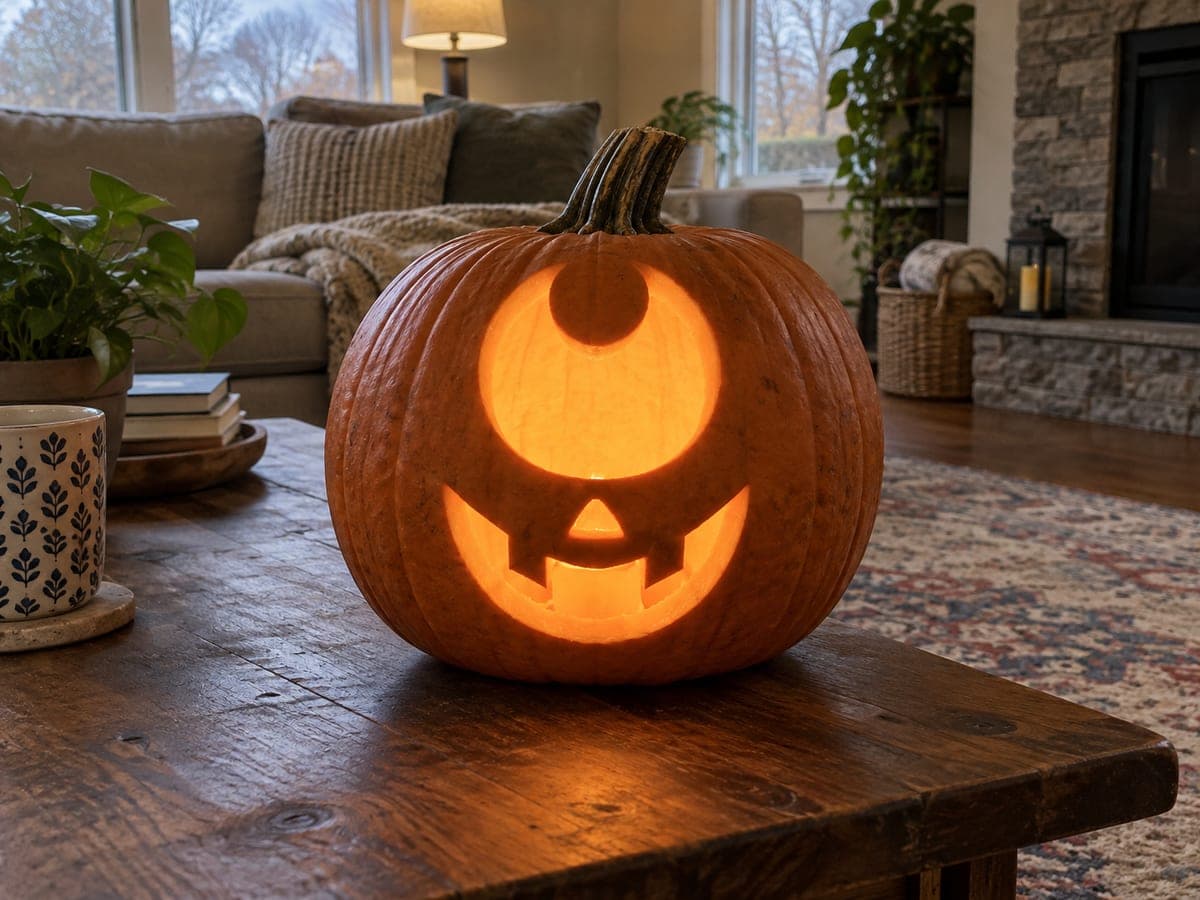
A big jack caught mid-chomp on a smaller screaming pumpkin. Two carves, one crime scene, endless compliments.
No ratings yet · Sign in to rate
A big jack caught mid-chomp on a smaller screaming pumpkin. Two carves, one crime scene, endless compliments.
The whole joke rests on scale and staging: a large jack-o'-lantern with a wide, tooth-lined mouth appears to be biting down on a much smaller carved pumpkin. You carve two pumpkins separately, giving the little one a panicked open-mouth face, then nestle it into the big mouth so the teeth frame it. Keep the big grin's teeth chunky and bridged so nothing snaps when you set the small pumpkin in place.
Written by PumpkinCarvingIdeas.com, inspired by @carvequeen's photo above. These are our suggestions, not instructions from the uploader, and this approach hasn't been tested on their exact carve.
Choose one large pumpkin with a smooth, wide face area and one small pumpkin that fits inside a wide mouth opening. Cut a lid on the big pumpkin and scoop the walls down to about one inch so it is easy to carve. Hollow the small pumpkin from the bottom so its stem stays intact and it sits at a natural angle. Dry both interiors with paper towels to slow spoilage.
Sketch a large open grin across the lower front of the big pumpkin, leaving a wide gap in the center where the small pumpkin will rest. Draw a row of chunky, uneven teeth along the top and bottom of the mouth. Keep each tooth wide and connected to the rim so it stays strong. Leave a shelf or ledge inside the mouth to support the small pumpkin later.
On the small pumpkin, cut a round wide-open mouth and two worried eyes for a panicked look. Add a small pinched brow with shallow lines to sell the fear. Keep the openings modest so the little face reads clearly from a few feet away. Set it aside once done.
Carve the big eyes and any brow lines first while the face is still solid. Then cut out the teeth gaps and finally the large mouth opening, saving that biggest cut for last so the wall stays rigid as long as possible. Round the inner tooth edges slightly so they look like they are pressing into the victim. Test-fit the small pumpkin as you go.
Nestle the small pumpkin into the big mouth so the teeth appear to clamp around it. Angle it so both faces are visible from the front, with the little screaming mouth tilted up. If it wobbles, trim the inner shelf or add a small folded paper towel underneath to steady it. Step back and adjust until the bite looks convincing.
Place a battery LED inside the big pumpkin and a second small LED inside the little one so both faces glow. Skip candles, since the tight staging and thin tooth bridges do not mix well with open flame. Shoot in low light against dark leaves or wood to make the scene pop. Take your photo the same evening, since two cut pumpkins soften quickly.
Check things off as you get ready.
Work on a stable surface, keep your free hand out of the cutting path, and have an adult handle sharp tools.
The outer skin of both pumpkins and the raised tooth surfaces stay dark and orange.
Shallow brow lines and worry creases on the small face glow a soft dim orange.
The big grinning mouth, its eyes, and the small pumpkin's screaming mouth and eyes throw the brightest light.
Carve the teeth wide and leave each one attached to the mouth rim rather than free-floating. Cut the full mouth opening last so the wall stays firm during detail work. When you set the small pumpkin in, rest its weight on an inner shelf, not on the teeth themselves.
Pick your small pumpkin first, then size the big mouth so the little one drops in with about a half inch of clearance. Too tight and you crack the teeth, too loose and the bite looks fake. Test-fit often while carving rather than cutting the full opening at once.
Yes, and it looks best that way. Use a small LED inside each so the big grin and the little screaming face both glow. Battery lights are safer here because the pumpkins are pressed close together with thin bridges.
Changed a detail? Made it simpler? Share a photo of your version and tell the community what worked.
The best new carvings, ideas worth stealing, and how-tos for carving season. Short, seasonal, and gone by November.



Comments (0)