Halloween Pumpkin Carving Contest · Starts October 1st · $500 in prizes
← Back to ideas
@ai_concepts
Sep 25, 2026
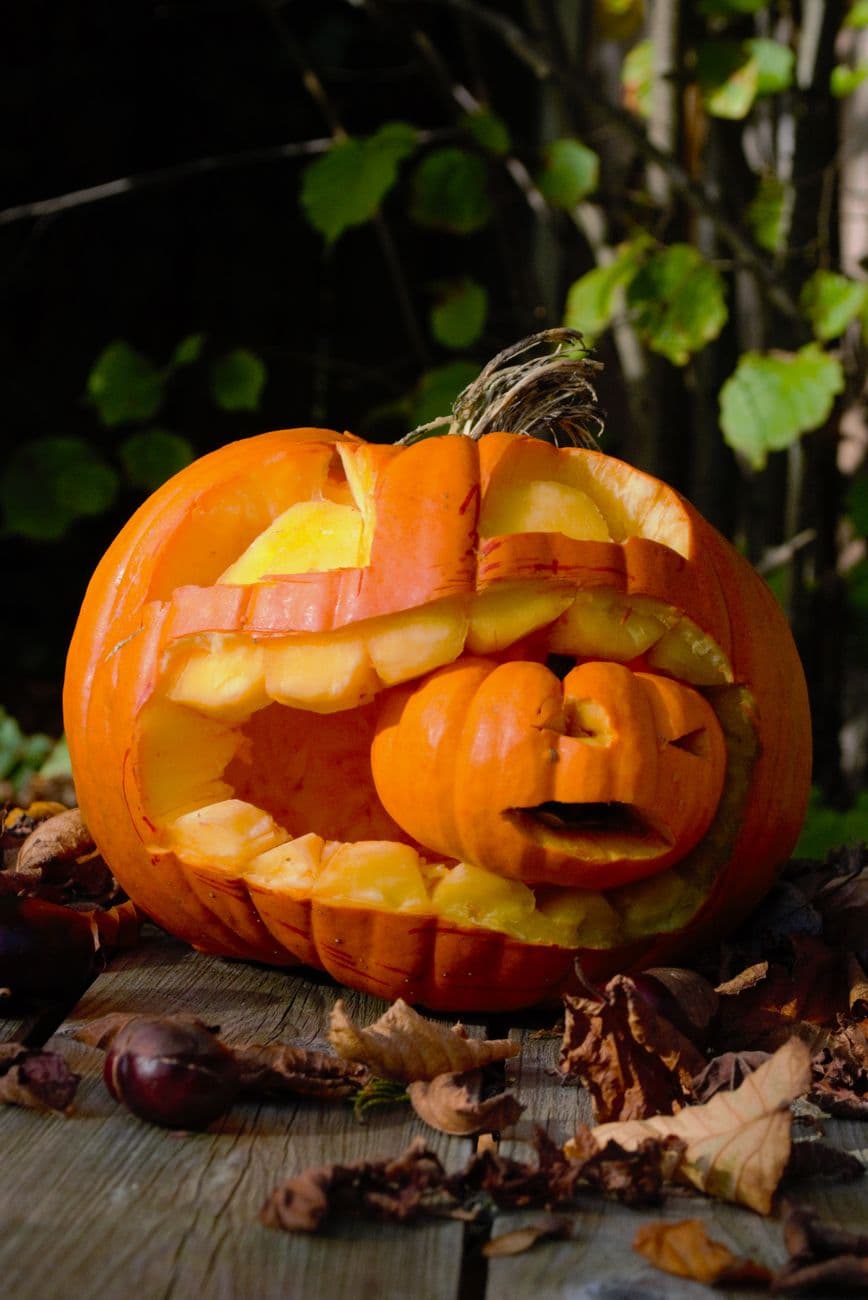
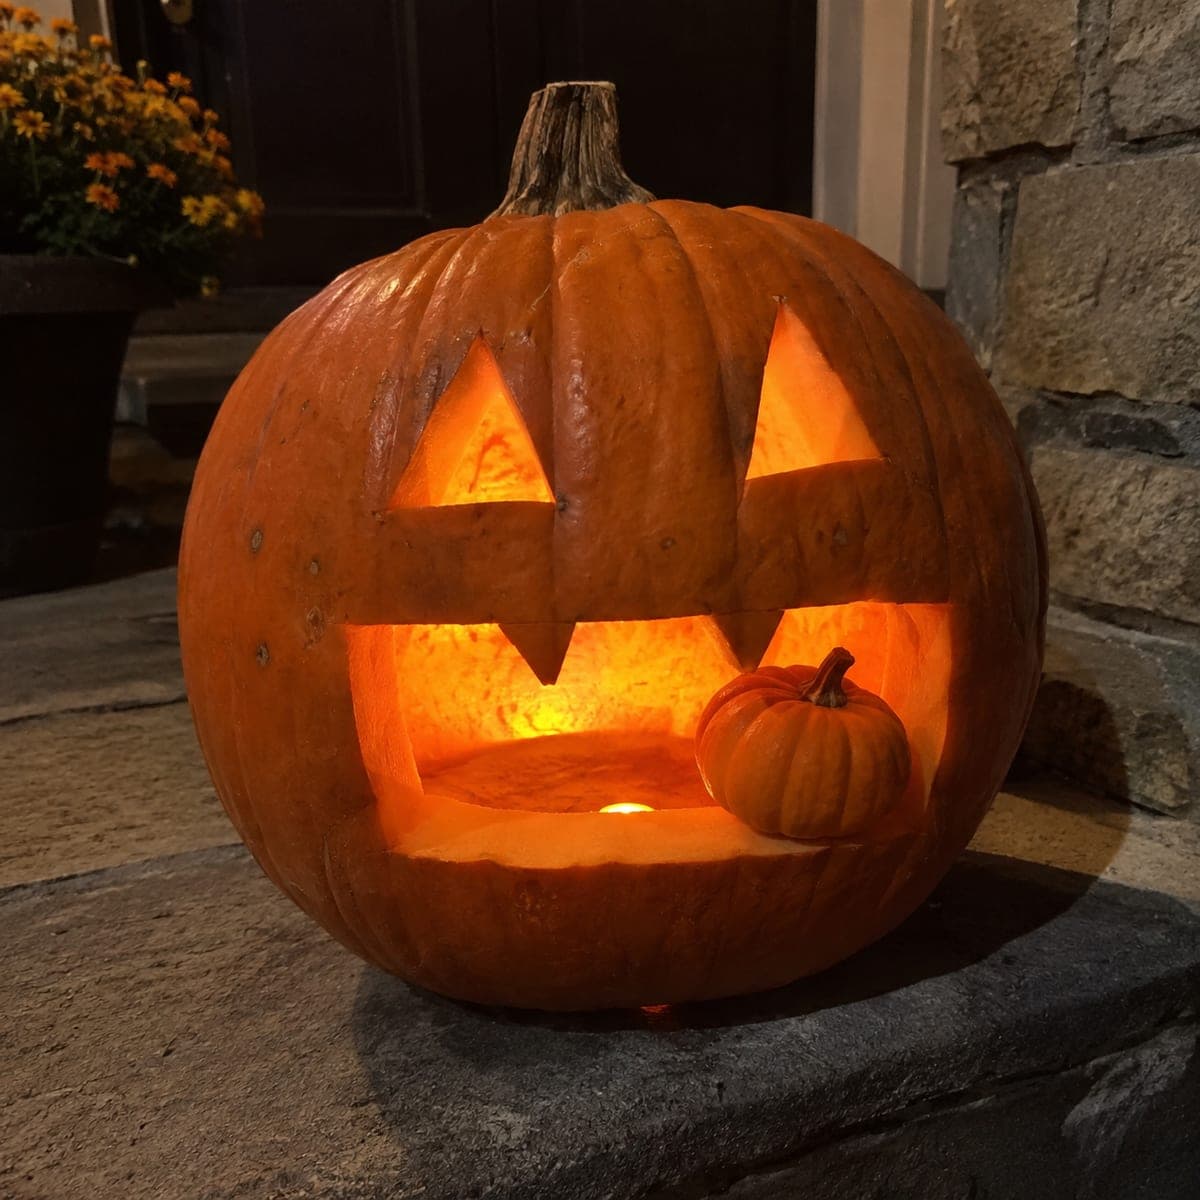
Grinning Pumpkin Jack-O-Lantern Eating a Surprised Little PumpkinAI
0

Report this carving

Tell us what is wrong. Reports are private.

Grinning Pumpkin Jack-O-Lantern Eating a Surprised Little Pumpkin

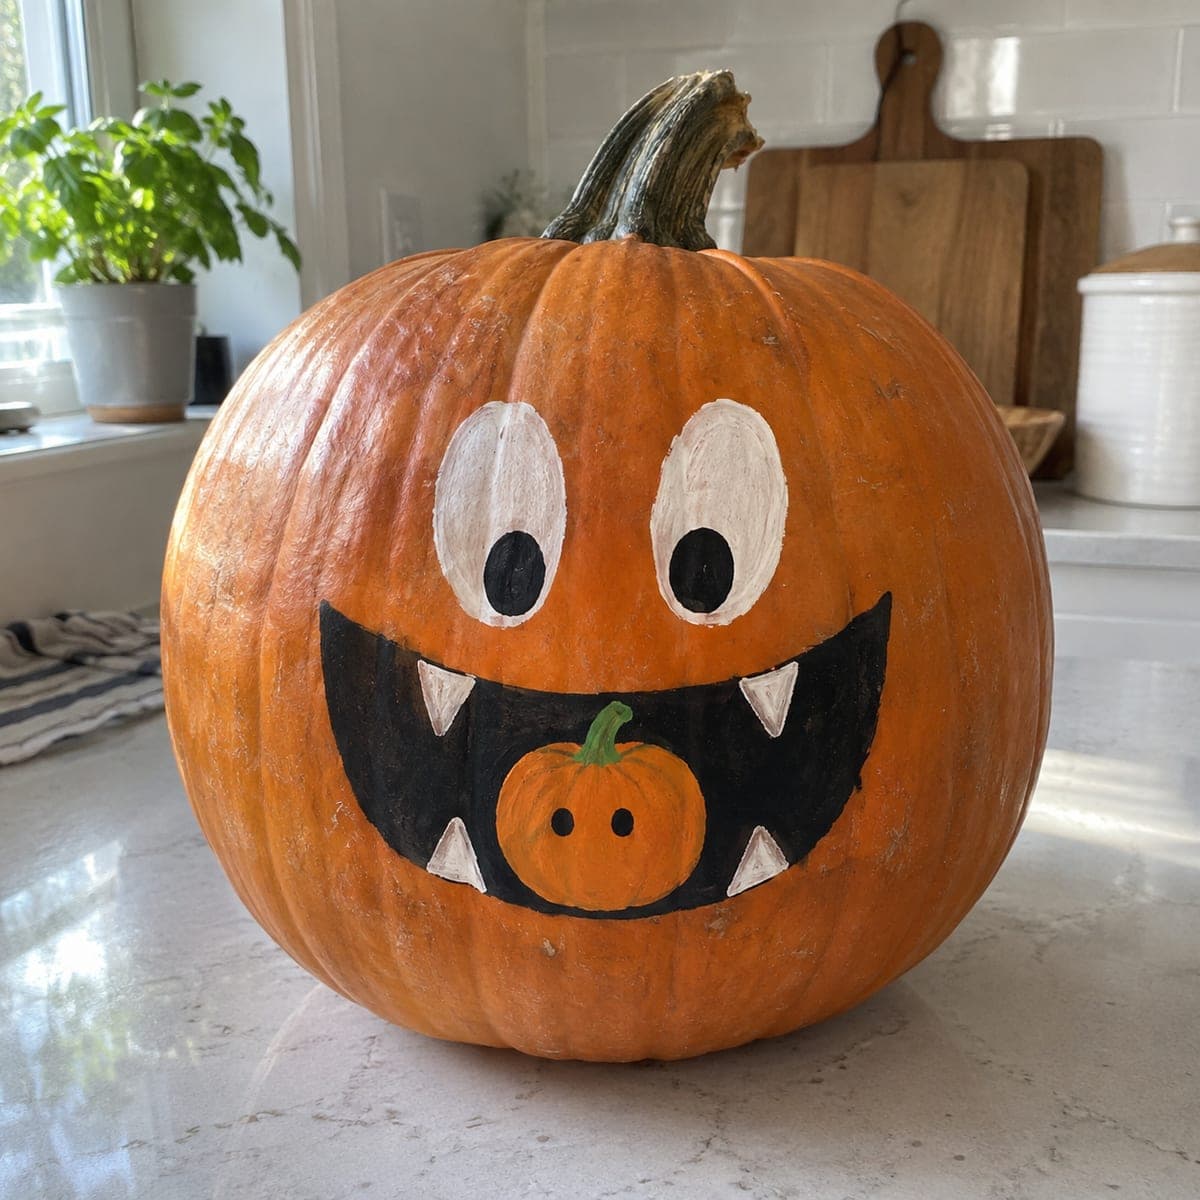
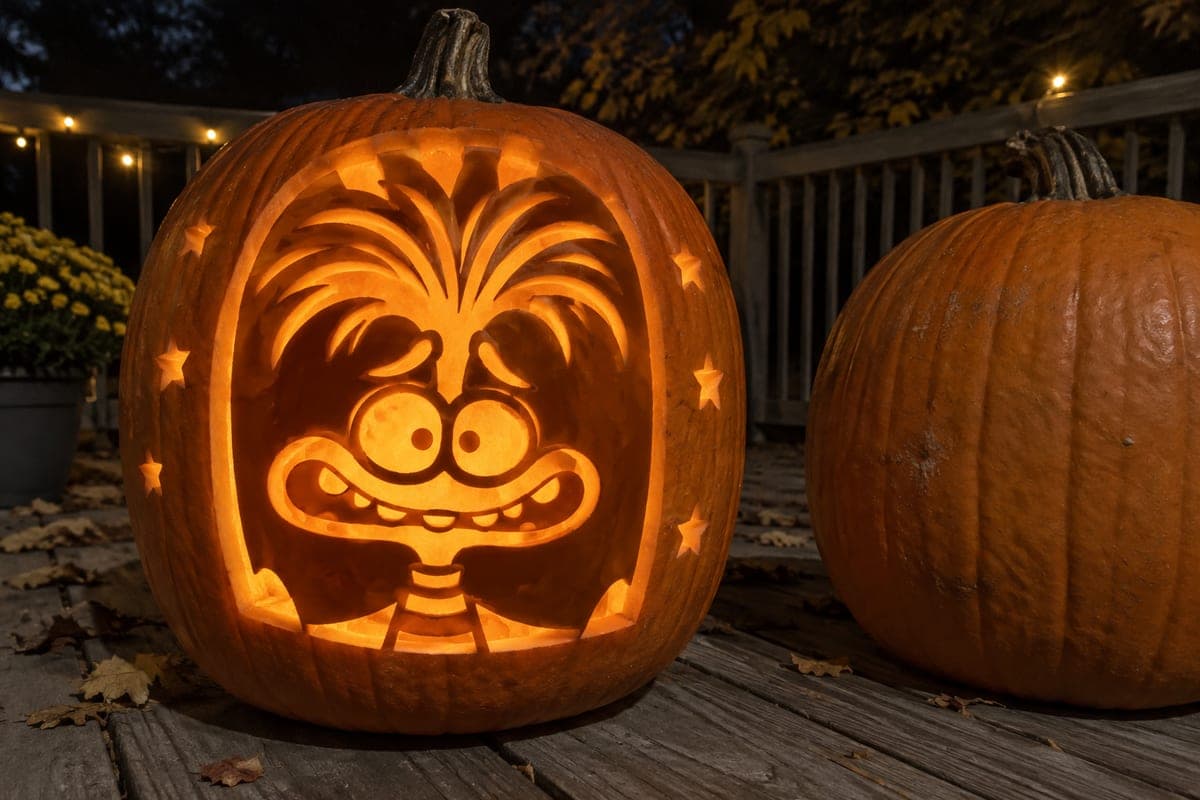
A grinning large pumpkin cradling a smaller carved and surprised-looking pumpkin inside its rooted-tooth mouth is a crowd-pleasing pumpkin eating pumpkin carving idea. Give both pumpkins simple cut-through faces, keeping the little pumpkin's features visible from the front. The small pumpkin sits on a thick lower rim so carve that ledge generously before removing material elsewhere. Lighting both pumpkins with individual LED candles makes their faces glow independently for full comedic effect.

No ratings yet · Sign in to rate
Comments (0)

  • No comments yet — be the first.

Save without an account. Sign in to like or comment.

Our tips for carving a similar design

The comedy of this design relies on two independently lit, face-forward carved pumpkins: the large one grinning widely with rooted teeth, and the small one showing a surprised or frightened expression visible from the front. Carving the small pumpkin's face first, before seating it in the large mouth, gives you full access and control. The lower rim of the large pumpkin's mouth is the structural stage the small pumpkin rests on.

From pumpkin to porch

  1. Carve the small pumpkin first

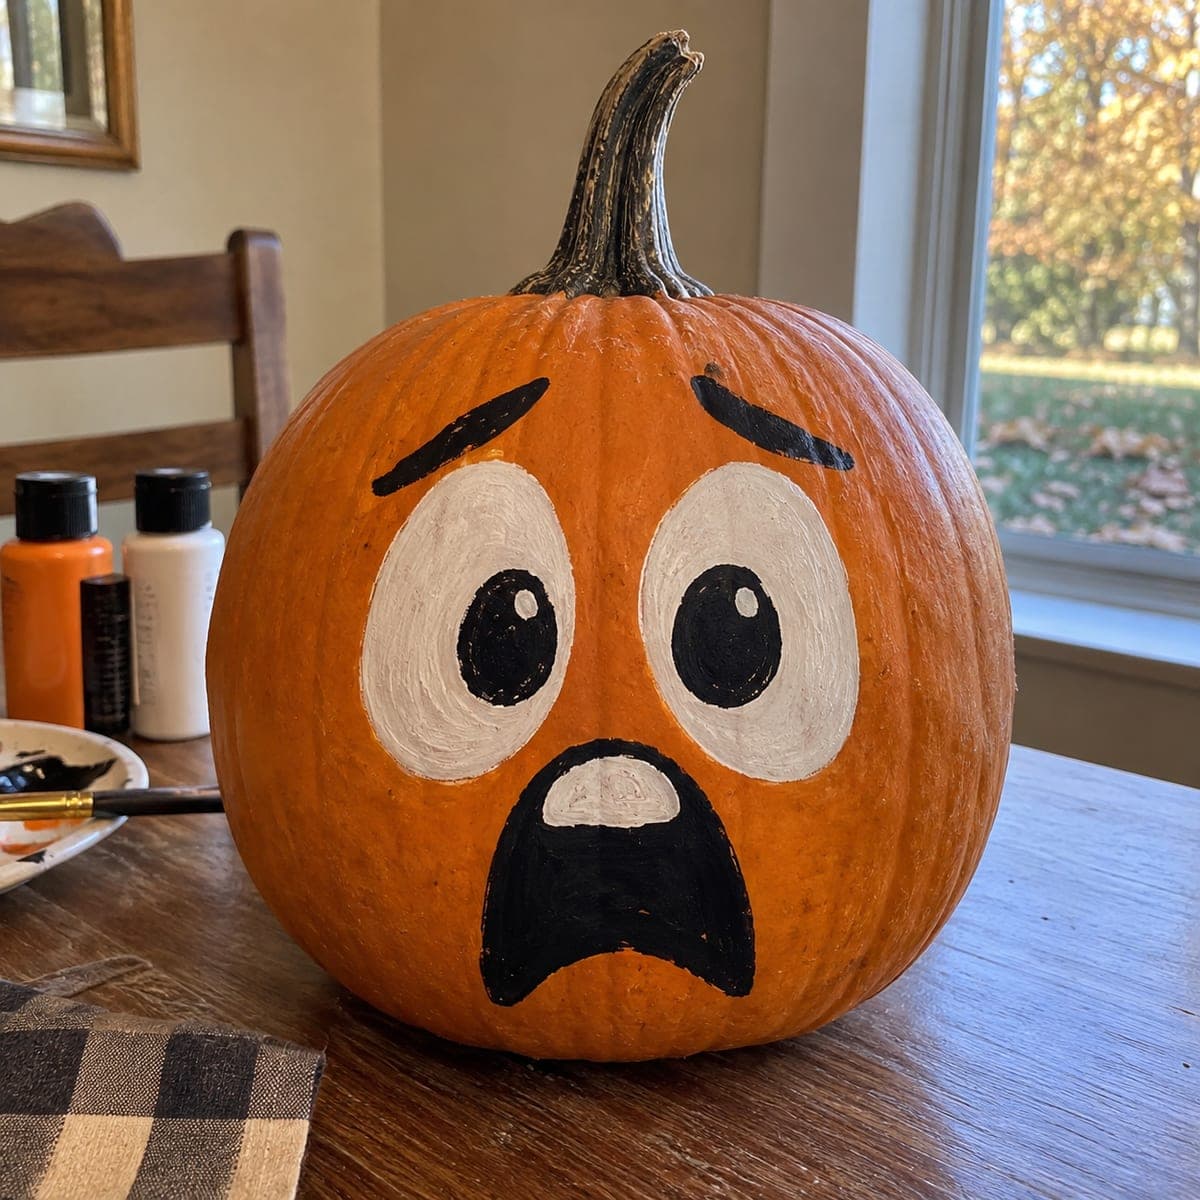
    Hollow the mini pumpkin from a back or bottom opening and carve a simple surprised face: wide round eyes and a small oval open mouth. Keep the features large enough to be readable through the large pumpkin's mouth opening. An LED inside this small pumpkin makes its expression visible even from a distance.

  2. Hollow the large pumpkin

    Cut a back-side lid on the large pumpkin and scoop to about one inch of wall thickness, paying particular attention to the lower face region where the jaw ledge will be. The ledge needs solid wall depth to support the weight of the seated mini pumpkin.

  3. Lay out the large face

    Mark the large pumpkin's eyes in the upper face area and a wide grinning mouth below, leaving a lower rim at least one and a half inches deep as the jaw ledge. The mouth needs to be wide enough for the mini pumpkin's face to be visible from the front when seated.

  4. Cut the large face with rooted teeth

    Remove the eye shapes first, then cut the mouth with broadly rooted upper teeth. Each tooth should be at least half an inch wide at the base. Leave the full lower rim ledge completely intact; this is the platform the mini pumpkin will rest on.

  5. Seat and align the mini pumpkin

    Place the mini pumpkin on the lower jaw ledge and adjust its position so both its face and the large pumpkin's face point toward the viewer. The top of the mini pumpkin should ideally align at or just below the upper teeth. Fine-tune its position before adding the LED.

  6. Light both pumpkins independently

    Place a warm LED inside each pumpkin. Two separate light sources ensure both faces glow at equal brightness. Set on a doorstep at viewing height so the surprised expression on the mini pumpkin is clearly readable as visitors approach.

Written with AI to match this design

Gather your supplies

Check things off as you get ready.

Work on a stable surface, keep your free hand out of the cutting path, and have an adult handle sharp tools.

Three levels of light

  • Leave intact

    All rind around the large face and the full lower jaw ledge stays dark and solid.

  • Peel & shade

    None; both pumpkins use only full through cuts.

  • Cut through

    Eyes and mouth on the large pumpkin, and the full surprised face on the small pumpkin, are all cut through for independent warm glow.

Learn the carving basics

Before you start cutting

How do I make the small pumpkin's surprised expression readable from outside the large mouth?

Keep the small pumpkin's features large and simple: two wide round eyes and an O-shaped open mouth. Details that look right up close become invisible from three feet away. The large mouth opening on the big pumpkin should be wide enough to frame the full small face without blocking the eyes.

The small pumpkin keeps tilting inside the large mouth. How do I stabilize it?

Trim a small flat slice off the bottom of the mini pumpkin so it sits level on the ledge. If it still tilts, place a thin folded piece of cardboard under the tipping side. A bamboo skewer pushed gently through the back of the large pumpkin into the mini pumpkin can also pin it in place for multi-day display.

Can I make both pumpkins grinning rather than one surprised?

You can, but the visual joke relies on contrast between the predator's smug grin and the victim's alarm. Two grinning pumpkins read more as a pair than a predator-prey scene. A simple O-shaped open mouth on the small pumpkin is the most effective expression for communicating surprise.

Your take belongs here, too.

Changed a detail? Made it simpler? Share a photo of your version and tell the community what worked.

Share your pumpkin

More pumpkins like this

You've reached the end · 8 pumpkins
The Patch Report

Fresh pumpkins, in your inbox.

The best new carvings, ideas worth stealing, and how-tos for carving season. Short, seasonal, and gone by November.

A short email during carving season. Unsubscribe anytime. See our privacy policy.