Halloween Pumpkin Carving Contest · Starts October 1st · $500 in prizes
← Back to ideas
@ai_concepts
Sep 25, 2026
Clown Mask Pumpkin with Eye Crosses and Glowing AccentsAI
0

Report this carving

Tell us what is wrong. Reports are private.

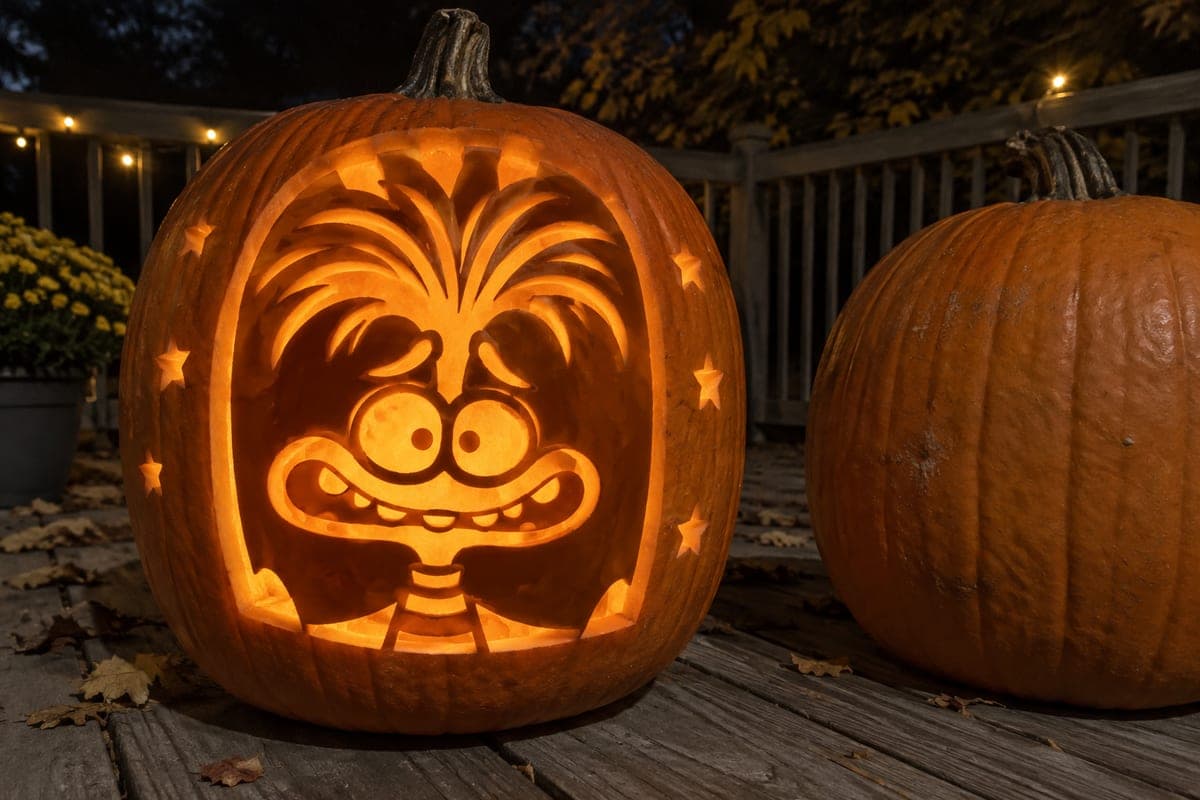
Clown Mask Pumpkin with Eye Crosses and Glowing Accents

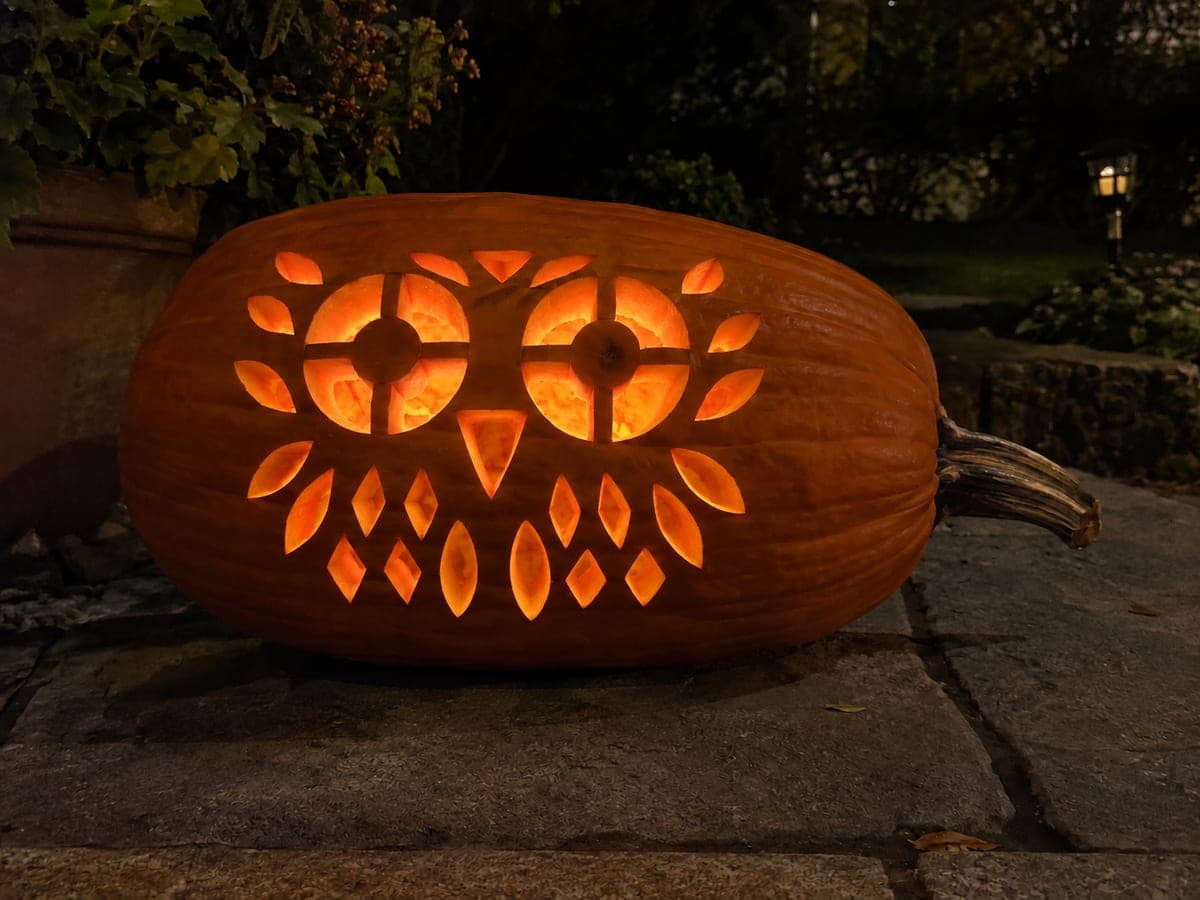
Eye openings crossed by two-directional bars, fully rooted teeth, and rows of separate decorative accent holes make this expert clown pumpkin carving the most technically intricate face design in the series. The crossbar eyes require four connection points each, so plan the cut sequence carefully to avoid removing any anchor point prematurely. Root all teeth from their base before narrowing toward the tips, and keep bridge rind between each decorative hole at least three-eighths of an inch. Lit from inside, the cross-pattern eye openings cast a distinctive grid shadow that makes this clown mask unmistakably eerie.

No ratings yet · Sign in to rate

Comments (0)

  • No comments yet — be the first.

Save without an account. Sign in to like or comment.

Our tips for carving a similar design

Two-directional crossbar eyes each require four precise connection points, and the dense rows of separate decorative accent holes make this the most structurally demanding face design in the series. The cut sequence must be planned so no anchor point is ever removed before it has served its purpose as a support for neighboring cuts. Bridge rind between accent holes must stay at least three-eighths of an inch throughout, and this threshold must be confirmed in the layout stage, not improvised during cutting.

From pumpkin to porch

  1. Select the pumpkin and hollow it uniformly

    Choose a large, flat-faced, firm pumpkin with no soft spots. Thin the interior walls to three-quarters of an inch throughout. Uneven wall thickness on a crossbar-eye design produces uneven glow at the bar junction, which visually undermines the most important feature.

  2. Map the complete cut sequence in marker

    Draw both crossbar eyes with horizontal and vertical bar centerlines and all four socket quadrants labeled. Mark all decorative accent hole positions with bridge widths measured and noted. Draw the mouth with all tooth root widths labeled. Spend time on this layout; the cut sequence you plan here determines whether the design holds together.

  3. Carve both crossbar eyes quadrant by quadrant

    Cut the first eye starting with the upper-left quadrant, working clockwise through all four quadrants while confirming the bar junction connects to all four boundaries after each quadrant is removed. Repeat for the second eye. An adult using a narrow rigid blade has the safest control around the junction area. Do not rush any quadrant.

  4. Carve the decorative accent hole rows

    Work through the accent holes row by row, cutting each as an isolated aperture. After every two to three holes, stop and press gently on the surrounding rind to check for micro-cracks. Leave bridge rind at least three-eighths of an inch wide at all points. Reduce hole size if any bridge falls below this threshold.

  5. Root all teeth and carve the mouth

    Mark every tooth root position before making the mouth opening. Cut all root boundaries across the mouth in a single pass to verify widths before narrowing any tooth tip. Cut the mouth opening sides and base, then use a detail blade to narrow each tip. Fully rooted teeth are non-negotiable on this design; a fallen tooth disrupts the carefully balanced composition.

  6. Preserve thoroughly and light for the grid shadow

    Coat every cut surface and all bridge strips with petroleum jelly immediately and completely. Place a warm LED directly behind the crossbar eye area so the interior wall catches the cross-shaped grid shadow. Reapply petroleum jelly daily. Keep the pumpkin in a cool location and refrigerate overnight if possible.

Written with AI to match this design

Gather your supplies

Check things off as you get ready.

Work on a stable surface, keep your free hand out of the cutting path, and have an adult handle sharp tools.

Three levels of light

  • Leave intact

    The crossbar arms, all bridge rind between accent holes, and the structural face frame stay solid, casting grid and bridge shadows inside.

  • Peel & shade

    None; all glow comes from full cut-throughs.

  • Cut through

    All four quadrant sections of both crossbar eyes, every accent hole in the rows, and the fully rooted tooth mouth opening are cut completely through for full-brightness eerie glow.

Learn the carving basics

Before you start cutting

What is the safest order to cut the crossbar eye quadrants?

Start with the quadrant diagonally opposite the one you find most difficult; this order means the bar junction has the maximum number of anchor points intact when you tackle the hardest section. Work clockwise after the first quadrant. Test stability with a gentle thumb press after every quadrant before moving on.

How many accent holes in a row looks right without over-weakening the rind?

Three to five holes per row at three-eighths of an inch minimum spacing is a practical range for a large pumpkin. More than five in a row or rows placed very close together start to remove more rind than they leave behind. Stagger adjacent rows by half a spacing unit so holes do not line up into a grid that acts like a perforation.

The crossbar eyes cast a grid shadow inside. How do I photograph this effect?

Turn off all room lights and let the LED run for a few minutes inside before photographing so the interior walls fully catch the shadow grid. Position your camera at the same height as the pumpkin and focus on the eye openings. A ten-second exposure in a darkened room captures the full shadow pattern on the interior walls through the open sockets.

Your take belongs here, too.

Changed a detail? Made it simpler? Share a photo of your version and tell the community what worked.

Share your pumpkin

More pumpkins like this

You've reached the end · 8 pumpkins
The Patch Report

Fresh pumpkins, in your inbox.

The best new carvings, ideas worth stealing, and how-tos for carving season. Short, seasonal, and gone by November.

A short email during carving season. Unsubscribe anytime. See our privacy policy.