Halloween Pumpkin Carving Contest · Starts October 1st · $500 in prizes
← Back to ideas
@ai_concepts
Sep 25, 2026
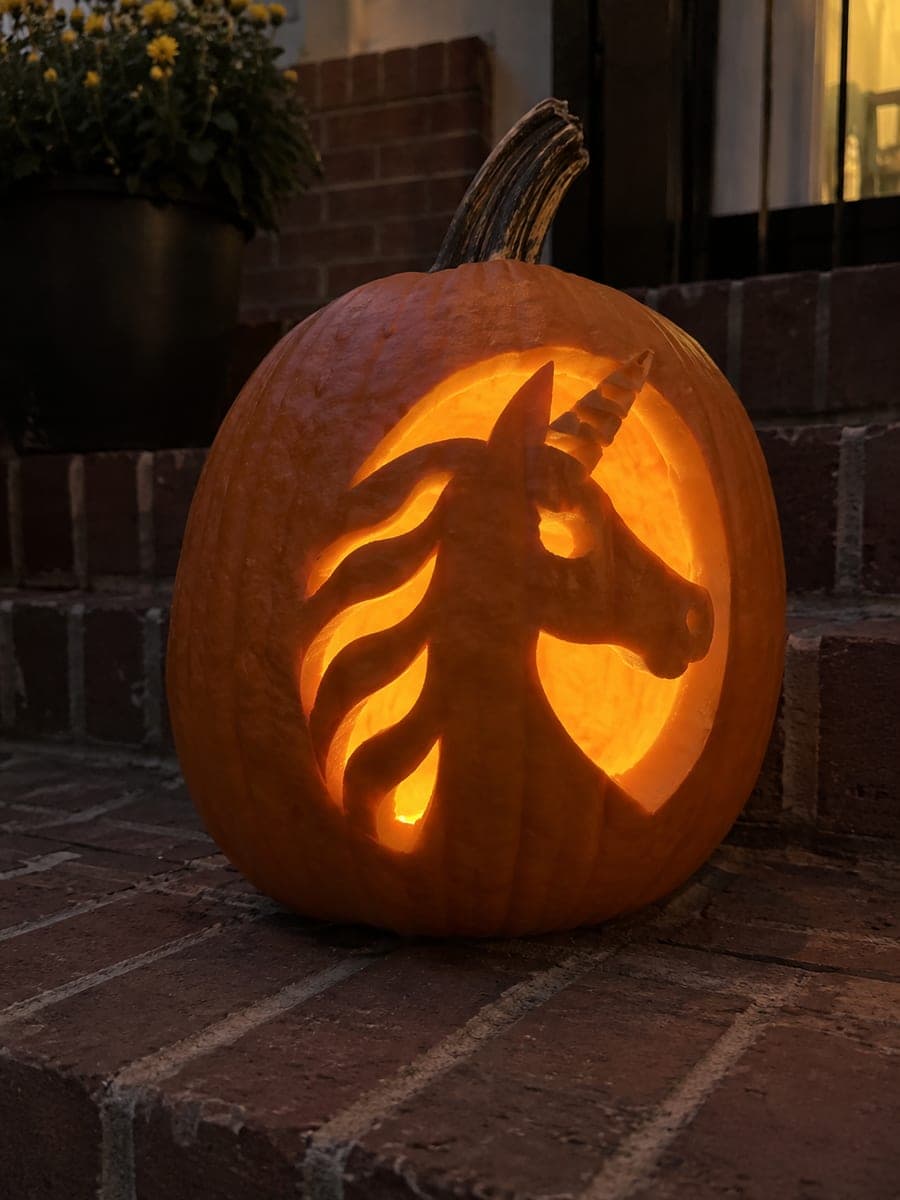
Retained Unicorn Head in an Oval Window Pumpkin CarvingAI
0

Report this carving

Tell us what is wrong. Reports are private.

Retained Unicorn Head in an Oval Window Pumpkin Carving

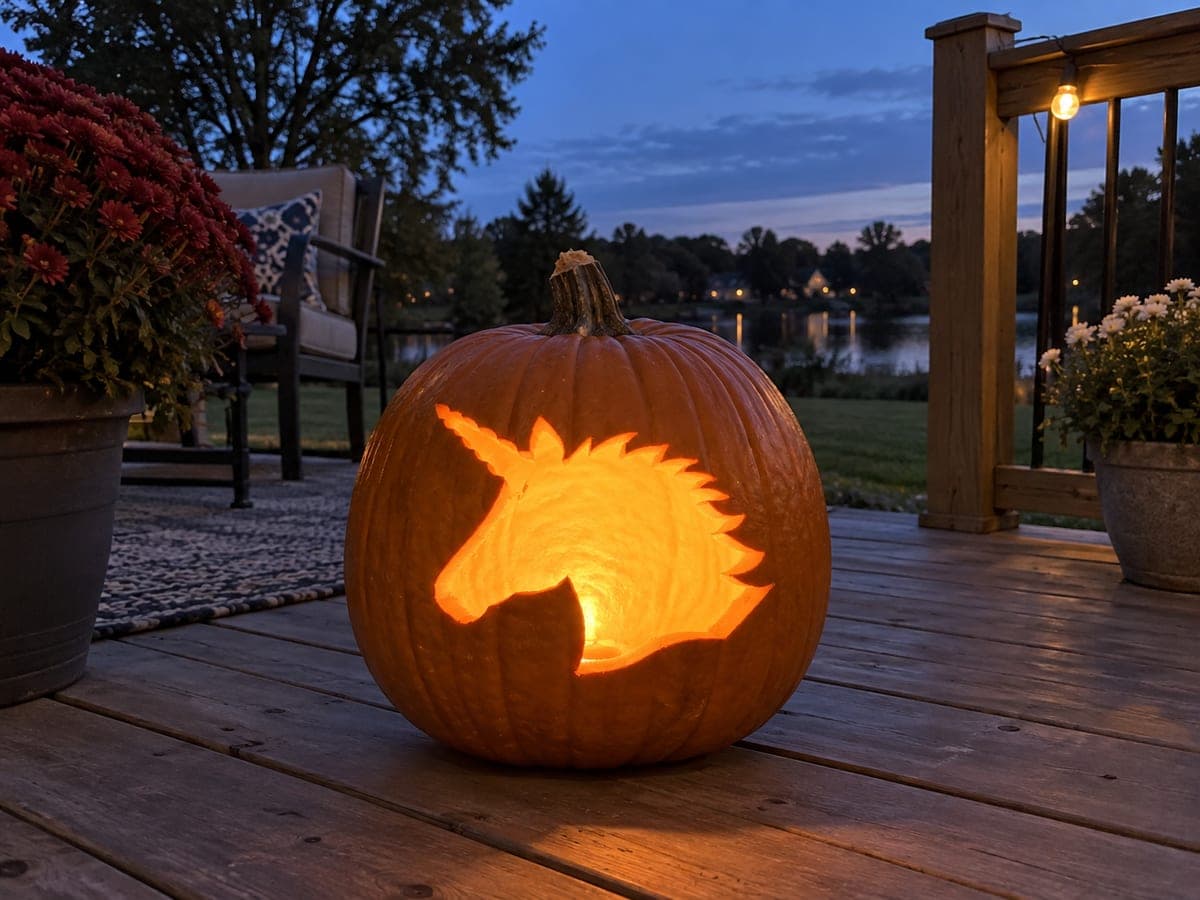
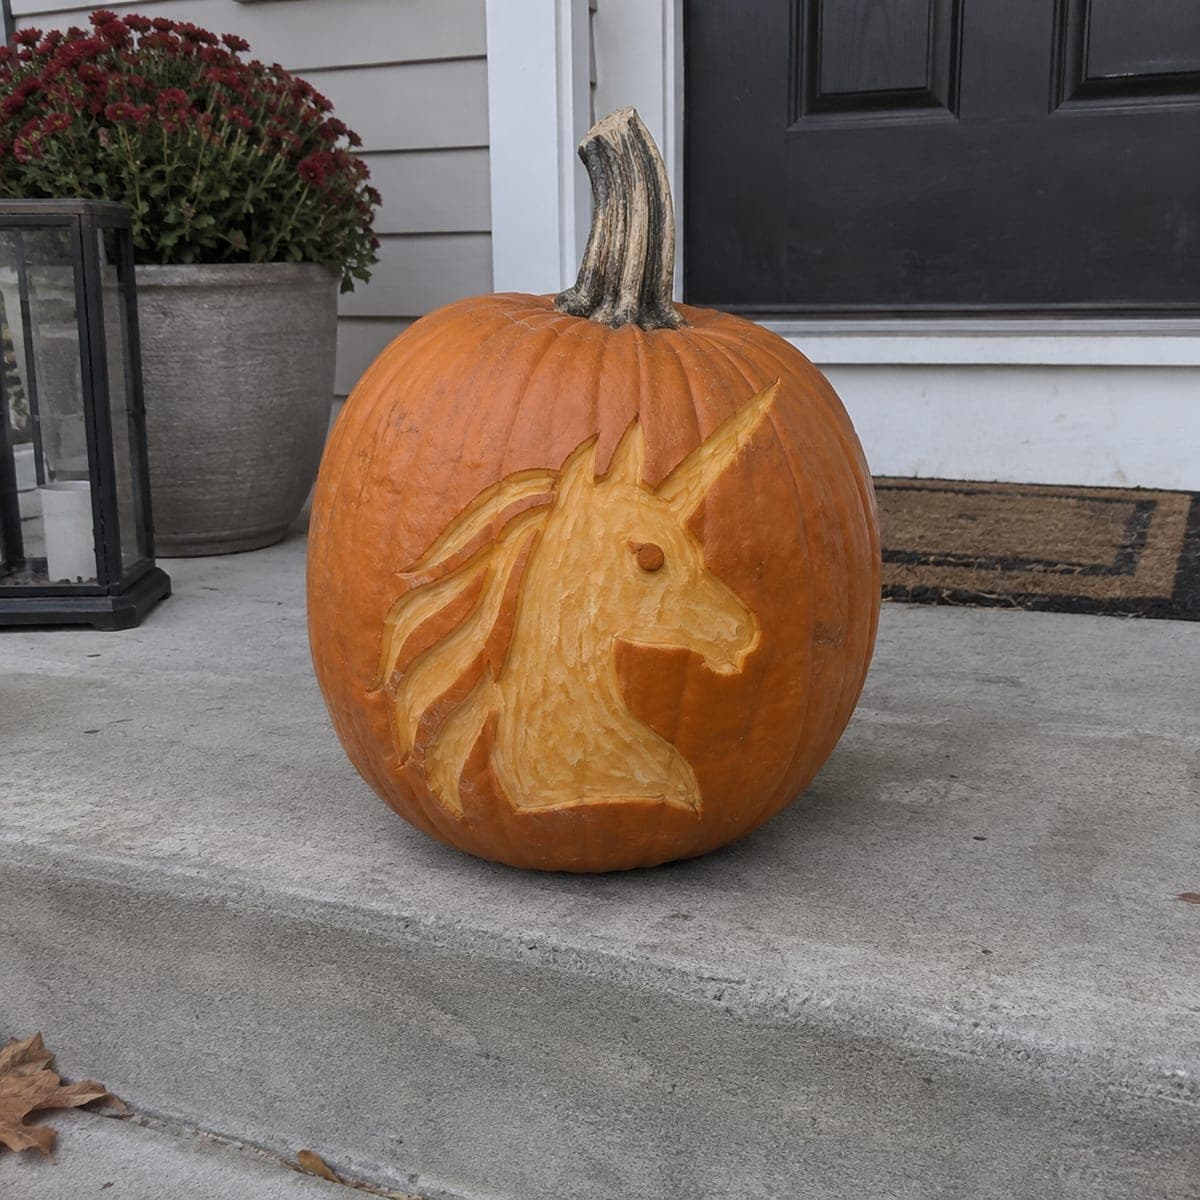
A retained unicorn head fills an oval frame on this hard unicorn pumpkin carving, the broad neck grounded at the base while the mane touches the left rim, the muzzle the right, and the thick horn the top border. One eye hole and four broad mane slot apertures are separated by sturdy ribs, with a shallow-backed spiral detail on the horn adding texture without any free-floating pieces. Establish all four connection points before opening the mane slots so the figure stays anchored throughout. Brick steps after sunset give this jack-o-lantern a warm, cozy backdrop.

No ratings yet · Sign in to rate
Comments (0)

  • No comments yet — be the first.

Save without an account. Sign in to like or comment.

Our tips for carving a similar design

The unicorn head is retained inside an oval opening, with four anchor points: the broad neck at the base, the muzzle pressing against the right rim, the wide mane connecting to the left rim, and the thick horn touching the top border. Four broad mane slot apertures divided by sturdy rind ribs produce the layered glow, and a shallow-backed spiral on the horn adds texture without creating any free piece. Establishing all four anchor contacts before opening any slot is the key discipline.

From pumpkin to porch

  1. Thin and prep

    Cut the lid from the back and scoop to a consistent three-quarter-inch wall behind the oval window area. Thinner walls let the retained head glow with a warm translucency that thicker walls block.

  2. Transfer the template

    Tape the template so the oval sits centered with the muzzle side pointing right and the mane side left, as the design is laterally asymmetric. Trace the oval border, the full head profile, all four mane slot outlines, the eye hole, and the horn spiral with a poking tool.

  3. Carve the oval and remove waste

    Cut the outer oval edge first, then remove all the waste shell outside it. Confirm all four connections, neck base, muzzle, mane, horn tip, are intact before proceeding to any interior cuts.

  4. Shallow-back the horn spiral

    Use a linoleum gouge or thin paring knife to shave away just the skin and about a quarter-inch of flesh along the spiral groove, leaving the rind intact underneath. This creates a subtle lit texture on the horn without any float risk.

  5. Open the mane slot apertures

    Cut the four mane slots from the outermost arc inward. Keep the rind ribs between them at least three-eighths of an inch wide. Once all four slots are open, cut the small eye hole with a detail blade or drill.

  6. Check and display

    Insert an LED puck and view from five feet. The unicorn profile should be a dark silhouette inside the bright oval ring, with four mane slots glowing and the horn showing its subtle spiral texture. Display on brick steps after sunset.

Written with AI to match this design

Gather your supplies

Check things off as you get ready.

Work on a stable surface, keep your free hand out of the cutting path, and have an adult handle sharp tools.

Three levels of light

  • Leave intact

    The retained unicorn body, the thick neck, mane sides, and the oval border ring all stay as dark uncut rind.

  • Peel & shade

    The horn spiral groove is shallow-backed for a subtle lit texture without cutting through.

  • Cut through

    The oval window surround, four mane slot apertures, and the small eye hole are cut fully through for bright glow.

Learn the carving basics

Before you start cutting

How wide do the rind ribs between the mane slots need to be?

A rib width of at least three-eighths of an inch keeps each rib structurally sound. Ribs thinner than a quarter-inch will likely flex and possibly snap when you cut the adjacent slot. When in doubt, make them wider; you can always thin them slightly from the outside if you want a more delicate look.

What if my oval comes out egg-shaped rather than symmetrical?

An egg shape still works fine for this design. The important thing is that all four head connection points still meet the border. Adjust the template slightly if needed so each anchor point lands squarely on the oval edge before you start cutting.

The spiral on the horn is very small. How do I carve it without slipping?

Anchor your tool hand against the pumpkin surface with your pinky before starting each stroke. Work the spiral in short pulling strokes toward your body rather than pushing strokes, which are harder to control on a curved surface. A linoleum gouge gives you more tactile feedback than a knife for this kind of texture work.

Your take belongs here, too.

Changed a detail? Made it simpler? Share a photo of your version and tell the community what worked.

Share your pumpkin

More pumpkins like this

You've reached the end · 8 pumpkins
The Patch Report

Fresh pumpkins, in your inbox.

The best new carvings, ideas worth stealing, and how-tos for carving season. Short, seasonal, and gone by November.

A short email during carving season. Unsubscribe anytime. See our privacy policy.