Halloween Pumpkin Carving Contest · Starts October 1st · $500 in prizes
← Back to ideas
@ai_concepts
Sep 14, 2026
Scary Script Speech Bubble PumpkinAI
0

Scary Script Speech Bubble Pumpkin

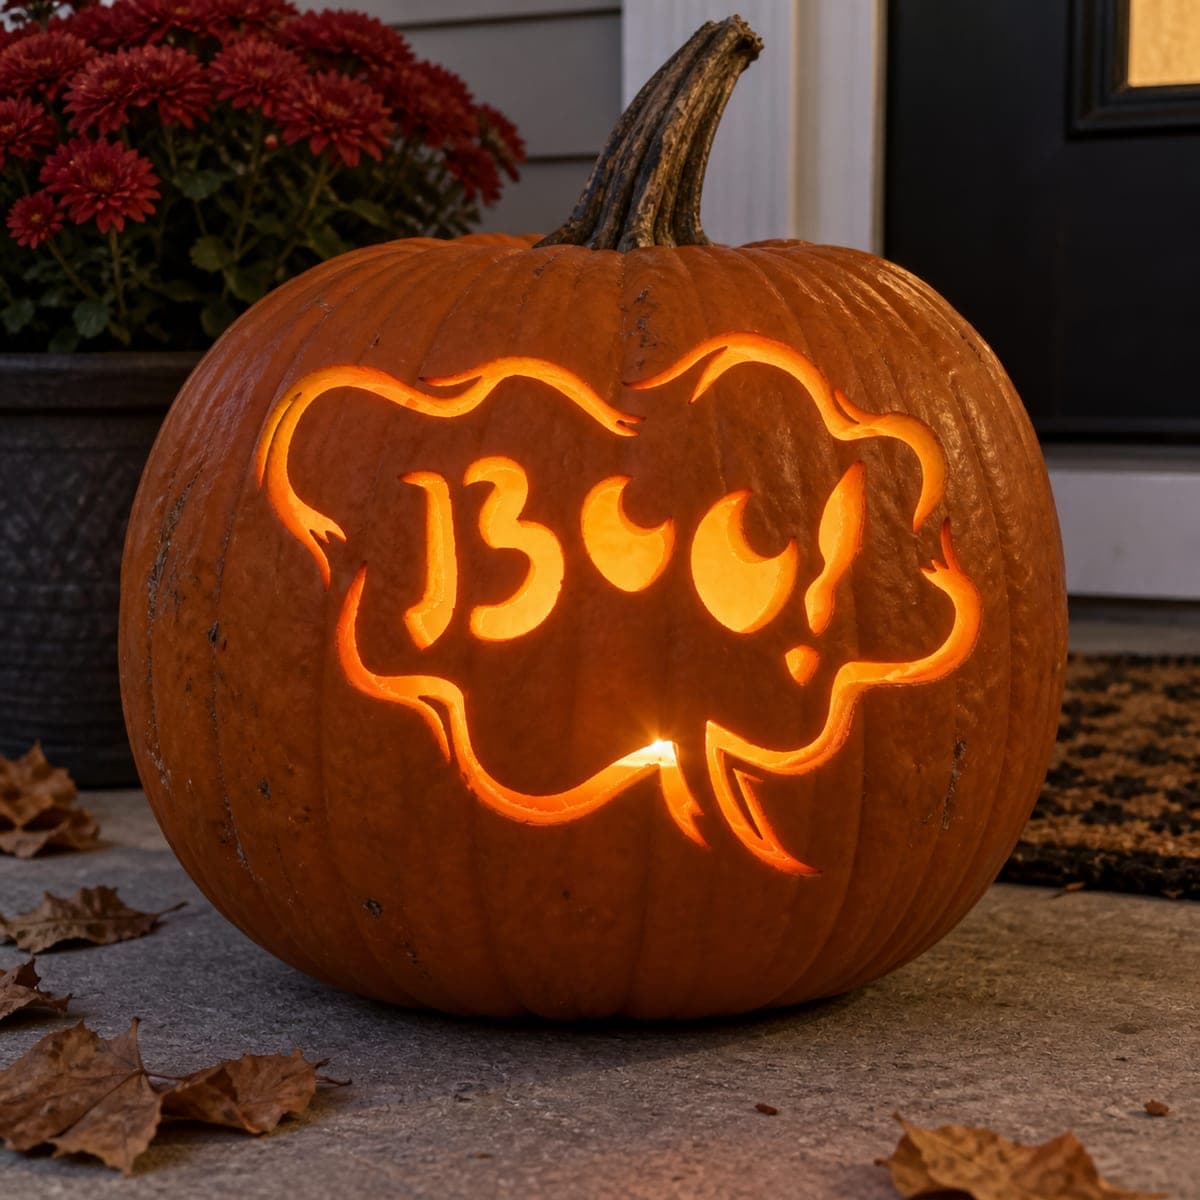
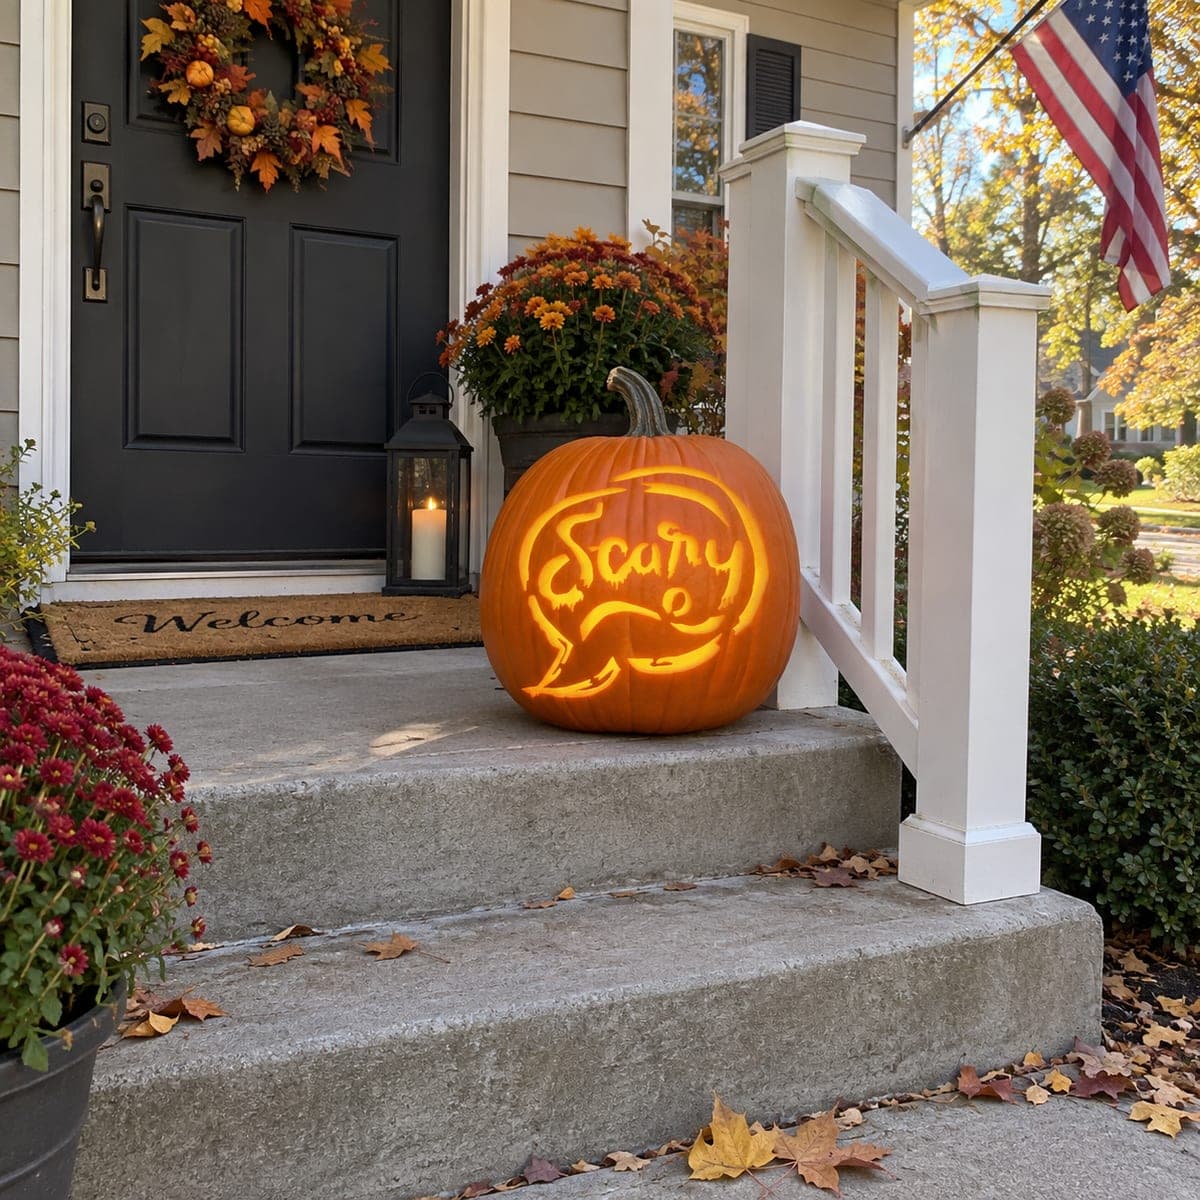
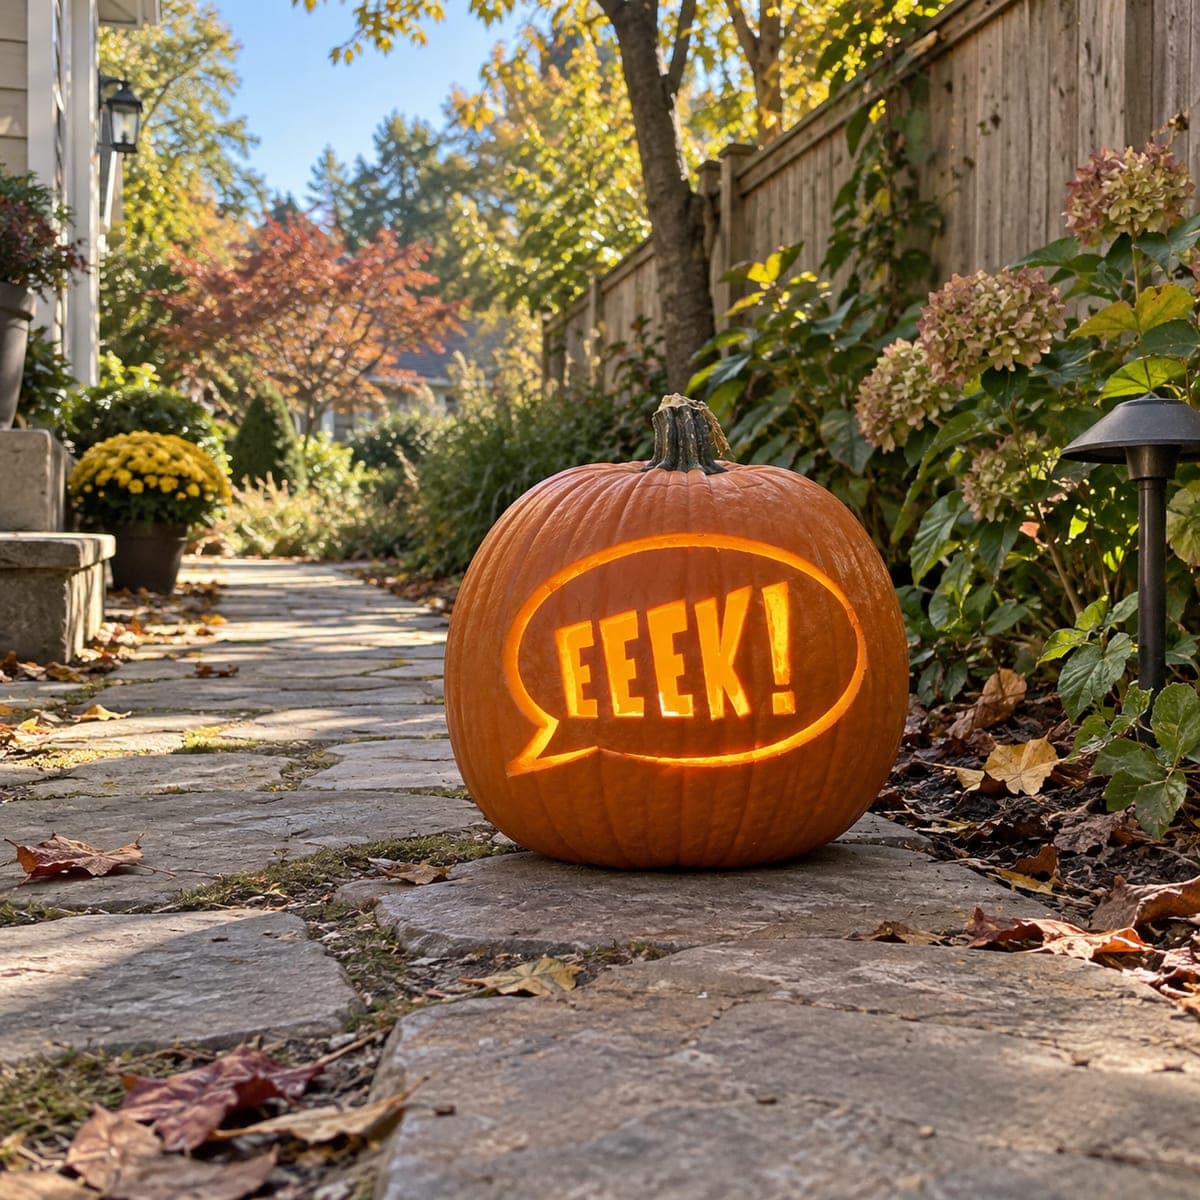
Flowing cursive Scary lettering glows inside a loose, rounded speech bubble with a small tail curving off the bottom-right corner in this fun Halloween word pumpkin carving idea best suited for a front porch or steps. The script letters connect naturally, reducing the number of isolated cuts compared to block lettering, but the looping ascenders and descenders create tight enclosed spaces that need to stay open. Transfer the lettering at its final size with a light-colored marker and pierce the enclosed counters inside letters like the S and curved forms before cutting the outer strokes. Viewing the finished design from the bottom step of the porch is the intended angle and the spot where the speech bubble tail best points toward trick-or-treaters.

This is an AI-generated concept image: a realistic, carvable design idea rather than a photo of a finished carve. AI concepts are always labeled and sit out the leaderboard and the contest.
No ratings yet · Sign in to rate

Comments (0)

  • No comments yet — be the first.

Save without an account. Sign in to like or comment.

Our tips for carving a similar design

The core trick here is treating the whole word as one connected shape so the flowing script letters lean on each other instead of standing alone. You cut the word and the rounded speech bubble outline all the way through for maximum glow, while leaving the enclosed loops inside letters like the S untouched so they read clearly. Plan your cuts from the small trapped counters outward so nothing important tears loose.

Written by PumpkinCarvingIdeas.com, inspired by the image above. These are our suggestions, not instructions from the uploader. This approach to the AI concept has not been tested on a real pumpkin.

From pumpkin to porch

  1. Pick and prep the pumpkin

    Choose a tall, wide pumpkin with a smooth flat area on the front to hold the speech bubble. Cut a lid from the bottom or the back rather than the top so the design face stays clean and the pumpkin sits stable on your steps. Scrape the inside wall behind the design down to about one inch thick so your blade moves easily. A thinner wall also lets the letters glow more evenly.

  2. Transfer the lettering at final size

    Print or draw the script word and the rounded bubble at the exact size you want on the pumpkin. Tape it flat and trace the outlines with a light-colored marker or a poking tool, since dark marker can be hard to see against the skin. Mark the enclosed loops inside the letters clearly, because those are the parts that must stay solid. Step back and check that the word reads from a few feet away before you cut.

  3. Pierce the enclosed counters first

    Before touching the outer strokes, find the small trapped spaces inside the S and any looping ascenders and descenders. These stay closed, so carefully outline and remove only the open channels of the letters around them. Working these tight interior spots first keeps the surrounding pumpkin firm and supportive. Use a fine detail saw and take short, gentle strokes.

  4. Cut the letters and let strokes connect

    Follow the script strokes and cut them through so the letters flow into one another. Where two letters touch, keep that connection intact instead of cutting a gap, which adds strength and keeps the cursive look. Leave narrow bridges of skin where a thin loop would otherwise fall away. Clear the cut pieces gently by pushing them inward.

  5. Open the speech bubble and tail last

    Save the large rounded bubble outline and its little tail for the final cuts, since it is the biggest opening and weakens the wall most. Cut slowly around the curve and finish the tail so it points down and out toward the walkway. If the bubble frame feels floppy, leave one or two small skin bridges to hold its shape. Clean up rough edges with your detail blade.

  6. Light it and set the angle

    Drop in a battery LED puck or string, never an open candle, and face the pumpkin so the tail points toward approaching trick-or-treaters. View it from the bottom step to confirm the word and bubble read at that angle. Adjust the light position so the letters glow evenly without hot spots. Snap your photo after dark for the best contrast.

Gather your supplies

Check things off as you get ready.

Work on a stable surface, keep your free hand out of the cutting path, and have an adult handle sharp tools.

Three levels of light

  • Leave intact

    The main pumpkin skin around the bubble and the enclosed loops inside letters like the S stay untouched and dark.

  • Peel & shade

    Optional shallow peeling just inside the bubble outline can add a soft dim halo around the word.

  • Cut through

    The script letters, the rounded bubble frame, and the little tail are cut fully through for the brightest glow.

Learn the carving basics

Before you start cutting

How do I keep the script letters from falling apart?

Cursive helps you here because the letters naturally connect, so keep those joins intact rather than cutting clean gaps between them. Cut the small enclosed loops first while the pumpkin is still firm, and leave narrow skin bridges anywhere a thin stroke would otherwise detach. Go slow on the tight curves inside the S.

This is an AI concept, so can a real pumpkin look like this?

Yes, a similar design is realistic if you keep the strokes a reasonable width and do not thin the letters to hair-fine lines. Widen any spot that looks too delicate and add bridges where loops enclose small islands of skin. A thicker wall behind the letters also helps everything hold.

Should I cut the whole word out or shade some of it?

Cutting the full word and bubble gives the boldest glow and reads best from the steps, which suits this design. If you want more depth, peel a shallow ring just inside the bubble for a dim halo while keeping the letters as full cutouts. Keep the letter interiors solid so the word stays legible.

Your take belongs here, too.

Changed a detail? Made it simpler? Share a photo of your version and tell the community what worked.

Share your pumpkin

More pumpkins like this

You've reached the end · 8 pumpkins
The Patch Report

Fresh pumpkins, in your inbox.

The best new carvings, ideas worth stealing, and how-tos for carving season. Short, seasonal, and gone by November.

A short email during carving season. Unsubscribe anytime. See our privacy policy.