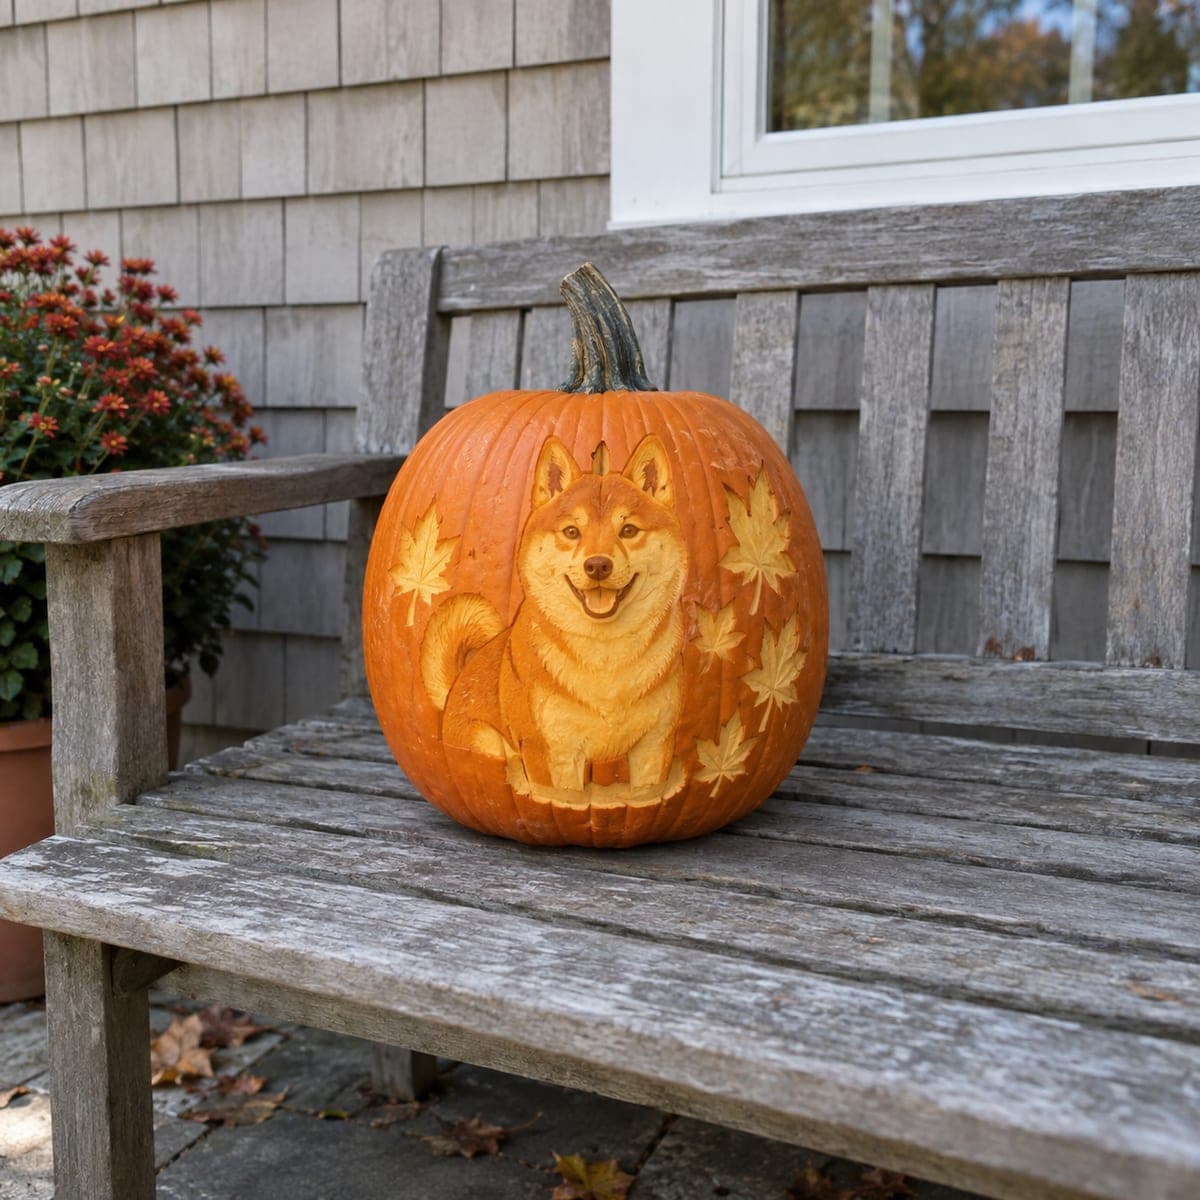
Halloween Pumpkin Carving Contest · Starts October 1st · $500 in prizes
← Back to ideas
@ai_concepts
Jul 14, 2026
Shiba Inu Dog with Fall Maple Leaves Carved PumpkinAI
0

Shiba Inu Dog with Fall Maple Leaves Carved Pumpkin

A smiling Shiba Inu surrounded by scattered maple leaves is rendered in warm etched tones across this pumpkin, the dog's thick coat and curled tail captured in soft layered shading. The leaf motifs scattered around the dog tie the design to the fall season without drifting into Halloween territory. Carve the background leaves at a shallow uniform depth first, then build the dog's portrait from the lighter areas outward, deepening the shading around the eyes and muzzle last. This Shiba Inu pumpkin carving idea is a popular choice for dog owners who want a seasonal decoration with personal meaning.

This is an AI-generated concept image: a realistic, carvable design idea rather than a photo of a finished carve. AI concepts are always labeled and sit out the leaderboard and the contest.
No ratings yet · Sign in to rate

Comments (0)

  • No comments yet — be the first.

Save without an account. Sign in to like or comment.

Our tips for carving a similar design

The core trick here is skin shading, not big cutouts, so the whole design glows in soft layers of orange rather than bright open holes. You would carve the scattered maple leaves first at one shallow depth as a quiet background, then build the Shiba's face and fluffy coat by peeling the flesh to different thicknesses. Since this is an AI concept image, plan on a relief carving on a real pumpkin, keeping fur lines and the curled tail as gentle depth changes.

Written by PumpkinCarvingIdeas.com, inspired by the image above. These are our suggestions, not instructions from the uploader. This approach to the AI concept has not been tested on a real pumpkin.

From pumpkin to porch

  1. Prep the pumpkin and cut a back access hole

    Pick a tall, evenly rounded pumpkin with a smooth face for the portrait. Have an adult cut a lid or a hole in the back rather than the top, so the front stays intact for shading. Scoop the inside and thin the carving wall to about one inch so light passes through the peeled areas. A thinner wall makes the soft glow much easier to control.

  2. Transfer the design

    Print the Shiba and maple leaf stencil sized to your pumpkin and tape it snugly over the front. Poke the outlines with a pin or use a transfer tool to dot the main shapes onto the skin. Mark the dog's face, coat sections, curled tail, and each leaf so you know your zones before any cutting. Step back and check the layout looks balanced before you start removing skin.

  3. Shade the background maple leaves

    Start with the leaves since they are the simplest shapes and set your depth reference. Use a shallow gouge or ribbon tool to peel just the top skin off each leaf, keeping them all at the same even depth. This gives them a uniform dim glow that sits behind the dog. Leave crisp untouched borders around each leaf so their edges stay sharp.

  4. Build the dog from light to dark

    Peel the brightest parts of the Shiba first, like the chest, cheeks, and muzzle highlights, taking the flesh a little thinner there. Work outward into the coat, removing less skin where you want mid tones and following the direction of the fur with short strokes. Keep the curled tail as a raised, lightly peeled shape so it reads against the body. Save the eyes, nose, and mouth shadows for last and go slow, deepening only where you need contrast.

  5. Refine contrast and texture

    Compare your peeled zones by holding a small LED light inside to see how the glow reads. Deepen the darkest recesses around the eyes and under the chin to make the smiling face pop. Add fine fur strokes to break up any flat patches on the coat. Resist cutting all the way through, since this design relies on layered shading rather than open holes.

  6. Light it and photograph

    Drop in a battery LED light, never a candle, and place the pumpkin at eye level. Warm white LEDs flatter the orange tones and make the fur shading feel soft. Photograph it in low evening light against a plain background like the pictured bench. Mist the carving and bag it in the fridge overnight to slow shrinkage between showings.

Gather your supplies

Check things off as you get ready.

Work on a stable surface, keep your free hand out of the cutting path, and have an adult handle sharp tools.

Three levels of light

  • Leave intact

    The outer background skin and the crisp borders around each leaf stay untouched and dark.

  • Peel & shade

    The dog's coat, the curled tail, and the maple leaves are skin-peeled to varying depths for the main soft orange glow.

  • Cut through

    Optional tiny full cutouts only at the brightest highlights, like a catchlight in each eye, if you want extra spark.

Learn the carving basics

Before you start cutting

Do I need to cut all the way through anywhere?

Not really, since this is a shaded relief design. Almost everything is achieved by peeling skin to different depths so light glows through a thin wall. If you want a little extra brightness, you can make a couple of tiny cutouts at the eye highlights, but keep them small so the face still reads as fur and not holes.

How do I get the fluffy coat to look layered?

Work from the lightest areas outward and follow the direction the fur grows with short, curved strokes. Peel a bit more flesh where you want brighter tufts and less where the coat should stay dim. Building up many small depth changes is what creates that soft, layered look rather than one flat surface.

How long will a shaded pumpkin like this last?

Peeled shading dries out faster than untouched skin, so expect a few days of good looks. Mist it with water, wipe on a thin coat of petroleum jelly to seal the cut flesh, and store it in the fridge or a cool spot overnight. Carve it close to the day you want it on display for the best glow.

Your take belongs here, too.

Changed a detail? Made it simpler? Share a photo of your version and tell the community what worked.

Share your pumpkin

More pumpkins like this

You've reached the end · 8 pumpkins
The Patch Report

Fresh pumpkins, in your inbox.

The best new carvings, ideas worth stealing, and how-tos for carving season. Short, seasonal, and gone by November.

A short email during carving season. Unsubscribe anytime. See our privacy policy.