Halloween Pumpkin Carving Contest · Starts October 1st · $500 in prizes
← Back to ideas
@ai_concepts
Jul 21, 2026
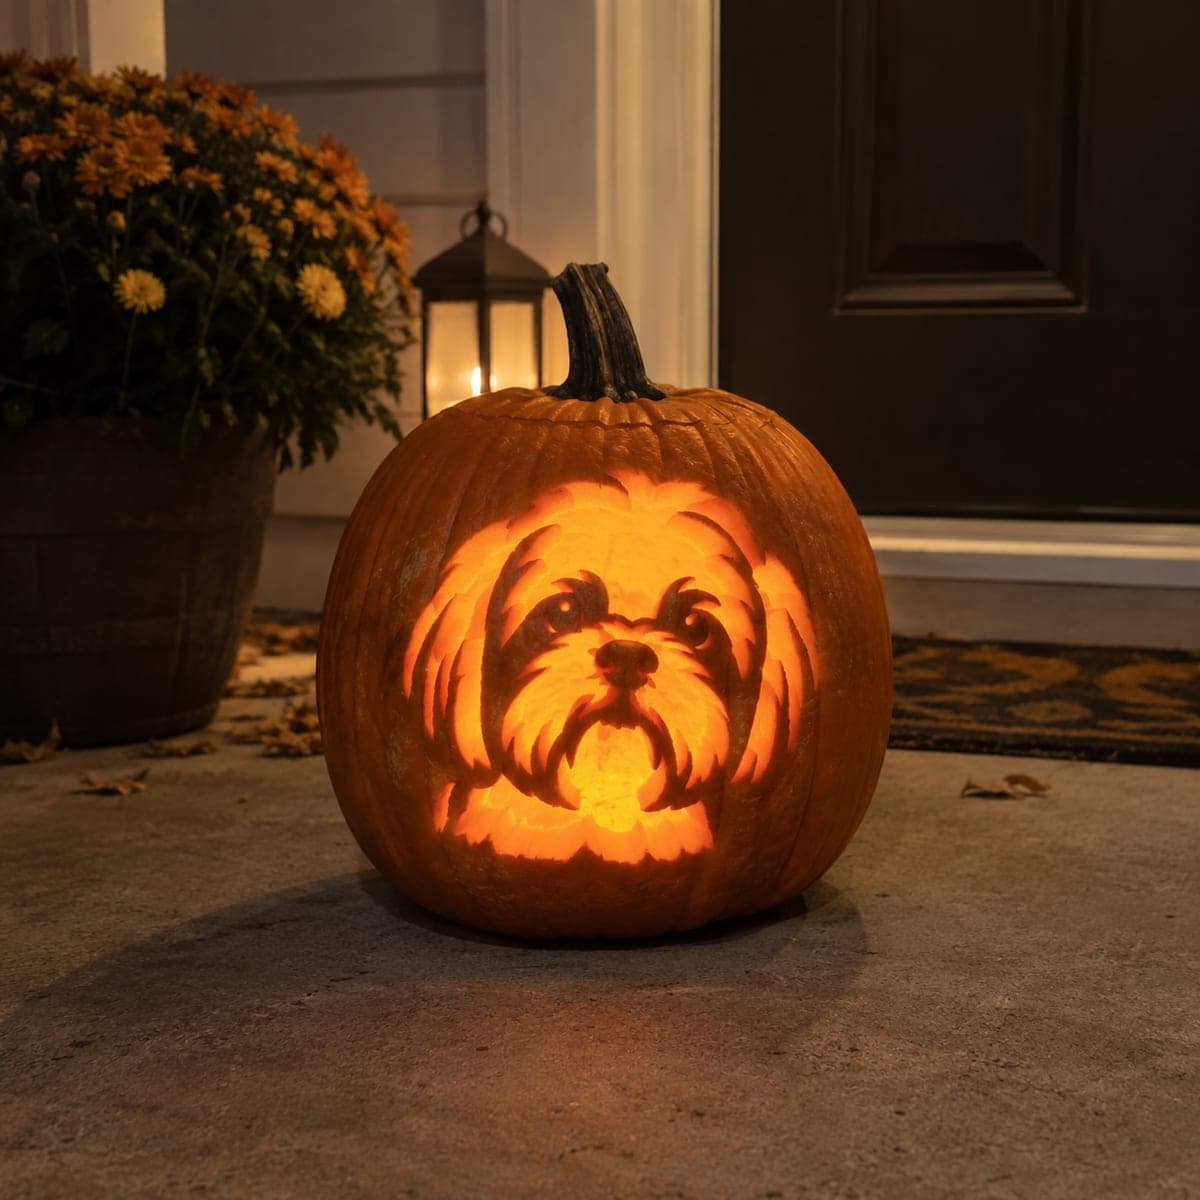
Shih Tzu Dog Etched Pumpkin CarvingAI
0

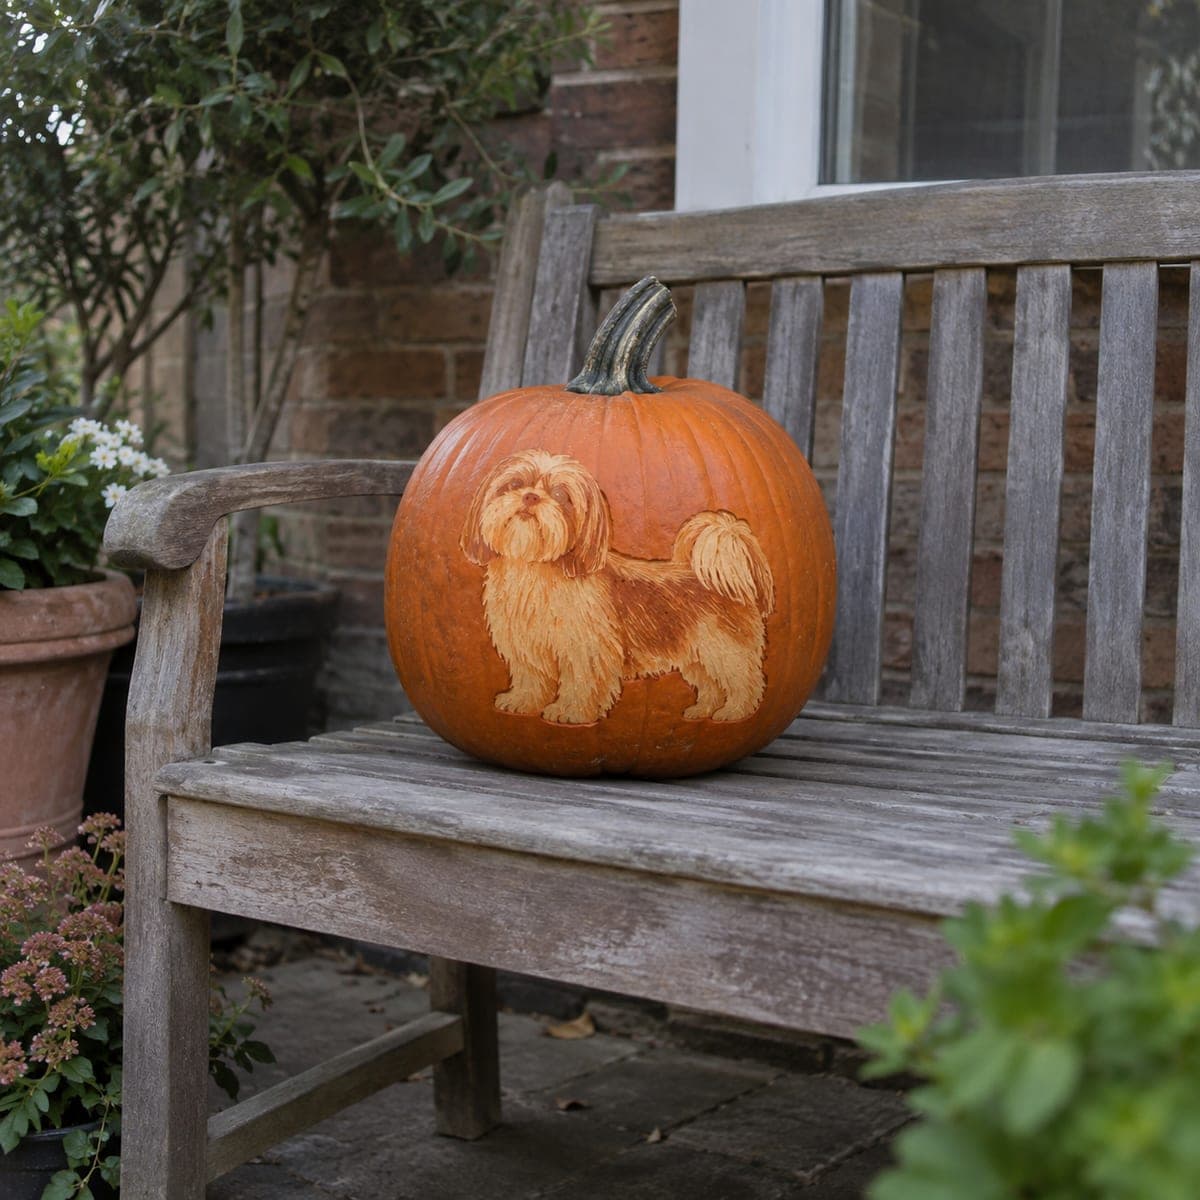
Shih Tzu Dog Etched Pumpkin Carving

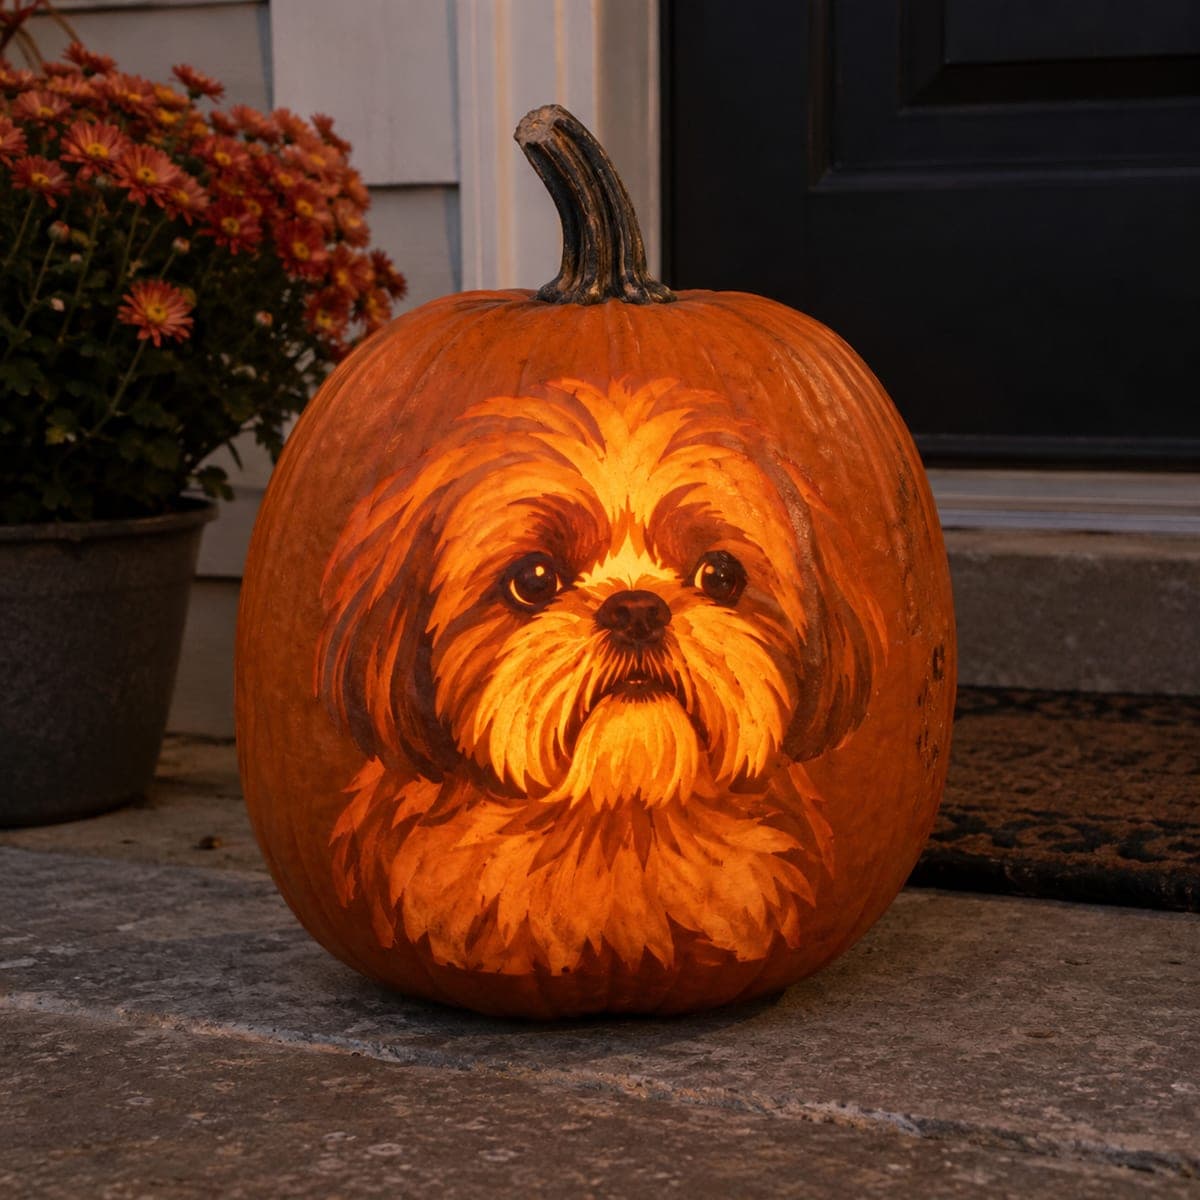
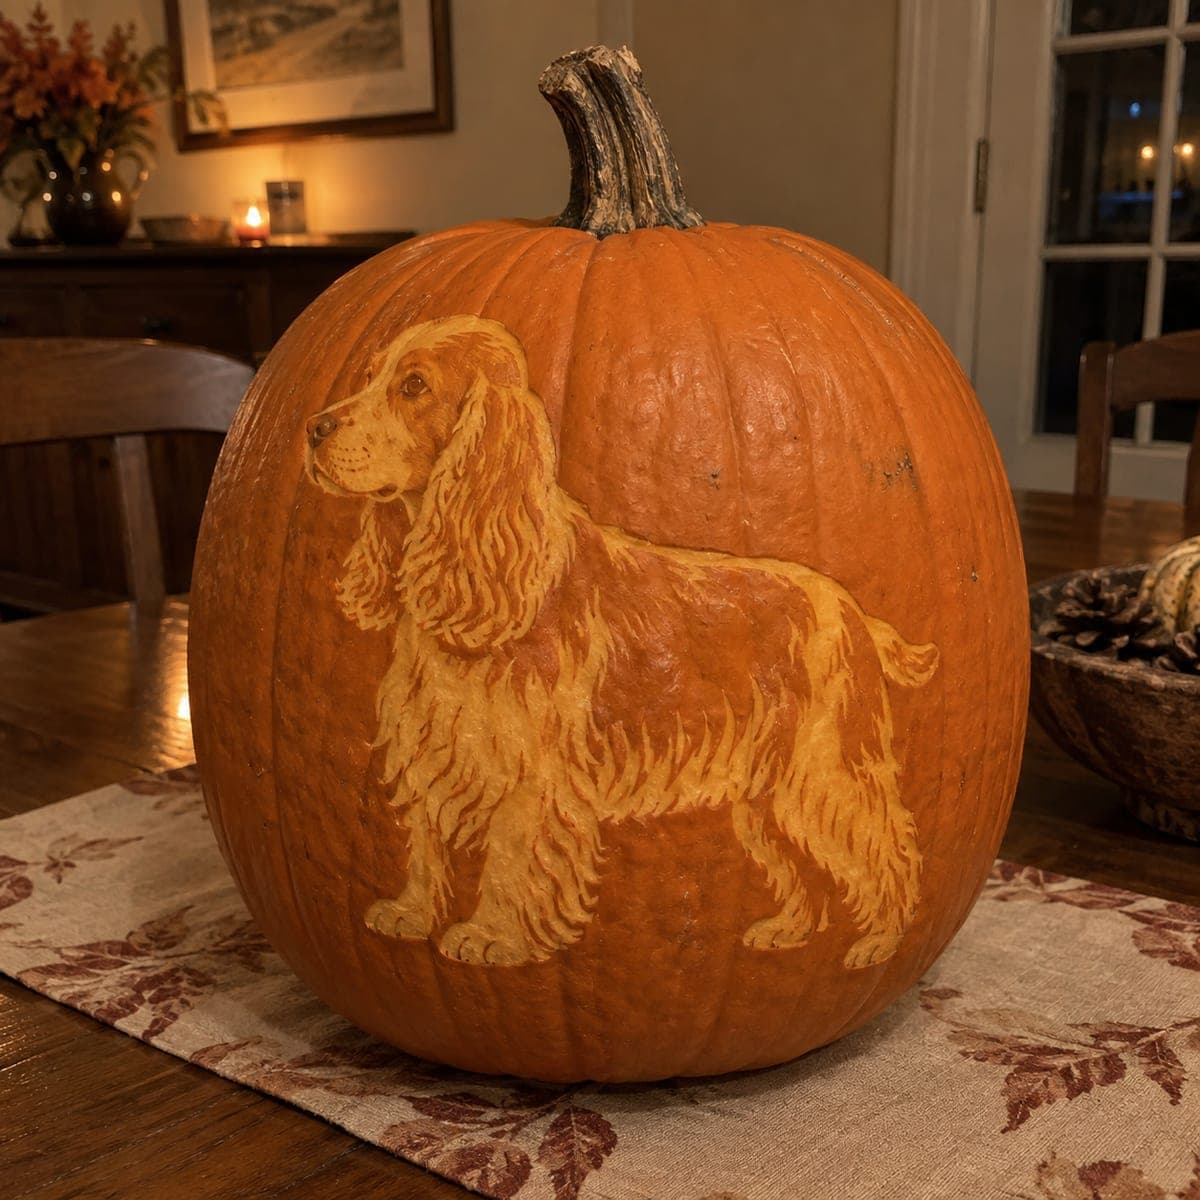
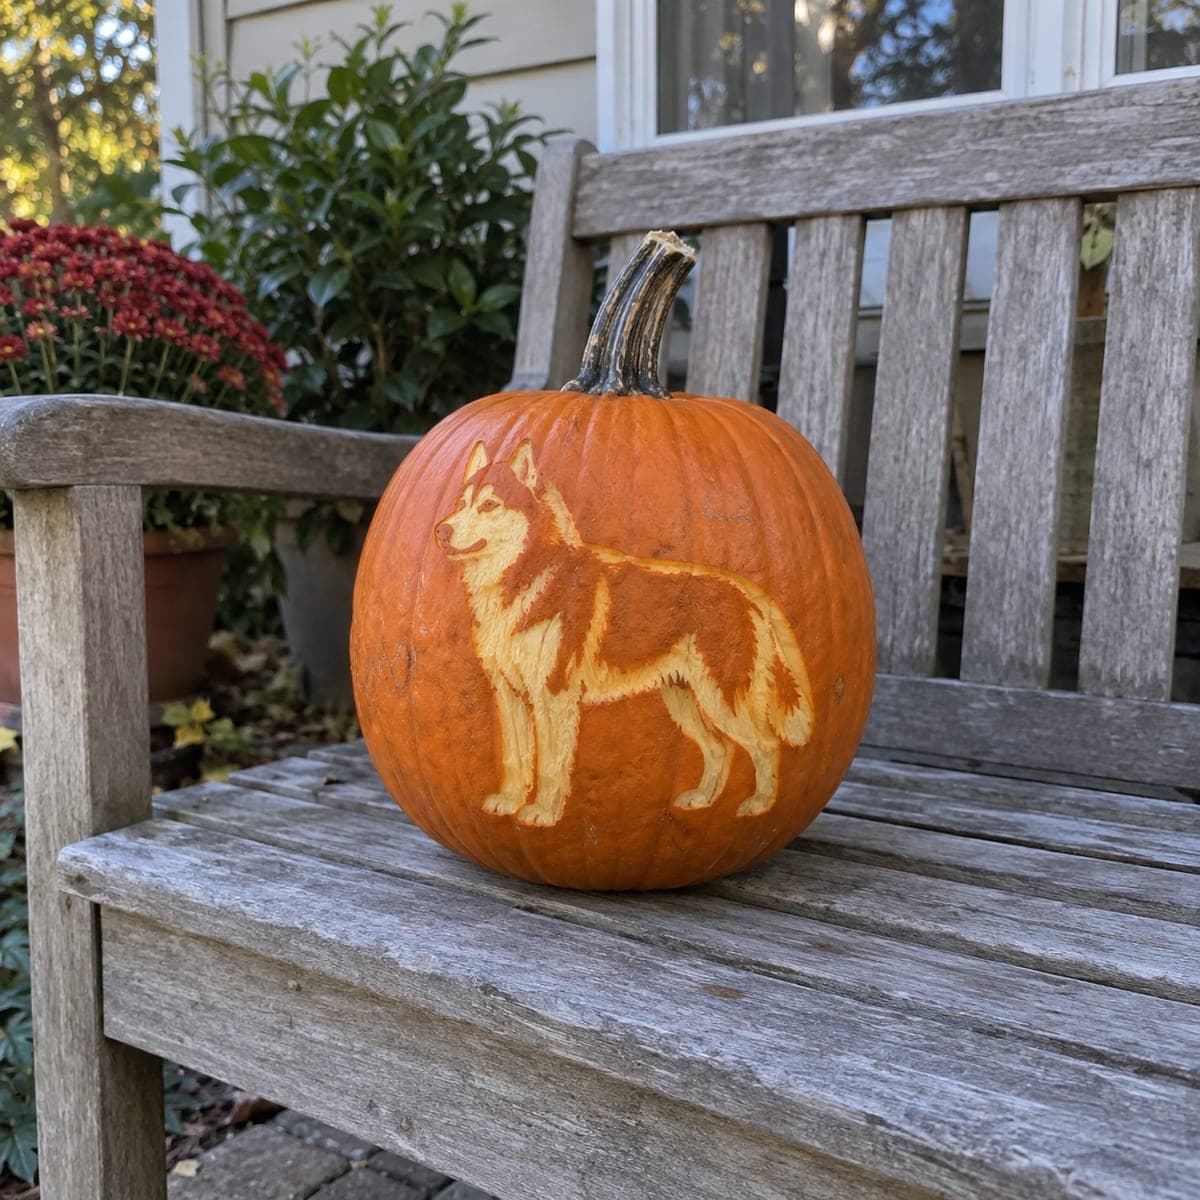
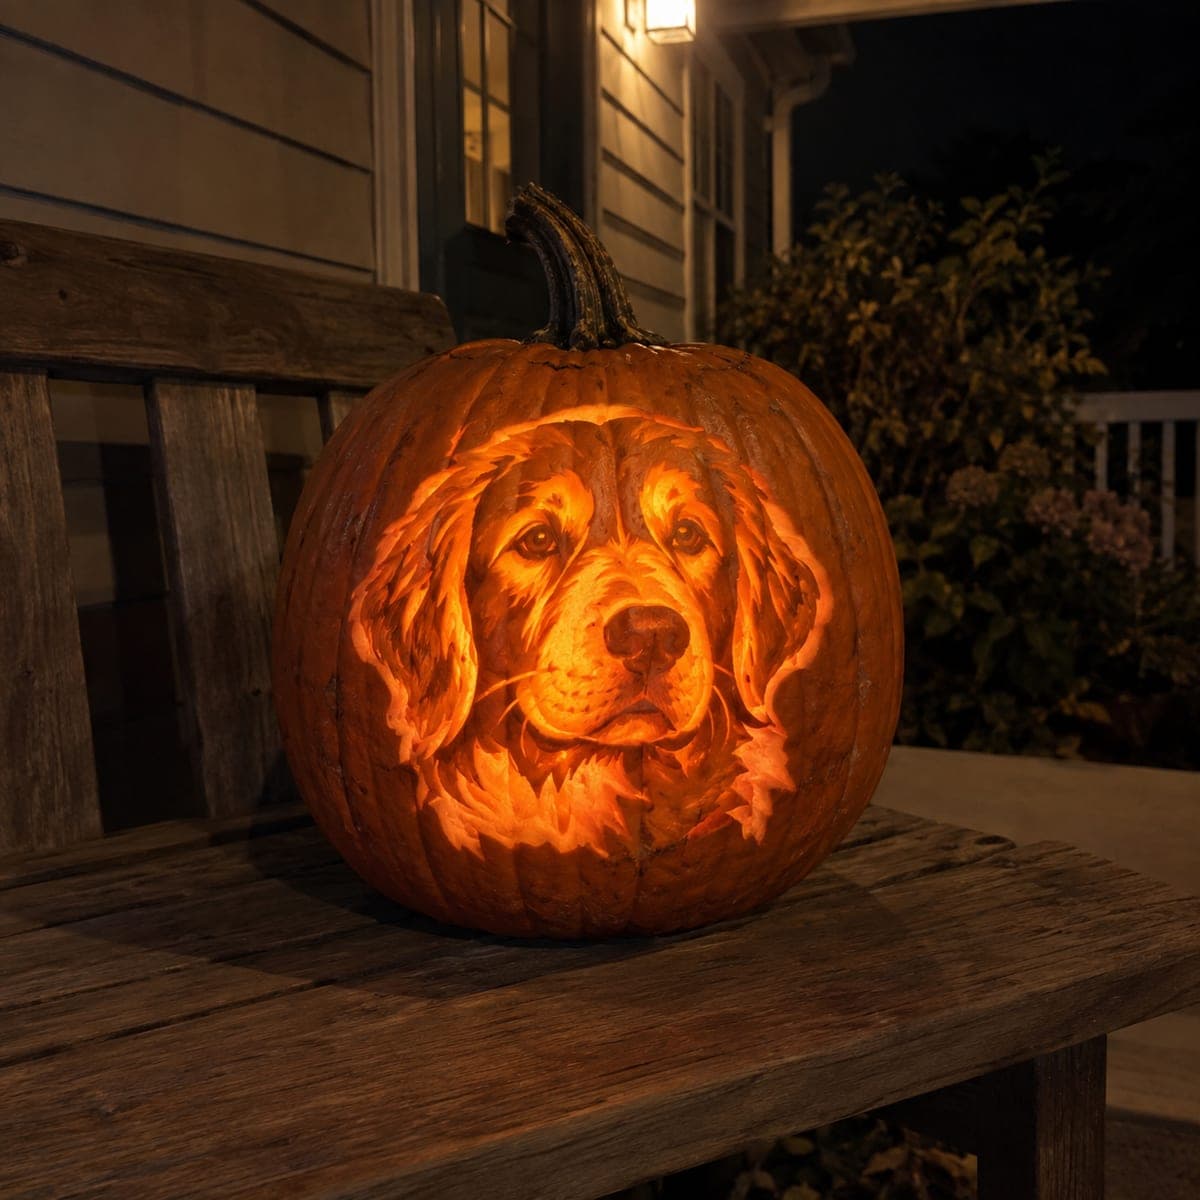
A long-coated shih tzu stands in profile on this etched pumpkin, every wisp of fur suggested by fine peeled lines in the pale under-flesh. The design is pure surface work: strip the skin inside the outline with a linoleum gouge, then drag shallow strokes in the direction the coat falls. It reads clearly by daylight, so it makes a great daytime porch piece that needs no candle at all.

This is an AI-generated concept image: a realistic, carvable design idea rather than a photo of a finished carve. AI concepts are always labeled and sit out the leaderboard and the contest.

No ratings yet · Sign in to rate
Comments (0)

  • No comments yet — be the first.

Save without an account. Sign in to like or comment.

Our tips for carving a similar design

The whole design lives on the surface, so there is no lantern effect to chase. The trick is to strip the skin inside the dog outline down to the pale under-flesh, then rake shallow lines that follow the direction the coat falls. Contrast between the smooth orange background and the light etched fur is what makes the pup pop by day.

Written by PumpkinCarvingIdeas.com, inspired by the image above. These are our suggestions, not instructions from the uploader. This approach to the AI concept has not been tested on a real pumpkin.

From pumpkin to porch

  1. Pick a tall pumpkin and clean the face

    Choose a pumpkin with a smooth, fairly flat panel on one side and few deep ribs, since ribs distort etched lines. Wipe the surface clean and dry. Because this is a surface design, you can leave the pumpkin fully intact and skip gutting it if you want it to last longer. If you do plan to light it later, cut a small lid from the back instead of the top so the profile panel stays uninterrupted.

  2. Transfer the shih tzu outline

    Tape your stencil flat against the panel, smoothing out wrinkles so the shape does not stretch. Use a poking tool or pin to dot along every line, including the fur edges, ear, tail plume, and the eyes and nose. Remove the paper and lightly connect the dots with a washable marker. Double check the legs and belly line before you touch a blade.

  3. Score the outline and shade the body

    With a small detail knife, trace just inside the whole outline about an eighth of an inch deep to set a clean border. Then use a linoleum gouge or ribbon tool to peel the skin off the entire body area, staying inside your border. Work slowly and keep both hands behind the cutting edge. This peeled zone is your mid glow layer and the canvas for the fur strokes to come.

  4. Rake the fur direction

    Drag shallow, closely spaced strokes with a fine gouge to suggest wisps of coat, always following the way the fur falls: down the chest, back along the body, and flaring out at the tail and ear. Vary the pressure so some lines cut a touch deeper and catch more light. Layer strokes in small clusters rather than one continuous pass to keep it looking soft. Leave a few tiny skin islands for the darker markings on the back.

  5. Sharpen the face

    The eyes, nose, and muzzle carry the whole portrait, so save them for when your hand is warmed up. Etch the eyes just a hair deeper than the fur so they read as focal points, and leave a small untouched dot in each for a highlight. Keep the nose as a smooth peeled patch. Step back often to check that both eyes match and the muzzle stays symmetrical.

  6. Seal and stage the photo

    Brush away loose flesh, then coat every etched surface with petroleum jelly or a spray sealant to slow browning and lock in contrast. Set the pumpkin on a bench or porch step in soft daylight, which shows the fur texture best. If you added a back lid, tuck in a warm LED puck for evening viewing, never a candle. Snap your photo within a day or two, since etched flesh fades faster than full cutouts.

Gather your supplies

Check things off as you get ready.

Work on a stable surface, keep your free hand out of the cutting path, and have an adult handle sharp tools.

Three levels of light

  • Leave intact

    The orange background around the dog and the small skin islands left for the darker back markings stay untouched and dark.

  • Peel & shade

    The entire body, head, ear, and tail get skin-peeled to the pale under-flesh for the soft mid tone that forms the coat.

  • Cut through

    This is an etch, so nothing is cut clean through; at most, deepen the eyes slightly for the brightest accents if you backlight it.

Learn the carving basics

Before you start cutting

Do I need to hollow out and light this pumpkin?

No, and that is the appeal. The design reads entirely by reflected daylight, so you can leave the pumpkin solid for a firmer, longer-lasting carve. If you want an evening option, cut a small lid on the back and use a warm LED, but a candle is never recommended.

How do I keep the fur from looking like random scratches?

Commit to one direction per body zone before you start raking. Chest fur falls straight down, body fur sweeps back toward the tail, and the ear and tail plume flare outward. Working in small clusters that all point the same way is what makes it read as coat instead of noise.

How long will an etched pumpkin last?

Peeled flesh dries and browns faster than full cutouts, so expect two to four days of crisp contrast. Coating every etched surface with petroleum jelly or sealant slows this down. Carve it close to the day you want to show it off, and keep it out of direct sun and heat.

Your take belongs here, too.

Changed a detail? Made it simpler? Share a photo of your version and tell the community what worked.

Share your pumpkin

More pumpkins like this

You've reached the end · 8 pumpkins
The Patch Report

Fresh pumpkins, in your inbox.

The best new carvings, ideas worth stealing, and how-tos for carving season. Short, seasonal, and gone by November.

A short email during carving season. Unsubscribe anytime. See our privacy policy.