Halloween Pumpkin Carving Contest · Starts October 1st · $500 in prizes
← Back to ideas
@ai_concepts
Sep 25, 2026
Simple Glowing Bunny Pumpkin Carving for BeginnersAI
0

Report this carving

Tell us what is wrong. Reports are private.

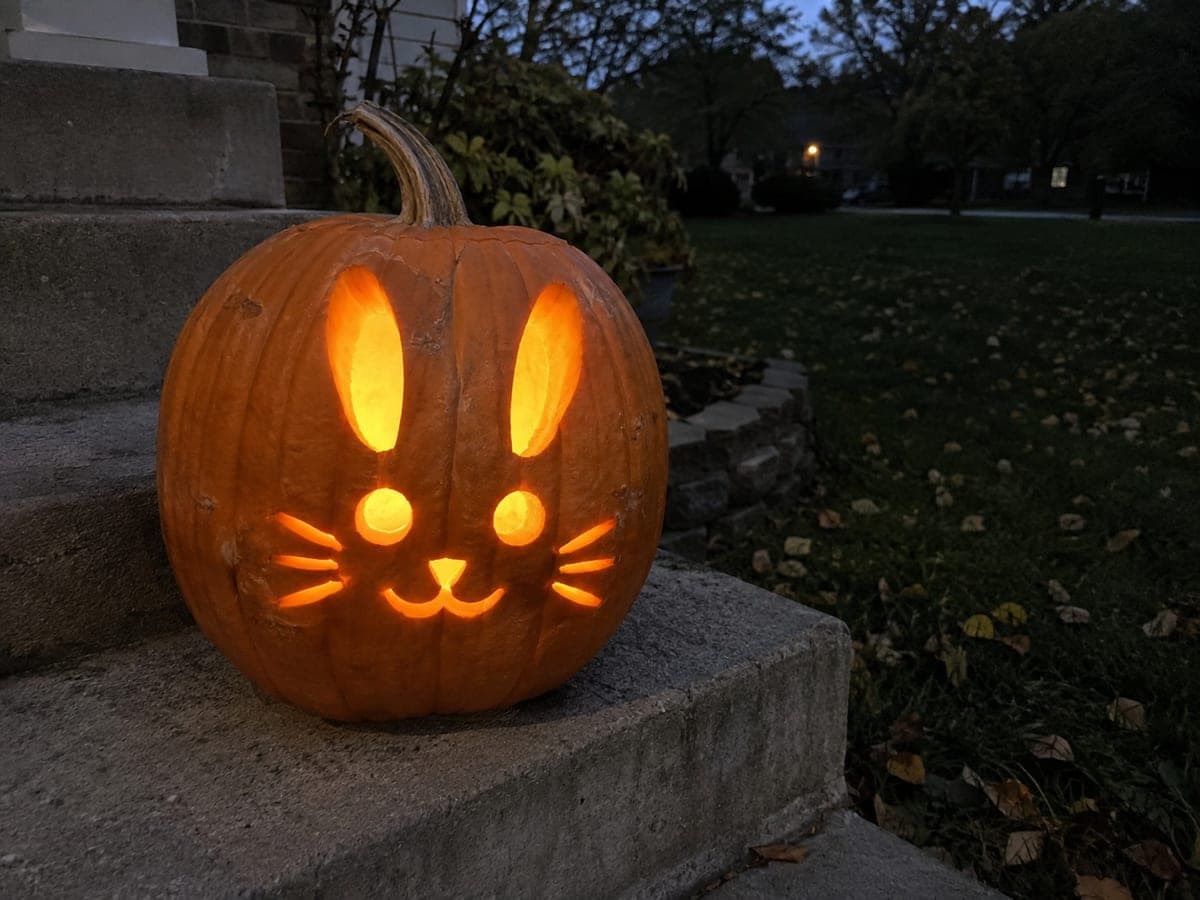
Simple Glowing Bunny Pumpkin Carving for Beginners

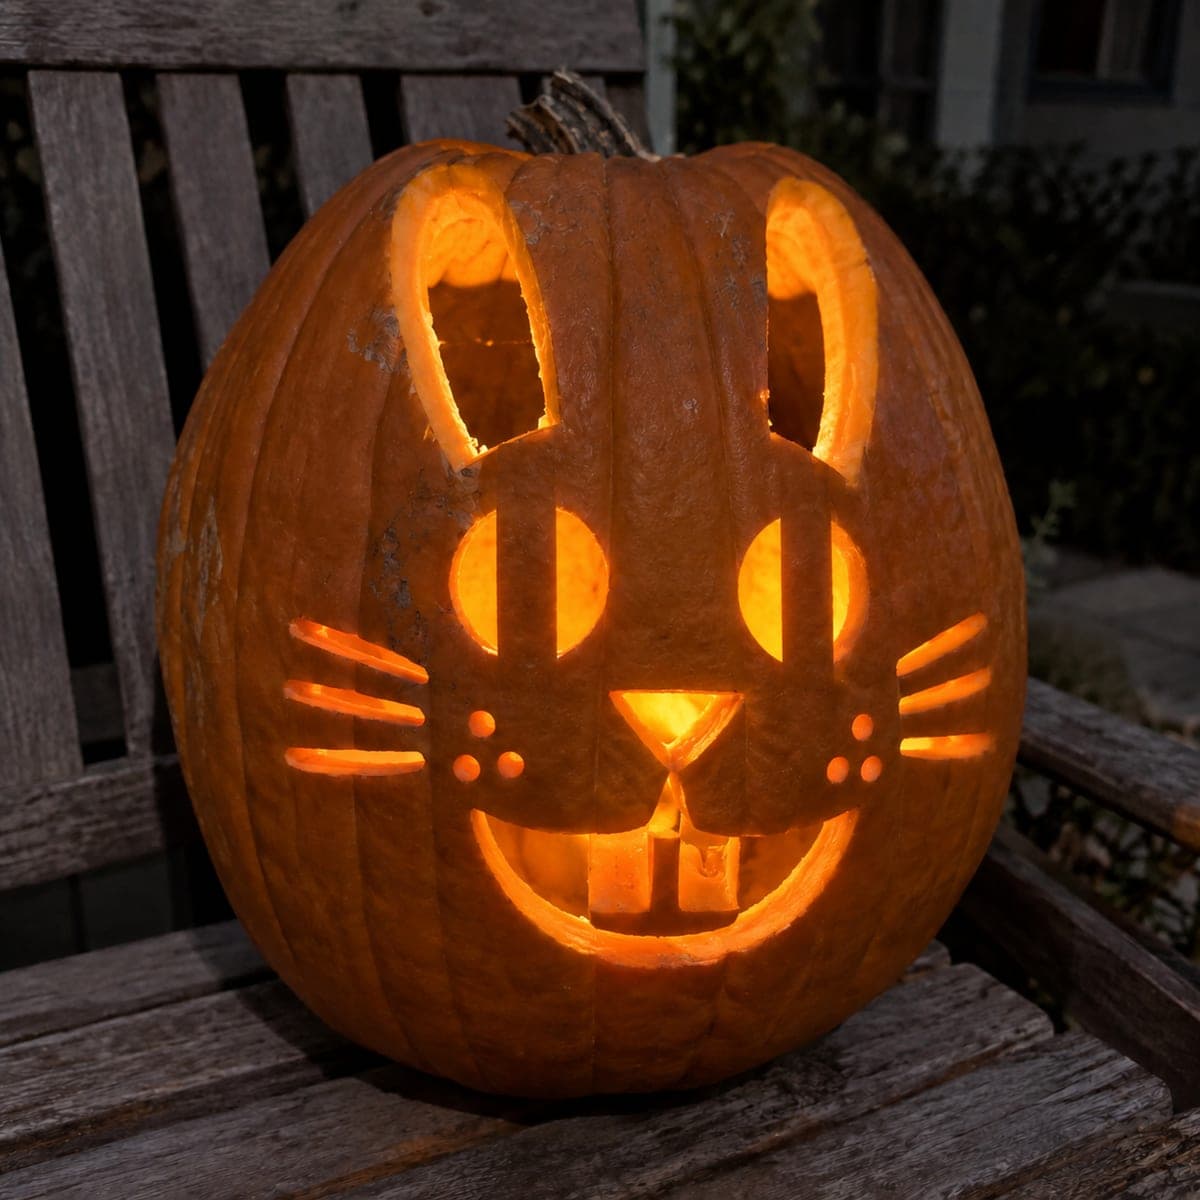
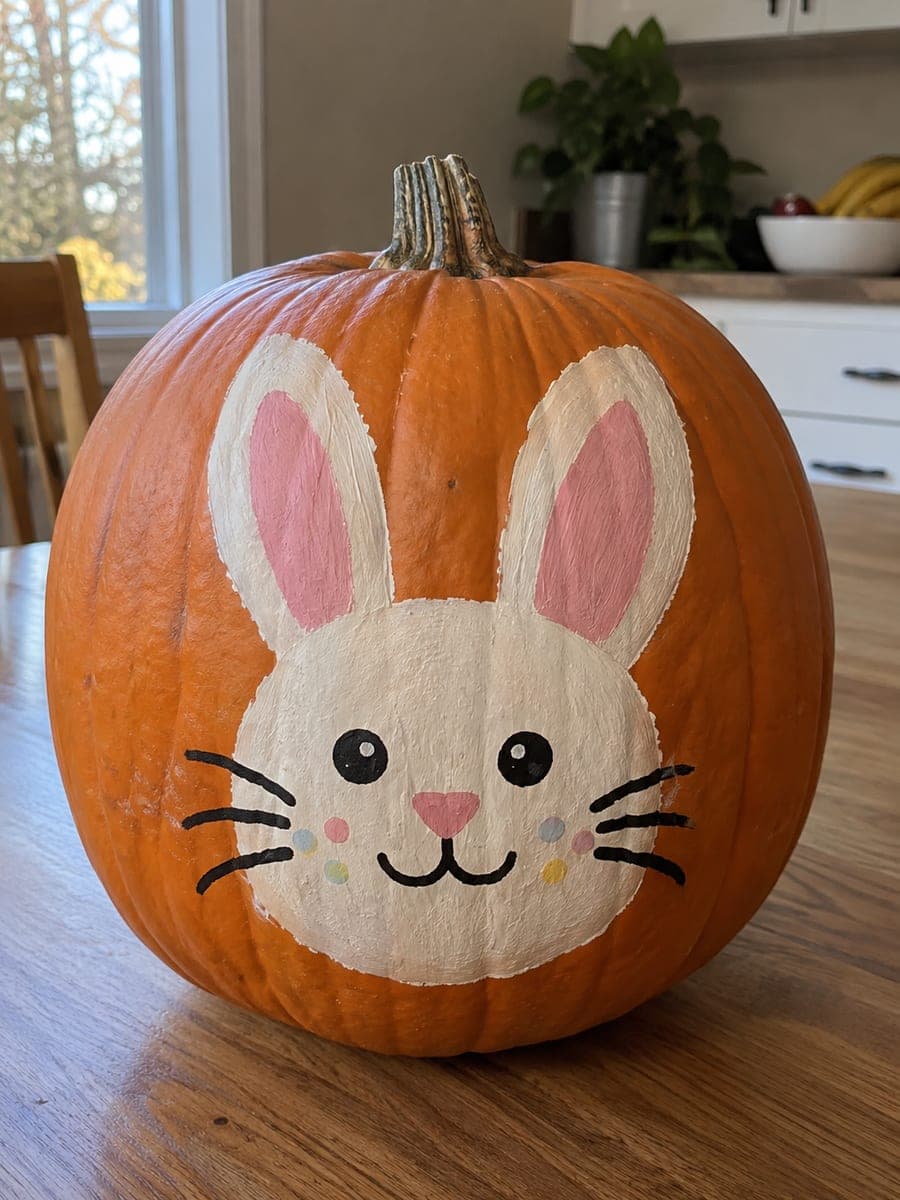
Separate through apertures and broadly rooted retained features keep this easy bunny pumpkin carving stable and beginner-friendly, with shallow detail reserved for any backed sections. The generous rind bridges between openings mean there is little risk of cracking even for first-timers. Transfer the stencil with a pin tool and cut the largest openings first, leaving any finer backed marks for last. A single tea light inside shows off the simple glowing silhouette perfectly.

No ratings yet · Sign in to rate
Comments (0)

  • No comments yet — be the first.

Save without an account. Sign in to like or comment.

Our tips for carving a similar design

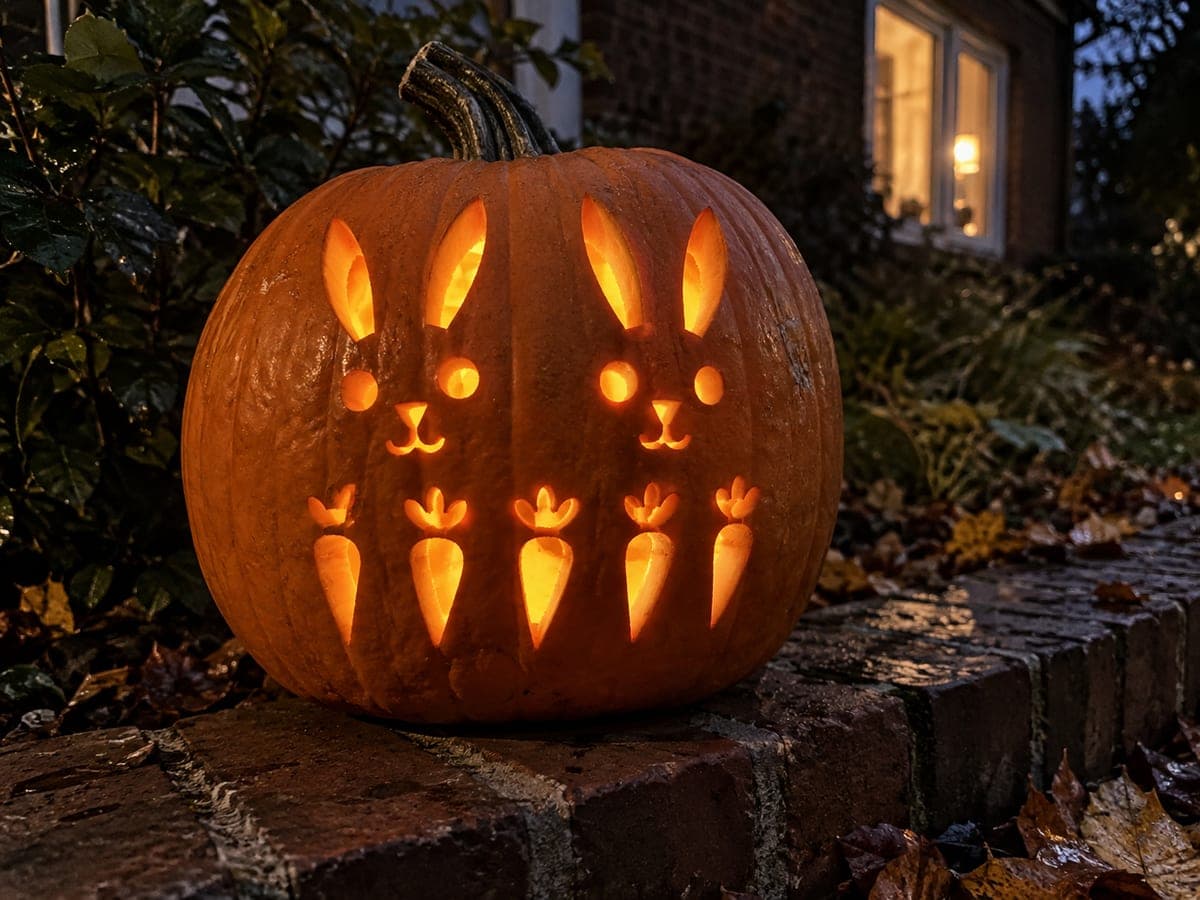
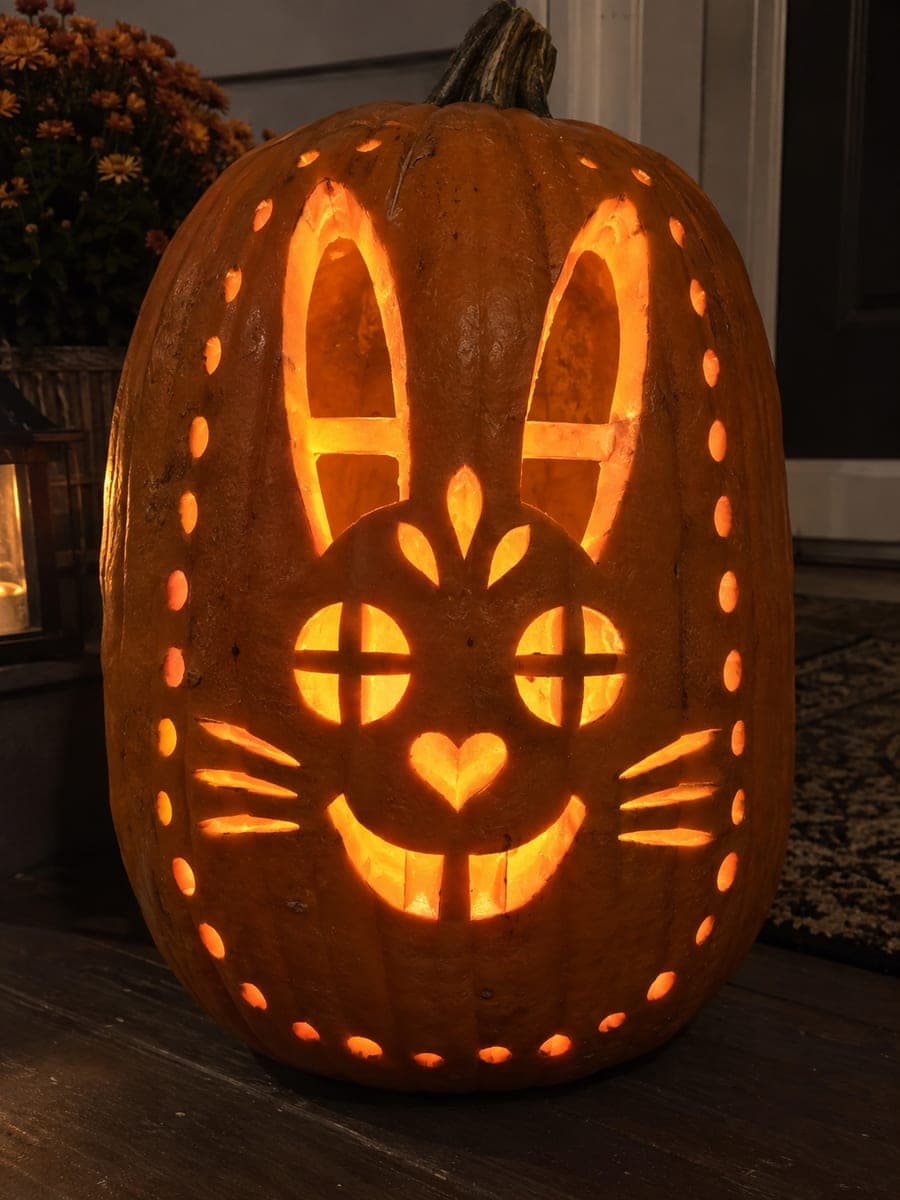
This design leans on a small number of widely spaced cutout openings to sketch a simple bunny face with tall ears. Generous rind bridges between each opening keep everything anchored so there is no risk of pieces breaking away. A single tea light or LED inside is all you need to make the silhouette glow clearly.

From pumpkin to porch

  1. Prep the pumpkin

    Cut a wide lid from the top at an angle so it rests back without falling in. Scoop out all seeds and stringy pulp until the interior wall is 1 to 1.5 inches thick throughout. Wipe the outside dry so the stencil transfers cleanly.

  2. Transfer the stencil

    Tape the printed bunny stencil onto the front of the pumpkin, smoothing any wrinkles. Use a pin tool or poker to prick holes every quarter inch along every outline. Remove the paper and rub a little flour over the surface to reveal the dotted lines.

  3. Cut the largest openings first

    Start with the biggest apertures, usually the outer ear shapes and the main eye circles. Insert a short pumpkin saw at a slight inward angle and follow the prick marks with slow, steady strokes. Keep your free hand away from the blade at all times, and cut away from your body.

  4. Cut smaller face details

    Move on to the nose and any mouth openings once the large shapes are free. These smaller cuts are easier to control when the surrounding rind is still solid. Gently push each cut piece inward and pull it free with your fingers.

  5. Add any shallow backed marks

    If the design includes a backed section (rind that is thinned but not pierced), use a linoleum gouge or the tip of a detail knife to shave the outer skin layer only. Work over areas with full wall backing and keep cuts shallow to avoid breaking through.

  6. Light and display

    Drop an LED tea light into the clean interior and replace the lid. Carry the pumpkin to its display spot before turning off room lights to enjoy the full glowing effect. Photograph with a 1-2 second exposure for the best social-media shot.

Written with AI to match this design

Gather your supplies

Check things off as you get ready.

Work on a stable surface, keep your free hand out of the cutting path, and have an adult handle sharp tools.

Three levels of light

  • Leave intact

    The solid rind forming the bunny's head outline, ear interiors, and face bridges stays dark.

  • Peel & shade

    Any shallow backed contours along the inner ear or cheek area glow softly at mid-brightness.

  • Cut through

    The ear apertures, eye circles, and nose opening glow at full brightness.

Learn the carving basics

Before you start cutting

How wide should the bridges between the ear openings and the face be?

Keep each bridge at least three-quarters of an inch wide for an easy-level design. Thinner bridges are fine on medium or hard designs where the carver has more control, but at beginner level a wider bridge is much safer and the design still reads clearly as a bunny.

Can I cut the ears as one continuous shape instead of two separate openings?

You can, but two separate ear openings with a solid rind strip between them look more like a bunny and are structurally stronger. A single large ear cutout removes a lot of rind at once and can weaken the top of the pumpkin.

The cut pieces are sticking and not pushing out cleanly. What should I do?

Try wiggling the saw blade slightly as you finish each cut to loosen the piece. If it still sticks, make a tiny relief cut across a corner of the same opening so the piece has somewhere to shift. Never pry with the blade tip or you risk a crack.

Your take belongs here, too.

Changed a detail? Made it simpler? Share a photo of your version and tell the community what worked.

Share your pumpkin

More pumpkins like this

You've reached the end · 8 pumpkins
The Patch Report

Fresh pumpkins, in your inbox.

The best new carvings, ideas worth stealing, and how-tos for carving season. Short, seasonal, and gone by November.

A short email during carving season. Unsubscribe anytime. See our privacy policy.