Halloween Pumpkin Carving Contest Β· Starts October 1st Β· $500 in prizes
← Back to ideas
@ai_concepts
Sep 5, 2026
Simple Skull Face Painted PumpkinAI
0

Simple Skull Face Painted Pumpkin

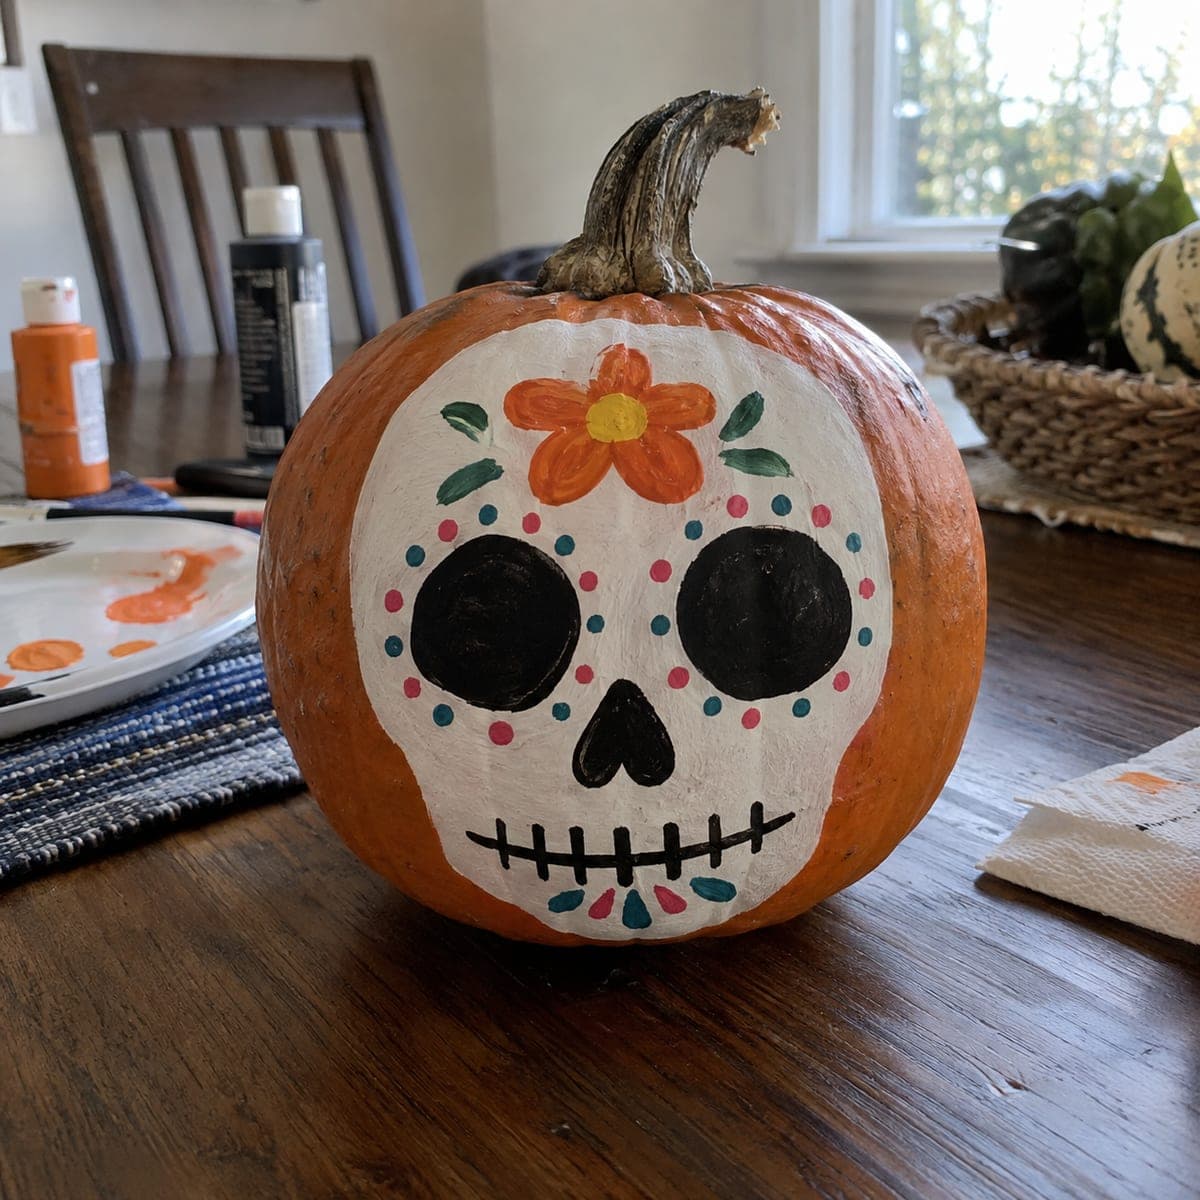
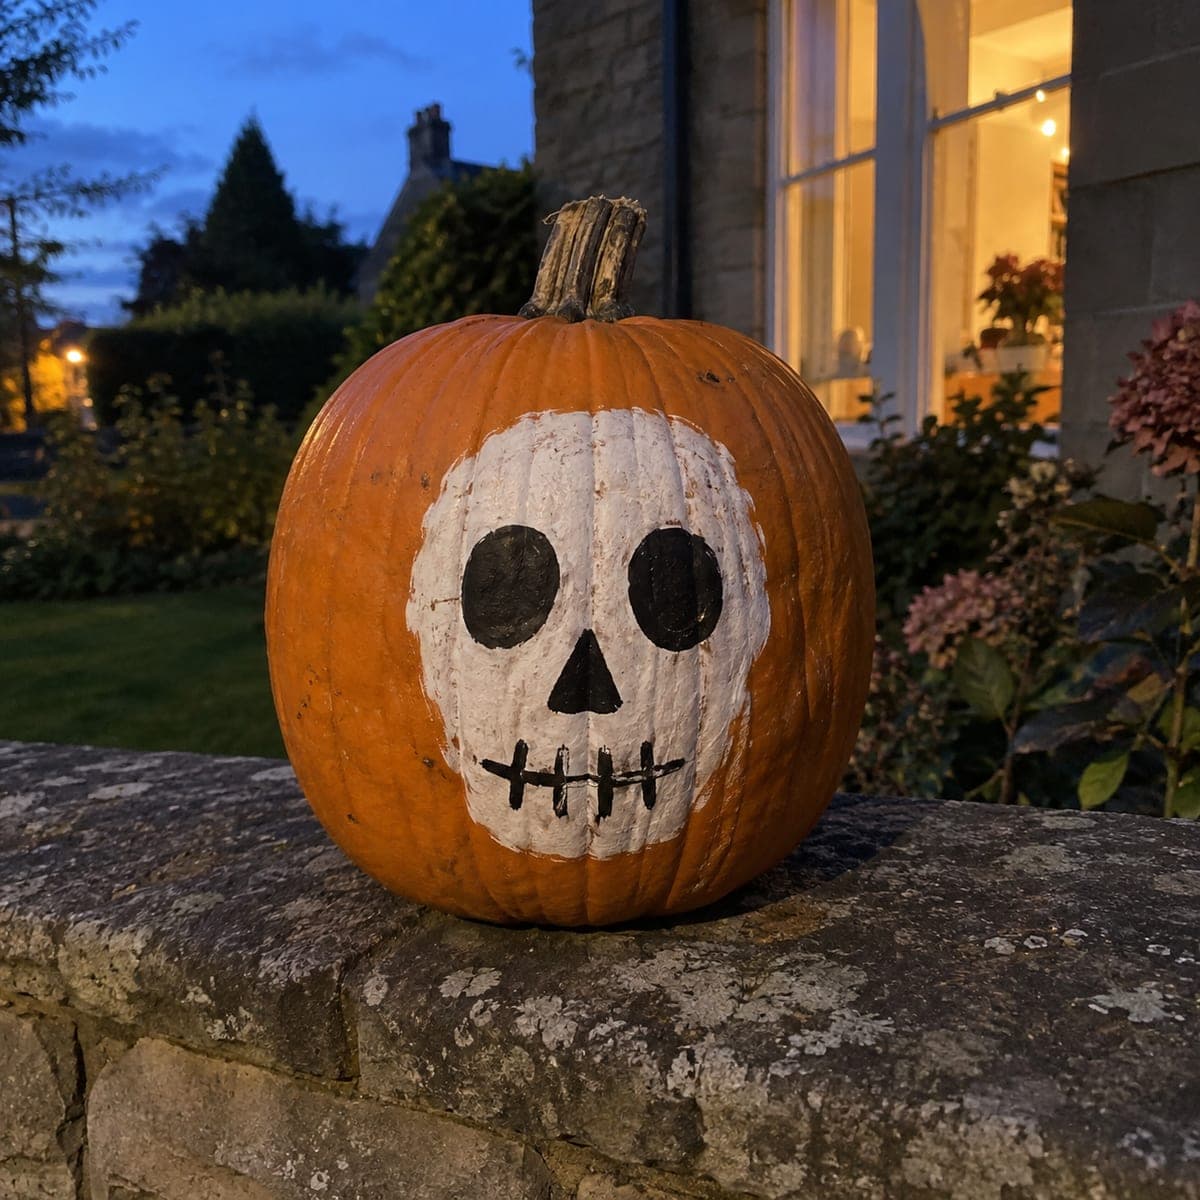
A white skull with hollow black eyes, a triangle nose, and a stitched grin is painted on this pumpkin for a quick no-carve Halloween decoration. One coat of white craft paint for the head shape, then black for the features, is all it takes; sketch the oval first so the eyes sit level. The stitched mouth is just a horizontal line with short crossbars, easy enough for kids to paint themselves. It shows up well at dusk on a garden wall without any light inside.

This is an AI-generated concept image: a realistic, carvable design idea rather than a photo of a finished carve. AI concepts are always labeled and sit out the leaderboard and the contest.

No ratings yet Β· Sign in to rate

Comments (0)

  • No comments yet β€” be the first.

Save without an account. Sign in to like or comment.

Our tips for carving a similar design

The core trick here is a painted skull that skips carving entirely, so the whole design lives on the surface with white and black craft paint. Sketch a rounded skull shape on the pumpkin face, block it in white, then add hollow black eyes, a triangle nose, and a stitched line mouth. Because nothing is cut, the pumpkin lasts longer and reads clearly against a dark garden wall at dusk.

Written by PumpkinCarvingIdeas.com, inspired by the image above. These are our suggestions, not instructions from the uploader. This approach to the AI concept has not been tested on a real pumpkin.

From pumpkin to porch

  1. Pick and prep the pumpkin

    Choose a pumpkin with a smooth, fairly flat front so paint goes on evenly. Wipe the surface clean with a damp cloth and let it dry fully, since paint beads up on grime and moisture. Set it on newspaper or a drop cloth. A rounder, taller pumpkin gives the skull head room to sit high on the face.

  2. Sketch the skull shape

    Use a pencil or washable marker to draw a rounded skull outline, wider at the top and tapering slightly toward the chin. Lightly mark where the two eyes, nose, and mouth will go before any paint touches the pumpkin. Draw a faint horizontal guide line so the eyes sit level with each other. Step back and check the layout looks balanced before committing.

  3. Paint the white base

    Fill the skull outline with one solid coat of white craft or acrylic paint using a medium flat brush. Work in one direction and keep the edge of the shape clean and rounded. Let it dry completely, then add a second coat only if the orange shows through. Patience here gives the black features a crisp surface to sit on.

  4. Add the black features

    Once the white is dry, paint the two large oval eye sockets, keeping them level and roughly the same size. Add a small triangle nose centered below and between the eyes, point facing up. Use a fine brush for clean edges and let the eyes dry before touching nearby areas. Small imperfections read fine at dusk, so do not chase perfection.

  5. Paint the stitched grin

    Draw one horizontal black line for the mouth, then add short vertical crossbars along it to make the stitched look. Keep the crossbars evenly spaced and about the same length. This is the easiest part, so it is a great step to hand to a child with a steady brush. Let everything dry, then touch up any thin spots.

  6. Seal and photograph

    Once fully dry, you can brush on a thin coat of clear matte sealer to protect the paint from rain. Place the pumpkin on a low wall or step where the face catches ambient light. Photograph it at dusk when the sky is deep blue but there is still soft light on the front. A nearby porch light or window glow keeps the white skull bright without any candle.

Gather your supplies

Check things off as you get ready.

Work on a stable surface, keep your free hand out of the cutting path, and have an adult handle sharp tools.

Three levels of light

  • Leave intact

    The orange skin around the skull stays untreated and dark, framing the white face.

  • Peel & shade

    If you want a faint glow, lightly scrape the skin inside the eye sockets before painting to hint at depth (skip for a pure no-carve look).

  • Cut through

    For a lit version, cut through the two eye ovals and add an LED puck inside so the sockets shine bright; do this last so the shell stays strong while you paint.

Learn the carving basics

Before you start cutting

Do I need to carve anything for this design?

No, this is a true no-carve project done entirely with paint. Nothing gets cut, which means no scooping and a pumpkin that lasts longer on the wall. If you later want the eyes to glow, you can cut those two ovals and drop in an LED light.

What paint works best and will it survive outside?

Standard white and black craft or acrylic paint both work well on pumpkin skin. Two thin coats of white cover better than one thick one. A clear matte sealer over the dry paint helps it shrug off dew and light rain if the pumpkin sits outdoors.

How do I keep the eyes level and even?

Sketch a light horizontal guide line across the skull before painting, then place both eye ovals on that line. Rough them in with pencil first and adjust until they match in size and height. Only paint once the layout looks right, since dried acrylic is hard to move.

Your take belongs here, too.

Changed a detail? Made it simpler? Share a photo of your version and tell the community what worked.

Share your pumpkin

More pumpkins like this

You've reached the end Β· 8 pumpkins
The Patch Report

Fresh pumpkins, in your inbox.

The best new carvings, ideas worth stealing, and how-tos for carving season. Short, seasonal, and gone by November.

A short email during carving season. Unsubscribe anytime. See our privacy policy.