Halloween Pumpkin Carving Contest · Starts October 1st · $500 in prizes
← Back to ideas
@ai_concepts
Sep 25, 2026
Skull and Crossbones Pumpkin with Curved EyesAI
0

Report this carving

Tell us what is wrong. Reports are private.

Skull and Crossbones Pumpkin with Curved Eyes

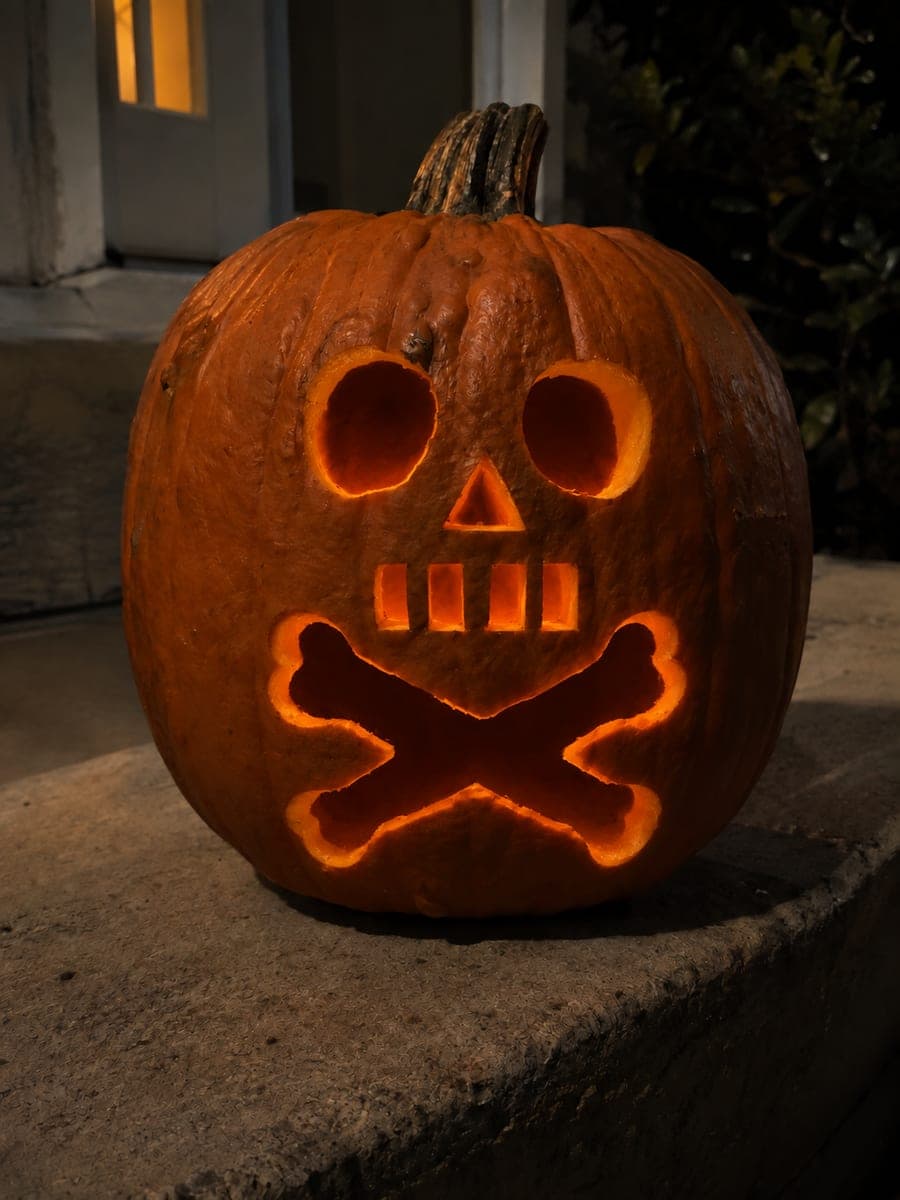
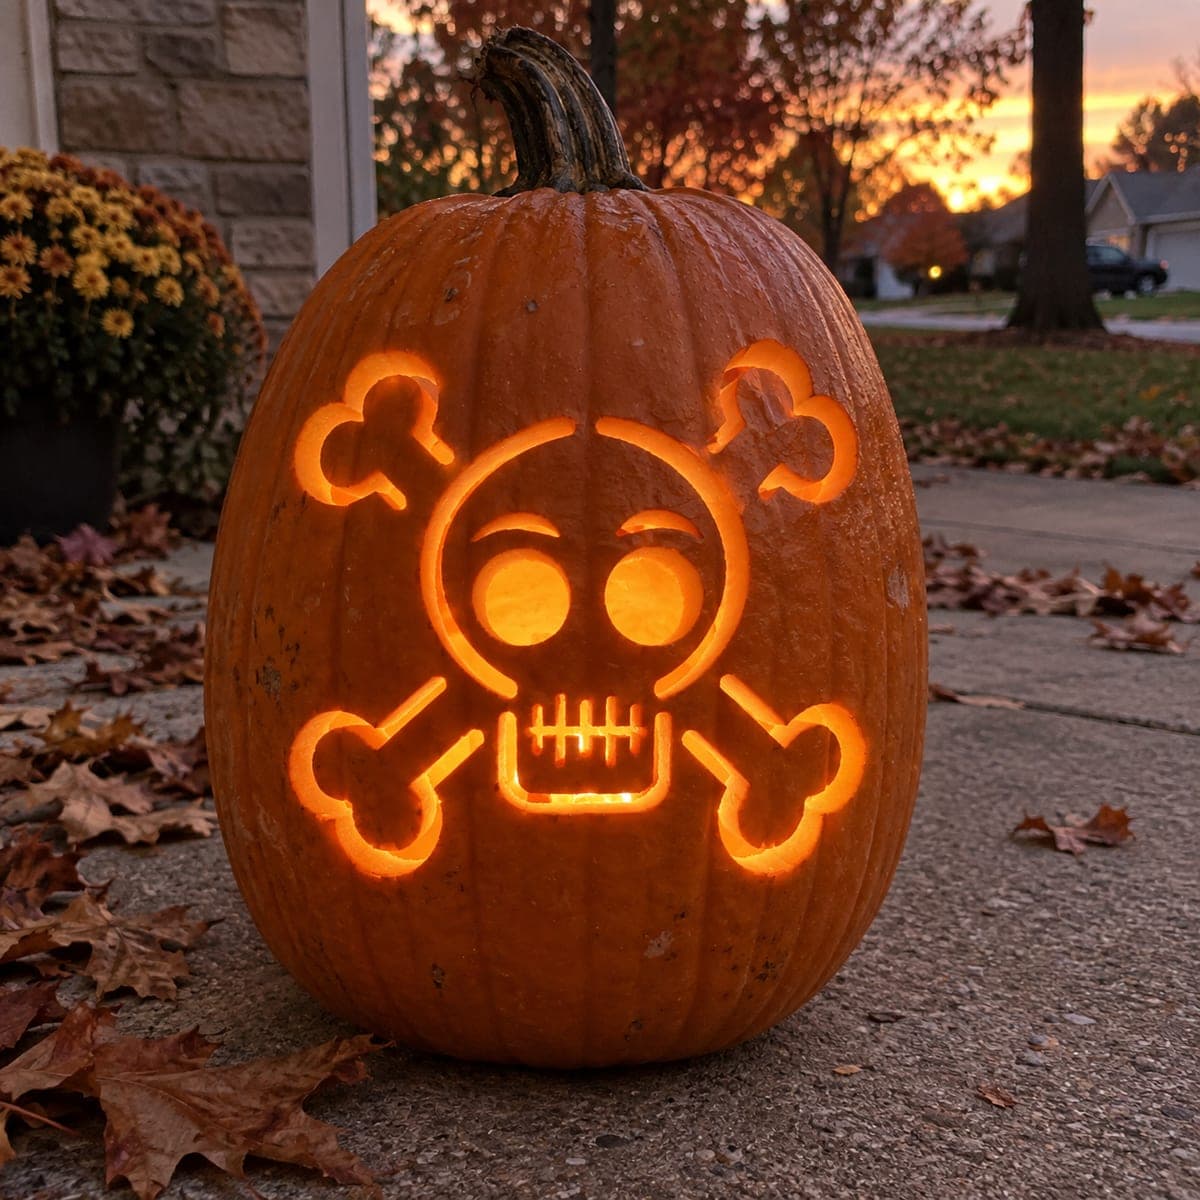
Curved eye cutouts, cheek accent holes, and a simplified crossed-bones opening below the skull give this medium skull and crossbones pumpkin carving more personality than the basic version. Cut all skull facial holes independently, leaving wide rind between the eye curves and cheek accents. The crossbones remain one continuous X-shaped cut to keep structural complexity manageable. Photographed at dusk, the curved eyes cast dramatic arched shadows on the surrounding rind.

No ratings yet · Sign in to rate

Comments (0)

  • No comments yet — be the first.

Save without an account. Sign in to like or comment.

Our tips for carving a similar design

The curved eye cutouts are what sets this design apart from the basic version: arched top edges cast dramatic shadow lines on the surrounding rind and make the skull expression more emotive. Each facial element is a fully independent hole with wide rind between them, so structural safety is straightforward even though the curves are slightly harder to cut. The crossbones remain a single continuous X below.

From pumpkin to porch

  1. Choose a pumpkin with a broad face

    A wide front face gives the curved eyes, cheek accents, and crossbones enough room to breathe without crowding the composition. Scoop to a consistent one-inch wall and dry the surface before marking.

  2. Transfer the skull layout

    Tape a printed template featuring curved eye shapes to the pumpkin face. Perforate the outlines at close intervals, especially along the arched top edges of the eyes where accuracy matters most. Connect perforations with chalk marker.

  3. Cut the curved eyes first

    Tackle the eyes before any other element so you are working on the freshest, most rigid part of the shell. Follow the outer convex top curve with smooth continuous strokes, then cut the flat or gently curved bottom. The arched shape requires more direction changes than a round eye; use short strokes and let the blade pivot freely.

  4. Cut the cheek accents and mouth

    Remove each cheek accent hole as a separate small aperture, leaving wide rind between them and the eye openings. Cut the mouth last among the skull facial elements. Keep the mouth generous in size so it reads clearly as a skull from the street.

  5. Cut the crossbones X

    Work the four bone arms of the X in sequence: tip to center, pivot, then continue to the opposite tip. Repeat for the second pair. Wide rind should still connect the skull facial holes to the crossbones section above and below the design.

  6. Light and observe the shadow arches

    Place a bright LED inside. The curved tops of the eye cutouts will cast arched shadow lines onto the surrounding rind immediately above each opening, which gives the skull a raised-brow expression visible even in daylight. Photograph at dusk for the most dramatic look.

Written with AI to match this design

Gather your supplies

Check things off as you get ready.

Work on a stable surface, keep your free hand out of the cutting path, and have an adult handle sharp tools.

Three levels of light

  • Leave intact

    All rind surrounding the curved eyes, cheek accents, and crossbones stays solid and dark.

  • Peel & shade

    None; all shapes are full through cuts.

  • Cut through

    Both curved eye apertures, the cheek accent holes, the mouth, and the full X-shaped crossbones are cut through for even warm glow.

Learn the carving basics

Before you start cutting

My arched eye curve has a flat spot partway along it. How do I correct that?

Use a fine rasp or a folded strip of coarse sandpaper to gently fair the curve after cutting. Work in small circular motions along the edge. The correction will be invisible once the pumpkin is lit.

How wide should the rind strip between the eye and the cheek accents be?

At least three-quarters of an inch. Cheek accents that crowd the eye openings look unintentional and weaken the shell between the elements. Mark the minimum bridge width on the template before transferring to the pumpkin.

Should the mouth be a skull grin or a simple oval?

Either works at medium difficulty. A simple wide oval is easier to cut and reads as clearly as a skull from a distance. If you want a grin with teeth, keep each tooth very wide at the base; narrow teeth break easily during carving and are hard to recover.

Your take belongs here, too.

Changed a detail? Made it simpler? Share a photo of your version and tell the community what worked.

Share your pumpkin

More pumpkins like this

You've reached the end · 8 pumpkins
The Patch Report

Fresh pumpkins, in your inbox.

The best new carvings, ideas worth stealing, and how-tos for carving season. Short, seasonal, and gone by November.

A short email during carving season. Unsubscribe anytime. See our privacy policy.