Halloween Pumpkin Carving Contest · Starts October 1st · $500 in prizes
← Back to ideas
@ai_concepts
Sep 25, 2026
Spooky Easy Pumpkin Carving With a Glowing Cut DesignAI
0

Report this carving

Tell us what is wrong. Reports are private.

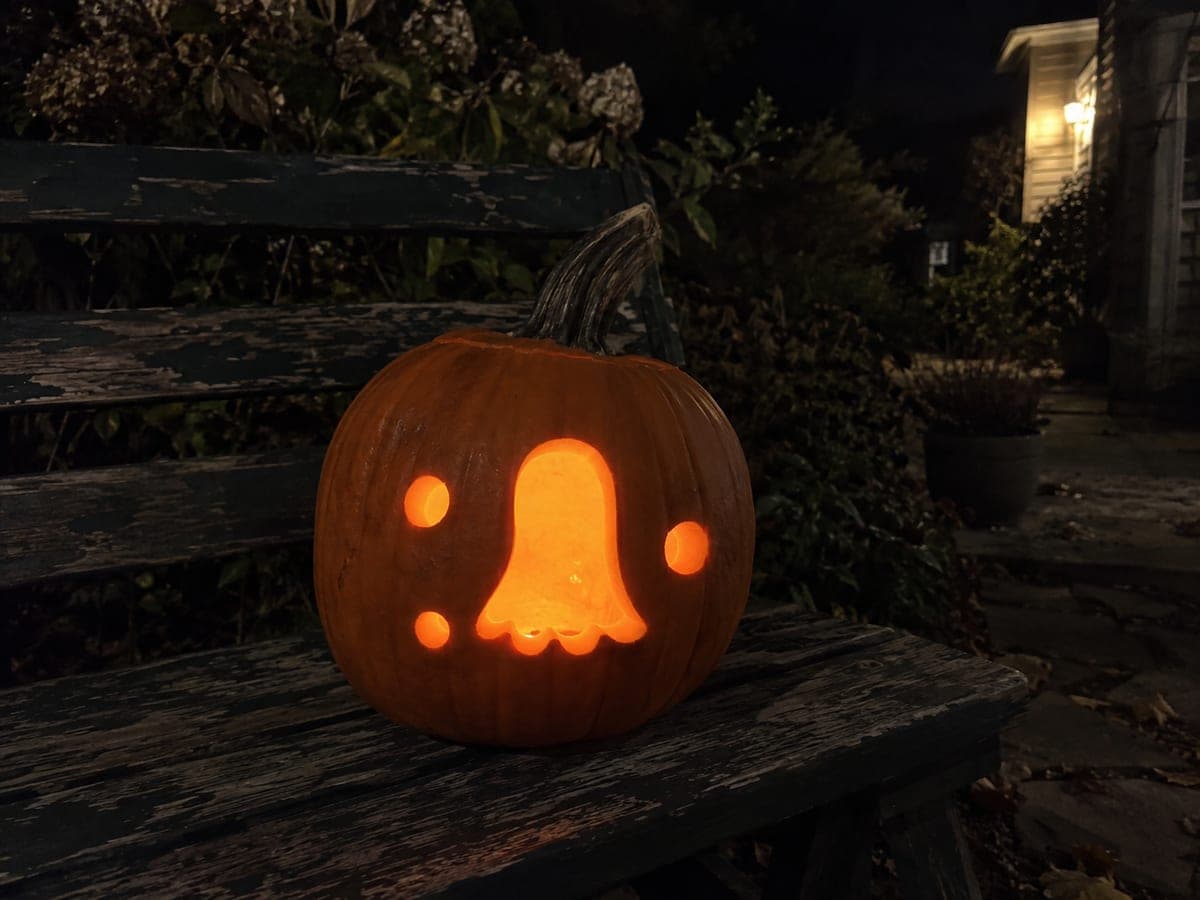
Spooky Easy Pumpkin Carving With a Glowing Cut Design

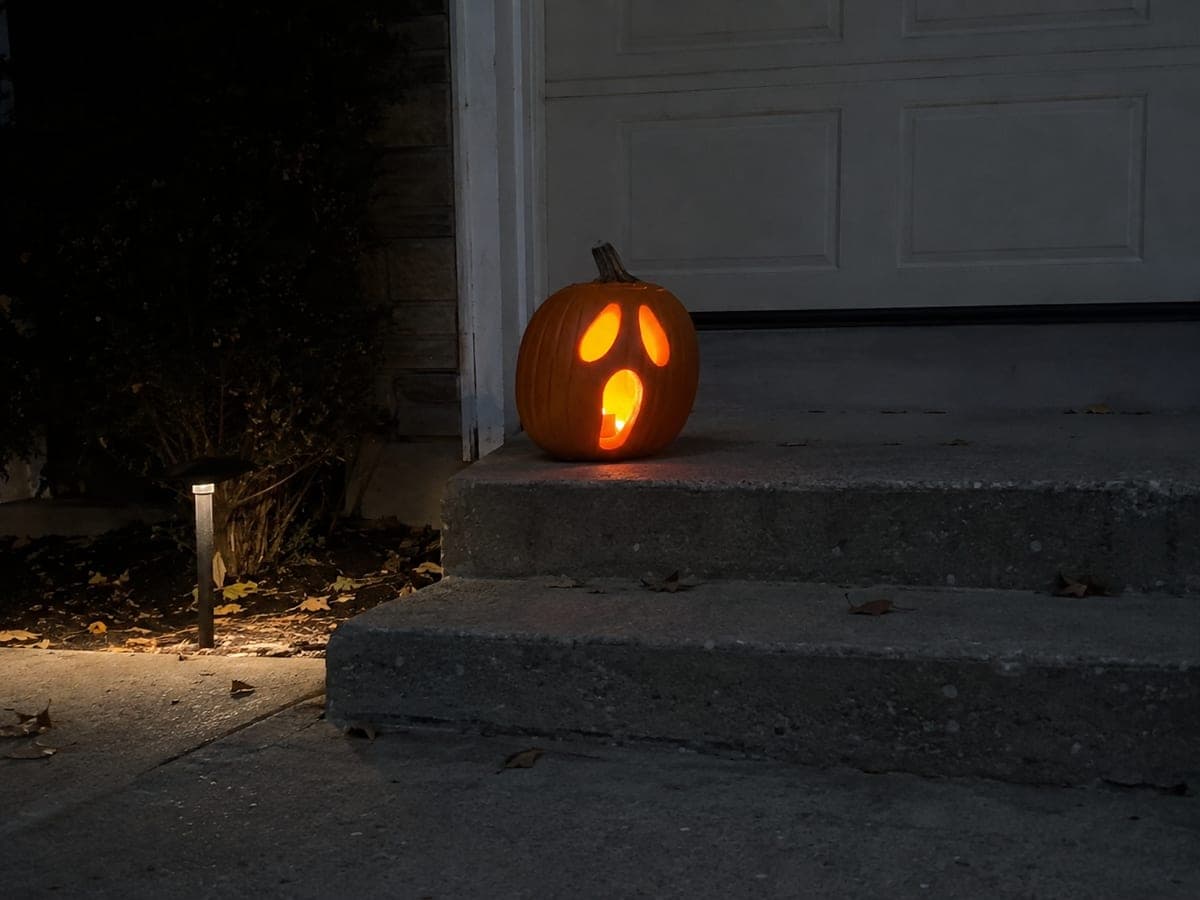
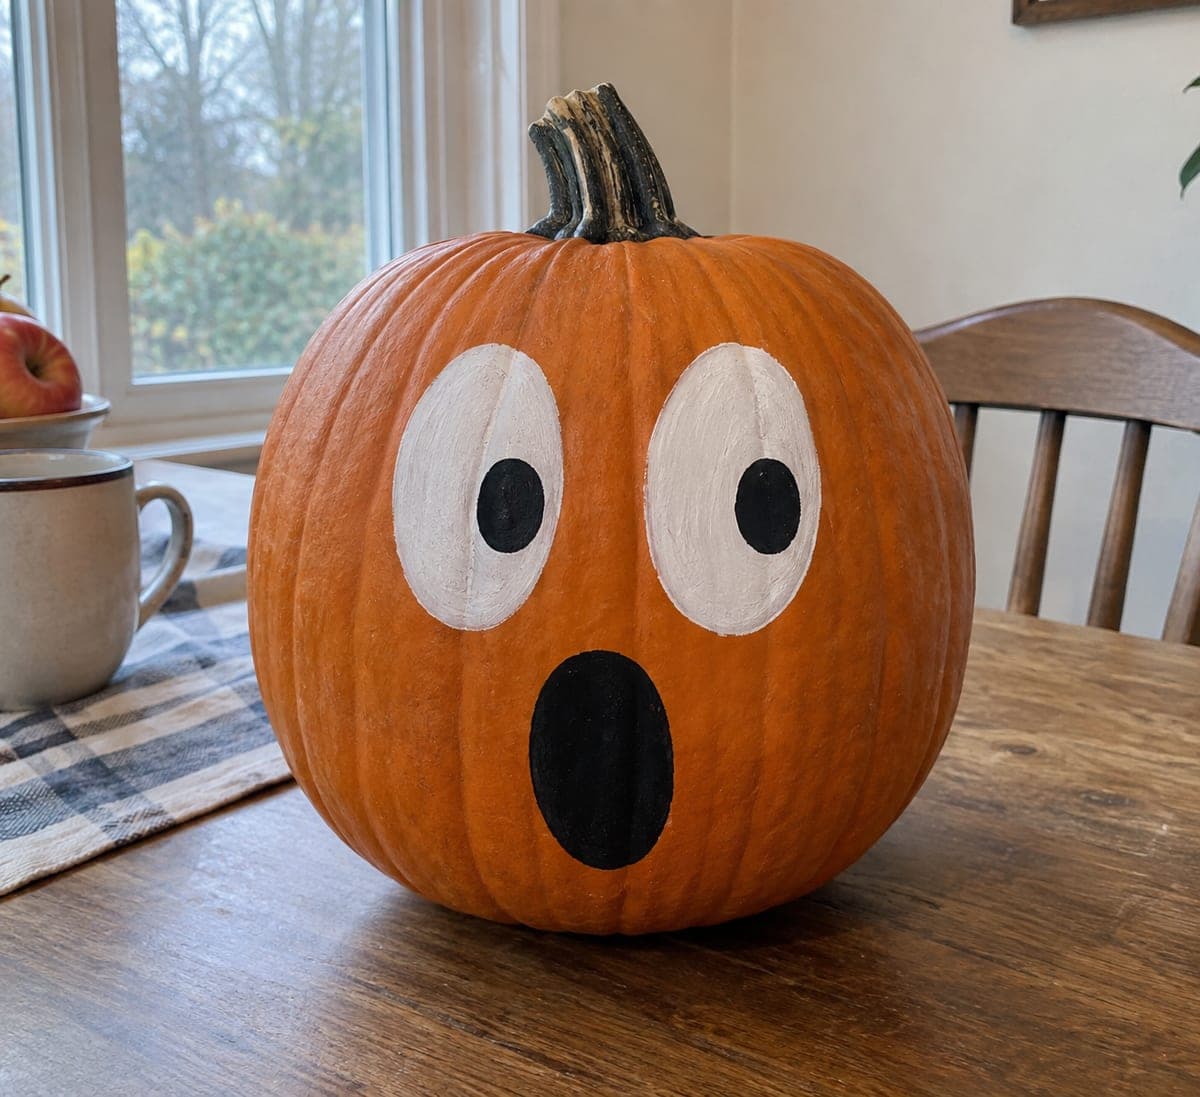
Cut-through openings arranged into an eerie pattern make this easy spooky pumpkin carving idea a quick way to set an atmospheric Halloween mood. Transfer the design onto the pumpkin surface with a stylus so every shape is correctly positioned before any cutting begins. Cut the largest openings first while the rind is at full strength, then move to smaller accent details, keeping every structural bridge intact throughout. A warm tea light or battery LED inside completes the spooky atmosphere.

No ratings yet · Sign in to rate
Comments (0)

  • No comments yet — be the first.

Save without an account. Sign in to like or comment.

Our tips for carving a similar design

The eerie mood here comes from the arrangement of the openings rather than their number or complexity. Transferring the design carefully before cutting ensures the placement of each shape lands in the right position to create the intended atmosphere. A warm tea light or battery LED inside completes the effect by turning the carved shapes into glowing focal points in an otherwise dark scene.

From pumpkin to porch

  1. Hollow from the bottom

    Cut the lid from the base so the lantern sits securely on the interior floor. Scoop out pulp and seeds until the wall is a consistent inch thick. A clean, clear interior lets the light reflect off the inner walls and push glow through all the openings evenly.

  2. Transfer the design

    Tape the spooky template to the front face and trace all outlines with a stylus. Connect the dotted impressions with a washable marker. Examine the traced shapes and confirm that the eerie quality of the expression is preserved before making any cuts.

  3. Cut the largest opening first

    Begin with the widest aperture in the design while the rind is at full strength. Use a small serrated pumpkin saw and keep the blade perpendicular to the surface throughout. Support the offcut as it releases so it does not drop and crack the nearby rind.

  4. Add smaller openings in sequence

    Work through the remaining openings from largest to smallest, leaving at least 8 mm of rind between every pair of adjacent shapes. After each cut, press the surrounding rind to confirm it is still firm. Any bridge that has thinned below 8 mm should be left for now and returned to only after adjacent cuts are complete.

  5. Clean the edges

    Use a thin paring knife to trim any jagged rind flaps inside each opening. On a spooky design, clean edges let the light escape in crisp shapes that read as intentional rather than accidental. Brush all debris from the cavity before inserting the light.

  6. Light and place

    A warm tea light or battery LED both work well for this design. The warm amber glow suits the spooky atmosphere better than a cool white LED. Place the pumpkin on a darkened step or windowsill where the glow will catch the eye of anyone approaching the house.

Written with AI to match this design

Gather your supplies

Check things off as you get ready.

Work on a stable surface, keep your free hand out of the cutting path, and have an adult handle sharp tools.

Three levels of light

  • Leave intact

    All solid rind surrounding the eerie face openings stays dark and intact

  • Peel & shade

    None, only full cutouts are used

  • Cut through

    Every aperture in the spooky expression is cut completely through for full interior glow

Learn the carving basics

Before you start cutting

What is the difference between a spooky and a scary pumpkin design?

Scary designs tend to rely on explicitly menacing shapes like jagged fangs, drooping eyes, or extreme asymmetry to trigger a fright response. Spooky designs lean on mood and atmosphere: shapes that suggest unease without being overtly aggressive. The difference is subtle but a spooky face tends to feel more uncanny than alarming.

Can I use a real candle in this design?

A real tea light works for supervised, short-duration indoor displays. Never leave a candle-lit pumpkin unattended, outdoors near dry leaves and decorations, or in a location where it could be knocked over. A battery LED is always the safer and more practical choice for an all-night doorstep display.

How do I make the pumpkin look more atmospheric on a well-lit porch?

Place the pumpkin in a small alcove, shadow, or corner where ambient light is reduced. A dark backdrop behind it, such as a length of black fabric draped over a nearby surface, isolates the glowing openings and makes the spooky effect much stronger than it would be against a brightly lit wall.

Your take belongs here, too.

Changed a detail? Made it simpler? Share a photo of your version and tell the community what worked.

Share your pumpkin

More pumpkins like this

You've reached the end · 8 pumpkins
The Patch Report

Fresh pumpkins, in your inbox.

The best new carvings, ideas worth stealing, and how-tos for carving season. Short, seasonal, and gone by November.

A short email during carving season. Unsubscribe anytime. See our privacy policy.