Halloween Pumpkin Carving Contest · Starts October 1st · $500 in prizes
← Back to ideas
@ai_concepts
Aug 4, 2026
Spooky Tree Face Carved Mini PumpkinAI
0

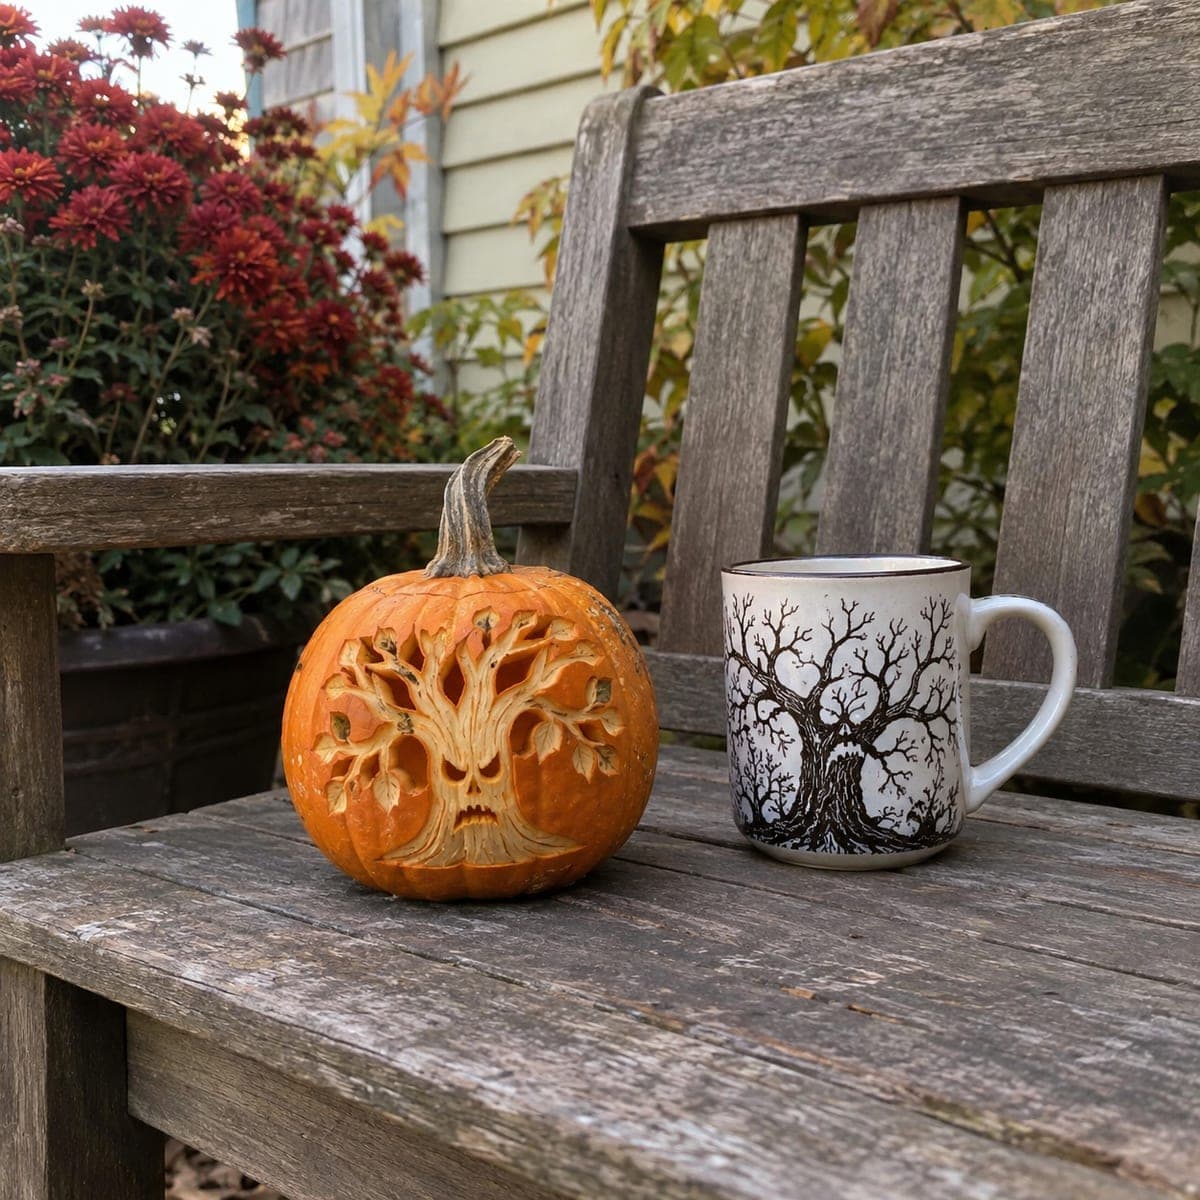
Spooky Tree Face Carved Mini Pumpkin

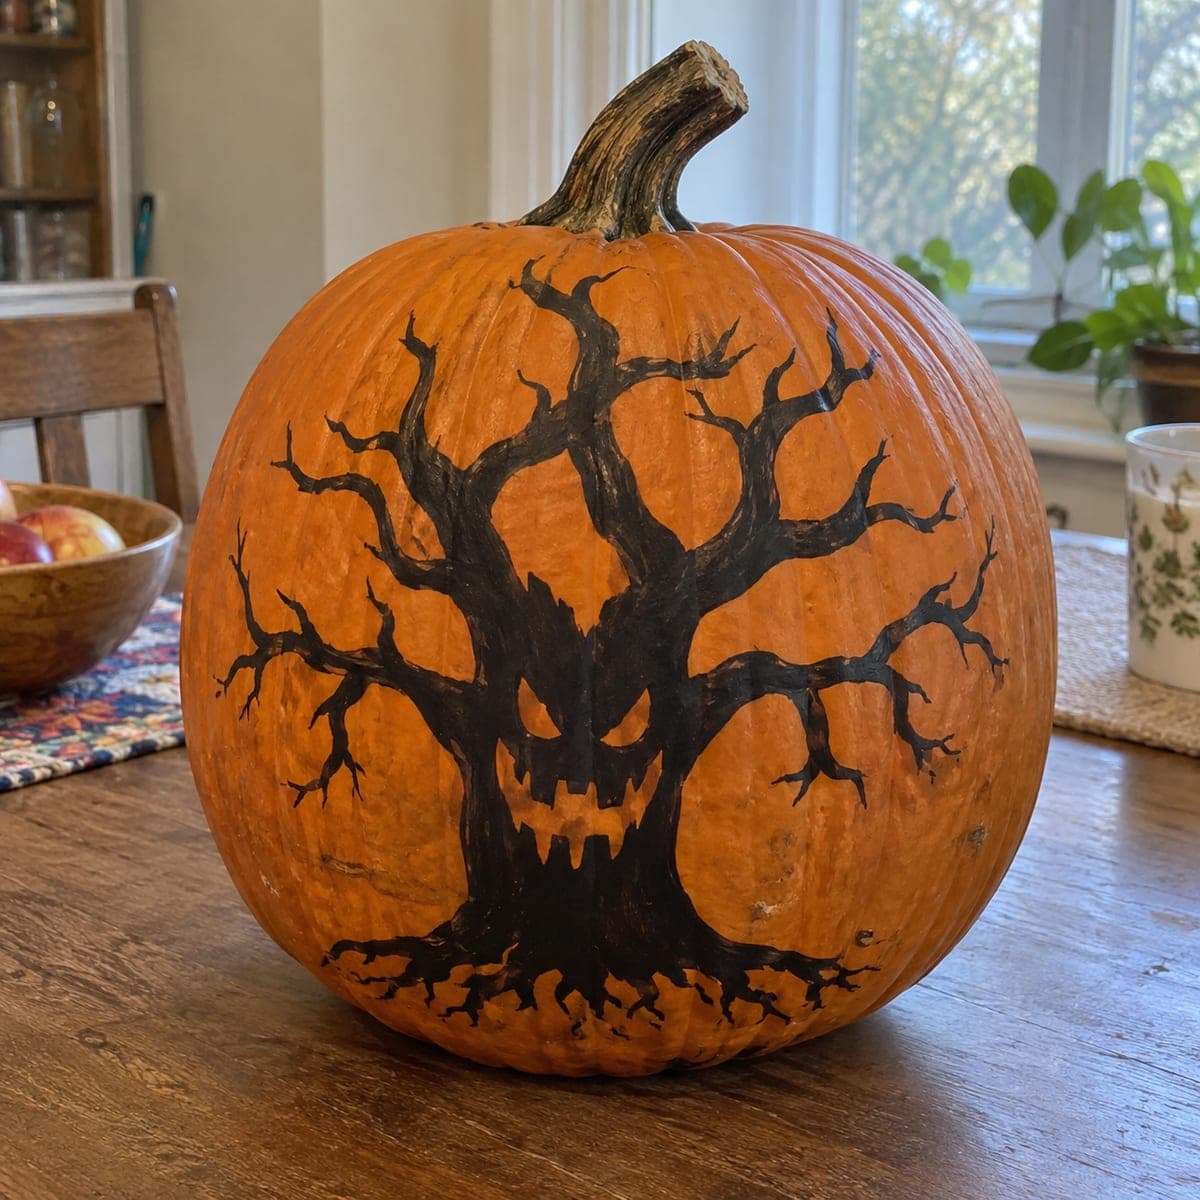
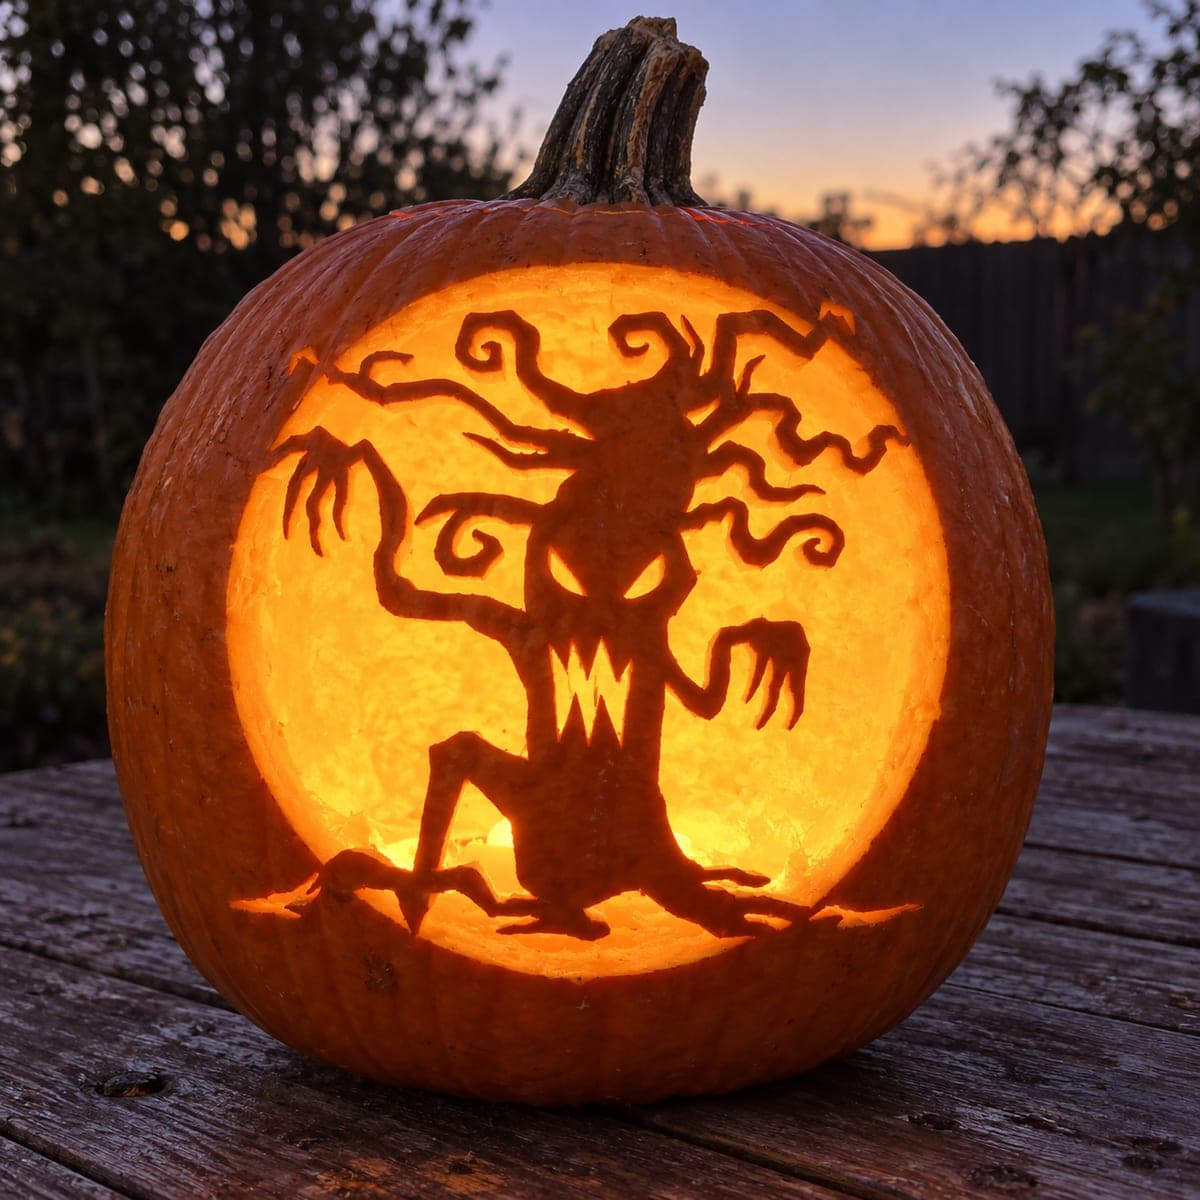
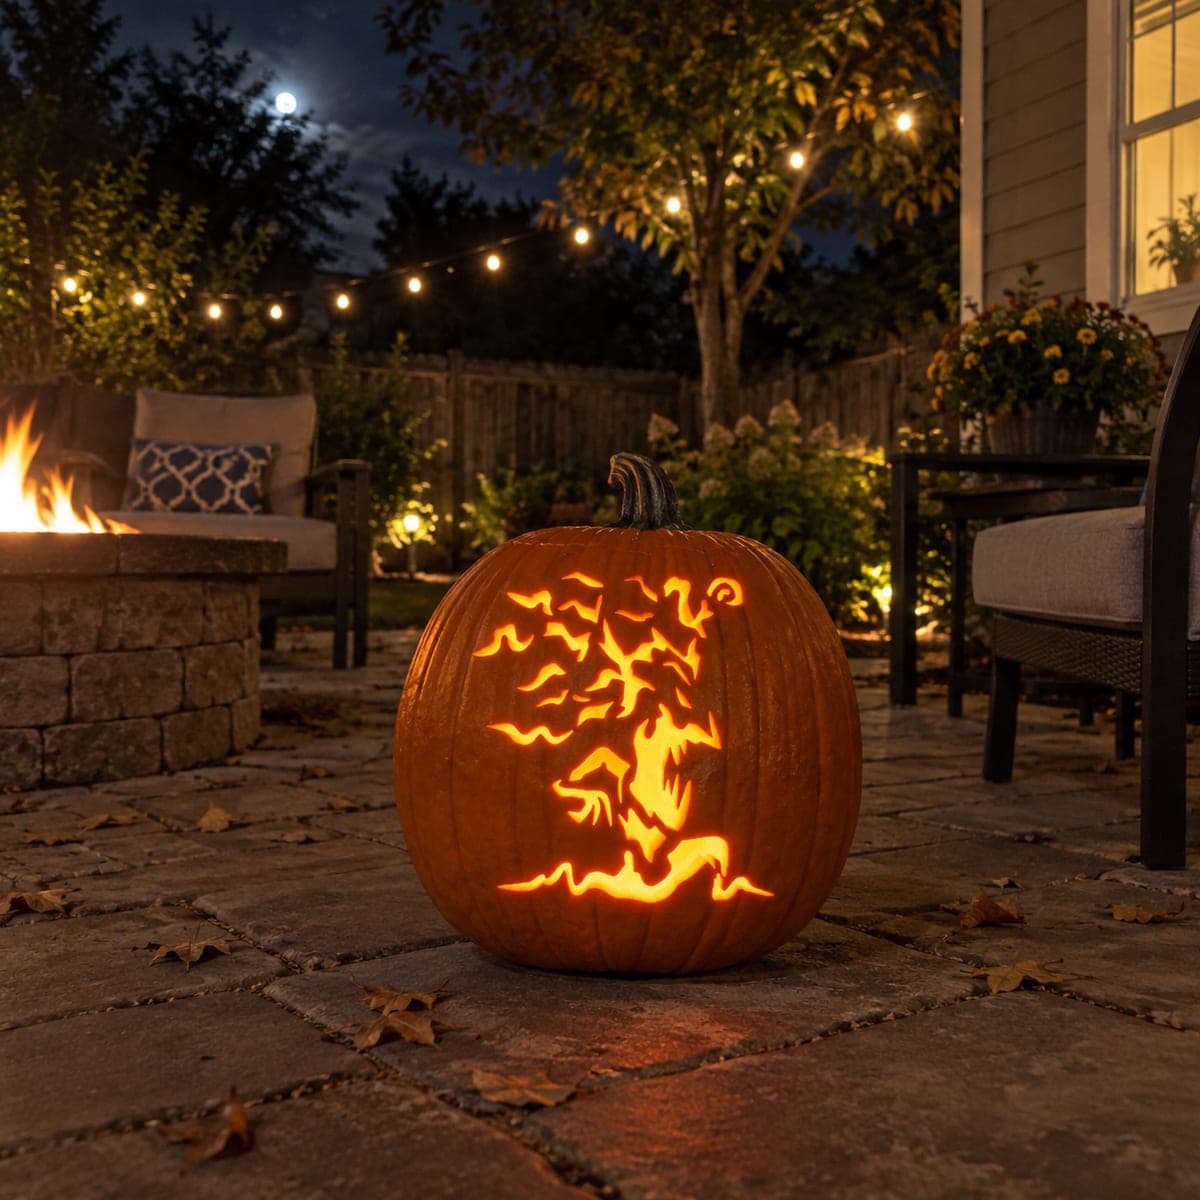
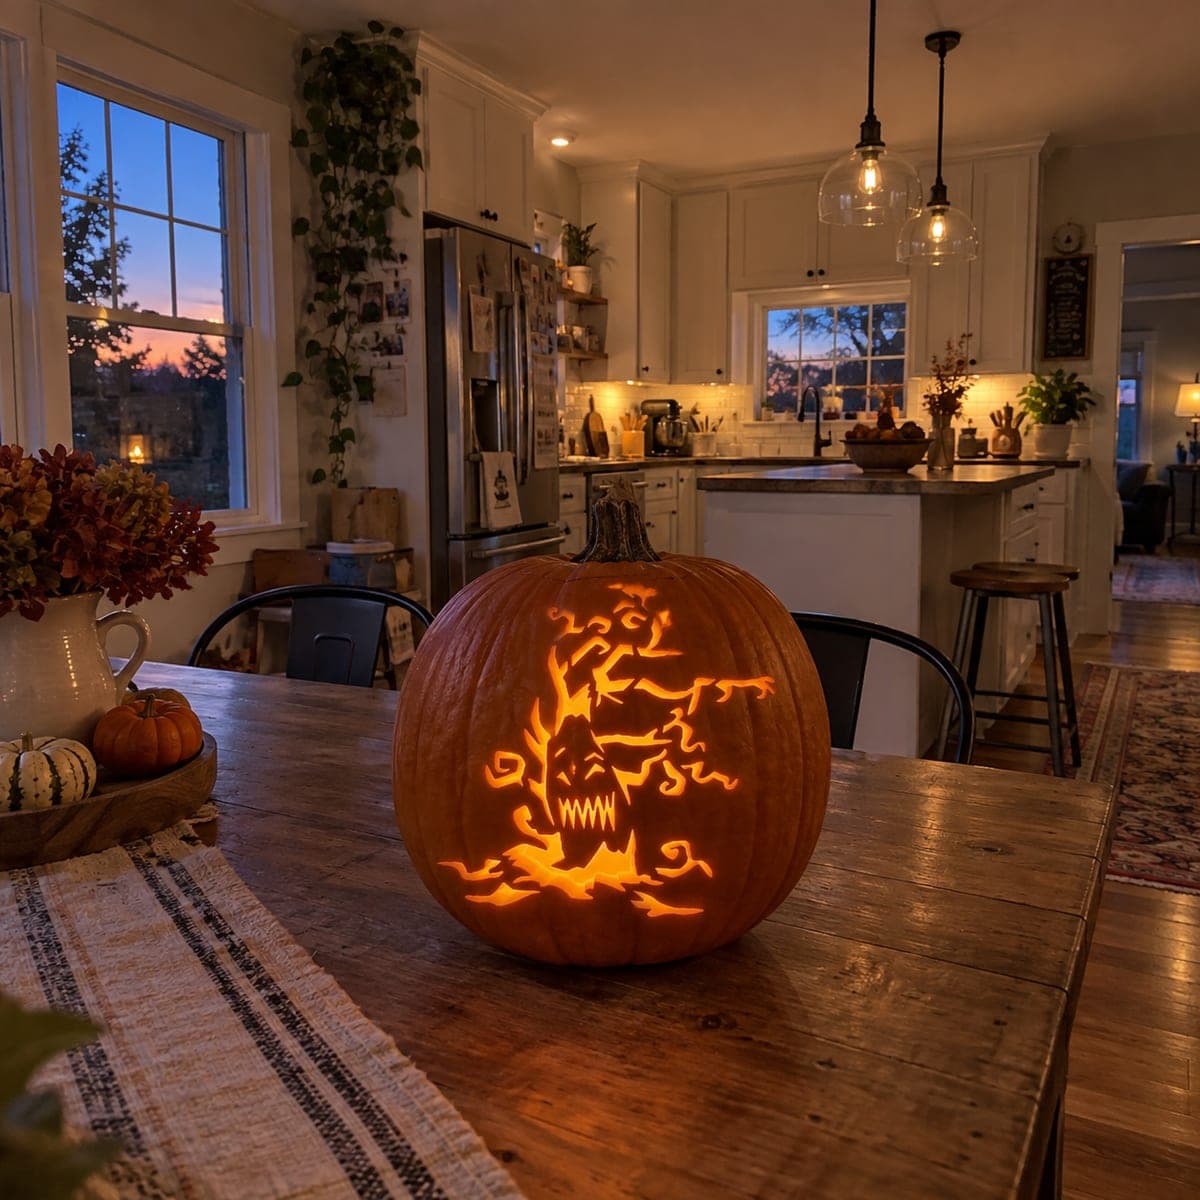
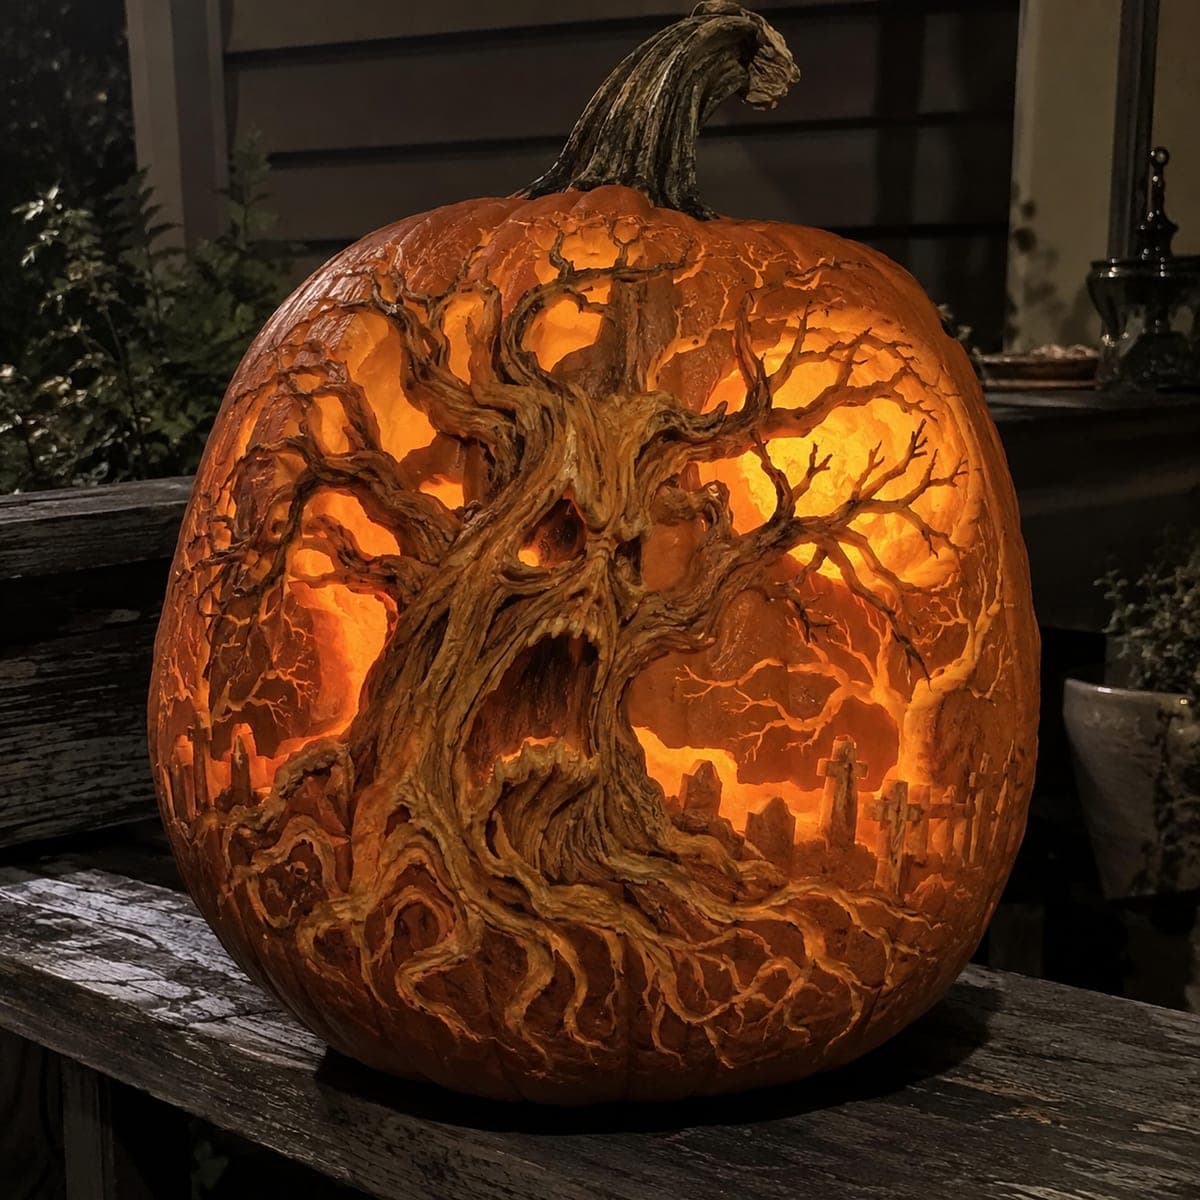
A gnarled tree with a scowling face spreads carved branches across this mini pumpkin, styled like an angry old oak from a storybook forest. The bark, leaves, and glaring eyes are all shallow relief cuts, a satisfying small-scale project when you only have a pie pumpkin on hand. Keep the face deep-set for shadow, and pair it with matching fall mugs for a porch coffee still life.

This is an AI-generated concept image: a realistic, carvable design idea rather than a photo of a finished carve. AI concepts are always labeled and sit out the leaderboard and the contest.

No ratings yet · Sign in to rate
Comments (0)

  • No comments yet — be the first.

Save without an account. Sign in to like or comment.

Our tips for carving a similar design

The core trick here is relief carving, where you scrape away skin at different depths instead of cutting all the way through. The trunk and branches stay raised and lighter while a scowling face sits deep in the middle for heavy shadow. Plan the whole tree first, then work from shallow surface texture down to the deepest face lines.

Written by PumpkinCarvingIdeas.com, inspired by the image above. These are our suggestions, not instructions from the uploader. This approach to the AI concept has not been tested on a real pumpkin.

From pumpkin to porch

  1. Pick a firm pie pumpkin and clean it

    Choose a small pumpkin with a smooth, unblemished front and a flat enough base to sit still. Cut a lid or a back-side access hole and scoop the inside clean, thinning the front wall to about one inch so relief cuts read well. A thinner wall glows more evenly once lit. Pat the inside dry before you transfer your pattern.

  2. Transfer the tree pattern

    Tape your tree and face stencil over the front and poke closely spaced holes along every line with a pin or awl. Keep the branch lines connected so the design holds together as a single tree shape. Mark the eyes and mouth clearly since those become your deepest cuts. Peel the paper and connect the dots with a washable marker if you want a cleaner guide.

  3. Score the outlines

    With a small detail blade, trace all the branch, leaf, and face outlines just deep enough to break the skin. Do not cut through the wall yet. These score lines act as stop cuts so your relief scraping stays crisp and does not tear into neighboring shapes. Take your time on the thin branch tips.

  4. Peel the background for a dim glow

    Use a loop or ribbon tool to scrape away only the orange skin in the spaces between branches and leaves. Removing the skin lets a soft orange light show through without opening a full hole. Keep the trunk, branches, and leaf shapes at full height so they stay dark and defined. Work in shallow passes and check the balance as you go.

  5. Carve the deep-set face last

    Scoop the eyes and scowling mouth deeper than everything else so they hold real shadow. You can cut fully through the eyes and mouth for the brightest points, but leave narrow bridges of skin to keep the face structurally sound. Round the edges of the brows and cheeks for a carved-bark look. Deep cuts go last so the pumpkin stays sturdy while you handle it.

  6. Light it and stage the photo

    Drop in a battery LED puck rather than a candle so the relief texture glows steadily and safely. Set the pumpkin on a weathered bench or porch step and pair it with a matching fall mug for that cozy still life. Shoot in low evening light so the deep face reads as shadow. Mist the cut edges with water if you want them to stay fresh for the shot.

Gather your supplies

Check things off as you get ready.

Work on a stable surface, keep your free hand out of the cutting path, and have an adult handle sharp tools.

Three levels of light

  • Leave intact

    The raised trunk, branches, and leaf shapes stay as untouched skin so the tree reads dark and solid.

  • Peel & shade

    The open sky spaces between the branches get skin-peeled for a soft orange glow behind the tree.

  • Cut through

    The glaring eyes and scowling mouth are cut through for the brightest points, with thin bridges left for strength.

Learn the carving basics

Before you start cutting

How do I keep the thin branch tips from breaking?

Leave the branch tips as raised relief rather than cutting through them, and keep every branch connected to the trunk. Because you are scraping skin instead of making full cutouts, the wall stays intact and strong. Save any full cutouts for the compact eyes and mouth.

Do I need a full-size pumpkin for this?

No, a small pie pumpkin is ideal here and is part of the charm. The relief style packs a lot of detail into a small face without needing much surface area. Just thin the front wall so the light carries through the scraped areas.

How do I make the face look angry and deep?

Carve the eyes and mouth noticeably deeper than the surrounding bark so they fill with shadow. Angle the brows downward and give the mouth a jagged frown. Lighting from inside with a single LED puck exaggerates those recesses in evening light.

Your take belongs here, too.

Changed a detail? Made it simpler? Share a photo of your version and tell the community what worked.

Share your pumpkin

More pumpkins like this

You've reached the end · 8 pumpkins
The Patch Report

Fresh pumpkins, in your inbox.

The best new carvings, ideas worth stealing, and how-tos for carving season. Short, seasonal, and gone by November.

A short email during carving season. Unsubscribe anytime. See our privacy policy.