Halloween Pumpkin Carving Contest · Starts October 1st · $500 in prizes
← Back to ideas
@ai_concepts
Aug 1, 2026
Spouting Whale Etched Pumpkin DesignAI
0

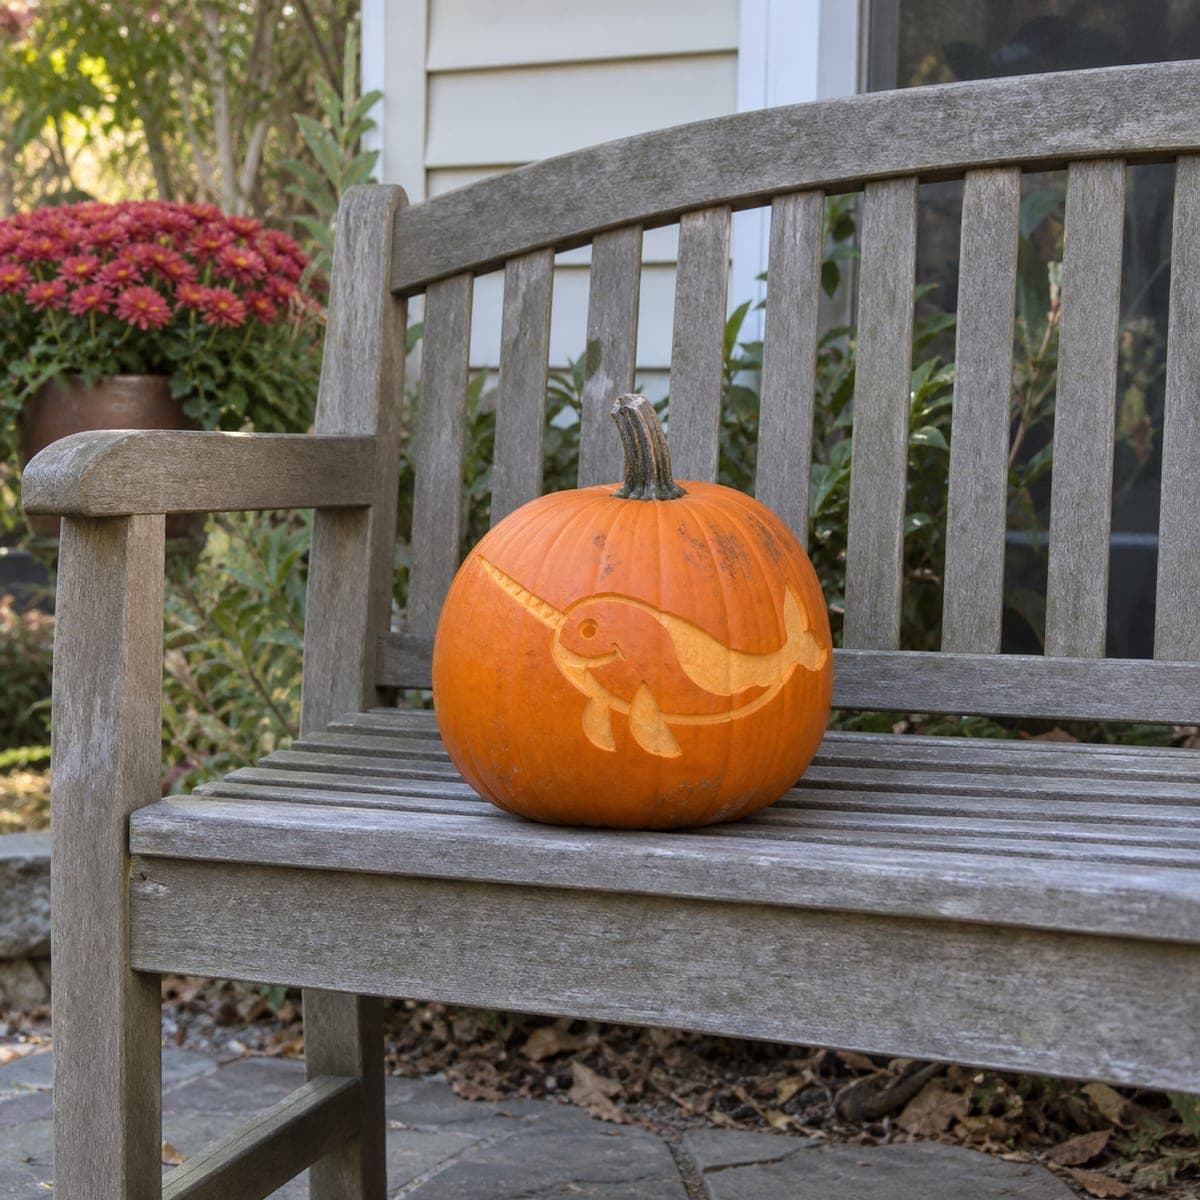
Spouting Whale Etched Pumpkin Design

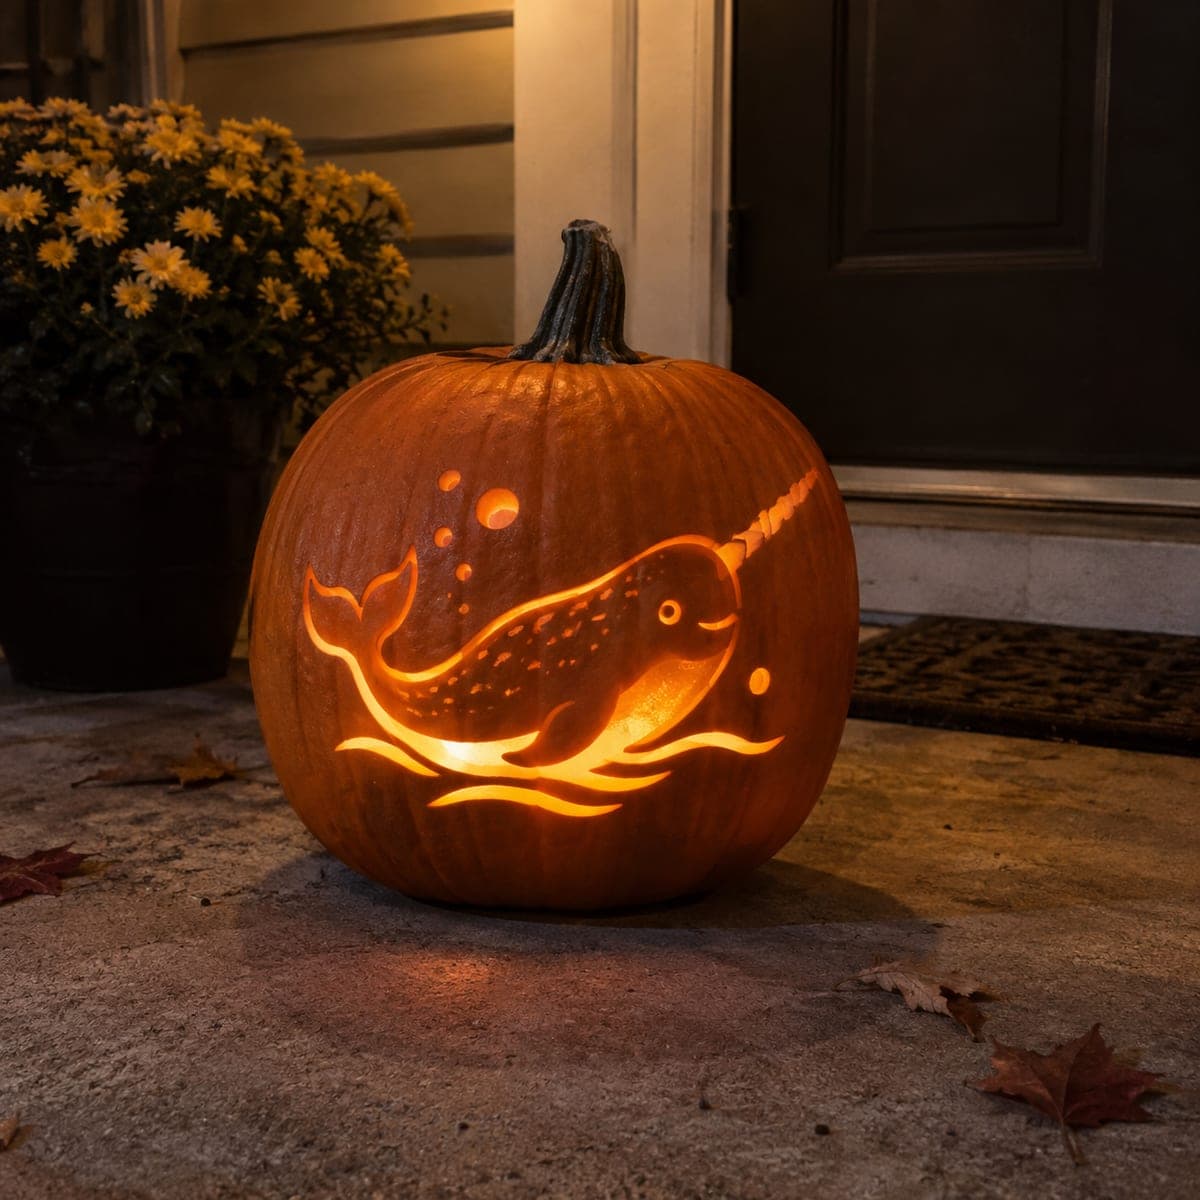
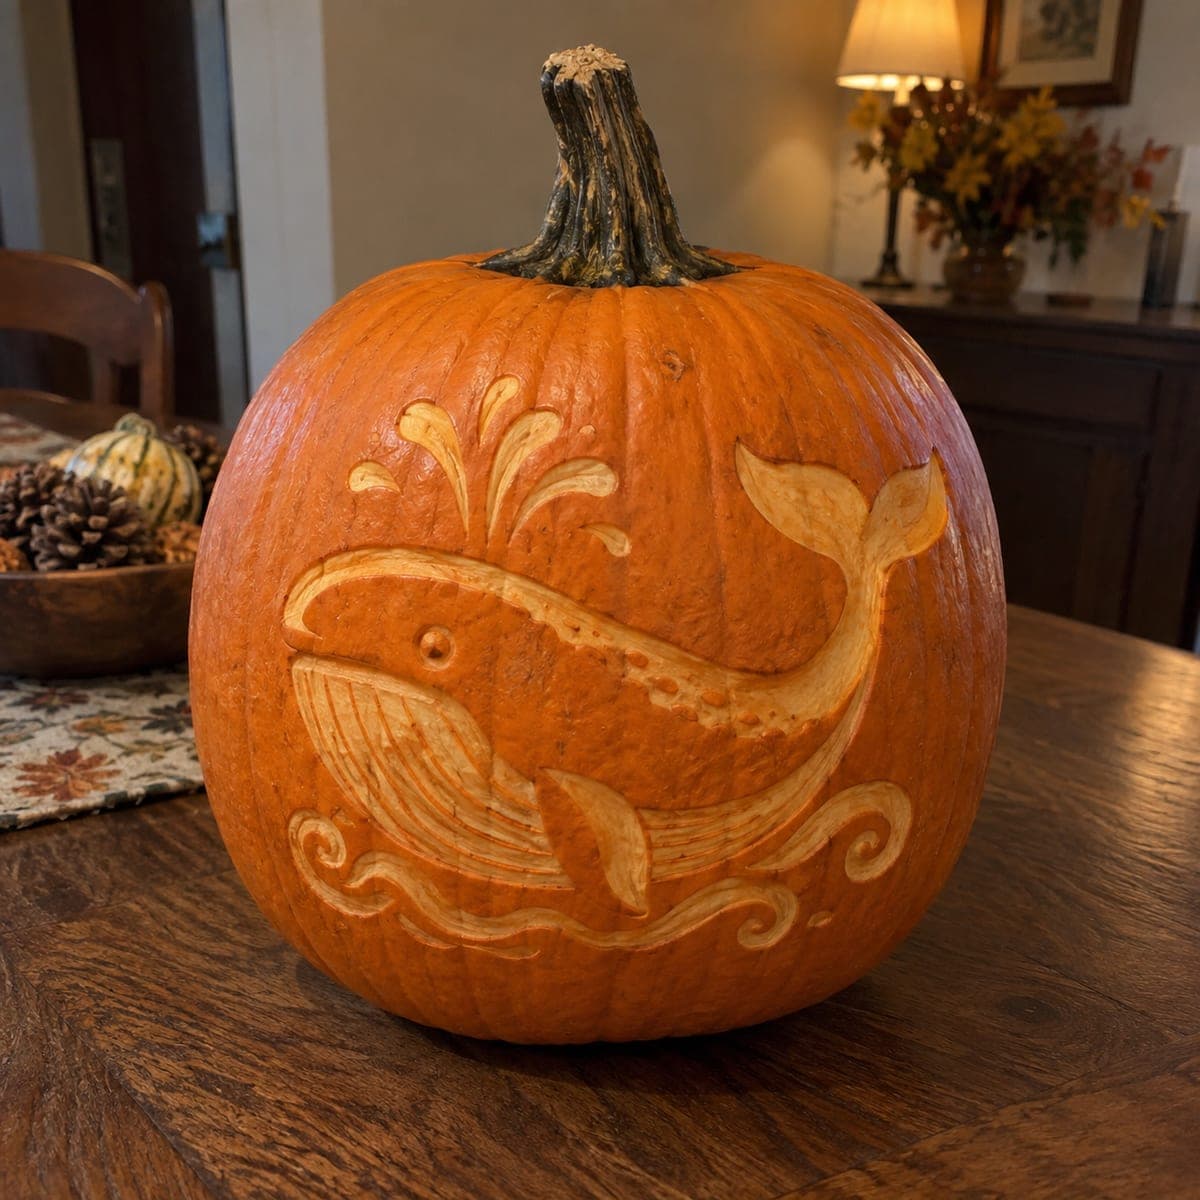
A happy whale rides stylized waves across this pumpkin, spouting a decorative fountain of water from its blowhole in raised relief. All the detail sits in the surface layer, with the skin peeled away around the whale so the design pops without any through-cuts. Etch the big body shapes first, then use a V-tool for the fine wave curls and belly grooves, and rub the cut edges with petroleum jelly to slow browning.

This is an AI-generated concept image: a realistic, carvable design idea rather than a photo of a finished carve. AI concepts are always labeled and sit out the leaderboard and the contest.

No ratings yet · Sign in to rate
Comments (0)

  • No comments yet — be the first.

Save without an account. Sign in to like or comment.

Our tips for carving a similar design

The whole trick here is relief etching, where the skin is peeled away around the whale so the animal and its wave curls stay raised and dim while the background reads as a soft glow. There are no through-cuts at all, so the pumpkin holds its shape and every detail lives in the surface layer. Plan your shapes from largest to smallest, saving the fine wave scrolls and belly grooves for last.

Written by PumpkinCarvingIdeas.com, inspired by the image above. These are our suggestions, not instructions from the uploader. This approach to the AI concept has not been tested on a real pumpkin.

From pumpkin to porch

  1. Prep and transfer the design

    Since this is an AI concept, there is no real pumpkin behind it, so pick a large pumpkin with a smooth, flat-faced side for your canvas. Wipe it clean and dry, then tape your whale, spout, and wave stencil in place. Poke through the outlines with a pin or use transfer paste so you have a clear dotted map. Step back and check the whale sits centered with room for the spout above and waves below.

  2. Outline the main shapes

    With a fine loop tool or the tip of a lino gouge, trace the outer edge of the whale body, tail, fins, and the spout fountain. Keep these first passes shallow, just scoring the skin so you lock in the borders. Do the same around the wave scrolls along the bottom. This outline keeps your peeling neat later and stops you from wandering into the raised areas.

  3. Peel the background

    Use a ribbon or loop tool to shave off the skin in the open areas around the whale, exposing the pale flesh underneath. Work in thin, even layers so the peeled zones glow the same soft orange when lit. Leave the whale body, spout, and wave curls untouched so they stay as raised dark shapes. Keep your peel depth consistent, only a couple of millimeters, so no spot goes translucent.

  4. Etch the fine detail

    Switch to a V-tool for the belly grooves, the flowing lines in the tail and fins, and the tight curls of the waves and spout. Pull the tool toward you in smooth strokes, letting each groove cut a little deeper than the peeled background so it catches more light. Add the eye and the row of small dots along the whale as light etched marks. Take your time here, since these grooves are what make the design come alive.

  5. Clean edges and slow browning

    Brush away loose pulp with a dry toothbrush so no shreds hide in your grooves. Rub petroleum jelly over all the cut and peeled edges to seal them and slow the browning. Wipe off any excess so it does not pool. If you carve a day ahead, wrap the pumpkin in plastic and store it in the fridge overnight.

  6. Light it and photograph

    Set a battery LED puck or a short string of LEDs inside, or since there are no through-cuts, place a bright LED bar close behind or beside the peeled areas to backlight the thin flesh. Avoid open flame, which will not read well on a relief carving anyway. Dim the room, angle the light until the whale pops against the glowing background, and take your photo slightly off to one side to catch the texture in the grooves.

Gather your supplies

Check things off as you get ready.

Work on a stable surface, keep your free hand out of the cutting path, and have an adult handle sharp tools.

Three levels of light

  • Leave intact

    The whale body, tail, fins, spout fountain, and wave curls stay as untouched skin so they read dark and raised.

  • Peel & shade

    The open background around the whale is skin-peeled to a soft dim orange glow.

  • Cut through

    No full cutouts on this design; the deepest V-tool grooves in the belly and waves glow brightest where the flesh is thinnest.

Learn the carving basics

Before you start cutting

Do I need to cut all the way through the pumpkin?

No, this is a relief and etched design, so every line stays in the surface layer. Peel the background and carve grooves, but never punch through the wall. That is what keeps the whale looking raised and the pumpkin structurally strong.

How do I light a pumpkin with no through-cuts?

Because light cannot escape through openings, place a bright LED close behind the thinnest peeled areas to backlight the flesh, or set an LED inside if you thinned the wall enough for a glow. Skip candles entirely. Test in a dark room and move the light until the peeled zones warm up.

How do I keep the peeled areas from browning before Halloween?

Rub petroleum jelly over every peeled and etched surface right after carving to seal out air. Store the pumpkin wrapped in plastic in the fridge when you are not displaying it. Carve as close to your event as you can for the freshest look.

Your take belongs here, too.

Changed a detail? Made it simpler? Share a photo of your version and tell the community what worked.

Share your pumpkin

More pumpkins like this

You've reached the end · 8 pumpkins
The Patch Report

Fresh pumpkins, in your inbox.

The best new carvings, ideas worth stealing, and how-tos for carving season. Short, seasonal, and gone by November.

A short email during carving season. Unsubscribe anytime. See our privacy policy.