Halloween Pumpkin Carving Contest · Starts October 1st · $500 in prizes
← Back to ideas
@ai_concepts
Sep 25, 2026
Staring Pupil Eyes Pumpkin with Radiating Wedge HolesAI
0

Report this carving

Tell us what is wrong. Reports are private.

Staring Pupil Eyes Pumpkin with Radiating Wedge Holes

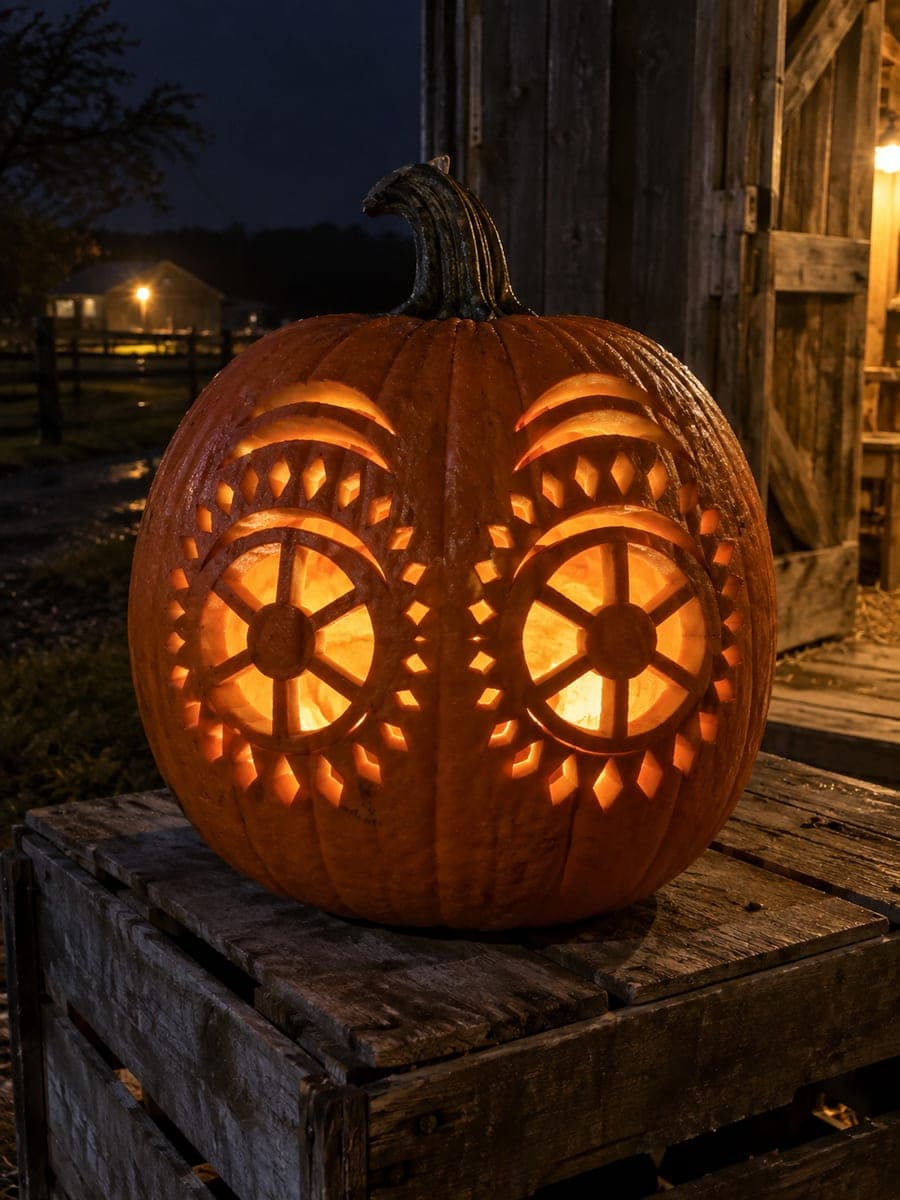
Two round eye windows, each holding a full-width lower-rooted rounded rectangular pupil tab, two curved eyebrow cuts, and eight short radiating wedge holes per eye make up this intermediate pumpkin carving eyes idea. Cut the outer circle of each eye before the pupil tab so the round frame is clean, then score the radiating wedge holes working outward. No nose or mouth means every detail draws attention to the staring pupils.

No ratings yet · Sign in to rate

Comments (0)

  • No comments yet — be the first.

Save without an account. Sign in to like or comment.

Our tips for carving a similar design

Each eye combines a round window with a retained pupil tab at its base plus eight radiating wedge holes fanning outward, creating a spiked-sun effect when lit. Cut the outer circle of each eye before the interior pupil tab so the round frame is clean before any material is removed from inside it. The wedge holes follow each eye outward, and the two curved brow cuts frame the composition from above.

From pumpkin to porch

  1. Hollow and map

    Scoop the pumpkin to one inch of wall. Sketch both eye circles at the same height, marking where the pupil tabs will sit at the lower interior. Also sketch the brow arcs and the eight wedge hole positions around each eye before making any cuts.

  2. Cut the brow arcs

    Cut both brow slots first while the surrounding rind is fully intact. Keep each arc about a quarter inch wide and close enough to the eye that it frames it clearly once the eye aperture is open.

  3. Cut the eye circles

    Cut the outer boundary of each round eye all the way through the wall. Do not remove the interior yet. Going around the full circle first gives you a clean frame to work from.

  4. Create the pupil tabs

    Inside each eye circle, draw a rounded-top rectangular tab shape broadly rooted across the full lower width. Cut around the tab's sides and rounded top, then push the surrounding ring pieces out from inside. The tab remains attached at the base and blocks the light to create a visible dark pupil.

  5. Add the radiating wedge holes

    Draw eight short wedge shapes around each eye, radiating outward from the eye rim like spokes. Cut each wedge individually, keeping solid rind between every wedge and between the wedges and the brow slots. Work outward from the eye rim on each wedge cut.

  6. Light and display

    Place a battery LED inside and view in darkness. The pupil tabs create dark-on-light eyes while the radiating wedges project an intense, spiked aura. No nose or mouth means the viewer's attention stays locked on the glowing eyes.

Written with AI to match this design

Gather your supplies

Check things off as you get ready.

Work on a stable surface, keep your free hand out of the cutting path, and have an adult handle sharp tools.

Three levels of light

  • Leave intact

    The pupil tabs in both eyes stay as dark rind, reading as pupils against the lit circles.

  • Peel & shade

    None.

  • Cut through

    Both eye rings (around the pupil tabs), both brow arcs, and all sixteen radiating wedge holes are cut completely through.

Learn the carving basics

Before you start cutting

How broad should the pupil tab base be to stay secure?

The tab's base should span the full lower width of the circle, attached on both sides. A tab that is narrower than the full circle base acts as a lever and tends to snap off in a day or two as the rind dries and contracts. Full-width rooting is the key.

How do I keep the eight wedge holes evenly spaced?

Mark the clock positions at 12, 1:30, 3, 4:30, 6, 7:30, 9, and 10:30 around each eye circle and place one wedge at each position. A protractor or a simple printed circle divided into eight equal sections makes the transfer fast and accurate.

Can I add more wedge holes for a denser aura effect?

Adding holes up to 12 per eye is feasible if you maintain at least a quarter inch of rind between each hole. Beyond 12, the spacing becomes too tight and the rind between wedges risks cracking rather than holding as clean separators.

Your take belongs here, too.

Changed a detail? Made it simpler? Share a photo of your version and tell the community what worked.

Share your pumpkin

More pumpkins like this

You've reached the end · 8 pumpkins
The Patch Report

Fresh pumpkins, in your inbox.

The best new carvings, ideas worth stealing, and how-tos for carving season. Short, seasonal, and gone by November.

A short email during carving season. Unsubscribe anytime. See our privacy policy.