@toothpick_tessa
Sep 7, 2026
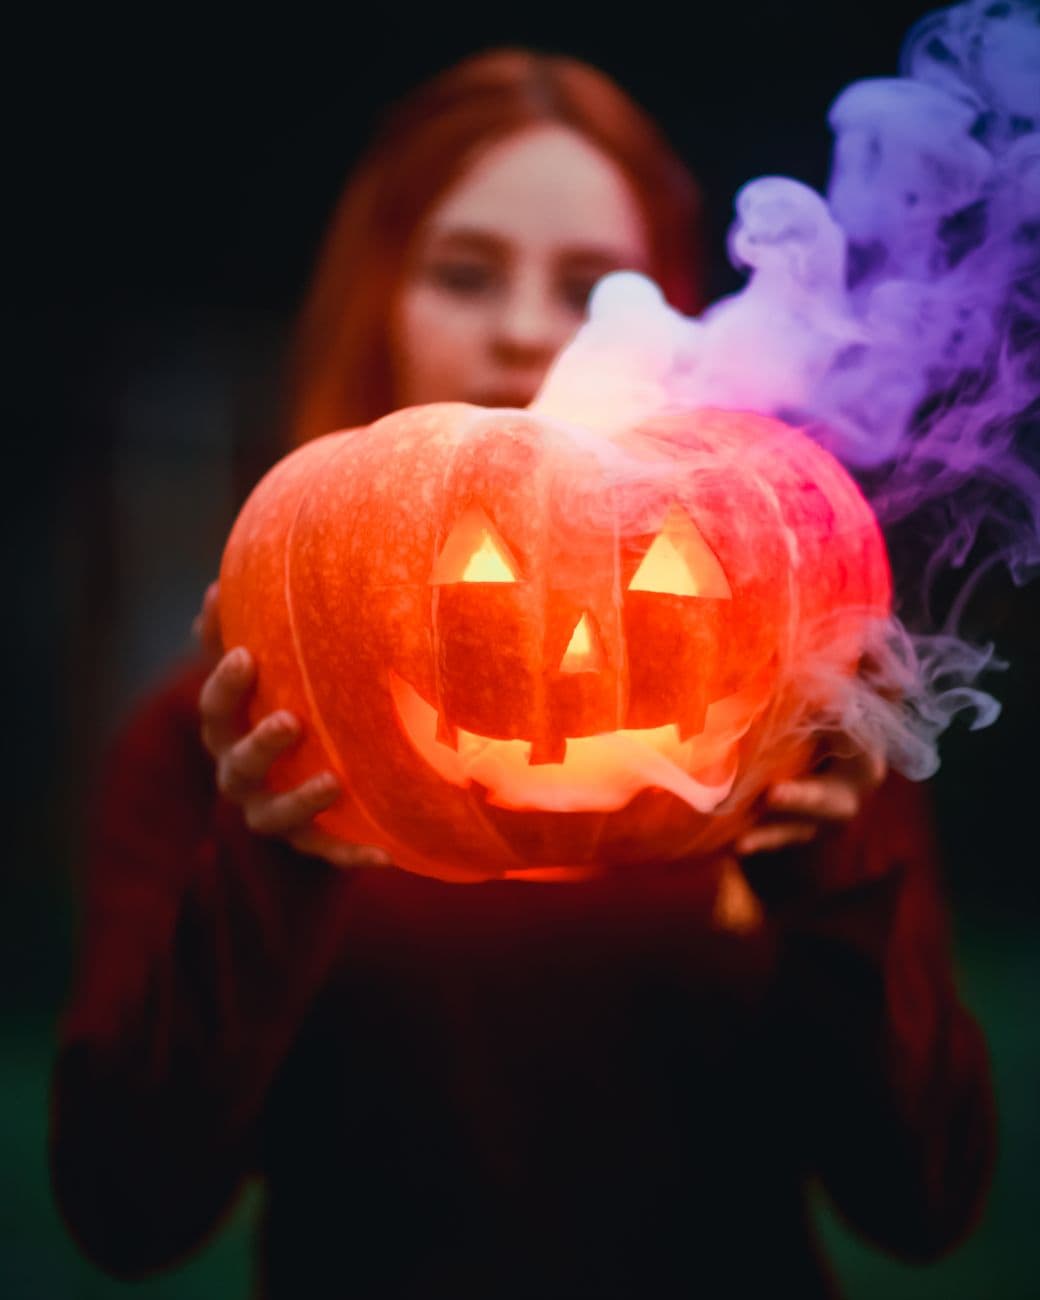
The whole charm here is a simple, happy jack-o-lantern face made from clean triangle eyes, a small triangle nose, and a wide toothy smile. Everything is a straight cutout, so there are no shading tricks to learn. The colorful smoke drifting from the top is a separate photo effect you can add at the very end with a bit of dry ice.
Written by PumpkinCarvingIdeas.com, inspired by @toothpick_tessa's photo above. These are our suggestions, not instructions from the uploader, and this approach hasn't been tested on their exact carve.
Pick a round pumpkin with a smooth front for the face. Wipe it clean and dry, then draw two triangle eyes, a small triangle nose, and a wide curved mouth with a couple of square teeth. Keep the shapes big and simple so they are easy to cut. Step back and check the spacing before you commit.
An adult should cut the opening while the pumpkin sits flat on a table. A lid on top works, but cutting a round hole in the back keeps the front clean and makes it easier to reach the light later. Angle the cut inward so the piece rests without falling in. Scoop out all the seeds and pulp, then thin the front wall to about one inch so it carves easily.
Start with the smallest shapes first. Use a small serrated carving saw and gentle sawing strokes to cut each triangle, letting the tool do the work. Push the cut pieces out from the inside so the edges stay crisp. Cutting these before the big mouth keeps the front sturdy while you work.
Save the wide mouth for last since it is the largest opening. Leave the teeth attached to the top and bottom of the mouth so they act as bridges and hold their shape. Cut slowly around each tooth and remove the gaps between them one at a time. Take your time here, because clean teeth make the whole face.
Set a battery LED tealight or a small LED puck inside and test the glow in a dark room. If any area looks dim, scrape a little more flesh from the inside wall behind it. Skip real candles, since the smoke effect and warm light are safer and steadier with LEDs. Clean up any stray fibers around the cuts.
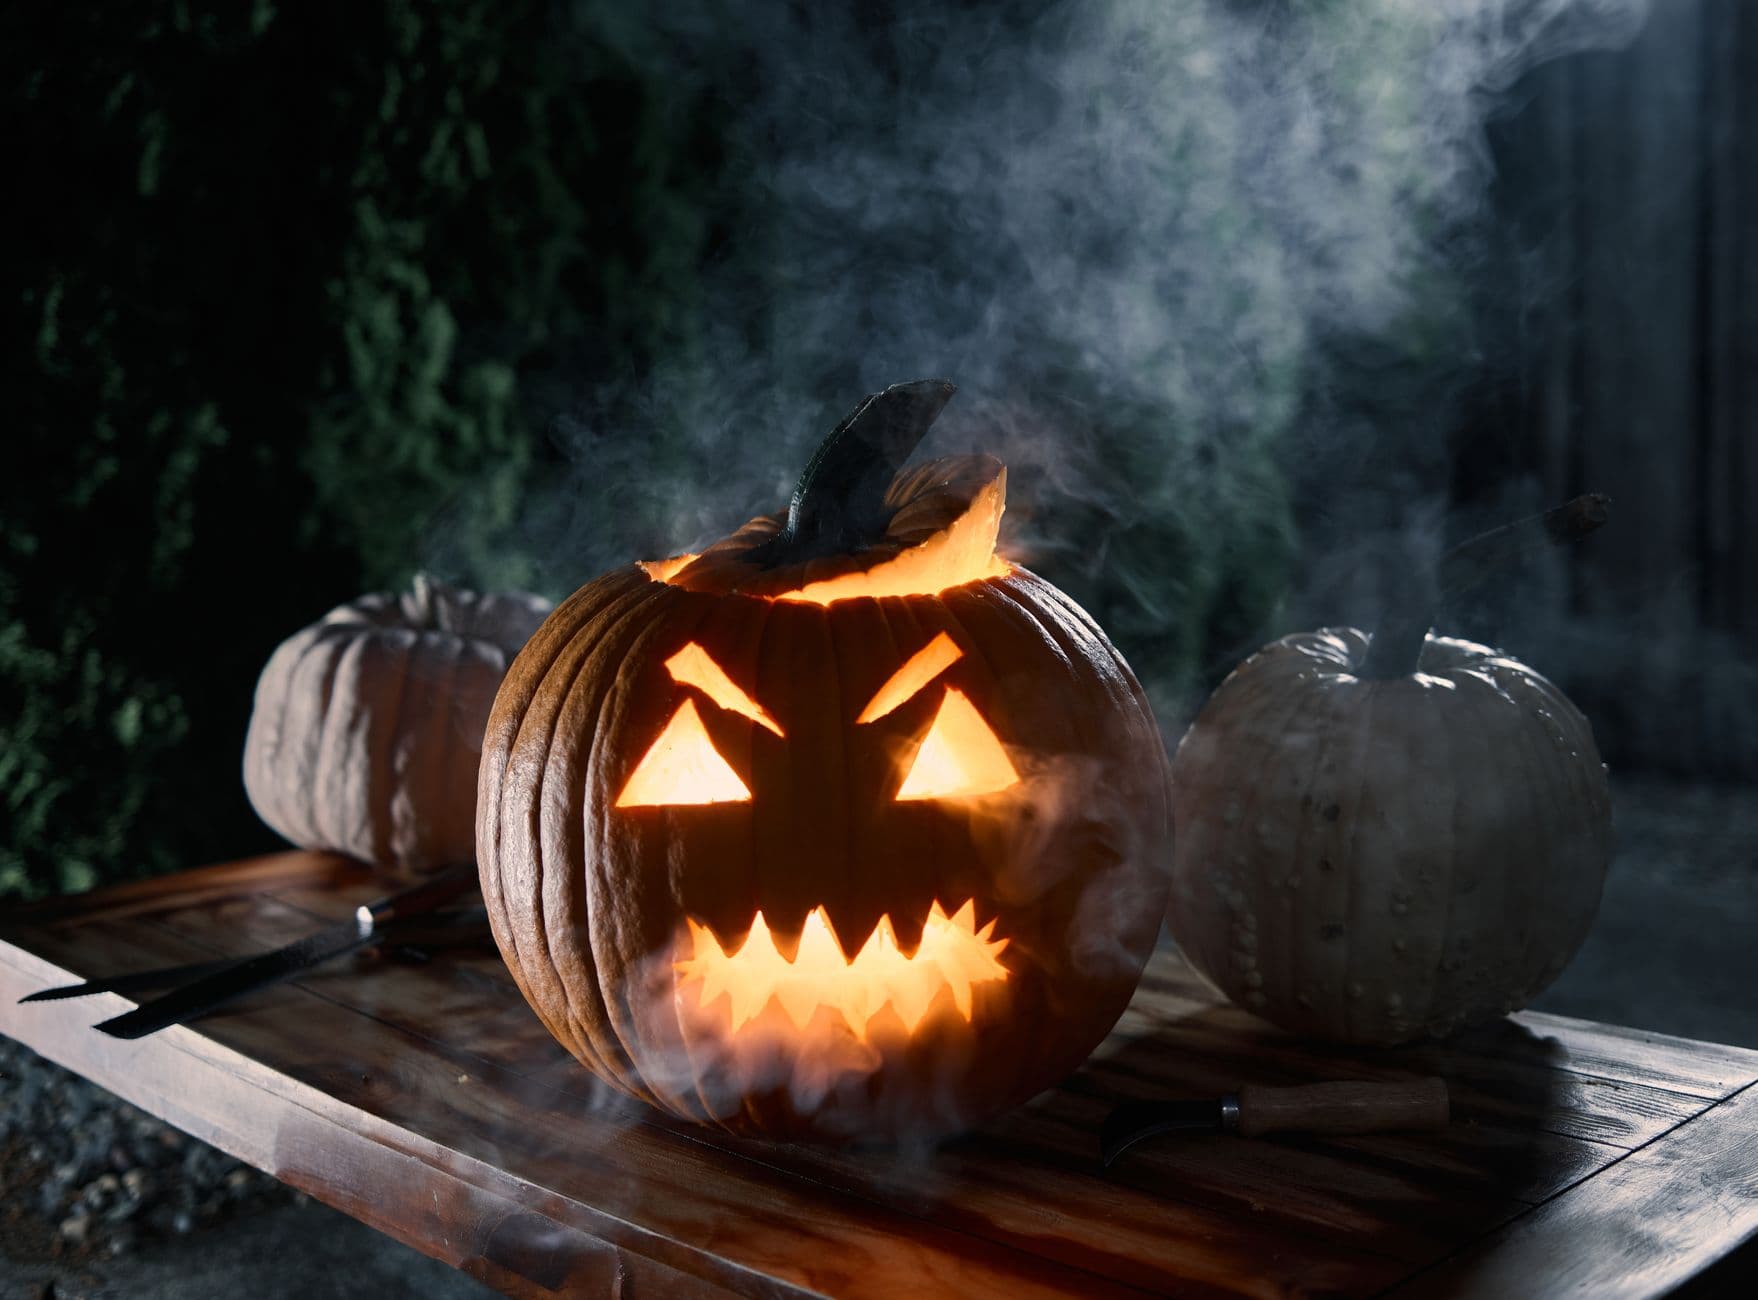
For the drifting smoke, place a small cup of warm water with a piece of dry ice inside the pumpkin just before shooting, and always handle dry ice with gloves and good ventilation. Shoot in a dark space so the light and smoke pop. A colored light or gel behind the smoke gives that purple and orange look. Take several frames as the smoke curls for the best shot.
Check things off as you get ready.
Work on a stable surface, keep your free hand out of the cutting path, and have an adult handle sharp tools.
The whole outer skin of the pumpkin stays untouched and dark orange.
Optional: lightly scrape the inside wall behind the face to spread a soft glow if any spot looks dim.
The two triangle eyes, the triangle nose, and the toothy smile are cut all the way through for the brightest light.
The smoke is a photo effect, not part of the carving. Put a cup of warm water with a small piece of dry ice inside the pumpkin right before you shoot, and the vapor will drift up through the openings. Handle dry ice only with gloves and in a well ventilated space.
Keep the teeth attached to the top and bottom edges of the mouth so they stay strong. These little bridges hold their shape and stop the mouth from sagging. Only remove the gaps between the teeth, not the teeth themselves.
Yes, it is one of the easiest faces you can make. Every shape is a straight cutout with no shading or fine detail, so it is forgiving if your lines are not perfect. Just cut the small eyes and nose first and save the wide mouth for last.
Changed a detail? Made it simpler? Share a photo of your version and tell the community what worked.
The best new carvings, ideas worth stealing, and how-tos for carving season. Short, seasonal, and gone by November.

Comments (0)