Halloween Pumpkin Carving Contest · Starts October 1st · $500 in prizes
← Back to ideas
@ai_concepts
Sep 25, 2026
Three Connected-Spoke Gear Pumpkin with Vent WindowsAI
0

Report this carving

Tell us what is wrong. Reports are private.

Three Connected-Spoke Gear Pumpkin with Vent Windows

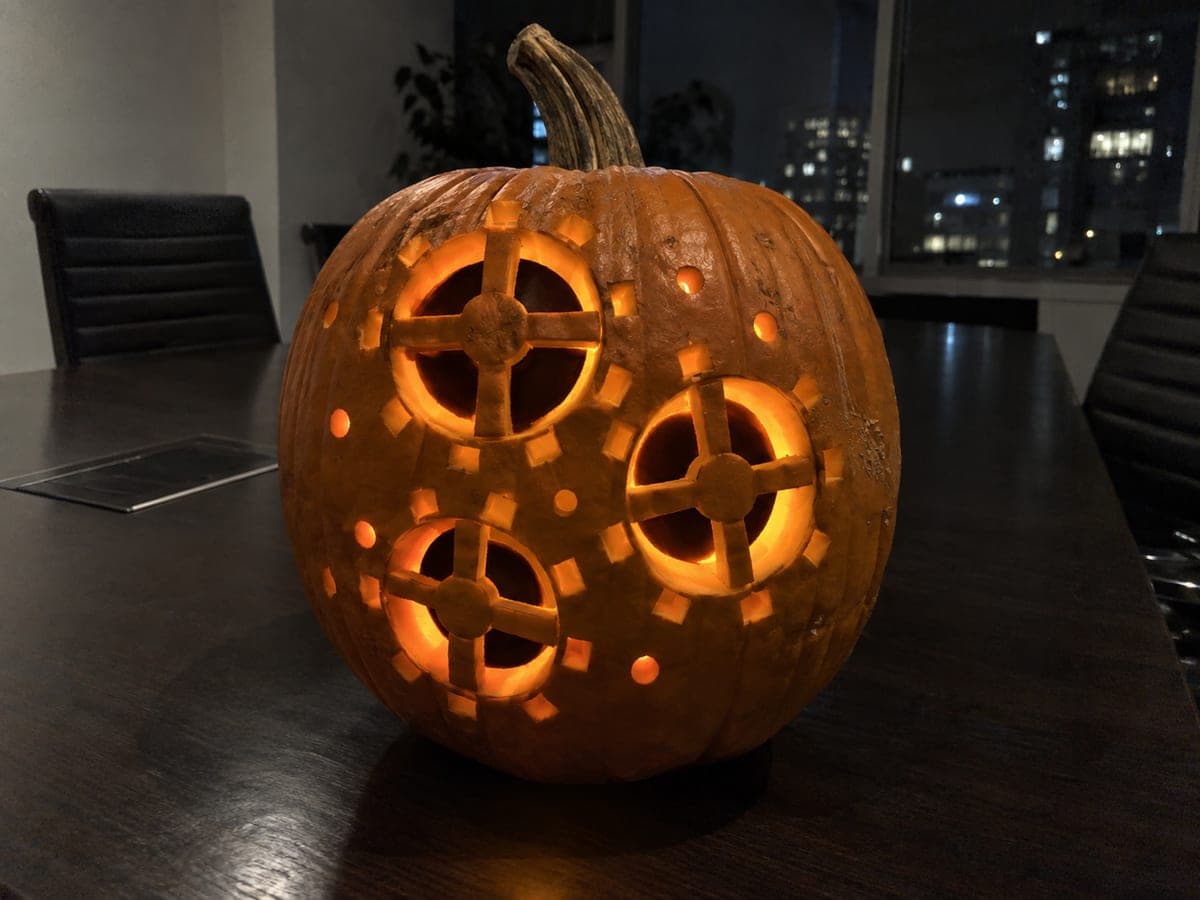
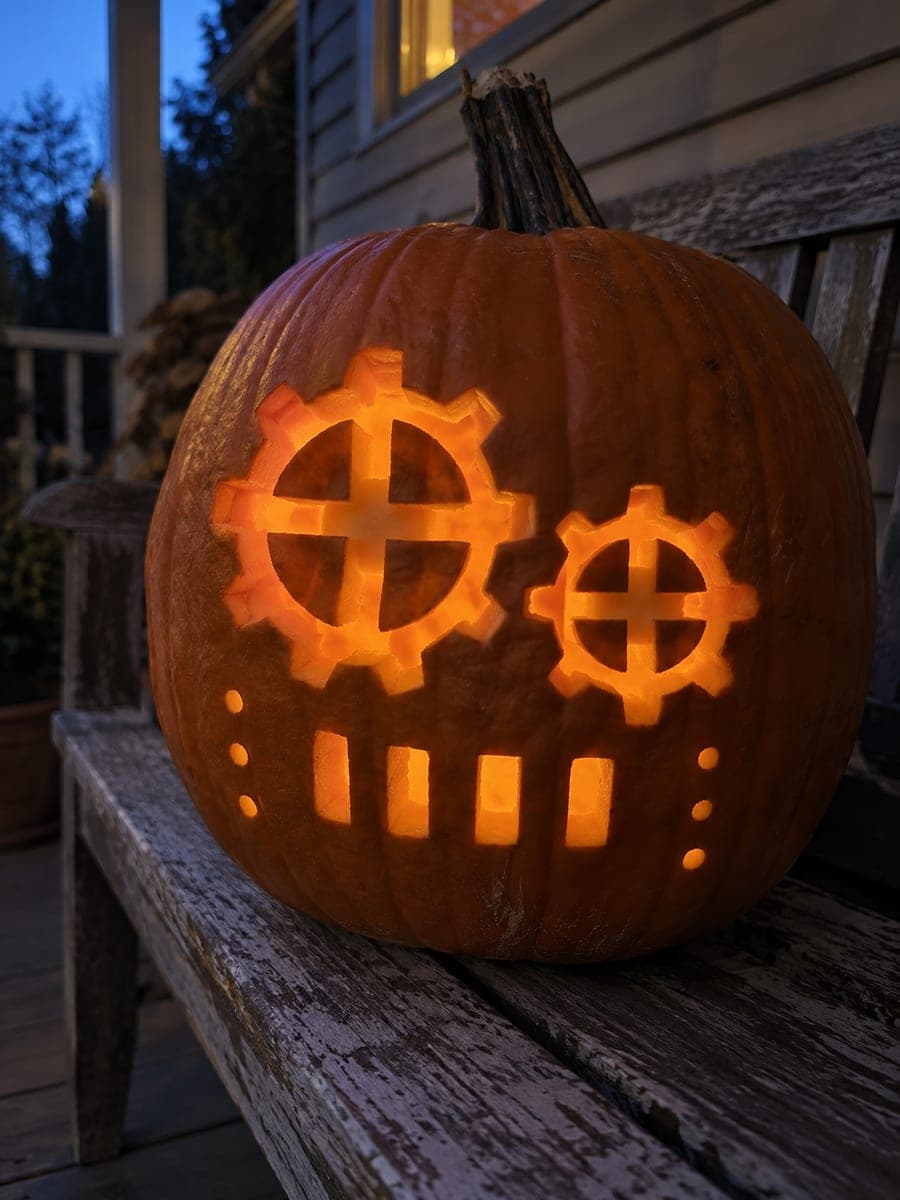
Three gears with through-cut wedge windows between solid spokes, plus separate vent openings, give this hard steampunk pumpkin carving its busy mechanical character. Each gear's spokes must join both the hub center and the outer shell so no piece floats free, and the toothed outlines are achieved with shallow backed scoring rather than full cuts. Transfer the gear positions first and cut the wedge windows before tackling the teeth, since the windows create the most structural risk. Amber or warm-orange candlelight suits the brass-and-copper steampunk palette perfectly.

No ratings yet · Sign in to rate
Comments (0)

  • No comments yet — be the first.

Save without an account. Sign in to like or comment.

Our tips for carving a similar design

Three gears each use through-cut wedge windows between solid spoke arms as their primary opening technique, with shallow backed scoring creating the tooth outlines and surface detail. The spokes must connect both the hub center and the outer shell so no piece floats free. Transferring all gear positions before cutting and tackling the wedge windows before the tooth scoring keeps the most structurally risky cuts first while the rind is still firm.

From pumpkin to porch

  1. Hollow and set up

    Cut a bottom lid and hollow to a full one-inch wall. Mark all three gear positions on the face and confirm there is at least one inch of solid rind between each gear pair before any cutting begins.

  2. Transfer all three gear templates

    Tape the template and poke through all spoke edges, wedge window boundaries, vent opening positions, and tooth outline paths. Remove the template and tape along every spoke edge as a cut guard to prevent accidental spoke narrowing during wedge cutting.

  3. Cut the wedge windows in all three gears

    For each gear, cut the wedge-shaped windows between the spoke arms as independent through-holes. Each wedge window narrows toward the hub center and widens toward the outer ring. Work around all three gears cutting wedge windows before starting any other element.

  4. Cut vent openings

    Cut any vent slot openings between the gears as independent enclosed apertures. These add visual detail and do not share walls with the gear structures.

  5. Score tooth outlines and surface lines

    Once all through-cuts are finished, score the gear tooth outline along the outer edge of each gear as a shallow backed groove. Score any visible surface spoke lines at the same depth. Keep all scoring completely backed with no through-cuts.

  6. Light with warm amber or candle-toned LED

    An amber or candle-tone LED complements the brass-and-copper steampunk palette. Display at eye level where the full three-gear composition is visible. The tooth scoring will catch the light at an angle to show the gear profile.

Written with AI to match this design

Gather your supplies

Check things off as you get ready.

Work on a stable surface, keep your free hand out of the cutting path, and have an adult handle sharp tools.

Three levels of light

  • Leave intact

    All spoke arms, hub centers, outer ring rind, and rind between gear pairs stay dark.

  • Peel & shade

    Shallow scored gear tooth outlines and spoke surface lines glow dimly, adding mechanical profile detail.

  • Cut through

    All wedge windows and vent openings are fully cut through for bright angular glow.

Learn the carving basics

Before you start cutting

What is the minimum safe spoke width for a gear this size?

Each spoke should be at least three-quarters of an inch wide at its narrowest point, which is typically near the hub center. A spoke narrower than this is likely to crack when the adjacent wedge windows are both open. Mark both edges of every spoke before cutting any wedges nearby.

The wedge windows narrow sharply toward the hub. How do I cut the narrow inner tip cleanly?

Cut both long sides of the wedge from the wide outer end toward the narrow tip, stopping just before the tip. Then make a single short connecting stroke at the tip to release the piece. This three-stroke approach gives you control at the most fragile point.

One of my three gears ended up noticeably smaller than the other two. Does it matter?

A slight size variation between gears can look intentional in a steampunk context since real gear trains use different-sized cogs. If the variation is extreme, frame it as a design choice by placing the smaller gear where it would logically mesh with one of the larger ones.

Your take belongs here, too.

Changed a detail? Made it simpler? Share a photo of your version and tell the community what worked.

Share your pumpkin

More pumpkins like this

You've reached the end · 8 pumpkins
The Patch Report

Fresh pumpkins, in your inbox.

The best new carvings, ideas worth stealing, and how-tos for carving season. Short, seasonal, and gone by November.

A short email during carving season. Unsubscribe anytime. See our privacy policy.