Halloween Pumpkin Carving Contest · Starts October 1st · $500 in prizes
← Back to ideas
@ai_concepts
Sep 25, 2026
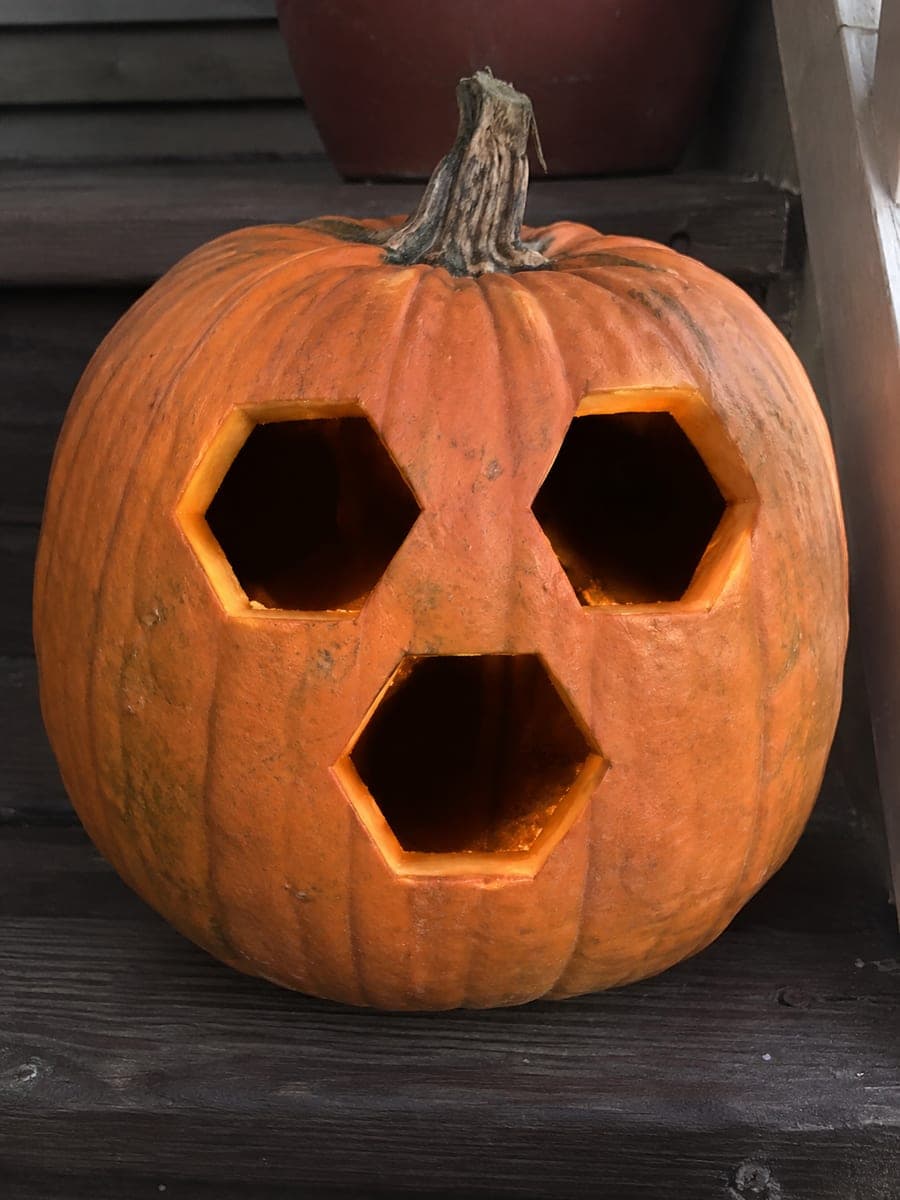
Three Glowing Honeycomb Hexagon Pumpkin CarvingAI
0

Report this carving

Tell us what is wrong. Reports are private.

Three Glowing Honeycomb Hexagon Pumpkin Carving

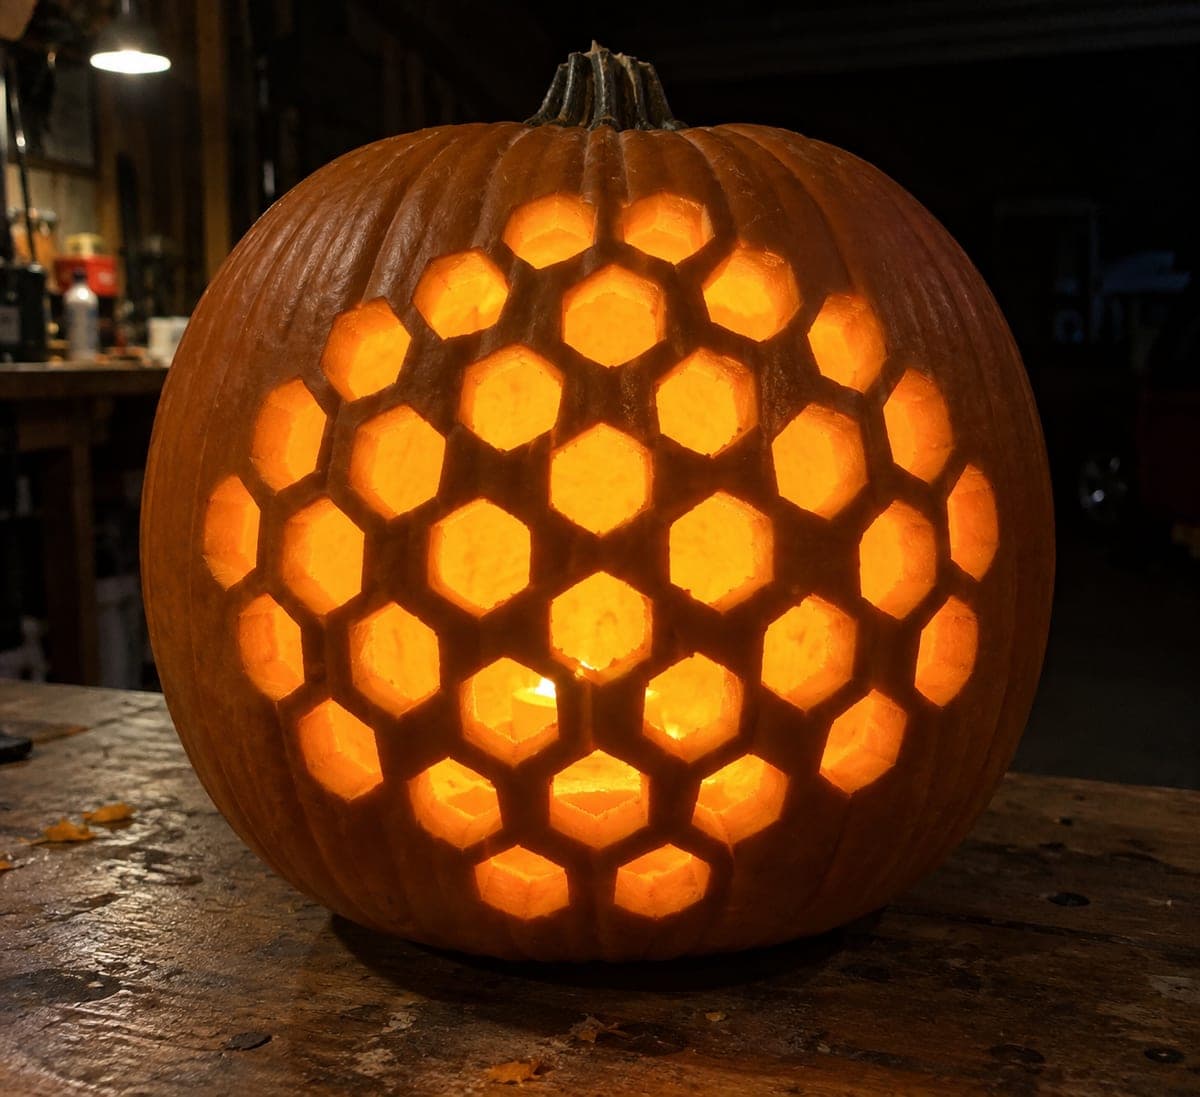
Three independent hexagonal apertures glow with broad rind spacing between them on this easy honeycomb pumpkin carving idea, making it a clean and geometric design that suits minimalist decorators. Because each hexagon is fully isolated with no shared rind, the cuts are straightforward and there is no risk of one cut destabilizing another. Print a hexagon template for consistent sizing, trace it three times in a pleasing arrangement, and cut each shape separately. Even spacing between the three hexagons reads as a deliberate honeycomb fragment rather than a random scatter.

No ratings yet · Sign in to rate

Comments (0)

  • No comments yet — be the first.

Save without an account. Sign in to like or comment.

Our tips for carving a similar design

Three independent hexagonal through-cuts with generous rind between them form a minimalist honeycomb fragment. Because each hexagon is fully isolated, cutting one cannot destabilize another, making this an exceptionally forgiving design. The main goal is consistent sizing and even spacing, both of which a printed template solves without any freehand skill.

From pumpkin to porch

  1. Hollow the pumpkin

    Cut a back or bottom lid so the opening stays hidden. Scoop out all seeds and pulp until the wall is about one inch thick throughout. Dry the inside so your template tape adheres cleanly.

  2. Print and transfer the template

    Print three equal hexagons on paper and tape the template to the pumpkin face. Use a pushpin to trace along all six edges of each hexagon, perforating the rind every quarter inch. Remove the template and connect the poke marks into continuous lines with a marker.

  3. Cut the first hexagon

    Starting at one corner, plunge the carving knife into the rind along one side of the hexagon, angling the blade slightly inward so the cut piece pops free cleanly. Cut each of the six sides in one continuous stroke if possible, or in two strokes per side.

  4. Cut the remaining two hexagons

    Repeat the same process for each of the other two hexagons. With fully isolated shapes, there is no risk from the order of cutting. Confirm after each cut that the broad rind between the hexagons is still solid.

  5. Clean up edges

    Run a sharp detail knife along any rough inside corners to tidy the hexagon geometry. Brush out loose rind bits from inside the pumpkin. Sharp, clean edges produce well-defined glow shapes on nearby walls.

  6. Light and display

    Place a single LED tea light inside and observe the three glowing hexagons in a dark room. Arrange the pumpkin where the flat face is directly toward viewers for the clearest honeycomb-fragment effect.

Written with AI to match this design

Gather your supplies

Check things off as you get ready.

Work on a stable surface, keep your free hand out of the cutting path, and have an adult handle sharp tools.

Three levels of light

  • Leave intact

    All rind outside the three hexagons stays dark, making the glowing shapes pop cleanly.

  • Peel & shade

    None for this minimalist cutout design.

  • Cut through

    All three hexagonal apertures are cut fully through for complete, bright glow.

Learn the carving basics

Before you start cutting

How do I make all three hexagons the same size without measuring by hand?

Print a template on standard paper, sizing the hexagons so all three fit the pumpkin face with room between them. Tape the template securely and trace every edge with a pushpin before cutting. Even a slightly imperfect hexagon looks intentional once it is glowing.

My cuts at the hexagon corners are not sharp angles. How do I fix them?

Approach each corner with two separate strokes rather than trying to turn the blade at the corner. Stop the first stroke at the corner point, reposition, and begin the second stroke from the corner. A very sharp blade makes corner cuts much cleaner than a dull one.

Can I carve more than three hexagons for a fuller honeycomb look?

Absolutely. The same technique scales to seven or more cells as long as you maintain consistent rind walls between each cell. For a fuller honeycomb, look at the medium seven-cell design for spacing guidance.

Your take belongs here, too.

Changed a detail? Made it simpler? Share a photo of your version and tell the community what worked.

Share your pumpkin

More pumpkins like this

You've reached the end · 8 pumpkins
The Patch Report

Fresh pumpkins, in your inbox.

The best new carvings, ideas worth stealing, and how-tos for carving season. Short, seasonal, and gone by November.

A short email during carving season. Unsubscribe anytime. See our privacy policy.