Halloween Pumpkin Carving Contest Β· Starts October 1st Β· $500 in prizes
← Back to ideas
@ai_concepts
Sep 25, 2026
Seven-Cell Honeycomb Pumpkin With Thick Connected WallsAI
0

Report this carving

Tell us what is wrong. Reports are private.

Seven-Cell Honeycomb Pumpkin With Thick Connected Walls

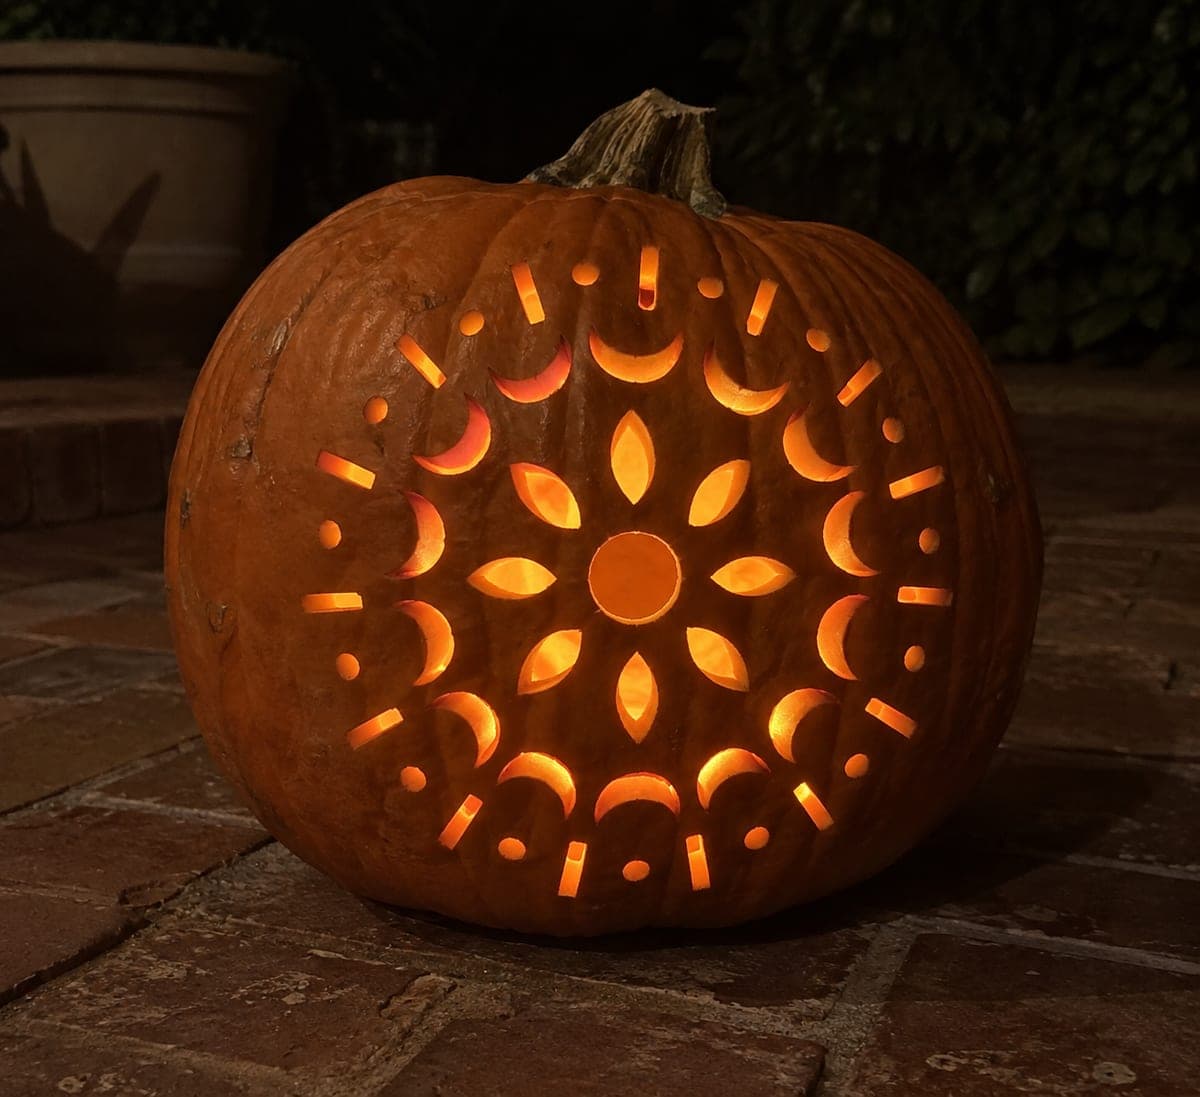
Seven separated hexagonal cells glow on this medium honeycomb pumpkin carving, with thick connected walls between every cell providing the structural stability needed for a larger cluster. The key to a convincing honeycomb is consistent cell size and even wall thickness, so measure and mark all seven hexagons before cutting any of them. Cut the center cell first, then work outward to the surrounding six cells. Using a ruler and protractor to maintain the 60-degree angles produces a professional geometric result.

No ratings yet Β· Sign in to rate

Comments (0)

  • No comments yet β€” be the first.

Save without an account. Sign in to like or comment.

Our tips for carving a similar design

Seven hexagonal cells arranged in the classic one-center, six-surrounding honeycomb pattern depend on thick, consistently spaced walls between cells for their structural integrity. Measuring and marking all seven hexagons before cutting any of them ensures even wall thickness throughout. Starting with the center cell and working outward keeps the shell balanced as each section opens.

From pumpkin to porch

  1. Hollow and prepare

    Cut a back or bottom lid and remove all pulp. Keep the inner wall at about one inch. The many openings of a seven-cell design will thin the structural load, so do not reduce the wall below this.

  2. Lay out all seven hexagons

    Use a ruler and protractor to mark a center hexagon and six surrounding hexagons, maintaining 60-degree angles at each corner. The walls between cells should be at least half an inch wide. Mark all lines before making a single cut.

  3. Cut the center cell

    Starting with the center hexagon, cut each of the six sides cleanly. Remove the center piece and confirm the surrounding rind is still solid all the way around. Any slight flex in the shell here is a sign the walls may be too thin.

  4. Cut the surrounding six cells

    Working around the center cell, cut each outer hexagon in turn, checking between cells that the shared walls remain intact. Avoid cutting two adjacent outer cells back to back. Instead, alternate around the ring to keep the structural load even.

  5. Refine corners and edges

    Use a detail knife to sharpen any soft corners in the hexagon cuts. Clean, angular corners are what make the honeycomb read as geometric rather than blobby. Brush all loose bits out of the interior.

  6. Light and display

    Place a bright LED inside and view the completed cluster in a dark room before taking it outside. The seven cells should glow with even intensity across the cluster. Display at a height where the flat face is fully visible.

Written with AI to match this design

Gather your supplies

Check things off as you get ready.

Work on a stable surface, keep your free hand out of the cutting path, and have an adult handle sharp tools.

Three levels of light

  • Leave intact

    Thick connected walls between cells and all rind outside the cluster stay fully dark.

  • Peel & shade

    None for this cutout design.

  • Cut through

    All seven hexagonal cells are cut completely through for bright, even glow.

Learn the carving basics

Before you start cutting

How do I keep the cell walls exactly the same thickness?

Mark both edges of each wall, not just the hexagon outlines, before cutting. The shared wall between two adjacent cells is only as thick as the gap you draw between them, so mark the gap first and draw the hexagon edges outward from it.

One of my outer cells ended up smaller than the rest. Is there a fix?

If the cell is already cut and slightly small, leave it as is. A small size variation blends in when the pumpkin is lit. For future cuts, hold your template against the pumpkin at arm's length and check the proportions before punching any holes.

What is the best blade for hexagonal cuts?

A thin straight-bladed detail saw gives the most control on straight-sided shapes. A carving knife works too, but use the tip only and draw it along the marked line rather than pressing the full blade down. Change to a fresh blade after every two or three cells.

Your take belongs here, too.

Changed a detail? Made it simpler? Share a photo of your version and tell the community what worked.

Share your pumpkin

More pumpkins like this

You've reached the end Β· 8 pumpkins
The Patch Report

Fresh pumpkins, in your inbox.

The best new carvings, ideas worth stealing, and how-tos for carving season. Short, seasonal, and gone by November.

A short email during carving season. Unsubscribe anytime. See our privacy policy.