Halloween Pumpkin Carving Contest · Starts October 1st · $500 in prizes
← Back to ideas
@ai_concepts
Sep 25, 2026
Honeycomb Pumpkin With Glowing Cells and Bee Detail AccentsAI
0

Report this carving

Tell us what is wrong. Reports are private.

Honeycomb Pumpkin With Glowing Cells and Bee Detail Accents

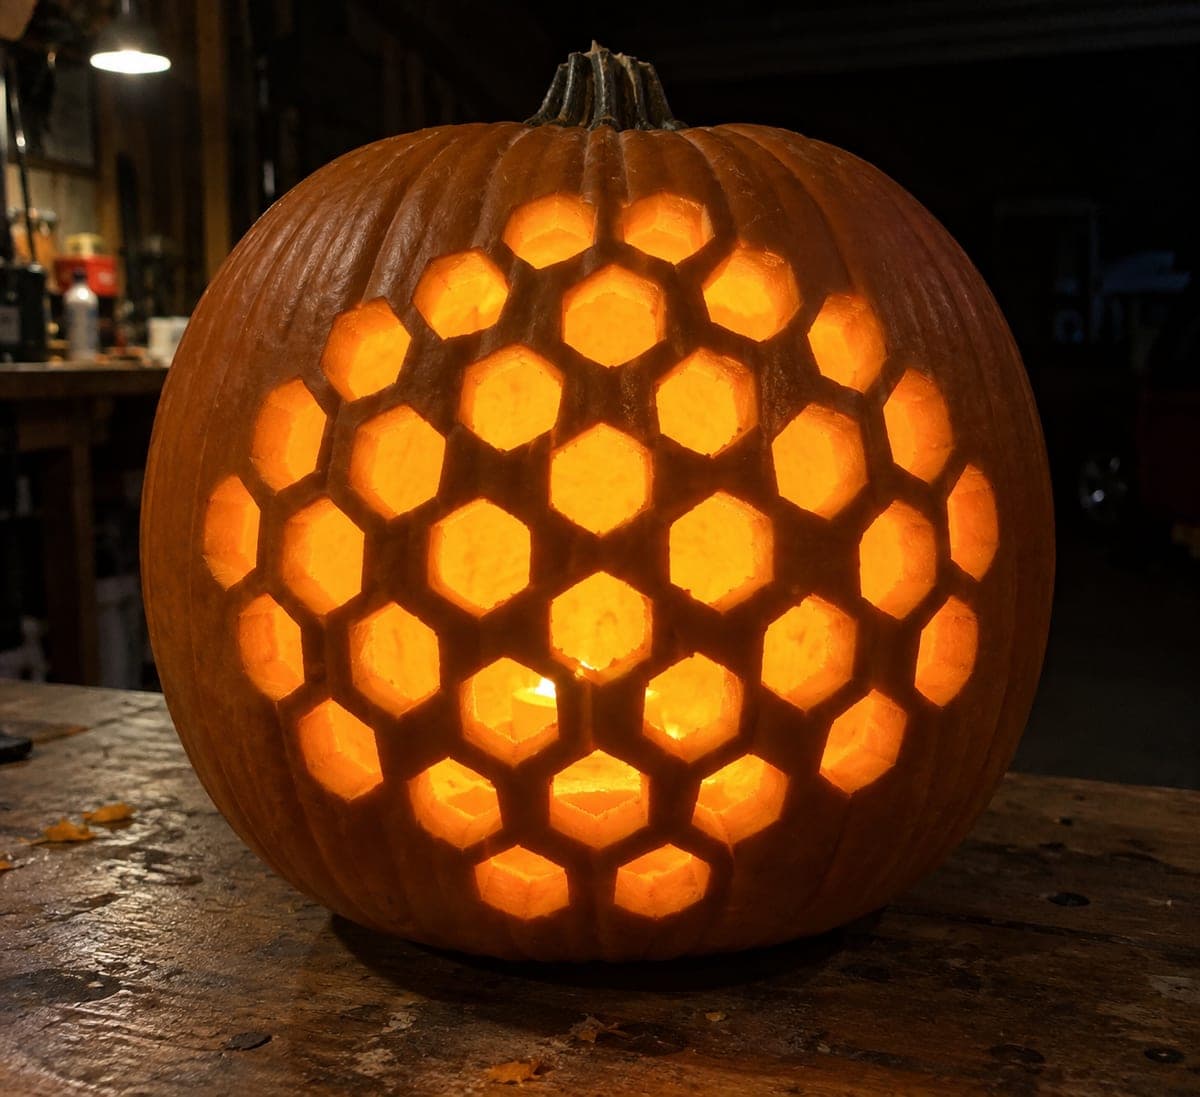
Staggered open hexagonal apertures separated by substantial connected rind webs glow alongside two small bee accents on this hard honeycomb pumpkin carving. The bee details combine shallow backed surface carving for the body stripes with simple wing slots for dimension. Cut all the hexagonal cells first in the main honeycomb patch before starting the bee accents, so the structural grid is fully established. The bees read most clearly when positioned just outside the honeycomb cluster where they have plain rind behind them.

No ratings yet · Sign in to rate

Comments (0)

  • No comments yet — be the first.

Save without an account. Sign in to like or comment.

Our tips for carving a similar design

The design layers two techniques: fully through-cut staggered hexagonal cells for the honeycomb and shallow backed surface carving combined with small wing slots for the two bee accents. Finishing the entire hexagonal grid before starting the bees keeps the structural base solid throughout the most demanding phase. Positioning the bees outside the cluster on plain rind gives them a clean backdrop.

From pumpkin to porch

  1. Hollow and set up

    Cut a back lid and hollow out the pumpkin to a consistent one-inch wall. Mark the overall honeycomb patch boundary on the face before any detailed layout, so you know how much space is available for the bee accents outside the cluster.

  2. Lay out the staggered hexagonal grid

    Mark a staggered honeycomb grid within the patch boundary, offsetting every other row by half a cell width to create the classic honeycomb stagger. Maintain consistent half-inch rind webs between cells throughout the grid.

  3. Cut all hexagonal cells

    Cut every cell in the grid as a separate aperture, working row by row. Keep the rind webs between cells intact throughout. Complete the entire hexagonal grid before touching the bee details.

  4. Carve the bee body stripes

    Using a detail knife or small V-tool, score shallow horizontal backed grooves across the bee body areas to suggest the yellow and black stripe pattern. These grooves remove only the top layer of rind and should not pierce through.

  5. Cut the bee wing slots

    For each bee, cut two small oval or teardrop wing slots flanking the body. Keep these slots clearly separate from both the honeycomb cells and the body scoring. The contrast between the glowing wings and the grooved body gives the bees dimension.

  6. Light and display

    Use a warm LED bulb inside and view in a dark room. The full honeycomb patch glows brightly, the bee wing slots add secondary glowing details, and the backed body grooves catch light at the lowest level. Display where the full composition is unobstructed.

Written with AI to match this design

Gather your supplies

Check things off as you get ready.

Work on a stable surface, keep your free hand out of the cutting path, and have an adult handle sharp tools.

Three levels of light

  • Leave intact

    Rind webs between hexagonal cells and all rind outside the cluster patch stay dark.

  • Peel & shade

    Shallow backed body stripe grooves on both bee accents glow dimly, hinting at the bee's coloration.

  • Cut through

    Hexagonal cell apertures and bee wing slots are cut fully through for the brightest glow.

Learn the carving basics

Before you start cutting

How do I create the staggered offset without a pre-printed template?

Draw the first row of hexagons across the patch. For the second row, start the first hexagon at the midpoint of a gap between first-row cells, not at a corner. A cardboard hexagon cut-out used as a tracing guide makes repeating this offset straightforward.

The bee body area is narrow and I am worried about cracking when I score it. What should I do?

Keep the backed grooves very shallow, removing only the outer skin of the rind. Score in very short strokes rather than one long pull to maintain control. If the bee is small, a single groove per stripe is enough for the effect to read when lit.

Can I position both bees inside the honeycomb patch rather than outside it?

It is much harder because the hexagonal walls are already thin and adding bee wing slots inside the cluster risks breaking through a shared wall. Placing the bees on plain rind just outside the patch, as described, gives them structural room and a clearer visual frame.

Your take belongs here, too.

Changed a detail? Made it simpler? Share a photo of your version and tell the community what worked.

Share your pumpkin

More pumpkins like this

You've reached the end · 8 pumpkins
The Patch Report

Fresh pumpkins, in your inbox.

The best new carvings, ideas worth stealing, and how-tos for carving season. Short, seasonal, and gone by November.

A short email during carving season. Unsubscribe anytime. See our privacy policy.