Halloween Pumpkin Carving Contest · Starts October 1st · $500 in prizes
← Back to ideas
@ai_concepts
Sep 25, 2026
Intricate Honeycomb Pumpkin With Many Cells on Brick PorchAI
0

Report this carving

Tell us what is wrong. Reports are private.

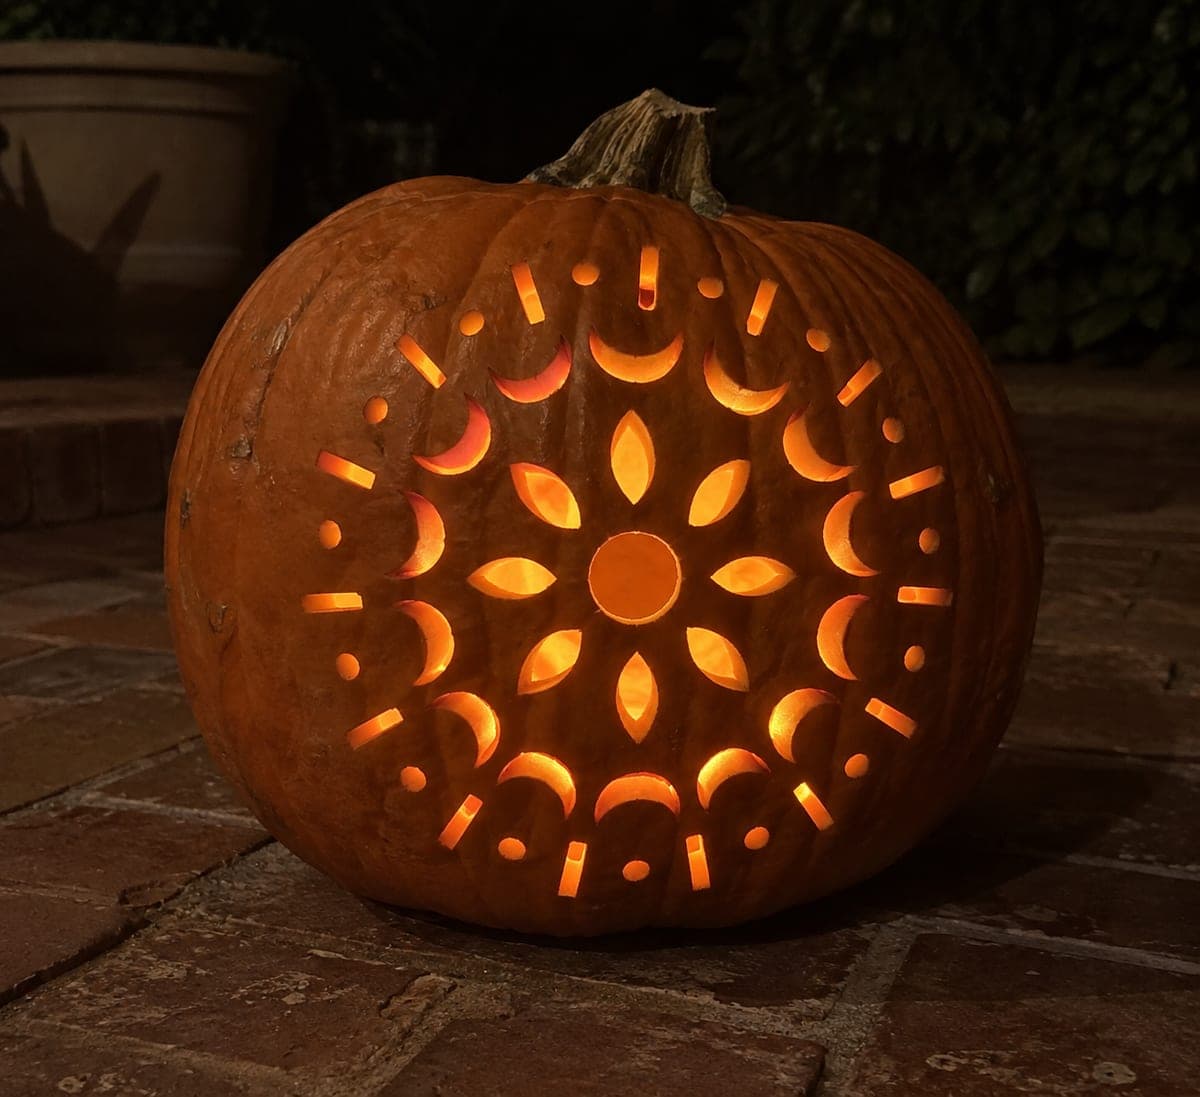
Intricate Honeycomb Pumpkin With Many Cells on Brick Porch

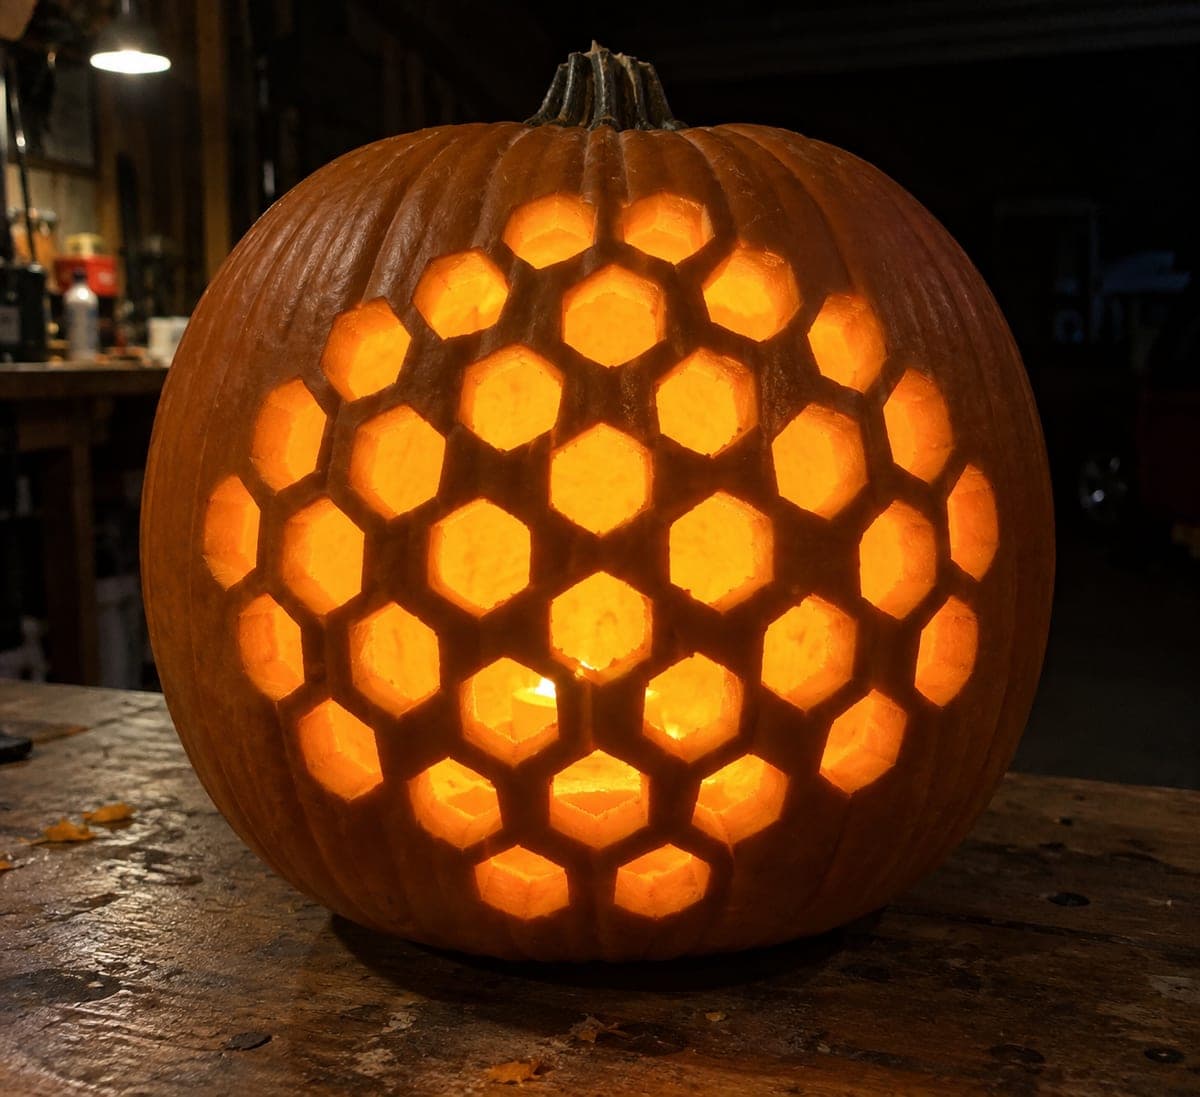
A diagonal patch of many open hexagonal apertures with connected rind webs fills the face of this expert honeycomb pumpkin carving, displayed on a brick porch at night. A bee accent combining backed areas and short separate openings adds a focal detail to the lower corner of the honeycomb patch. With this many cells, plan the patch boundaries before cutting so you know exactly where the cluster begins and ends. Cut rows of hexagons diagonally across the patch one row at a time, which keeps the shell balanced as each section opens up.

No ratings yet · Sign in to rate

Comments (0)

  • No comments yet — be the first.

Save without an account. Sign in to like or comment.

Our tips for carving a similar design

A large diagonal honeycomb patch of many open hexagonal apertures requires planning the patch boundary precisely before any cutting begins. The bee accent in the lower corner combines backed surface areas for the body with short wing slots for dimension. Cutting the hexagon rows diagonally across the patch, one row at a time, keeps the shell balanced as the openings accumulate.

From pumpkin to porch

  1. Select a large, flat-faced pumpkin

    A wide, relatively flat face gives more room for many hexagonal cells. Cut a bottom lid and hollow out completely, leaving a full inch of wall throughout. Mark the diagonal patch boundary on the face with a marker before any detailed layout work.

  2. Grid out the diagonal patch

    Rotate your hexagonal grid template 30 to 45 degrees to create the diagonal orientation shown in the reference image. Mark all cell positions within the patch boundary, keeping consistent rind webs of at least three-eighths of an inch between every cell.

  3. Mark the bee accent position

    Mark the bee in the lower corner of the patch. Outline the body and wings on plain rind just at the edge of the honeycomb cluster, so the bee has clean rind for the body scoring and the wing slots do not conflict with adjacent hexagonal cells.

  4. Cut diagonal rows of hexagons

    Begin with the first diagonal row at the patch edge and cut all cells in that row before moving to the next row. Work row by row across the diagonal patch. This sequence keeps balanced pressure on the shell and lets you check rind web integrity after each row.

  5. Carve the bee accent

    Once all hexagons are cut, score the bee body stripes as shallow backed horizontal grooves. Cut the two wing slots as independent oval apertures flanking the body, kept clearly separate from the nearest hexagonal cells.

  6. Light and display on the brick porch

    Use a bright LED spotlight bulb inside. The large patch and the diagonal angle produce a dramatic shifting glow. Display against a brick backdrop as in the reference for a warm, textured nighttime effect.

Written with AI to match this design

Gather your supplies

Check things off as you get ready.

Work on a stable surface, keep your free hand out of the cutting path, and have an adult handle sharp tools.

Three levels of light

  • Leave intact

    All rind webs between cells and rind outside the diagonal patch stay dark, creating strong contrast.

  • Peel & shade

    Shallow backed bee body stripe grooves glow dimly at the lower corner of the patch.

  • Cut through

    Every hexagonal aperture and both bee wing slots are fully cut through for maximum glow.

Learn the carving basics

Before you start cutting

How do I plan the diagonal orientation without it looking accidental?

Rotate your printed template to a consistent 30 or 45-degree angle and tape it down before poking any holes. A uniform diagonal angle throughout the entire patch looks intentional. Inconsistent angles within the same patch are what looks accidental.

At what point is the shell at most risk of collapsing with this many cells?

The risk peaks when roughly two-thirds of the cells are cut and the remaining one-third forms a fragile incomplete grid. Work in sessions and refrigerate the pumpkin overnight between sessions to keep the rind firm. Avoid pressing on the carved face at any point.

Can I reduce the number of cells if the pumpkin face is smaller than expected?

Yes. Scale the hexagon size up so fewer, larger cells fill the same area. A patch of 12 to 15 larger cells reads as a convincing honeycomb and is significantly easier to complete than 25 or more small ones.

Your take belongs here, too.

Changed a detail? Made it simpler? Share a photo of your version and tell the community what worked.

Share your pumpkin

More pumpkins like this

You've reached the end · 8 pumpkins
The Patch Report

Fresh pumpkins, in your inbox.

The best new carvings, ideas worth stealing, and how-tos for carving season. Short, seasonal, and gone by November.

A short email during carving season. Unsubscribe anytime. See our privacy policy.