Halloween Pumpkin Carving Contest · Starts October 1st · $500 in prizes
← Back to ideas
@ai_concepts
Aug 3, 2026
Twin Koi Fish Painted Pumpkin DesignAI
0

Twin Koi Fish Painted Pumpkin Design

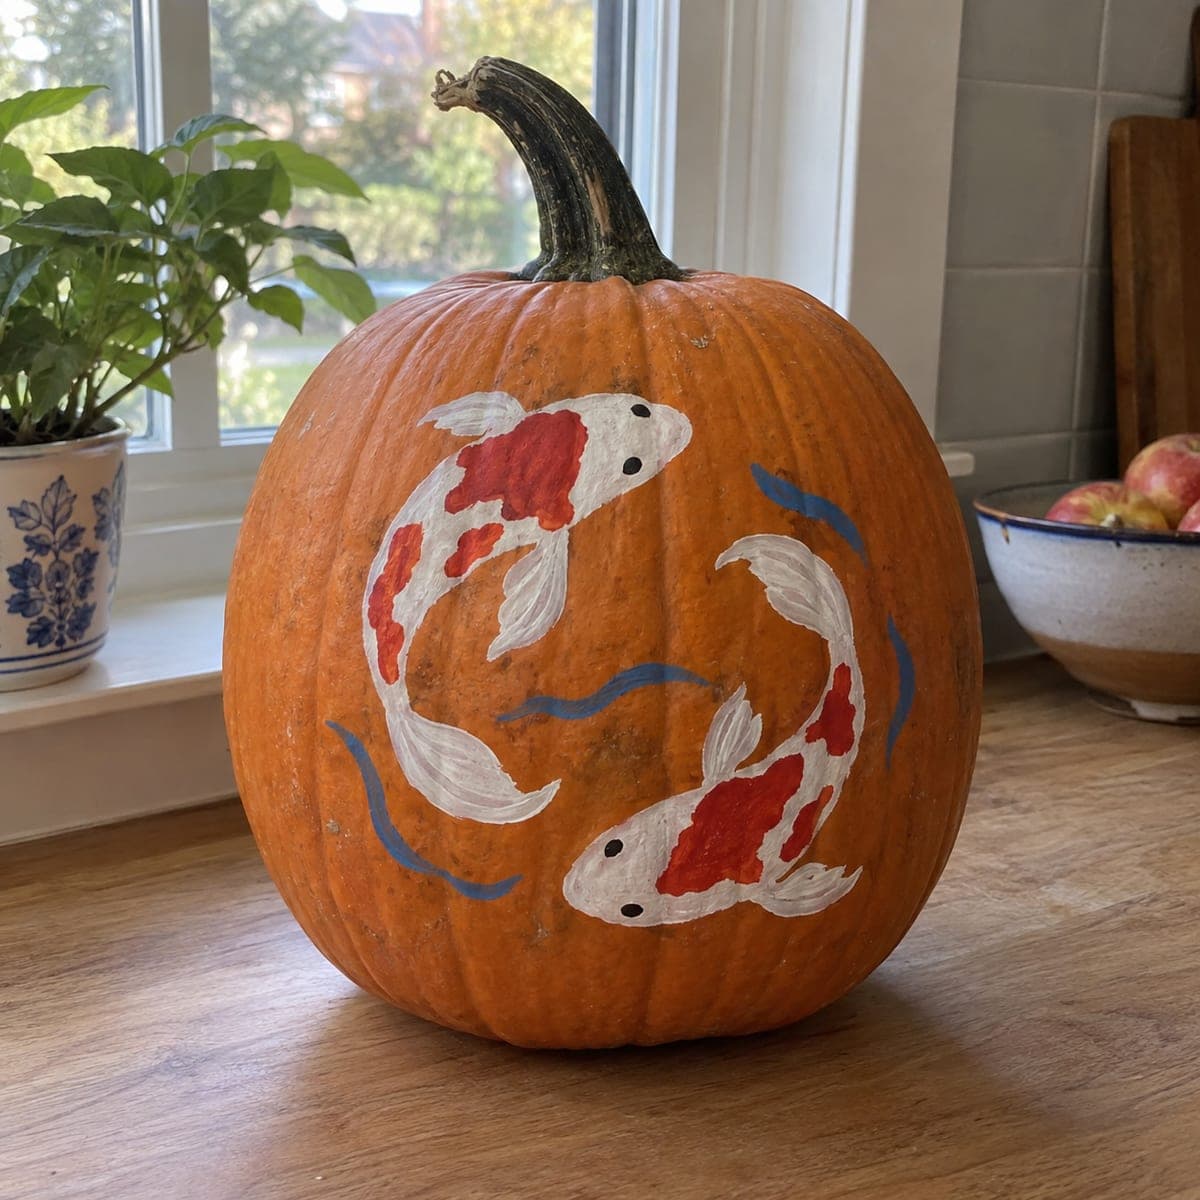
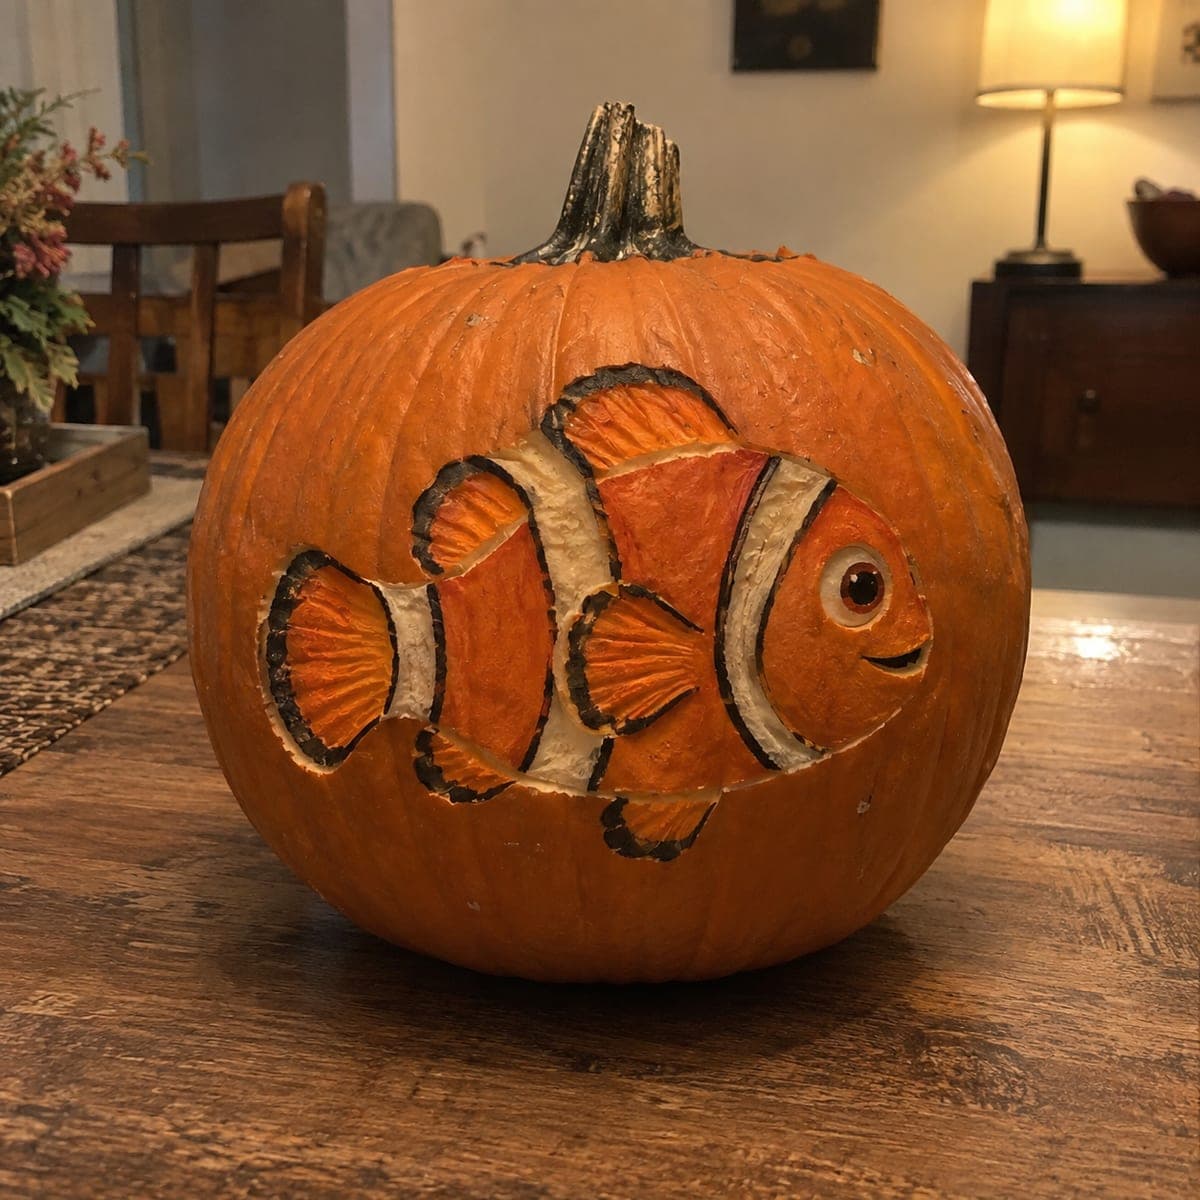
Two orange-and-white koi circle each other across this painted pumpkin, trailing flowing fins with small blue water ripples between them. The circular yin-yang composition wraps naturally around the pumpkin's curve, which flat paper art never does. Sketch both fish in chalk to balance the circle before committing to paint, and use a liner brush for the fin edges. An elegant no-carve pumpkin idea for anyone who prefers serene fall decor over spooky.

This is an AI-generated concept image: a realistic, carvable design idea rather than a photo of a finished carve. AI concepts are always labeled and sit out the leaderboard and the contest.

No ratings yet · Sign in to rate
Comments (0)

  • No comments yet — be the first.

Save without an account. Sign in to like or comment.

Our tips for carving a similar design

The core trick here is a yin-yang layout, where two koi chase each other in a circle that wraps around the pumpkin's curve instead of sitting flat like paper. Sketch both fish in chalk first so the circle stays balanced, then block in the orange-and-white bodies and finish the flowing fins with a fine liner brush. This is an all-paint design, so no cutting is needed and it lasts for weeks.

Written by PumpkinCarvingIdeas.com, inspired by the image above. These are our suggestions, not instructions from the uploader. This approach to the AI concept has not been tested on a real pumpkin.

From pumpkin to porch

  1. Clean and dry the surface

    Wipe the pumpkin with a damp cloth and let it dry fully so paint grips instead of beading up. Pick the smoothest, roundest face for your two fish. Leave the stem alone as a natural top accent. A quick pass with rubbing alcohol on greasy spots helps paint adhere.

  2. Chalk the circle and both fish

    Draw a light chalk circle to set the yin-yang path, then rough in one koi curving down the left and the other curving up the right so they nose toward each other. Keep the heads at opposite ends and let the tails trail into the center. Chalk wipes off easily, so adjust until the balance looks right. Mark small gaps between them where the blue ripples will go.

  3. Block in the white bodies

    Paint each koi body solid white first and let it dry. Two thin coats look cleaner than one thick one and won't drip down the pumpkin's curve. Keep the belly and lower fins white as well. Let this base layer dry completely before adding color on top.

  4. Add the orange-red patches

    Load orange-red paint and place the classic koi markings across the back and head of each fish, following your chalk lines. Vary the patch sizes so the two fish mirror but don't look identical. Dab two small black dots for each eye once the head is dry. Wipe the brush between colors so the red stays crisp against the white.

  5. Detail fins and water with a liner brush

    Switch to a thin liner brush to feather the tail and side fins with light strokes that fan outward. Add a few short blue curved strokes in the open spaces to suggest water ripples. Keep the blue sparse so it reads as movement, not clutter. Let everything dry, then seal with a clear matte spray if you want it to last outdoors.

  6. Stage and photograph

    Set the finished pumpkin on a wood surface near a window for soft natural light. Turn the painted face toward the room so both koi are visible. A small LED tealight tucked beside it adds a warm glow without any flame. Snap your photo in daylight to catch the crisp white and red.

Gather your supplies

Check things off as you get ready.

Work on a stable surface, keep your free hand out of the cutting path, and have an adult handle sharp tools.

Three levels of light

  • Leave intact

    The untouched orange skin stays as the water background between and around the two fish.

  • Peel & shade

    Since this is a no-carve design, there is no peeling; the painted white bodies stand in for the brightest areas.

  • Cut through

    No cutouts are needed, but you could set an LED beside the pumpkin so the painted koi catch a warm side glow.

Learn the carving basics

Before you start cutting

Do I need to carve anything for this design?

No, this is a fully painted, no-carve pumpkin. You keep the pumpkin whole, which means it lasts far longer than a carved one. If you want a little glow, just set an LED tealight next to it rather than cutting an opening.

How do I keep the two koi balanced in the circle?

Draw the full chalk circle first, then place one fish head where the other fish's tail ends so they chase each other. Step back often and check that the fish take up roughly equal space. Chalk wipes off easily, so keep adjusting before you commit to paint.

What paint holds up best on a pumpkin?

Acrylic craft paint works well and dries fast between coats. Use two thin layers so it doesn't drip on the curved surface, and let each color dry before adding the next on top. A clear matte sealer spray at the end protects the art if the pumpkin sits outside.

Your take belongs here, too.

Changed a detail? Made it simpler? Share a photo of your version and tell the community what worked.

Share your pumpkin

More pumpkins like this

You've reached the end · 8 pumpkins
The Patch Report

Fresh pumpkins, in your inbox.

The best new carvings, ideas worth stealing, and how-tos for carving season. Short, seasonal, and gone by November.

A short email during carving season. Unsubscribe anytime. See our privacy policy.