Halloween Pumpkin Carving Contest · Starts October 1st · $500 in prizes
← Back to ideas
@ai_concepts
Jul 26, 2026
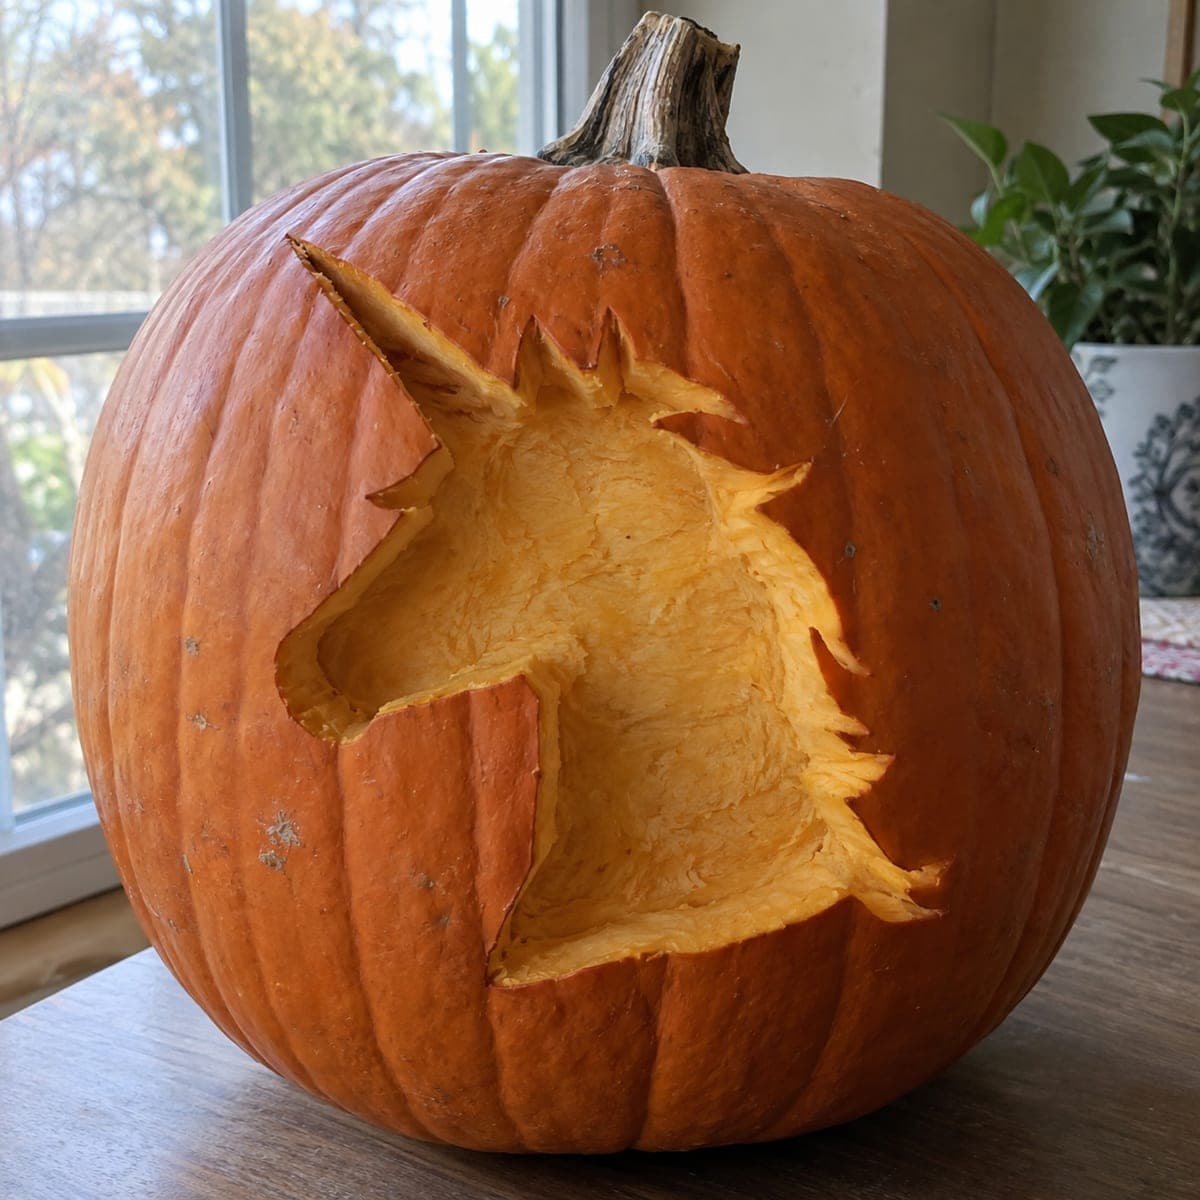
Unicorn Bust Etched Pumpkin With Flowing ManeAI
0

Unicorn Bust Etched Pumpkin With Flowing Mane

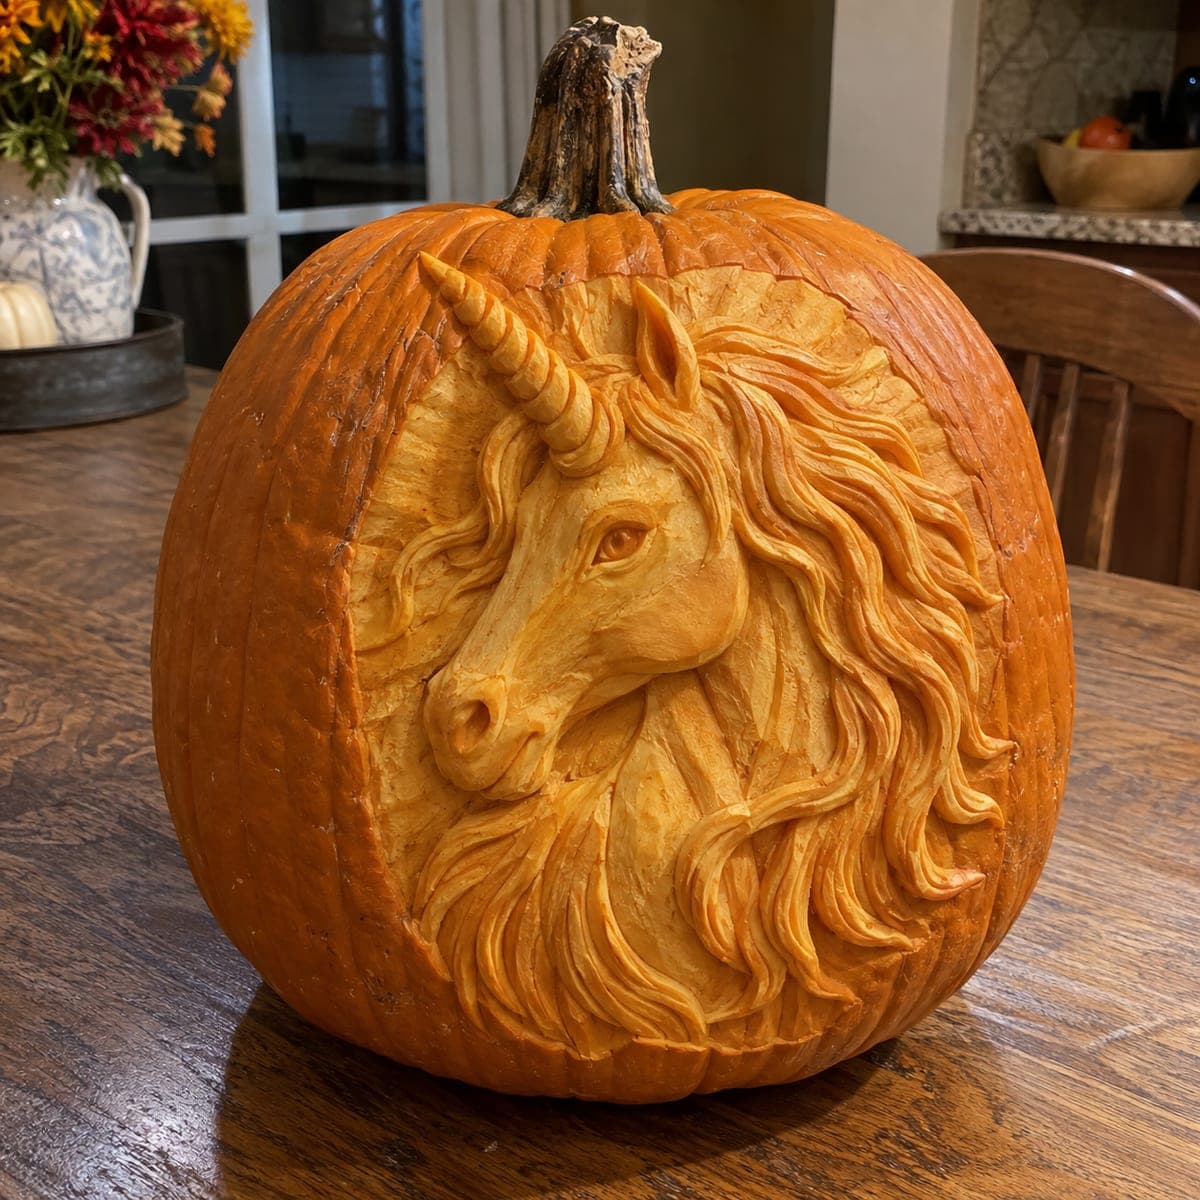
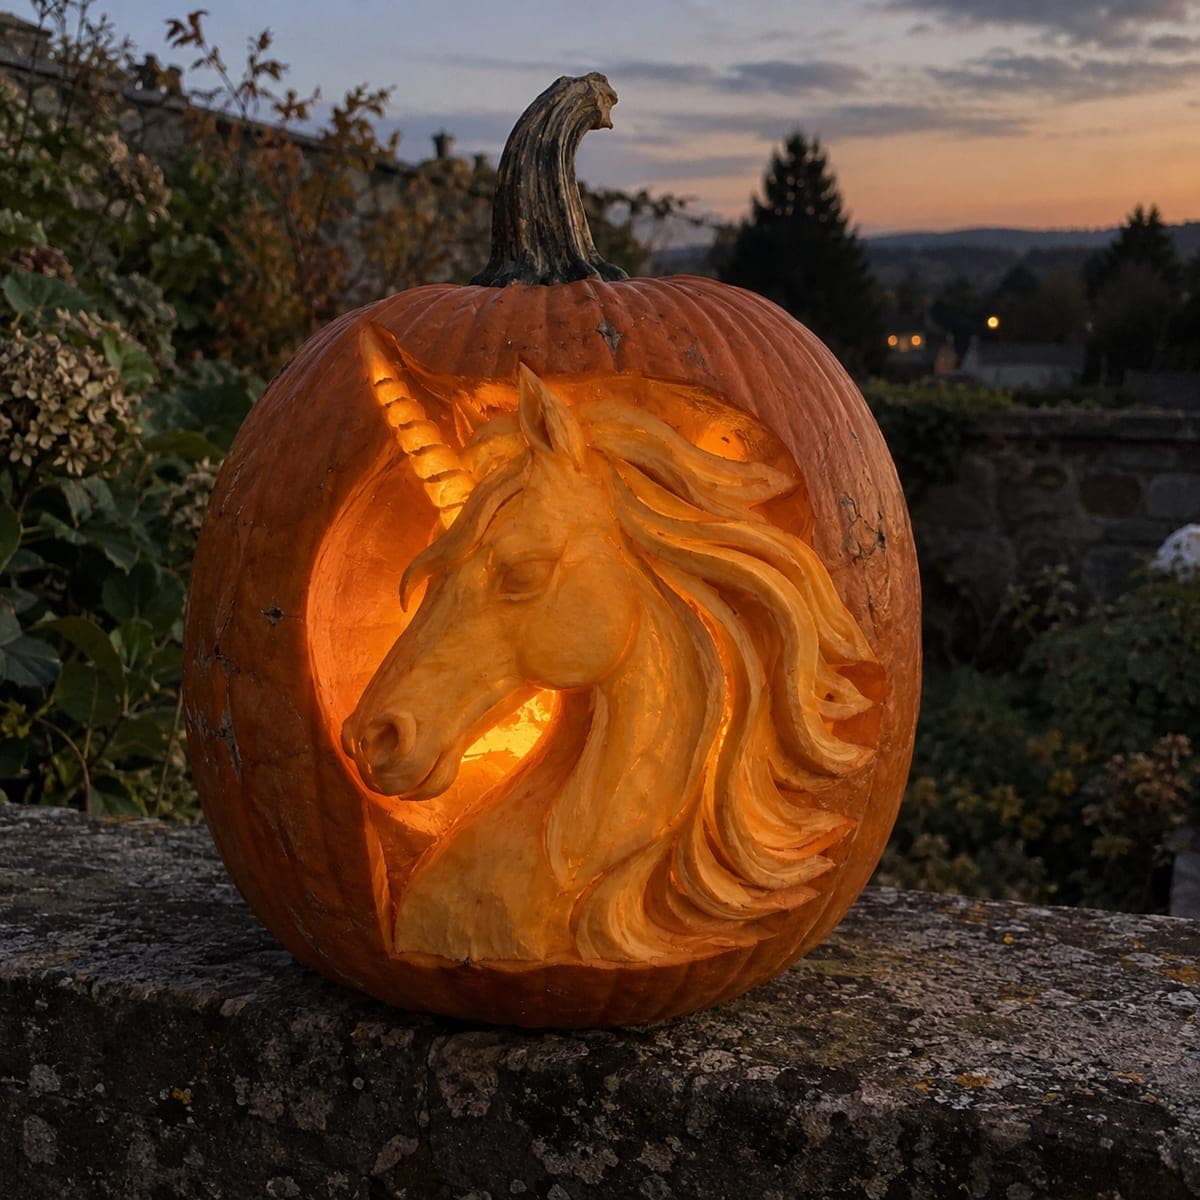
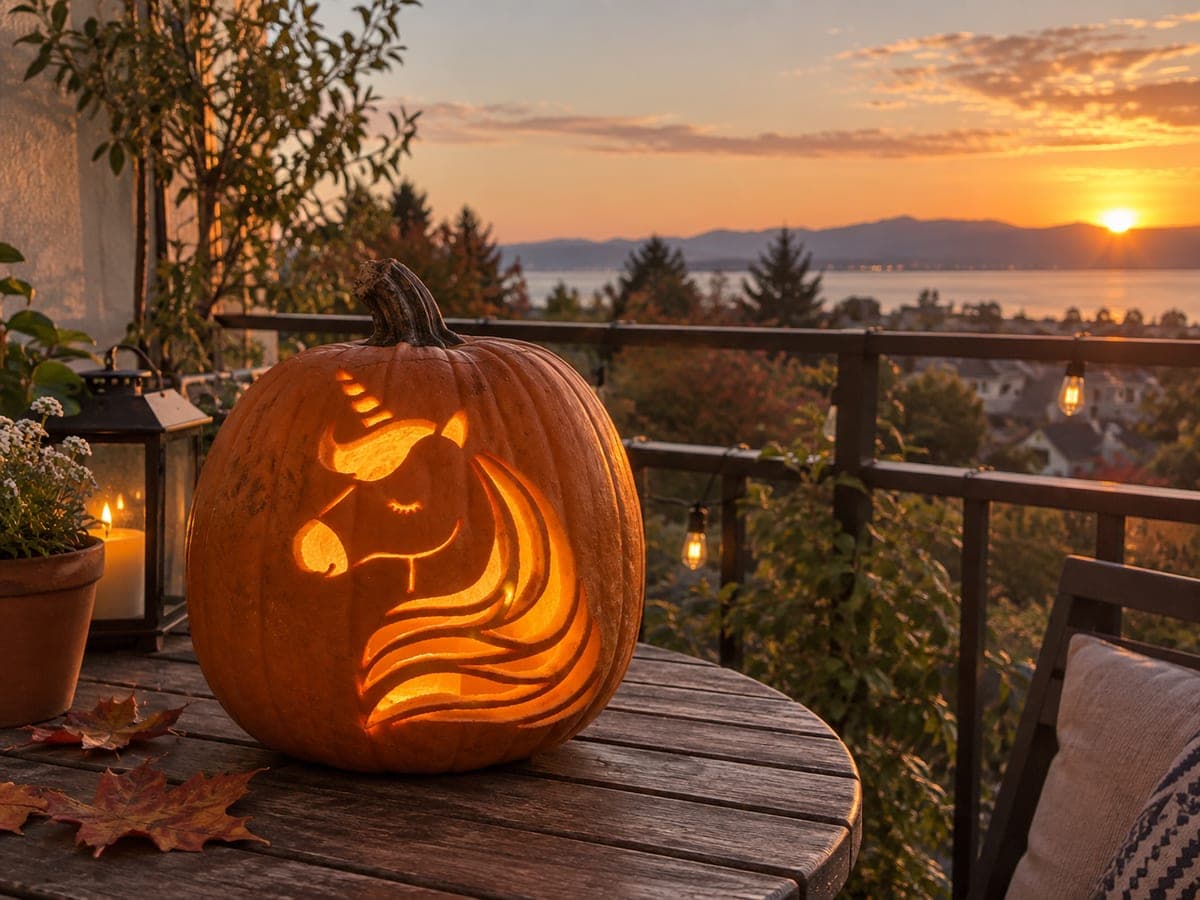
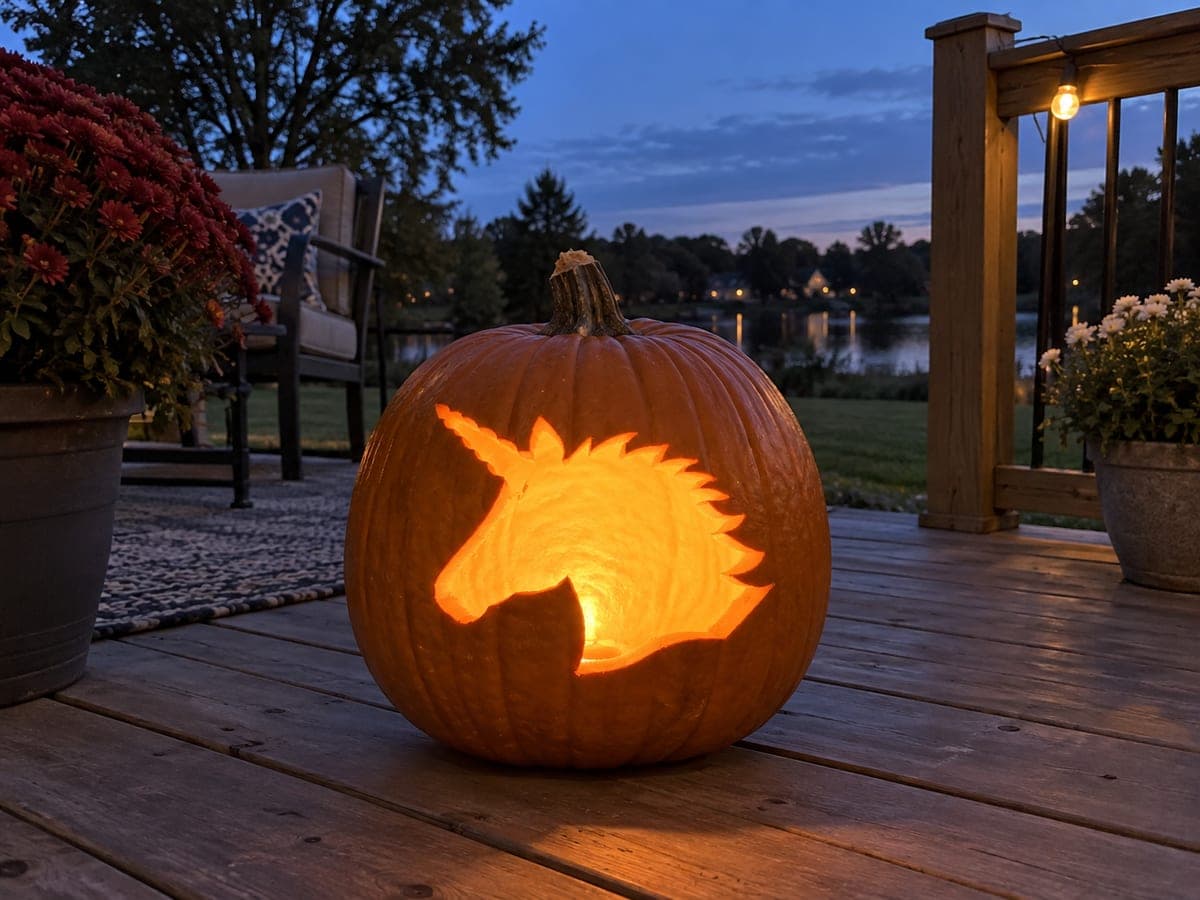
A unicorn bust with a spiraled horn and wind-blown mane is peeled from this pumpkin in one bold shape, the pale flesh standing out sharply against the deep orange skin. The jagged mane edges are what give it energy, so cut them with quick confident strokes rather than careful sawing. Trace a printed silhouette, remove the skin inside the line, and level the exposed flesh with a spoon.

This is an AI-generated concept image: a realistic, carvable design idea rather than a photo of a finished carve. AI concepts are always labeled and sit out the leaderboard and the contest.

No ratings yet · Sign in to rate
Comments (0)

  • No comments yet — be the first.

Save without an account. Sign in to like or comment.

Our tips for carving a similar design

The core trick here is a single skin-peel silhouette, where the whole unicorn bust is one shape carved as a shallow relief rather than a cut-through window. You remove the orange skin inside the outline and level the exposed flesh so it reads as a bright pale unicorn against the dark skin. The energy comes from the spiky mane and pointed horn, so those edges want quick confident strokes.

Written by PumpkinCarvingIdeas.com, inspired by the image above. These are our suggestions, not instructions from the uploader. This approach to the AI concept has not been tested on a real pumpkin.

From pumpkin to porch

  1. Pick and prep the pumpkin

    Choose a big round pumpkin with a smooth, flat-facing side for your canvas. Since this is a shallow relief and not a lantern with big openings, you can either cut a small lid on top or a hatch in the back for the LED light. Scrape the inside wall behind your design down to about one inch thick so light will pass through the peeled areas. Wipe the front dry before you trace.

  2. Trace the silhouette

    Print a unicorn bust stencil sized to fill most of the flat face, then tape it snug and poke through the outline with a pushpin or transfer tool. Follow every mane spike and the twist of the horn so your dots capture the jagged edges. Peel the paper and connect the dots with a washable marker. Double check the horn points up toward the stem where the flesh is thickest and least likely to snap.

  3. Score the outline

    With a small detail saw or a sharp craft knife, cut just along your traced line about a quarter inch deep, all the way around the silhouette. Keep the horn and mane spikes as continuous connected shapes rather than freestanding slivers so nothing breaks off. This scored border is your stop line, so the skin inside peels away cleanly without tearing past the edge. Have an adult handle the blade and keep your free hand behind the cutting direction.

  4. Peel the skin inside

    Switch to a ribbon loop tool or a sturdy spoon and lift the orange skin off inside your outline, working from the center outward toward the scored edges. Take off only the top skin layer at first so you can see the pale flesh appear. This is where the unicorn shape brightens against the dark surrounding skin. Move in short scoops and let the marker line guide where to stop.

  5. Level and shade the flesh

    Once the skin is off, smooth the exposed flesh with the spoon so it sits at an even depth across the bust. For a hint of shading, go slightly deeper on the mane and cheek and leave the horn a touch shallower so it stays a shade darker. Clean up the mane spikes with the knife tip using quick outward flicks to keep them sharp and lively. Blow or brush out the pulp crumbs so they do not dull the glow.

  6. Light it and photograph

    Set a battery LED puck or string inside and aim it toward the peeled wall so the unicorn lights up warm. Skip real candles, since the thin peeled flesh scorches and the design is meant to glow, not flicker. Shoot your photo in a dim room with the light on, then a second shot in daylight to show the pale flesh against orange skin. If the flesh dries and dulls over a day or two, a light rub with petroleum jelly revives the glow.

Gather your supplies

Check things off as you get ready.

Work on a stable surface, keep your free hand out of the cutting path, and have an adult handle sharp tools.

Three levels of light

  • Leave intact

    The orange skin surrounding the unicorn stays untouched and dark for contrast.

  • Peel & shade

    The entire unicorn bust, mane, and horn are skin-peeled to a dim pale glow.

  • Cut through

    No full cut-throughs are needed, though you can pierce a few tiny mane tips for pinpoint brights if you want extra sparkle.

Learn the carving basics

Before you start cutting

Should the mane and horn be cut all the way through?

No, this design works as a shallow peel, not a pierced lantern. Cutting the spiky mane and slender horn all the way through would leave fragile bridges that snap. Keep everything as removed skin over leveled flesh so the shape stays strong and evenly lit.

How do I keep the mane spikes looking energetic instead of stiff?

Cut them with quick, confident outward flicks of the knife tip rather than slow careful sawing. A little variation in spike length and angle reads as wind-blown motion. Trust your first stroke and resist the urge to keep tidying each point.

This is a concept image, so will a real pumpkin glow the same way?

A real pumpkin will glow, just softer than a rendered image. The peeled flesh gives a gentle orange glow rather than the crisp white you see here. Thin the wall behind the design and use a bright LED to get the closest match, and expect the pale flesh to warm slightly as it dries.

Your take belongs here, too.

Changed a detail? Made it simpler? Share a photo of your version and tell the community what worked.

Share your pumpkin

More pumpkins like this

You've reached the end · 8 pumpkins
The Patch Report

Fresh pumpkins, in your inbox.

The best new carvings, ideas worth stealing, and how-tos for carving season. Short, seasonal, and gone by November.

A short email during carving season. Unsubscribe anytime. See our privacy policy.